If your kitchen sits in the low 60s during winter, your dough is not broken. Yeast slows sharply below about 70F, so the rise takes longer and the loaf bakes tighter than the recipe promised. Learning how to proof dough in a cold kitchen means building a small warm spot, covering the dough so it does not dry out, and judging readiness by the dough instead of the clock.
The goal is 75 to 82F (24 to 28C) for most doughs, and that has not changed in 2026. Start by measuring your kitchen and your dough, then pick the warmest protected spot you have. Most cold kitchen problems trace back to one of two things: a room sitting below 68F, or dough left uncovered for hours.
Table of Contents
- What You Need
- Step-by-Step
- Check the Dough Temperature Before Starting
- How to Proof Dough in a Cold Kitchen Without a Proofer
- Cover the Dough and Keep It Protected
- Wait for Signs of Fermentation
- Adjust for Different Types of Dough
- Refrigerate or Freeze on Purpose
- Common Mistakes
- Frequently Asked Questions
- How long should dough proof in a cold kitchen?
- Is the oven light warm enough to proof dough?
- Why is my cold proof dough not rising?
- Can I use the microwave as a proofing box?
- Should dough rise during a cold proof in the refrigerator?
- Is a heating pad safe for proofing dough?
- Conclusion
What You Need
You do not need a proofer. A few cheap tools turn guessing into measuring, and measuring is what makes cold kitchens workable.
- An instant-read thermometer. This is the single most useful item. It checks water temperature for activating yeast and the temperature of your warm spot.
- An oven thermometer. A dial oven thermometer left inside for 30 minutes tells you whether your oven light is actually producing proofing heat.
- A covered container. A large bowl with a lid, plastic wrap, a damp towel, or a silicone lid keeps a skin from forming over long cold rises.
- A folded towel or two. This wraps the bowl, insulates the bottom, and stops heat escaping.
- A jar or small pot that your oven will tolerate. You fill it with hot water to add steady humidity and warmth.
- Optional warming tools. A heating pad on low, an insulated cooler, or a microwave used as a chamber, all covered in the steps below.
Skip damp paper towels. Bakers report them drying out long before a slow cold rise finishes. A shower cap or a bowl with a tight lid lasts much longer.
Step-by-Step
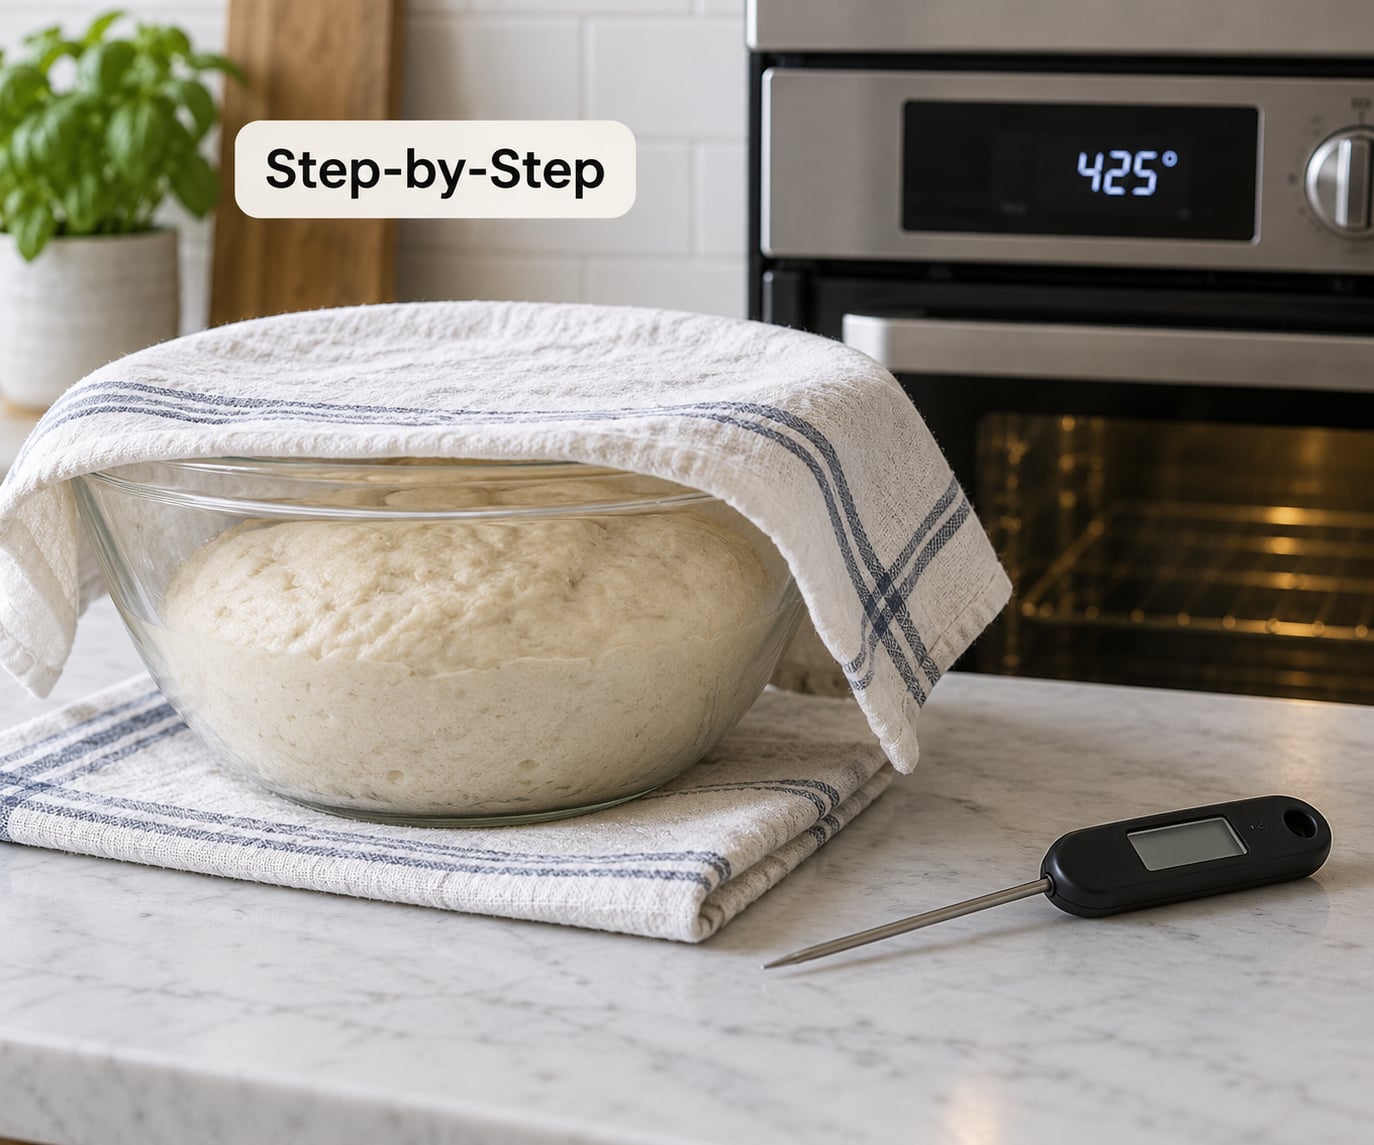
Work through these six steps in order. Total hands-on time is about 15 minutes, and the rest is waiting.
Check the Dough Temperature Before Starting
Dough temperature, not room temperature, is what the yeast feels. A bowl mixed with cold tap water can sit at 66F while your kitchen reads 69F, and that five-degree gap can stretch a two-hour bulk into five hours.
Press the thermometer to the center of the dough right after mixing. Below 68F, use warm mixing water next time at 105 to 110F (41 to 43C) and expect a longer rise. That water range wakes the yeast without cooking it, and anything much hotter kills it outright.
There is a second check people miss: is the dough cold, or has it already gone past its window? If it has doubled, domed, and smells sharply of alcohol, moving it somewhere warm now will overproof it. Push it straight into the fridge instead and let it come back slowly.
How to Proof Dough in a Cold Kitchen Without a Proofer
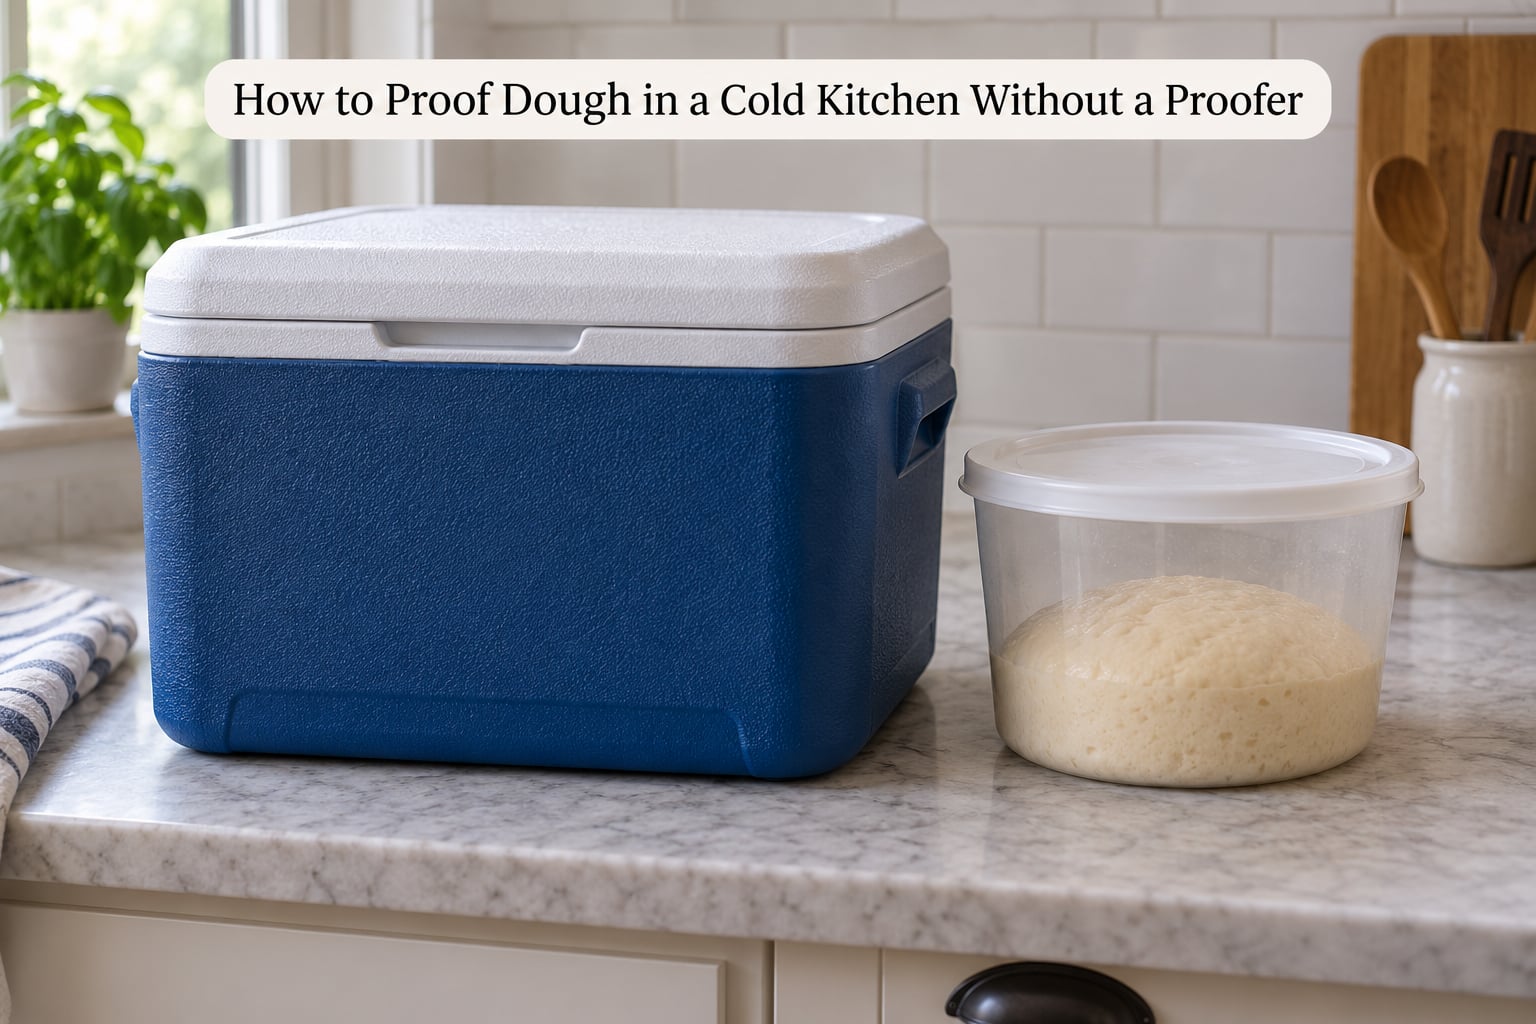
These are the methods bakers actually report, with the temperatures they reach. Work down the list from free to dedicated equipment until the spot you build holds 75F or higher.
| Warm spot method | Temperature reached | Setup | Watch out for |
|---|---|---|---|
| Oven light only, factory bulb | About 63F | 1 minute | Usually too cool on its own. Verify with an oven thermometer. |
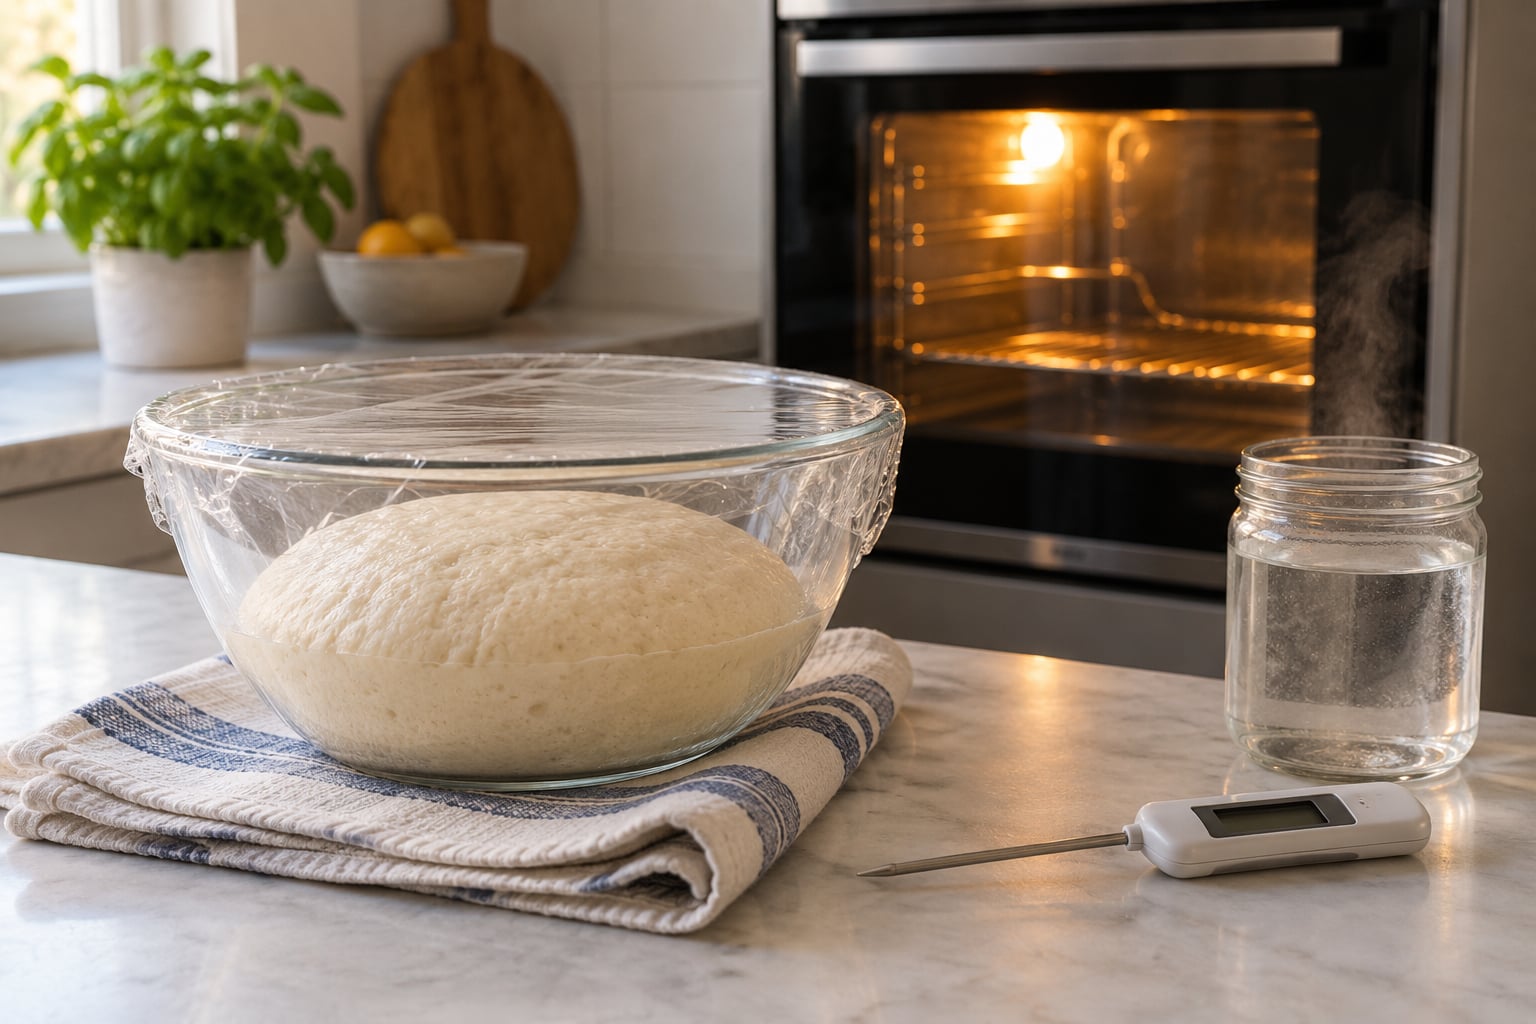
| Oven light plus a jar of boiling water | About 78 to 85F | 5 minutes | Use a jar or pot your oven manual allows. Skip plastic. |
| Larger bulb in the oven, 60 to 75 watt | About 80F | 15 minutes | Check the bulb wattage your oven is rated for before swapping it. |
| Microwave run empty with a mug of water, then dough in | About 78 to 80F in an hour | 3 minutes | Never run the microwave with the dough inside. Food safety first. |
| Insulated cooler with a quart jar of hot tap water | About 85F, steady | 5 minutes | Refresh the water when it cools. Keep the dough off the cooler floor. |
| Heating pad on low under a wire rack, in a tote | About 83F on high | 5 minutes | Never place dough directly on the pad. The base scorches before the top warms. |
| Top of the refrigerator or the warmest cabinet | Room temp plus a few degrees | 1 minute | Usually helps, rarely enough on its own. Good for the final proof. |
| Oven proof setting | 90 to 110F set point | 2 minutes | Too hot for enriched dough. Check it regularly. |
| Refrigerator cold proof | 35 to 38F | 2 minutes | Plan ahead. This changes your schedule, not the recipe. |
Most people stop at the oven light and then wonder why nothing happens. A factory-installed bulb often manages only about 63F, while adding a jar of boiling water alongside the dough pushes the same oven into the high 70s and low 80s.
Two more adjustments help. In a very dry cold house, drop hydration by 5 to 10 percent, since cold slows gluten development and slack dough spreads out. For sourdough, switch your winter feeding from 1:1:1 to 1:2:2 and feed with water at 85 to 90F (29 to 32C).
Cover the Dough and Keep It Protected
Long cold rises dry out the surface of dough before the inside ever ferments. A skin traps air the dough cannot use and makes shaping sticky and unpredictable.
Use a damp towel, plastic wrap, or a tight-fitting lid, and pick a container with more room than the dough needs now. Dough needs roughly twice the space once it doubles, and a cramped bowl presses against the sides and slows the rise.
Skip the oven’s steam setting unless you know your oven handles it. Condensation landing on the dough makes the surface gummy and can scorch under broiler heat.
Wait for Signs of Fermentation
Timers fail in cold kitchens because the same recipe moves at different speeds from one week to the next. Watch the dough instead, and use the poke test as your main check.
- The rise itself. Most doughs are ready when they have roughly doubled. Mark the level with a piece of tape and check against it.
- Bubbles at the edge. Small bubbles along the side of the bowl usually appear before the top domes.
- A softer surface. The dough should feel pillowy and slightly springy rather than tight.
- The poke test. Press a floured finger about half an inch in. A slow spring that leaves a dent means keep waiting. No spring at all means it is ready. An instant rebound and a slack, sticky dough mean it has gone too far.
In a 62F room you might wait three times the usual time. That is normal, and it is still better than baking dough that was never ready.
Adjust for Different Types of Dough
Some doughs cope with a cold kitchen better than others, and the right response changes.
Lean bread dough such as a sourdough country loaf actually likes a cool room. Bakers often give it an overnight bulk in the fridge and get deeper flavor for it. Just extend the time rather than adding heat.
Yeasted dough for sandwich bread and rolls wants speed. These are the ones to move into a warm spot, because the final proof runs while you are trying to bake and serve.
Pizza dough ferments more slowly and tolerates a long cold rise in the fridge. Plan it a day ahead so the cold hours work for you.
Enriched dough such as brioche and cinnamon buns is the fussiest. The butter and eggs slow things down further, and heat above 90F can melt the butter and kill the yeast. Aim for the warm end of the range at most.
Refrigerate or Freeze on Purpose
Cold fermentation and cold proofing are two different tools, and mixing them up causes most of the confusion in winter.
Cold fermentation happens during bulk, before shaping, and can run 8 to 24 hours. Sourdough commonly needs 12 to 18 hours in the fridge. Cold proofing happens after shaping, in the banneton or the loaf pan, and is usually shorter for yeasted dough.
Ask yourself two things. Is the dough shaped? Then it is a proof. Is it still in its mixing bowl? Then it is fermentation and you can let it run overnight.
Dough should not visibly rise during a cold proof. You are not trying to double it in the fridge, so keep it covered so the surface stays soft. Freeze dough for a month or more if you need to; thaw it in the fridge, then let it finish proofing somewhere warm.
Common Mistakes
Almost every cold kitchen failure shows up as one of five symptoms. Match yours below, fix the cause, and the next bake will behave.
| Symptom | What is actually happening | The fix |
|---|---|---|
| Dough barely rises over many hours | Room is below 65F, or yeast was slow to wake | Move the covered bowl to a warm spot, or extend bulk in the fridge overnight |
| Loaf bakes flat and dense with a hard top | Dough was underproofed and had no gas left for oven spring | Proof longer and check with the poke test before scoring |
| Surface dries out or forms a skin | Long rise with no cover, usually a dry winter house | Use a tight lid or shower cap instead of a damp paper towel |
| Dough rises fast once moved somewhere warm | You changed two things at once, or the yeast was extra active | Add warmth gradually and recheck every 30 minutes |
| Strong alcohol smell and a slack, sticky dough | Overproofed, which can happen in a warm cupboard or under body heat | Chill it, then bake immediately; there is no bringing it back |
| Dough stuck to the bowl or shaped unevenly | Dough sat in a metal bowl next to a heat source and stuck | Use glass or a plastic tub, and add water between folds |
You cannot undo a bake, but you can rescue dough that stalled. Move it to the warmest spot you have, add a jar of hot water for humidity, and check every 30 minutes with the poke test. If it is not doubled within two hours of warming, plan a long overnight rise in the fridge instead.
One warning worth repeating: never put dough straight onto a heating pad or a warm stovetop. The base cooks and dries while the top stays cold, and you end up with a scorched ring and a dense middle.
Frequently Asked Questions
How long should dough proof in a cold kitchen?
It depends on temperature and dough type, but cold proofing runs much longer. A yeasted dough that needs 1 to 3 hours at 75F can take 4 to 6 hours in a 62F room. Sourdough often gets better with an 8 to 24 hour cold rise, and shaped loaves sit in the fridge for 12 to 18 hours. Watch the dough instead of the timer, using the poke test.
Is the oven light warm enough to proof dough?
On its own, usually not. A factory-installed oven bulb often holds only about 63F, well below the 75 to 82F that dough prefers. Put an oven thermometer inside for 30 minutes to see what yours actually does. A larger 60 to 75 watt bulb gets closer to 80F, and adding a jar of boiling water with the dough is what usually pushes the oven into a real proofing range.
Why is my cold proof dough not rising?
Cold is the usual reason, since yeast slows sharply below 70F. Other causes are yeast that is old or was never activated, a starter that peaked and then collapsed, dough mixed with cold water, and dough that was underproofed before it went into the fridge. Check that your yeast foams in 105 to 110F water first, then move the dough somewhere warm and watch it with the poke test.
Can I use the microwave as a proofing box?
Yes, with care. Run the microwave empty with a mug of water for 30 to 60 seconds, then leave it off and put the covered dough in with the hot mug inside. Closed, this reaches about 78 to 80F in an hour. Never run the microwave with dough, plastic wrap, or metal inside, and put the dough back in before the mug cools off completely.
Should dough rise during a cold proof in the refrigerator?
No. A cold proof is deliberately slow, so the dough should look close to how it did when you shaped it. If you have a cold fermentation happening in the fridge instead, then it is supposed to swell, often by half to double. Overproofing in the fridge shows up as a dull, slack dough with a sour alcohol smell and no structure when you score it.
Is a heating pad safe for proofing dough?
It is safe when there is a barrier and airflow. Set the pad to low, lay it under a wire rack or the turned-over top of a tote, and never let the bowl touch the pad directly. A pad under a rack inside an insulated tote held about 83F on high for a baker in a 68 to 70F basement. Metal bowls and direct contact scorch the base before the top ever warms.
Conclusion
Start with the dough. Check its temperature with a thermometer, then build the warmest stable protected spot you can, aiming for 75 to 82F (24 to 28C). Cover it tightly, and decide when it is ready by the poke test and the rise rather than by a timer.
Once you know how to proof dough in a cold kitchen, the season stops being the thing standing between you and good bread.