If you want to know how to make a sheet cake moist, the answer comes down to four things: add fat and acid that hold water, mix the batter only until the flour disappears, take the cake out before it dries out, and wrap it while it is still warm. Most dry sheet cakes fail on one of those four, usually the last one.
A sheet cake is also the least forgiving cake shape. It bakes in a shallow pan with far more surface area than a layer cake, so the edges set and dry long before the center finishes. Everything below is built around that one fact.
Allow about 25 minutes of prep, 30 to 40 minutes of baking for a 9×13, and 10 minutes of wrapping. The whole thing is beginner-level, and the total cost is a dozen or so pantry staples you probably already own.
Table of Contents
- What You Need
- Step-by-Step
- 1. Choose Moistness-Friendly Ingredients
- 2. Measure and Mix the Batter Carefully
- 3. Bake the Sheet Cake Until Just Done
- 4. Keep Moisture In and Dryness Out
- 5. Cool, Frost, and Store the Cake
- Common Mistakes
- Frequently Asked Questions
- What is the best oil for a moist sheet cake?
- Can I use applesauce instead of some of the butter?
- Why is my sheet cake dry after baking?
- Should I cover a sheet cake while it is still warm?
- How do I keep a sheet cake moist overnight?
- Can I freeze a sheet cake to preserve it?
What You Need
The ingredient list is short, and almost every item has a moisture job to do. Here is what a reliably moist sheet cake is made from.
- All-purpose flour, 2 cups (250 g) for a 9×13. Cake flour gives a finer, more tender crumb, so you can swap 1 cup of the flour for 1 cup cake flour if you want an extra-soft result.
- Granulated sugar, 1.5 cups (300 g). Sugar holds water and keeps the crumb from staling, which is why under-sweetened cakes also feel dry.
- Butter, 8 tablespoons (115 g), or neutral oil, 3/4 cup (180 ml). Oil is the single biggest upgrade: it stays liquid in the crumb and does not set into a firm gel the way cold butter does.
- Buttermilk, 1 cup (240 ml), or milk plus 1 tablespoon lemon juice and a 5-minute rest.
- Eggs, 3 large at room temperature, which emulsify the fat and help the batter hold air.
- Sour cream or plain Greek yogurt, 1/2 cup (120 g). Acid plus fat is the combination that makes a crumb stay tender for days.
- Baking powder, 2 teaspoons plus baking soda, 1/2 teaspoon and a pinch of salt.
- Pure vanilla extract, 2 teaspoons.
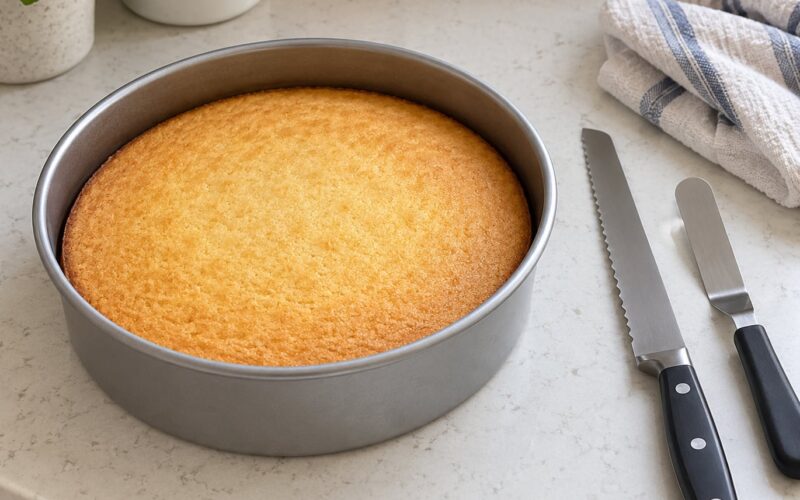
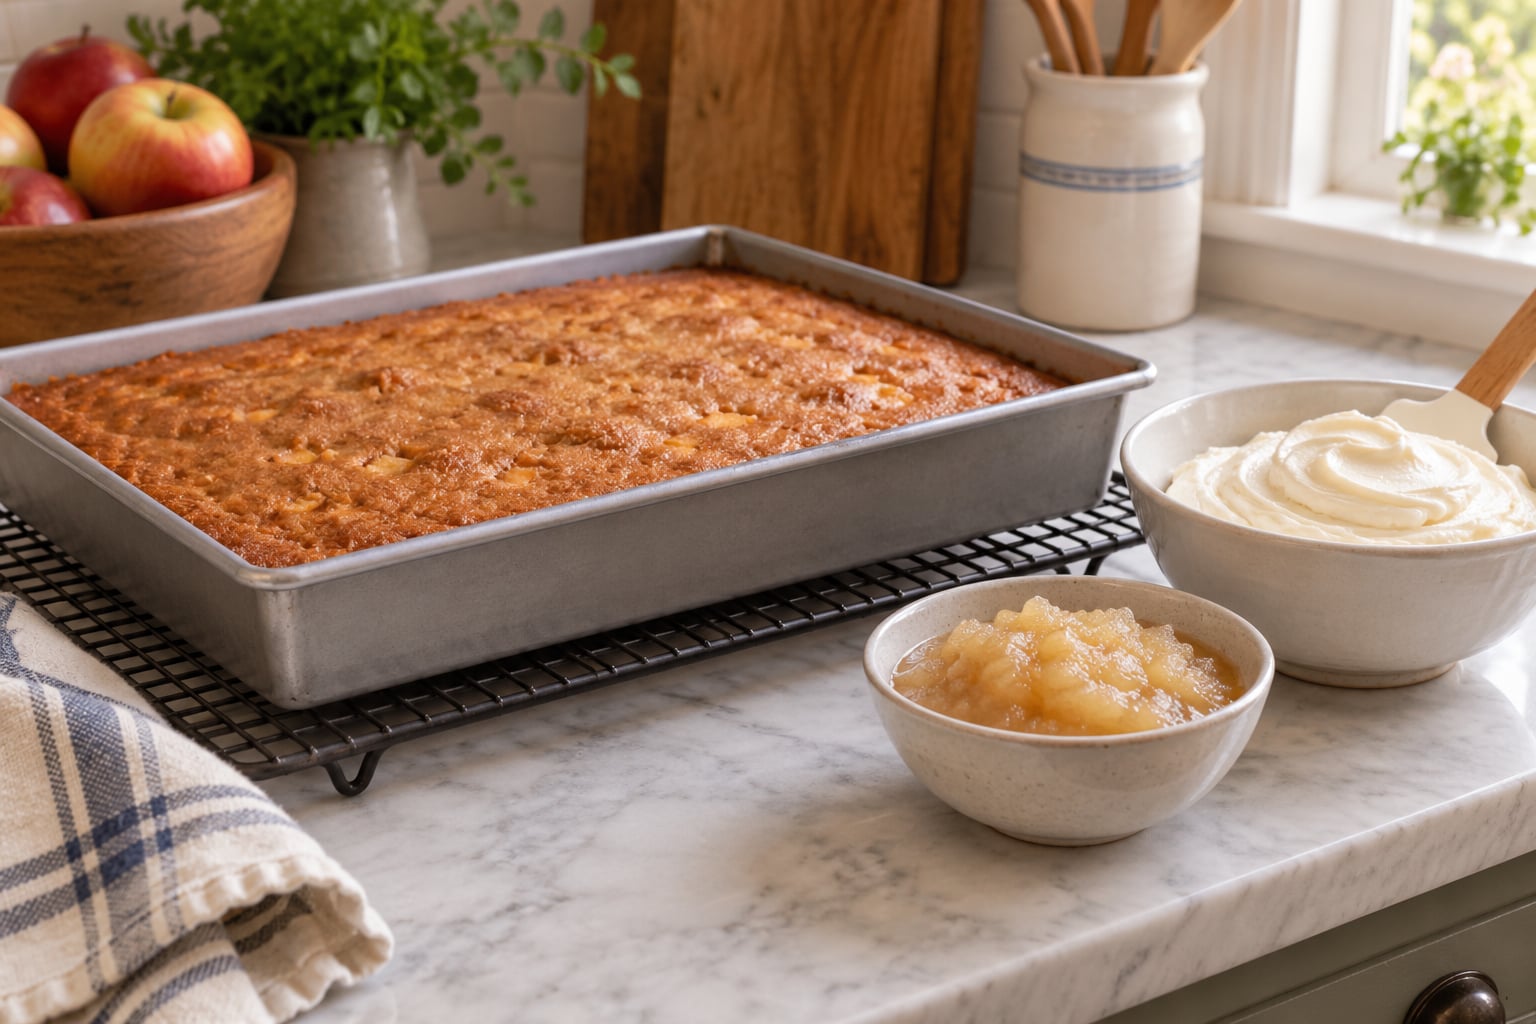
For equipment you need a 9×13 metal pan, a wire rack, and either a rubber spatula or a whisk. A stand mixer is optional; a bowl and a wooden spoon do the same job.
On pan size, a 9×13 is the most reliable for home ovens because it is even-sided and bakes evenly. A half sheet (13×18) bakes faster and dries out faster. A full sheet (18×26) is the one to use for a crowd of 40 or more, but it needs a lower oven temperature and a longer bake.
For alternatives, sour cream works anywhere a recipe calls for part of the milk. Applesauce replaces a third of the oil for a less rich but equally tender crumb. Gluten-free works if you use a 1-to-1 gluten-free flour blend and pull the bake time down by a few minutes, since those blends dry out faster.
Step-by-Step
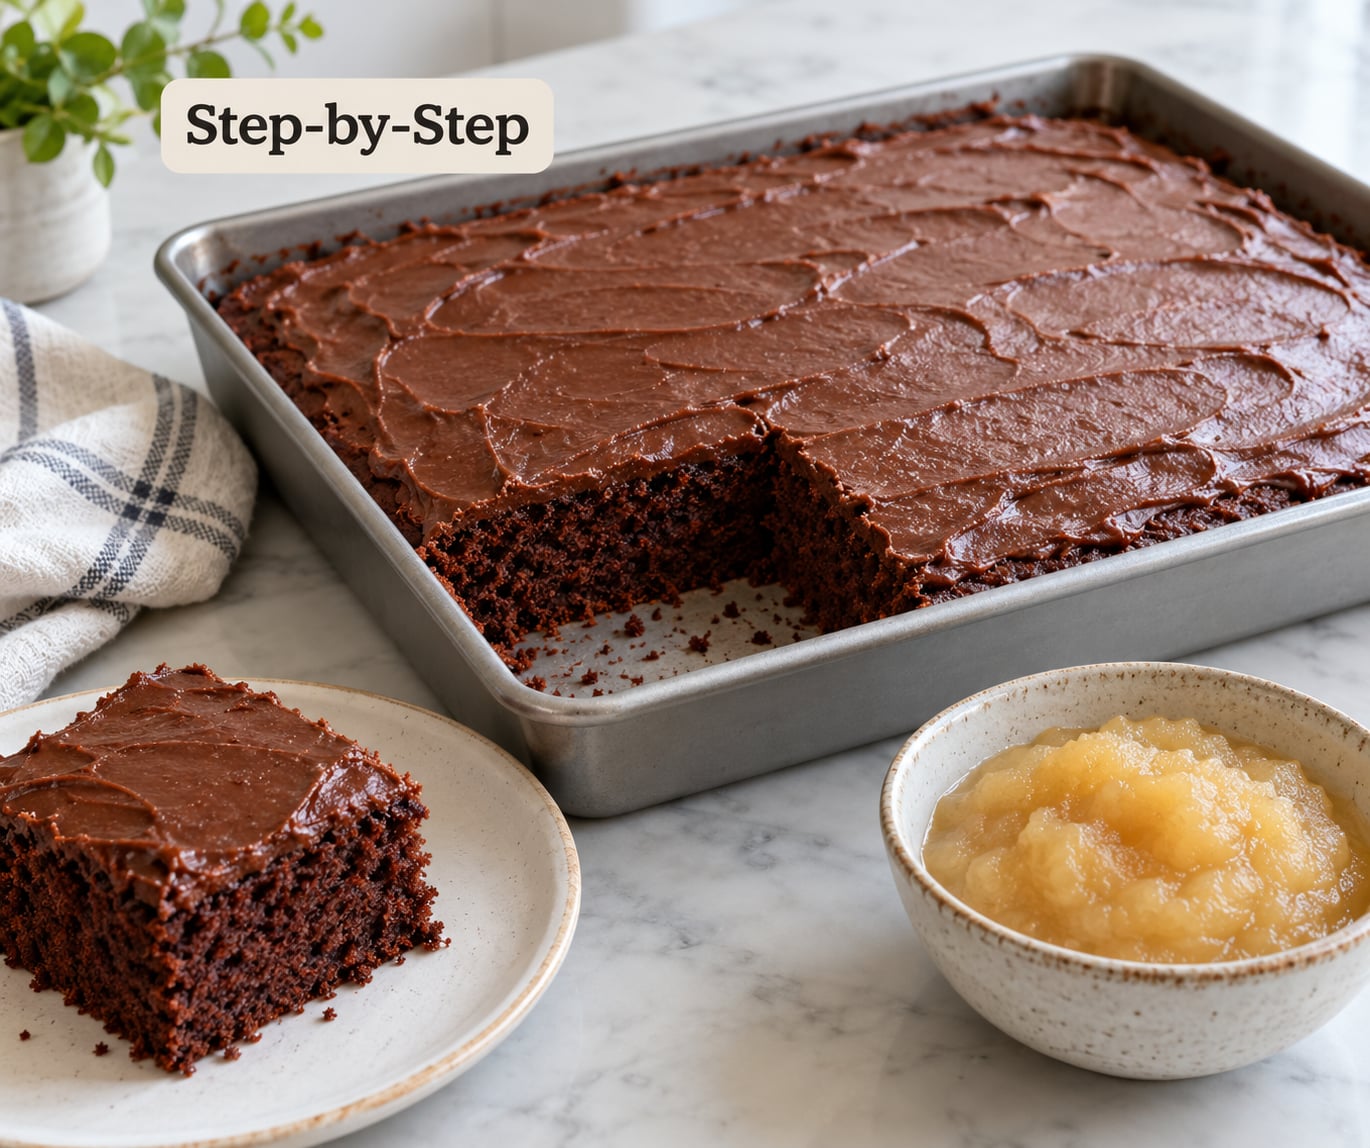
The process has five stages, and the moisture is won or lost across all of them. Most recipes only handle the first two well.
1. Choose Moistness-Friendly Ingredients
Fat and acid are what hold moisture in a crumb, and swapping one for the other is the simplest lever you have. Butter contributes flavor and a slightly firmer texture, while oil stays liquid in the baked crumb and gives you a softer, more tender result that lasts a day or two longer.
My favorite compromise is both: half the butter creamed with the sugar for flavor, and 1/2 cup of neutral oil added with the wet ingredients for staying power. Going past about 3/4 cup of oil in a 9×13 gets slick on the palate, and that is the point where more stops helping.
Acid matters just as much. Buttermilk, sour cream, and plain yogurt all bring acid that tenderizes the gluten and slows staling. A cup of buttermilk in place of milk is the swap bakers reach for most often, and it works.
Applesauce adds water and pectin but no fat, so use it for no more than a third of the oil. More than that and the cake turns gummy instead of moist.
2. Measure and Mix the Batter Carefully
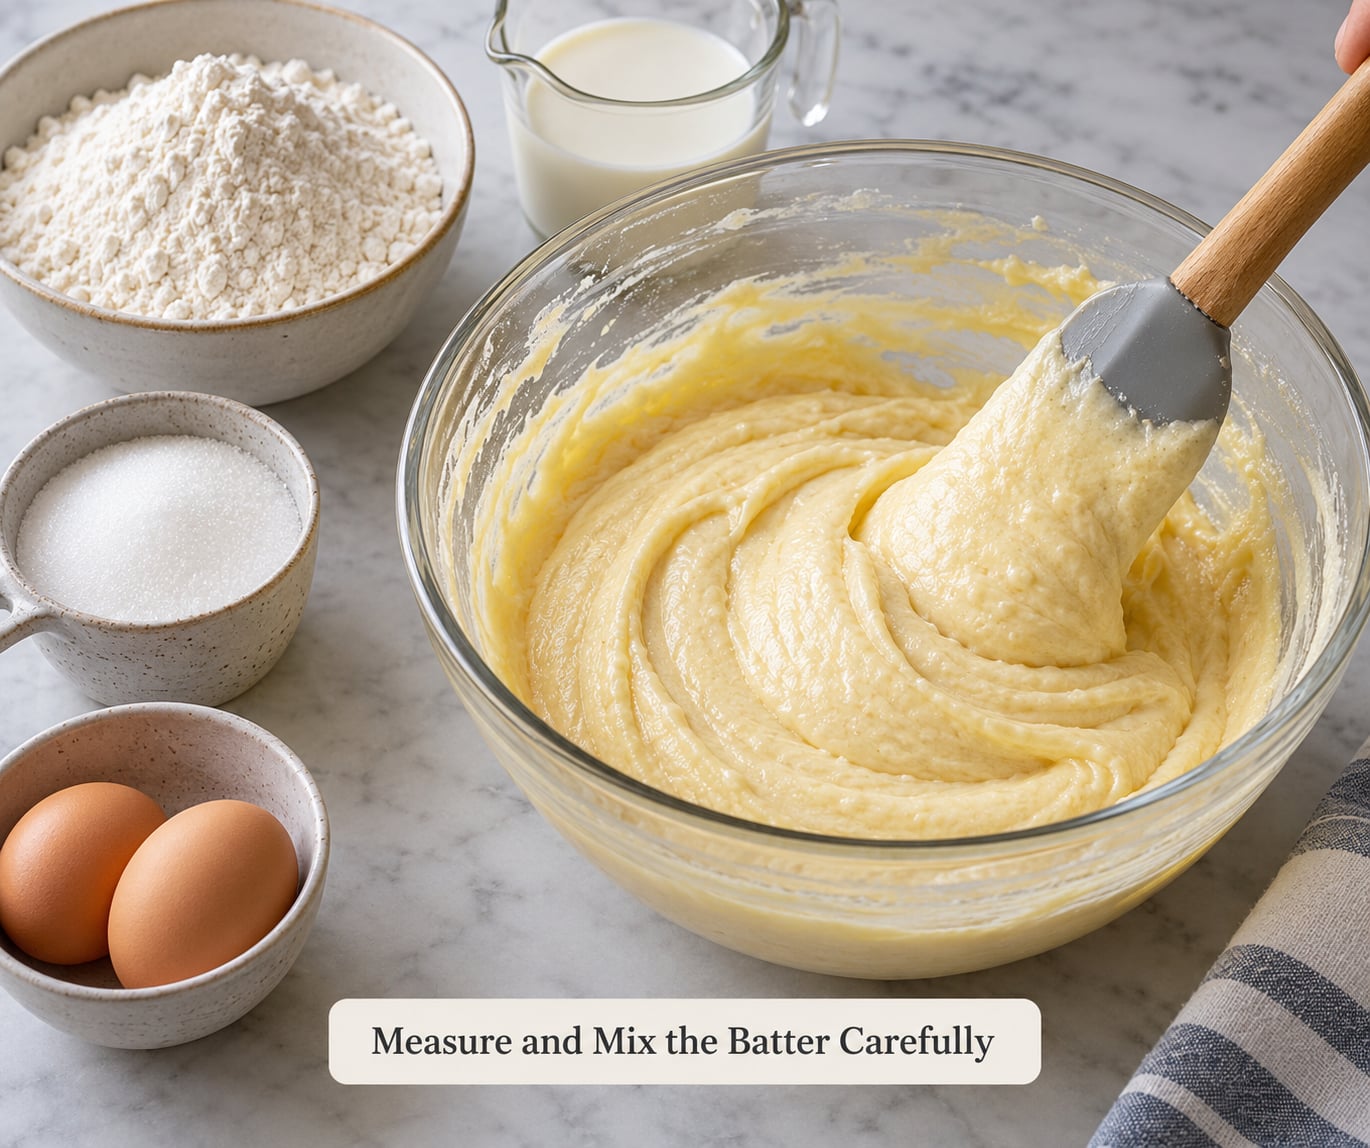
Stop mixing the moment the last streak of flour disappears, because overmixing develops gluten and the crumb turns tight and dry no matter how much fat is in the batter. This is the mistake people repeat without knowing it.
Spoon and level your flour rather than scooping it. A packed cup of all-purpose flour carries roughly 20 extra grams, and that much unabsorbed flour is a direct route to a dry cake.
Bring everything to room temperature first, around 70 to 75 F (21 to 24 C). Cold eggs and cold butter refuse to emulsify with the sugar, so you end up with pockets of fat and a denser crumb.
Use the ribbon test as your stop signal: lift the spatula and let the batter fall. A thick, slow ribbon that leaves a visible trail means you are done. A fast, thin stream means keep going.
3. Bake the Sheet Cake Until Just Done
Bake at 350 F (175 C) on the center rack for 28 to 34 minutes for a 9×13, and start checking at 26. Convection runs about 25 degrees cooler, so drop to 325 F (165 C) if you use it.
Grease the pan and dust the bottom and sides with flour, or line it with parchment. Skipping the flour dust means the cake grabs the metal and the edges tear off dry.
Dark metal pans run hotter than light-colored ones. If yours is dark, wrap the outside in a damp towel, or use cake strips, and the edges stay tender instead of over-baking while the center sets.
Test with a toothpick in the center and one in a corner. Come out clean or with a few moist crumbs, not wet batter. A toothpick test is about the only reliable doneness check; the timer on the box is a guess.
For a half sheet (13×18), expect 20 to 26 minutes. For a full sheet (18×26), drop to 325 F and give it 35 to 45 minutes, rotating once at the halfway point.
4. Keep Moisture In and Dryness Out
The step almost every recipe skips happens right after the oven. Wait 10 to 15 minutes, then wrap the whole pan tightly in plastic wrap while the cake is still warm enough to steam.
That trapped steam condenses back into the crumb instead of escaping into your kitchen, and it is the single highest-impact step on this whole page. A cake wrapped warm will still taste fresh three days later.
You can also add moisture directly. A cooled cake takes a light brush of simple syrup, a spoon of apricot or strawberry jam thinned with a teaspoon of water, or a drizzle of honey-water. Use restraint: more than a light coat turns the crumb damp and gummy.
Frosting works the same way. American buttercream and cream cheese frosting applied to a barely warm cake seal the surface; frosting a completely cold cake leaves the crumb exposed to the air.
5. Cool, Frost, and Store the Cake
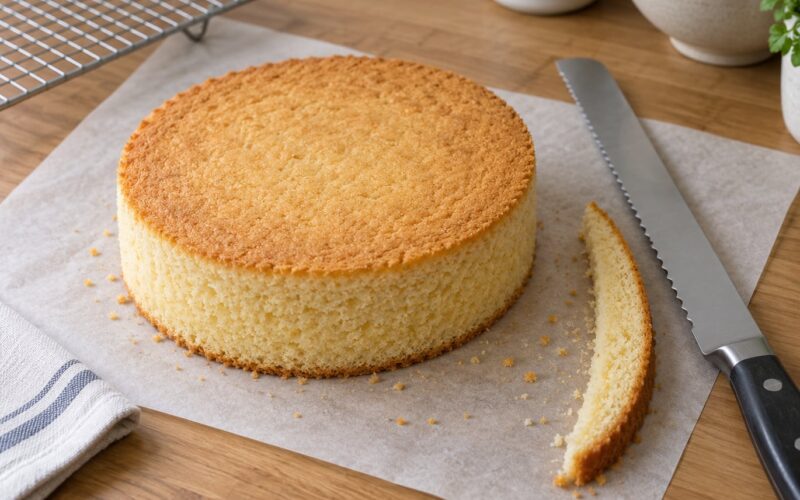
Cool on a wire rack in the pan for 10 to 15 minutes, run a knife around the edges, and turn it out. Full cooling takes 60 to 90 minutes in a 9×13. Cutting it sooner tears the crumb and makes the cake look dry even when it is not.
Once cool, wrap the undecorated cake in plastic wrap or foil, or set it in an airtight container. Frosted cakes hold moisture well on the counter for about two days at cool room temperature.
Skip the refrigerator unless you are serving the cake cold. Refrigeration dries the crumb out fast, which is why a chilled sheet cake often tastes worse than a room-temperature one.
For longer storage, freeze the undecorated cake in foil or wrap for up to three months. Thaw it in the fridge overnight with the wrapping still on, then frost it.
Common Mistakes
Nearly every dry sheet cake has one of these seven causes, and they are all fixable on the next bake.
Overmixing the batter. Gluten development is the reason a cake feels tough and dry in the mouth. Mix until the flour is just incorporated, then scrape the bowl once and stop.
Baking past doneness. Moisture leaves the cake steadily after the center sets, so every extra minute costs you. Start testing five minutes early and trust the toothpick over the clock.
Scooping flour instead of spooning it. A packed cup adds about 20 g of dry flour that your liquid was never measured to absorb. Spoon, level, and use a rimmed straightedge if you scoop.
A hot or dark pan. The edges crisp and dry before the middle sets. Use light-colored aluminum, drop the temperature 25 degrees, or wrap the pan in a damp towel.
Too much added liquid. Extra oil past about 3/4 cup in a 9×13, or more than a third of the oil replaced with applesauce, produces a slick or gummy crumb. More is not better here.
Leaving the cake uncovered. A baked sheet cake sitting on the counter starts losing moisture within hours. Wrap it in the 10 to 15 minute window and the problem disappears.
Cutting too early. A cake cut warm or barely cool tears and reads as crumbly. Wait the full 60 to 90 minutes, and serve butter cakes at room temperature rather than cold.
Frequently Asked Questions
What is the best oil for a moist sheet cake?
A neutral, unflavored oil such as canola, sunflower, grapeseed, or vegetable oil works best, because it adds moisture without changing the flavor. Avoid olive oil unless you want a distinctly fruity, savory note, and avoid coconut oil above about 1/2 cup in a 9×13, since it solidifies in a cool kitchen and can make the crumb feel waxy. Use about 3/4 cup in place of 8 tablespoons of butter, or split it and use both.
Can I use applesauce instead of some of the butter?
Yes, and it is one of the oldest tricks in home baking. Replace no more than a third of the fat with unsweetened applesauce, which for a 9×13 works out to about 1/4 cup against 1/2 cup of oil. Applesauce brings water and pectin but no fat, so the cake stays tender while tasting slightly less rich. Go past a third and the crumb turns damp and gummy rather than moist.
Why is my sheet cake dry after baking?
Four causes account for nearly every case: the batter was mixed too long, which develops gluten and tightens the crumb; the cake was baked several minutes past the point where the center set; the flour was scooped rather than spooned and level, adding extra dry flour; or the pan was dark metal and cooked the edges before the middle finished. A fifth cause happens after the oven, when the cake sits uncovered on the counter instead of being wrapped within 10 to 15 minutes.
Should I cover a sheet cake while it is still warm?
Yes, and this is the step that changes the texture most. Wait 10 to 15 minutes after the pan leaves the oven, then wrap the whole pan tightly in plastic wrap. The escaping steam is trapped and condenses back into the crumb instead of drying out. Wrapping immediately while the cake is piping hot traps so much moisture that the surface can turn slick, so give it those few minutes first.
How do I keep a sheet cake moist overnight?
Wrap the cooled cake tightly in plastic wrap, or place it in an airtight container, and keep it at cool room temperature out of direct sun. Frosted American buttercream or cream cheese frosting forms its own seal and needs less wrapping. Do not refrigerate it unless you intend to serve it cold, because refrigerated crumb loses moisture quickly. If the event is the next day, the overnight wrap plus a late frosting job is the whole strategy.
Can I freeze a sheet cake to preserve it?
Yes, and an undecorated sheet cake freezes very well. Let it cool completely, wrap the whole pan or the cake itself in two layers of foil or plastic wrap, then freeze for up to three months. Thaw it overnight in the refrigerator with the wrapping still on so condensation stays outside the crumb, then frost and decorate. Cream cheese frosting travels poorly from the freezer, so freeze the cake plain and frost it after thawing.
If you change only one thing on your next bake, wrap the pan in plastic wrap 10 to 15 minutes after it leaves the oven. It takes almost no effort, and it does more for a moist sheet cake than anything that happens inside the mixing bowl.