You can make custard base ice cream without an ice cream maker. Cook an egg-yolk custard to about 160 F (71 C), chill it completely, then freeze it in a shallow pan and stir it as it sets. Hands-on time is roughly 30 minutes; the rest is waiting.
The reason to cook the eggs at all is texture. Yolks do three jobs in one: they thicken the dairy, they act as an emulsifier that keeps fat and water from separating, and they slow the melt so the finished scoop stays creamy in the bowl instead of turning to soup. Skip them and you get a plain frozen dairy mix that is edible but flat.
I make a four-cup batch roughly once a month, and the part people get wrong is almost never the recipe. It is the heat, the chill, and the freeze. Get those three right and the rest is forgiving.
Table of Contents
- What You Need
- The base ratio at a glance
- What each component does
- Equipment
- Simple substitutions
- Step-by-Step: How to Make Custard Base Ice Cream
- Step 1: Whisk the egg yolks, sugar, and milk
- Step 2: Cook the custard base
- Step 3: Cool and chill the base thoroughly
- Step 4: Freeze the custard base ice cream in a shallow container
- Step 5: Store and serve
- Common Mistakes
- Frequently Asked Questions
- Can I make custard base ice cream without an ice cream maker?
- Why is my custard ice cream grainy?
- How long should I cook the custard base?
- How long does homemade custard ice cream take to freeze?
- Can I freeze custard ice cream in a shallow container?
- How do I keep homemade ice cream from becoming icy?
- Conclusion
What You Need
This is a small-batch formula: four cups of dairy finished, about one quart of ice cream once churned or frozen. Weigh your sugar if you can, because volume measures drift and sugar is doing structural work here, not just sweetening.
The base ratio at a glance
For a 1-quart custard base use 6 large egg yolks and 3/4 cup (150 g) of sugar. Scale from that line:
| Total dairy | Large yolks | Sugar | Heavy cream | Whole milk |
|---|---|---|---|---|
| 2 cups (480 ml) | 3 | 1/2 cup (100 g) | 1/2 cup | 1 1/2 cups |
| 4 cups (960 ml) | 6 | 3/4 cup (150 g) | 1 cup | 3 cups |
| 8 cups (1.9 l) | 12 | 1 1/2 cups (300 g) | 2 cups | 6 cups |
Note what stays fixed when you double: the yolks and sugar double with the dairy. Beginners often scale the dairy and then hold the eggs steady, which gives you a thin base that freezes like a milk drink.
What each component does
- Egg yolks thicken, emulsify and slow melting. They are the whole point of a custard base.
- Heavy cream supplies fat and a little structure. Fat is what makes the ice cream dense rather than light and fluffy.
- Whole milk adds liquid and milk solids without making the mix so heavy it freezes like fudge.
- Granulated sugar sweetens and, crucially, lowers the freezing point so the mix stays scoopable at a colder temperature.
- Vanilla extract and kosher salt for balance. The salt is not optional in my book; it makes the dairy taste more like itself.
Equipment
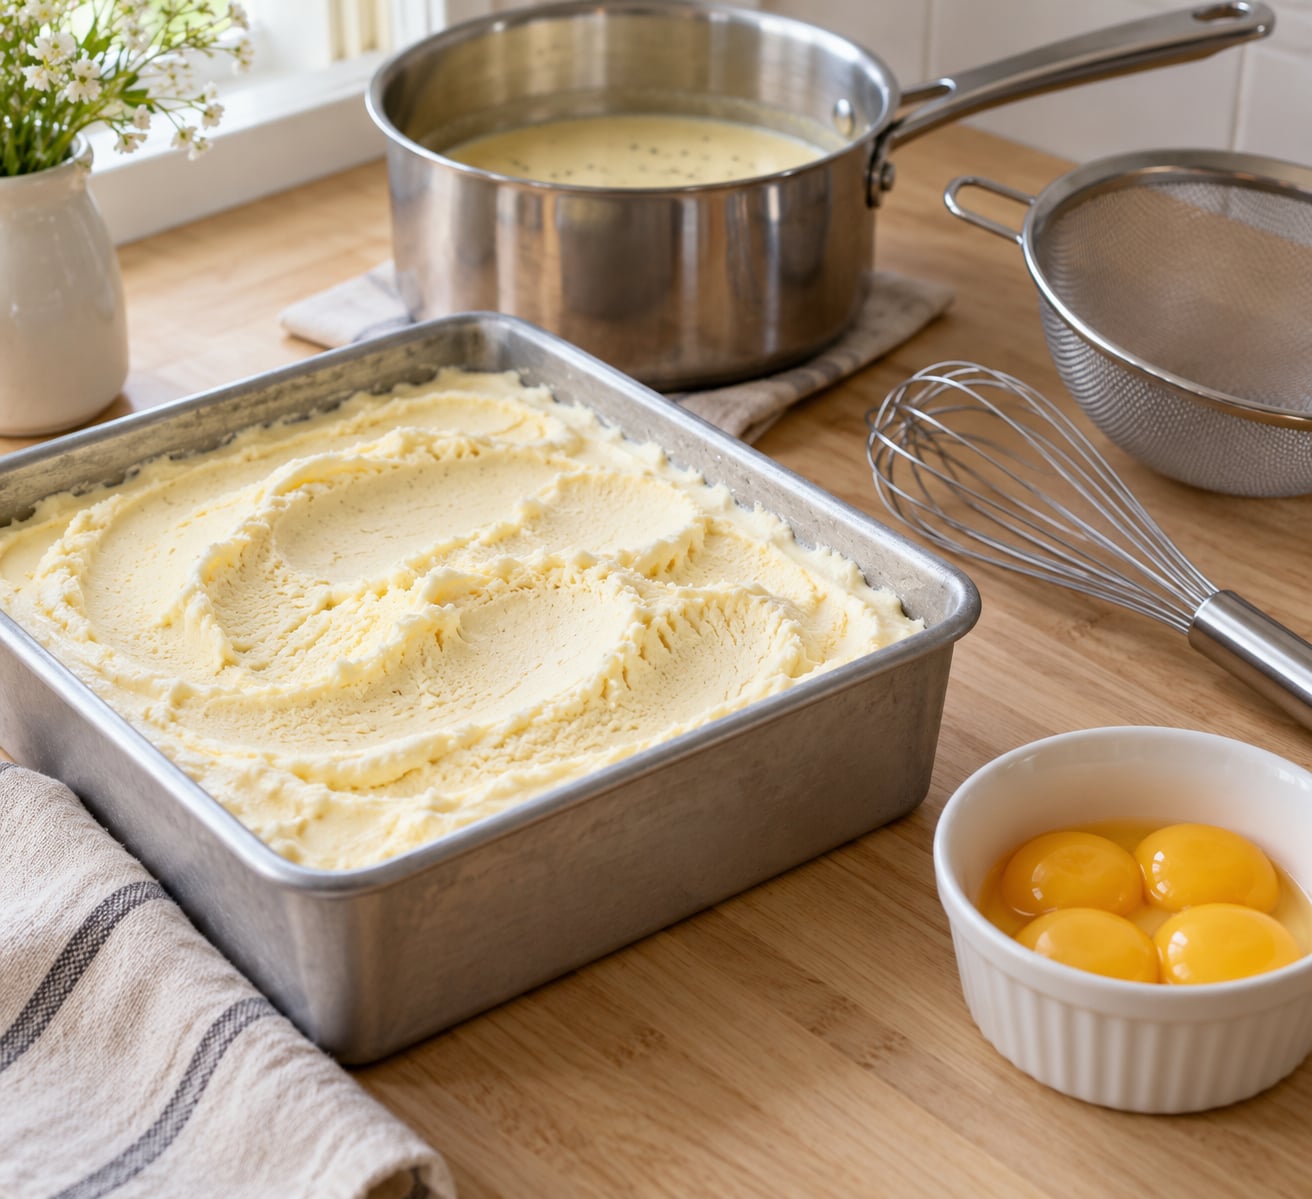
A heavy-bottomed saucepan, a whisk, a fine-mesh strainer, a thermometer you trust, a shallow 8-inch square or 9-inch round pan, and a spatula or fork. The strainer matters more than it looks like it should; any cooked egg bits that slip through read as scrambled egg in the finished bowl.
Simple substitutions
Half-and-half for some or all of the milk makes the result lighter but icier, since it carries less fat. Swapping the heavy cup entirely for whole milk gives a dairy-light version that is noticeably less rich; many people like it more than they expect. Replacing three or four tablespoons of the milk with nonfat dry milk powder adds solids without cream and thickens a lean base.
For an egg-free base, whisk one tablespoon of cornstarch with two tablespoons of the cold milk, cook it into the dairy, and let it bubble a full minute. You lose the emulsifying richness and get a cleaner, icier result. A tablespoon of glucose or corn syrup is the other option: it does not thicken, but it solubilizes sugar into the water phase, which measurably shrinks ice crystals.
Keep one rule when you substitute: dairy stays dairy and eggs stay eggs. If you change both, you are making a different dessert and the ratios above no longer apply.
Step-by-Step: How to Make Custard Base Ice Cream
Step 1: Whisk the egg yolks, sugar, and milk
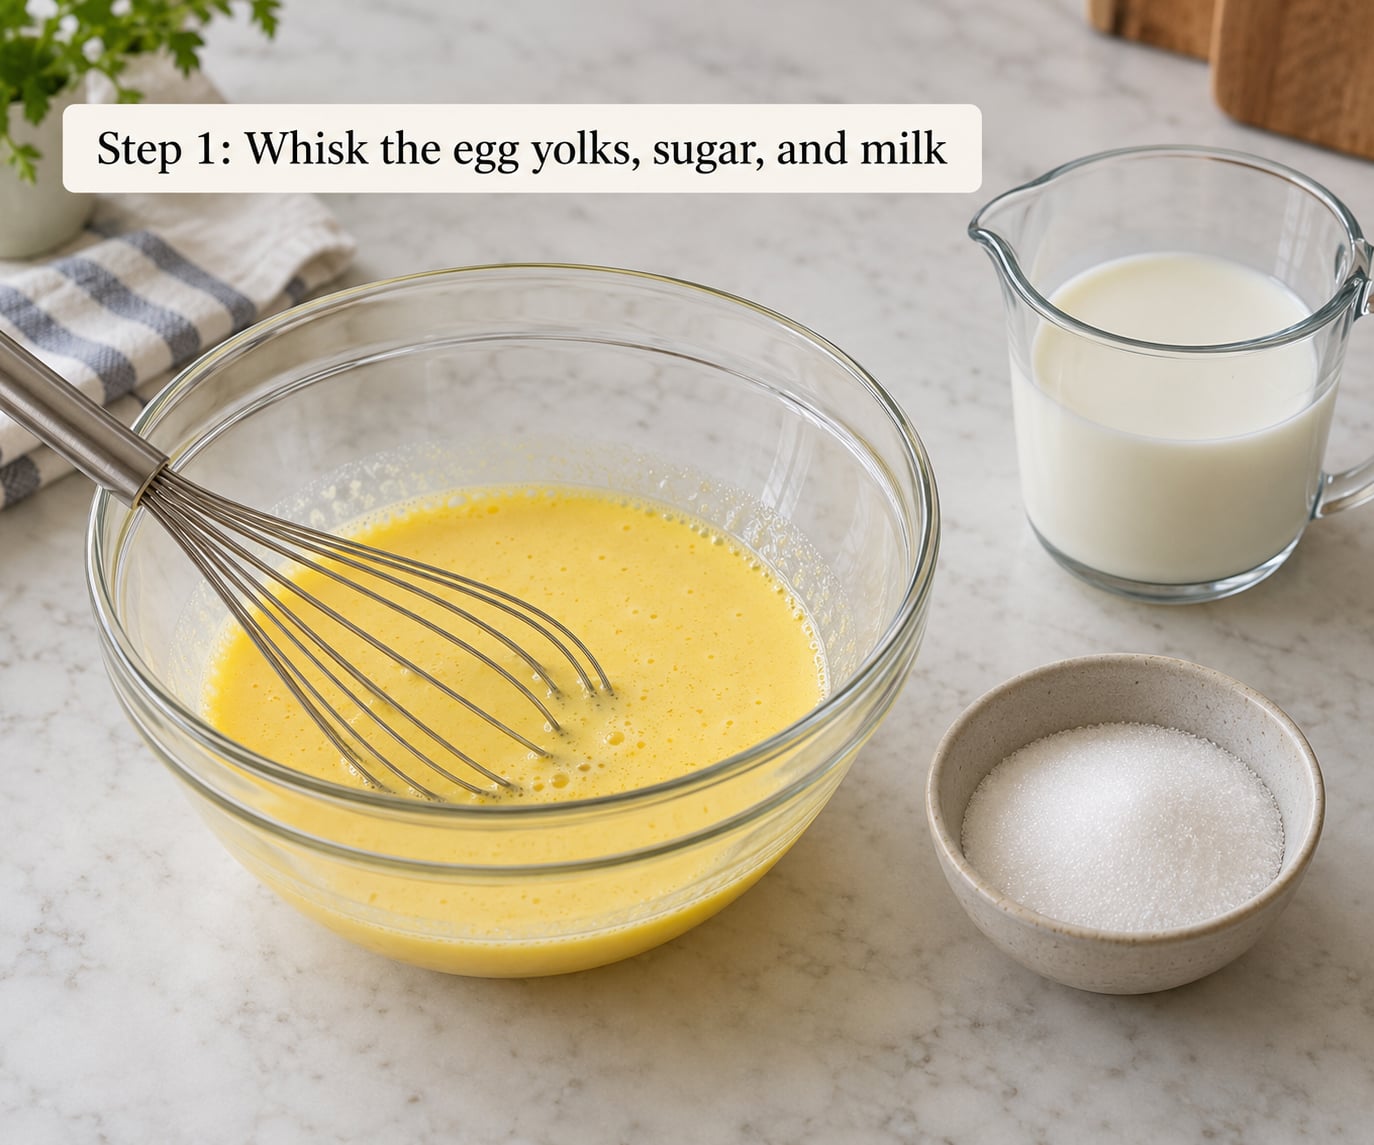
Whisk the yolks and sugar together in a bowl until the mixture turns from yellow to pale lemon and the sugar has mostly disappeared into it. Scrape the bottom of the bowl, because sugar hides there.
Add about half a cup of the cold whole milk and whisk again until completely smooth. This is the single easiest way to avoid lumps: a thin, already-diluted yolk mixture can absorb hot dairy gently, where a thick one seizes and goes grainy.
You are looking for a uniform, glossy pale-yellow liquid with no grainy patches at the bottom of the bowl. Hold the bowl up to the light and check for flecks before you heat anything.
Step 2: Cook the custard base
Warm the milk and cream together in the saucepan until you see steam and a few small bubbles at the edge, around 160 to 170 F. Do not boil it. This step is called scalding, and its only job is to raise the temperature of the dairy enough that the yolks thicken quickly when they meet it.
Set the bowl over medium-low heat. Pour a ladleful of the hot dairy into the yolk mixture and whisk hard until fully incorporated, then return the whole mixture to the saucepan. Add the rest of the hot dairy a ladle at a time, whisking constantly. This is tempering, and it is the step that prevents scrambled eggs; pouring all the hot dairy in at once is what makes people give up on custard.
Now cook the mixture, stirring slowly and often so nothing catches on the bottom, until it reaches about 160 F (71 C). If you have no thermometer, use the two cues that actually work. Drag a finger across the bottom of the pan and leave a clean line that stays visible for a second or two. Or run a spatula through the custard and watch it leave a thin trail that closes slowly; a fat, immediate clean break means you have gone too far.
Once it is thickened, pull the pan off the heat and strain it through a fine-mesh strainer into a clean container, pressing gently on the solids to catch the good custard. Scrape the solids out of the strainer only if you are prepared to eat them, because they are now set egg.
Step 3: Cool and chill the base thoroughly
Let the strained custard cool on the counter for 20 to 30 minutes, stirring occasionally so the surface does not skin over. Then refrigerate it, covered, until it is thoroughly cold. A warm base churned into a freezer will freeze into something with the texture of frozen concrete.
Plan on four hours minimum, and overnight is better. The yolks need cold time to hydrate and relax after cooking; this maturation step is why a day-old base usually churns into a smaller, smoother crystal structure than a fresh one.
Touch the surface and press a finger into it. It should feel cold and dense, not merely cool. Press a strip of plastic wrap straight onto the surface before you put it in the refrigerator and you will not come back to a dry, rubbery skin.
Step 4: Freeze the custard base ice cream in a shallow container
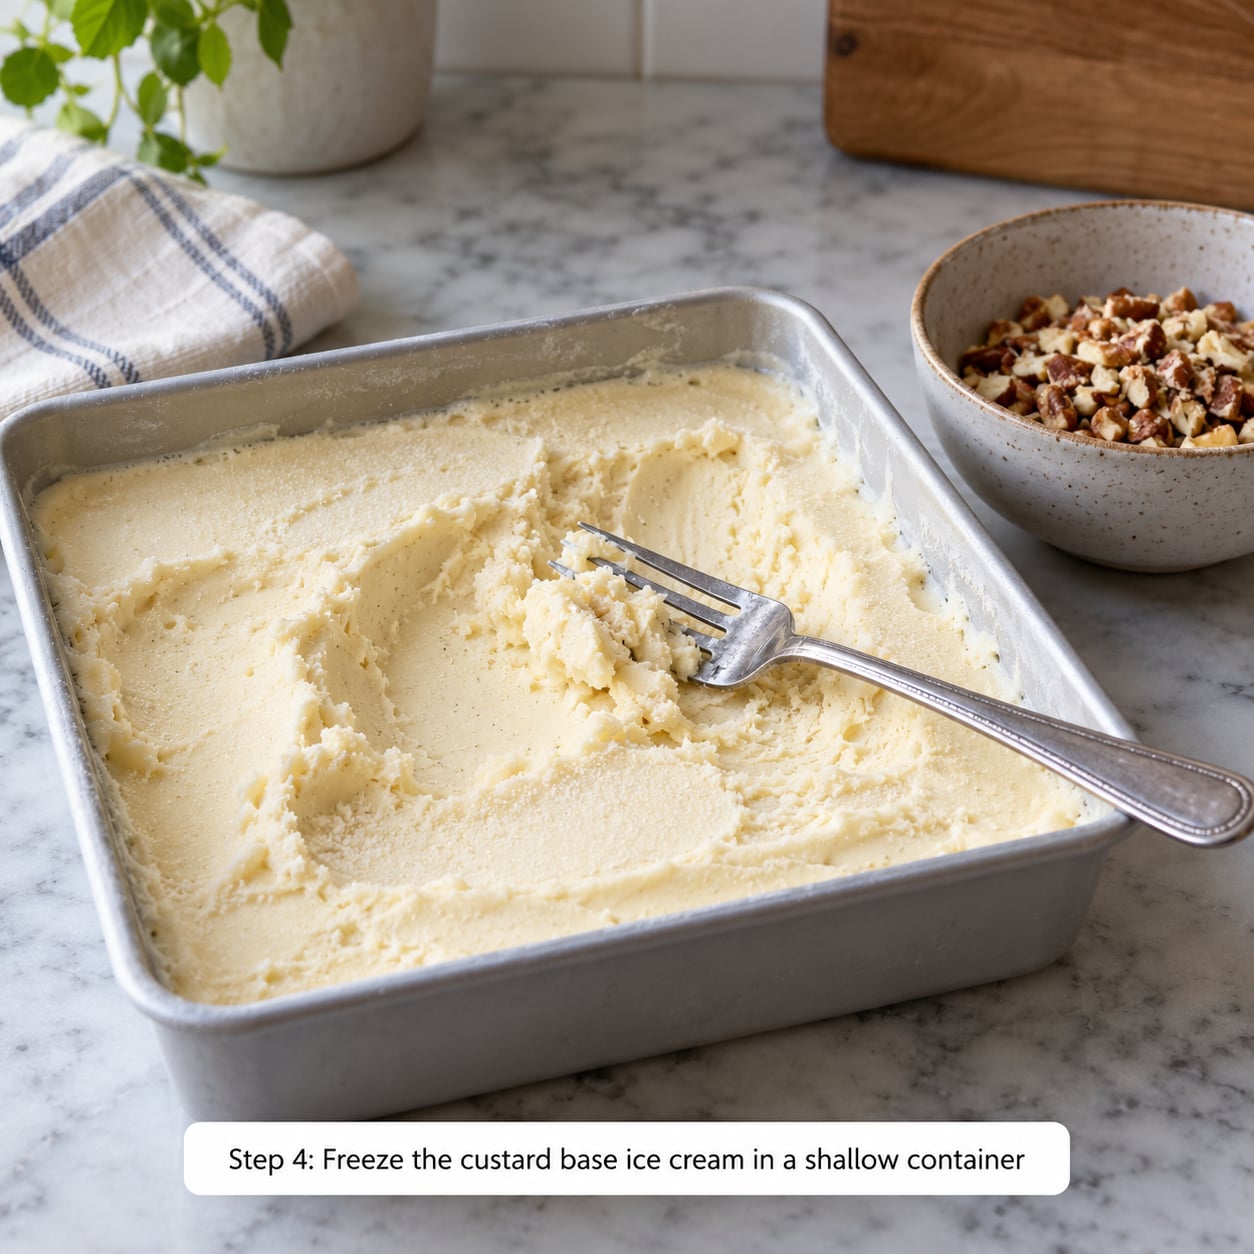
This is the no-machine method, and it works because you are substituting small manual passes for the dasher. Scrape the cold custard into a shallow pan, about half an inch deep. Depth is the enemy here; a two-inch-deep pan simply freezes solid in the middle while the edges stay slushy.
Freeze for 30 minutes, then take it out and scrape the partially frozen base down the sides of the pan with a spatula or the back of a fork, breaking up the first crystals. Return it to the freezer for another 30 minutes and repeat. Three or four passes over two hours is the usual rhythm.
As you work, the texture changes in a recognisable order: slushy and loose, then spoonable soft serve, then firm enough that a spoon leaves a clean trench. Stop when it holds its shape and you can scoop a rough ball that slumps only slightly. It will firm up further in the freezer.
If you do own a machine, the same base works there: pour it into the machine with the dasher turning and churn until it stops looking like liquid and starts to look like soft serve, usually 20 to 30 minutes, then transfer to a container and harden in the freezer for a few hours.
Step 5: Store and serve
Move the finished ice cream to a lidded container that seals well, and press a sheet of parchment or plastic wrap onto the surface before the lid goes on. Ice cream takes on freezer odors quickly, and that exposed surface is where both the odors and the hard frost come from.
Expect it to stay good for one to two weeks in the freezer, with the best scoops in the first week. If you need to keep it longer, freeze it in a bag with the air squeezed out, which slows freezer burn noticeably.
Pull it out five to ten minutes before scooping. Cold custard ice cream straight from the freezer will chip and crack the spoon; a few minutes of softening brings it back to the dense, slow-melting texture the whole yolk base was supposed to deliver. Good alongside something sharp and acidic, like poached rhubarb or a lemon curd.
Common Mistakes
Most failures trace back to one of four things: too much heat, too little chilling, too little fat, or not enough stirring during the freeze. Work down this list before you change anything else in the recipe.
| Symptom | Likely cause | Fix |
|---|---|---|
| Scrambled egg curds in the base | Hot dairy added too fast, or the pan reheated after the eggs set | Temper a ladle at a time over low heat; strain the finished custard through a fine-mesh sieve |
| Grainy, curdled texture | Overcooked past about 180 F | Pull it at 160 F, or trust the clean break on the back of a spoon rather than a timer |
| Base is thin and watery | Not enough yolks for the dairy volume, or not enough cooking time | Use the ratio table and cook to temperature; a thin base cannot be rescued later |
| Icy, hard, crunchy ice cream | Base churned or frozen while warm, or too little fat and sugar | Chill fully, return to the maker and churn again, or add 2 tablespoons of glucose or corn syrup |
| Icy texture even when everything was done right | A sweetener that does not depress the freezing point, or repeated melting and refreezing | Use real granulated sugar and move the container around as a solid block rather than scooping it out |
| Gummy, doughy mouthfeel | Too much egg, or an over-thickened base | Drop to 5 yolks per 4 cups of dairy, or dilute with a little warm milk before cooking |
| Frozen solid in the centre of the pan | The pan was too deep | Spread the base no deeper than half an inch and stir on the shorter schedule |
| Eggy, farmy flavour | The custard cooked in a scorched pan or the base sat uncovered and picked up cooked-egg notes | Stir constantly on medium-low heat, cover it, and refrigerate it the same day |
One more thing worth knowing: a sugar substitute will not behave like sugar here. Granulated sugar depresses the freezing point, and most substitutes do not, so the ice cream comes out noticeably harder and icier. If you want to reduce sugar, cut the real sugar by a quarter rather than replacing it entirely.
And save the whites. Six yolks per quart leaves six whites behind, which is a problem worth planning around rather than discovering on freezing night. They freeze beautifully into a meringue, make angel food cake, or go into macarons for about the same amount of time.
Frequently Asked Questions
Can I make custard base ice cream without an ice cream maker?
Yes, and the custard base is actually well suited to it. Chill the cooked base overnight, spread it about half an inch deep in a shallow pan, then freeze for 30 minutes at a time, scraping and stirring down to the bottom of the pan between each pass. Three or four passes over roughly two hours turns the slush into something that scoops. You trade away some overrun, so it will be denser than churned ice cream.
Why is my custard ice cream grainy?
Graininess in a custard base almost always comes from heat, not from freezing. Either the hot dairy went in too quickly and shocked the yolks into tiny set bits, or the custard was cooked past roughly 180 F and tightened further as it cooled. Whisk the hot dairy into the yolks a ladle at a time, keep the burner low, pull the pan at 160 F, and pass the finished base through a fine-mesh strainer before it chills.
How long should I cook the custard base?
From the moment you return the tempered mixture to the pan, expect 5 to 10 minutes on medium-low heat. The real test is thickness, not time. At about 160 F a finger drawn across the bottom of the pan leaves a clean line that lingers, and a spatula drawn through the custard leaves a thin trail that closes slowly. Both cues beat the clock, which varies with how heavy your pan is.
How long does homemade custard ice cream take to freeze?
Allow a full day from start to finish. Cooling takes 20 to 30 minutes, chilling in the refrigerator takes at least 4 hours and is better overnight, and the pan-freezing method needs another 2 to 3 hours with stirring passes in between. An overnight rest in the freezer after churning firms it up further and deepens the flavour, which is why many people make it the day before they plan to serve it.
Can I freeze custard ice cream in a shallow container?
That is the method to use if you have no machine. Keep the layer thin, about half an inch, so the middle never freezes solid while the edges stay slushy. Freeze in short 30-minute intervals rather than one long session, and scrape the sides and the bottom each time to break up crystals as they form. A wide shallow container beats a deep tub for exactly this reason.
How do I keep homemade ice cream from becoming icy?
Ice crystals form when the base freezes too fast and when sugar is missing. Chill the base thoroughly before churning, and pre-chill it until it just starts to set, which gives the dasher something to work against. Real granulated sugar lowers the freezing point and keeps it in play; a couple of tablespoons of glucose syrup goes further. Maturing the finished ice cream in the freezer for several hours before scooping also helps the crystals settle into a smaller, smoother size.
Conclusion
How to make custard base ice cream without a machine comes down to three things in order. Temper the yolks slowly so they stay emulsified, cook the custard only to 160 F or to a clean break on the back of a spoon, and chill the base fully before you freeze it. Then spread the cold custard half an inch deep in a shallow pan and stir it down every 30 minutes for a couple of hours.
Start tonight. The cooking takes under half an hour, the chilling runs overnight, and you will have a quart of real custard ice cream in the freezer the next afternoon with nothing more exotic than a saucepan and a sieve.
One safety note worth repeating: because the eggs are cooked, this base is suitable for pregnant readers, older adults and anyone with a weakened immune system, unlike a raw-egg no-churn mix. Keep the cooked base refrigerated at or below 40 F (4 C) if you are holding it for more than a few hours before freezing.