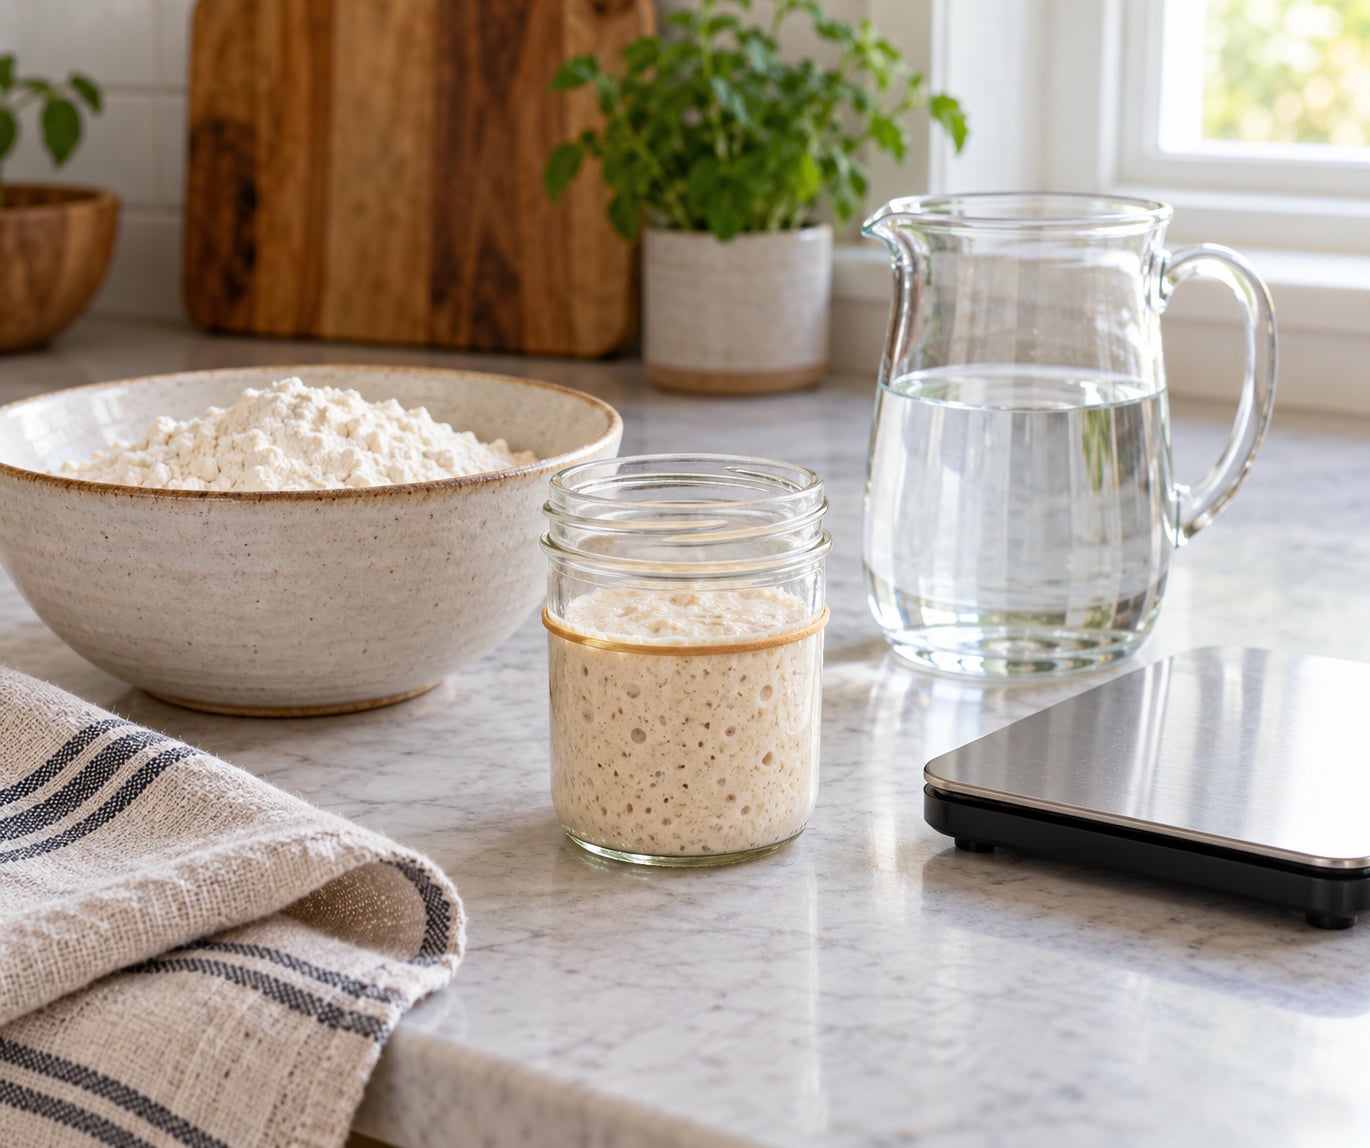
Knowing how to feed a sourdough starter on a schedule comes down to three numbers: how much starter you keep, how much flour and water you add back, and how many hours pass before you do it again. Most home bakers land on one routine — feed every 12 hours at 21-24C (70-75F), every 24 hours in a cooler kitchen, or once a week when the starter lives in the refrigerator. Pick the cadence that matches how often you bake, then adjust the ratio rather than the clock. The whole routine takes about five minutes and once you set it, you stop guessing.
I keep mine on the fridge and bake on weekends, which means one feed a week plus a feed the night before a bake. My first year I was feeding twice a day and worrying about it constantly. The switch to a set schedule took about a week and my bread has been better for it, because I finally know what the starter is doing at any hour of the day.
Table of Contents
- What You Need to Feed a Sourdough Starter
- Step-by-Step: How to Feed a Sourdough Starter on a Schedule
- How to Choose a Feeding Schedule
- How to Measure the Flour and Water
- How to Feed the Sourdough Starter at the Right Time
- How to Store the Starter Between Feedings
- How to Adjust After Missing a Feeding
- Common Mistakes and How to Fix Them
- Frequently Asked Questions
- How long should I wait between feedings for my sourdough starter?
- What does a hungry starter look like?
- How do I feed sourdough starter from the fridge without a scale?
- How do I know when my starter is ready?
- How long can a sourdough starter go without feeding in the fridge?
- Do I need to feed my sourdough starter every day?
- Conclusion
What You Need to Feed a Sourdough Starter
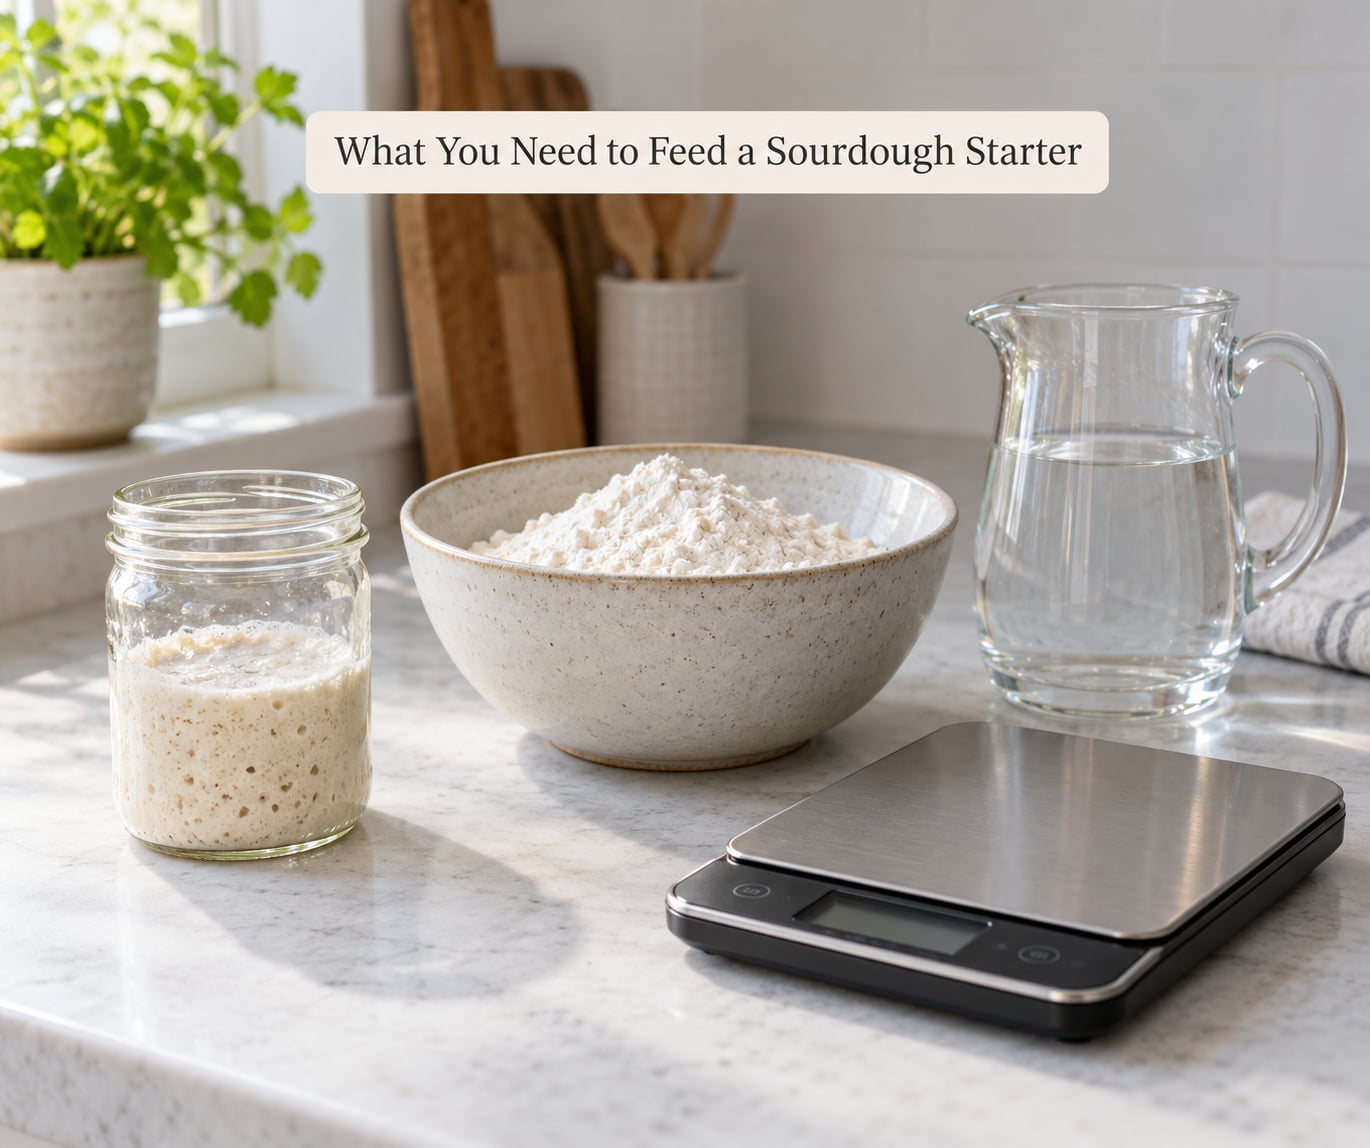
None of this is gear you need to buy. A scale helps a lot, but the whole routine works with measuring cups if that is all you have.
- A straight-sided glass jar, roughly 500ml to 1L. Wide mouth and flat sides let you watch the rise and clean the sides. A plastic tub also works; the jar is simply easier to read.
- A lid or ring that lets gas out but keeps debris out. A lid resting slightly ajar, a hinged clamp jar, or a rubber band and a piece of cloth over the top.
- A rubber band to mark the starting level. This is the cheapest and most useful tracking tool on this list, and plenty of people on sourdough forums swear by it.
- A kitchen scale that reads down to 1g. Optional, but it takes the guesswork out of every feed.
- Flour. Plain unbleached all-purpose or bread flour works. Whole rye or whole wheat speeds things up because the bran carries more wild yeast and bacteria.
- Water at room temperature, ideally filtered or left out overnight so any chlorine dissipates.
- A fridge thermometer, only if you bake in summer. Cadence is mostly a temperature decision.
- A notebook or phone note to log the ratio, the kitchen temperature and the time. Three lines per feed, and within a month you will know your starter better than any chart says.
Keeping a small discard jar in the fridge is worth the extra container. Every feed produces some, and pouring it straight into the bin is the reason people feel guilty about feeding.
Step-by-Step: How to Feed a Sourdough Starter on a Schedule
How to Choose a Feeding Schedule
Match the cadence to how often you bake and how warm your kitchen is, not to a schedule you found online. A mature starter at room temperature is happy on a once-daily feed with a larger ratio. A brand-new starter needs twice-daily feeds with a small ratio until it doubles reliably.
| How often you bake | Where it lives | Feed cadence | Ratio (starter:flour:water) | Rise time at 21-24C |
|---|---|---|---|---|
| Most days | Counter | Every 12 hours | 1:1:1 | 4-6 hours |
| Every other day | Counter | Every 24 hours | 1:1:1 or 1:4:4 | 6-12 hours |
| Once a week | Refrigerator | Every 7 days | 1:5:5 before baking | 12-24 hours on the counter |
| Twice a week | Refrigerator | Every 3-4 days | 1:2:2 | 8-12 hours once revived |
| New or weak starter | Counter, warm spot | Every 12 hours | 1:1:1 | 6-12 hours |
| Kitchen above 24C (75F) | Counter, cool corner | Every 12 hours | 1:1:1 | 3-5 hours |
Now the clock. Bakers working a normal schedule feed at a fixed pair of times, usually before bed and before leaving the house. An 8pm and 8am rotation is popular because both ends of the day are already habits. My version is 9pm and 9am, purely because it fits around my day.
If your hours are irregular, a single daily feed works fine. Feed every morning at a set time with a heavier ratio such as 1:5:5 and the starter stays strong. Shift workers on r/Sourdough report the same pattern — one feed at a fixed point in the shift, with a bigger ratio doing the work that two feeds would otherwise do.
Season shifts matter as much as your calendar. In a kitchen sitting above 24C, a 24-hour gap can turn into a 6-hour fermentation, and you will come back to a collapsed jar and a layer of hooch. Feed twice a day through the hot months, and drop back to once a day in winter.
How to Measure the Flour and Water
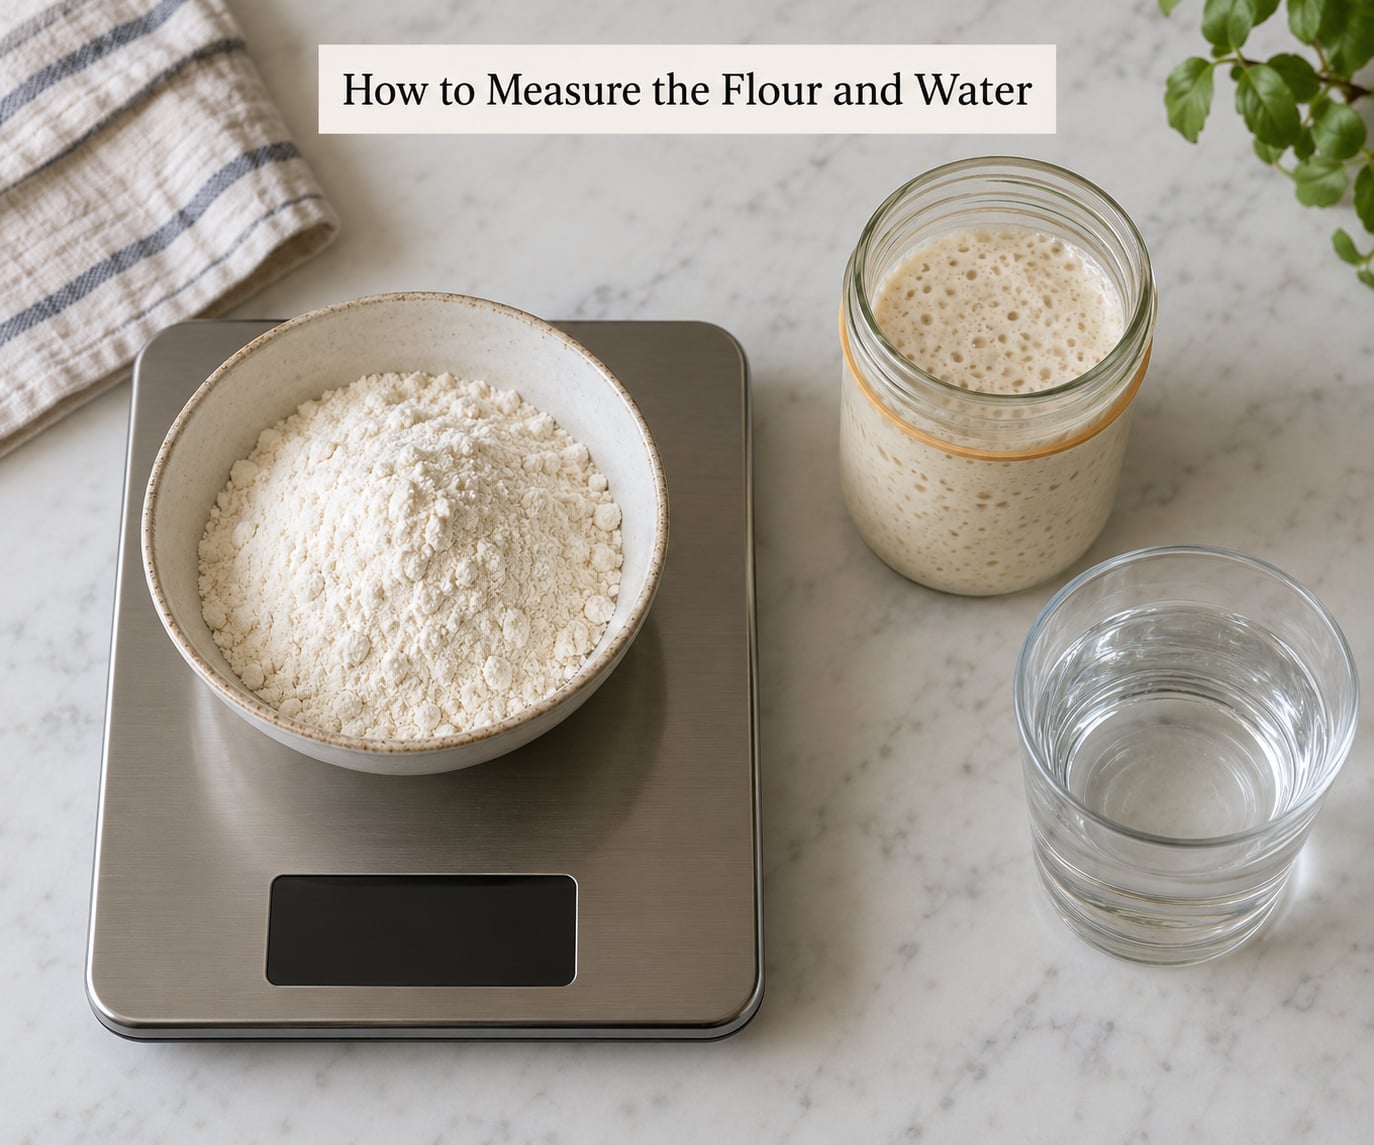
The ratio is written starter to flour to water. You always remove some starter before adding fresh flour and water, because otherwise your jar fills with more starter every feed. The standard starter-feeding ratio is 1:1:1, which means 50g of starter, 50g of flour and 50g of water.
| Ratio | Starter you keep | Flour | Water | Usable as a levain | Amount for 100g starter kept |
|---|---|---|---|---|---|
| 1:1:1 | 50g | 50g | 50g | Fast, about 4-6 hours | 100g flour, 100g water |
| 1:2:2 | 50g | 100g | 100g | Slower, about 6-8 hours | 200g flour, 200g water |
| 1:4:4 | 50g | 200g | 200g | Long, about 10-12 hours | 400g flour, 400g water |
| 1:5:5 | 50g | 250g | 250g | Longest, 12-24 hours | 500g flour, 500g water |
A higher ratio means more flour per gram of starter, so the culture spends longer between feedings without going hungry. That is exactly why 1:5:5 suits a once-daily or weekly schedule. A lower ratio means a dense feed that gets hungry fast, which is what you want twice a day.
Without a scale, keep the cup-volume proportions equal: one part starter, one part flour, one part water by volume. Half a cup of starter, half a cup of flour, half a cup of water is close enough to 1:1:1. Flour scoops vary a lot in weight, so treat this as an approximation and expect your rise times to vary by an hour or two.
To scale the batch up, double everything. To scale down, halve it and keep the smallest workable amount — around 20g of starter in a small jar is plenty, and a smaller reserve wastes far less flour than a 200g jar on the counter. Piling more starter into the same jar does not feed it faster; it just gives you more starter to throw away at the next feed.
How to Feed the Sourdough Starter at the Right Time
Feed it when it has peaked and started to fall, rather than on a fixed clock with no reference point. The rubber band tells you where to look. Here is the four-step routine I use, and it takes about five minutes.
- Discard down to your reserve. Pour off everything above the rubber band, then remove starter until only the amount you feed by sits in the jar. A soft spatula or a clean spoon works. The discard goes straight into a jar in the fridge if you plan to bake it later.
- Add the flour. Weigh your flour, drop it in, and break up any dry pockets with a spatula or a small whisk so no dry flour hides at the bottom.
- Add the water and mix. Use room-temperature water. Stir until the mixture is smooth with no dry flour left, then scrape down the sides of the jar. Set the rubber band at the top of the starter to mark the starting level. The band is your only measuring tool after this point.
- Wait for the rise. Cover loosely and leave it where you can see it. At 1:1:1 in a 21-24C kitchen, expect a rise in 4-6 hours; a large ratio takes longer.
You will know it worked when the starter roughly doubles, domes above the band, and shows bubbles and a stretched, web-like interior. It should smell tangy and faintly sweet. If it doubles quickly and then collapses before you come back, it peaked while you were at work — feed it and use it sooner next time.
Float test: drop a spoonful into water. It floats when it is at or past peak and ready to build a levain. Sinks and you need another hour or two. For a levain, feed the starter and use a portion of the mixture at the height you prefer, which leaves the rest in the jar as your next reserve.
How to Store the Starter Between Feedings
Counter storage keeps the starter warm and ready for the next 12 or 24 hours. Refrigerator storage slows it right down so it can wait days or weeks. Choose based on your baking frequency, and there is no wrong answer.
On the counter, keep it at room temperature in a kitchen that stays under 24C (75F). In summer, move it to the coolest corner or the bottom shelf of the fridge and feed twice a day instead of once.
In the refrigerator, feed the starter first, then refrigerate it. Order matters more than people expect. A fed, active starter chills into slow dormancy, while an already-hungry starter sitting in the cold can sour past recovery. Loosen the lid so gas can escape, and keep it away from raw produce.
For a weekly bake, put the starter in the fridge after a feed on bake day. Take it out the night before, feed it at 1:1:1, and let it come to room temperature on the counter. That is your leavening for the next morning. If it looks flat and grey after weeks in the cold, feed it again and give it another cycle before you judge it.
A stiff, low-hydration starter holds up in the fridge considerably better than a wet one. If yours turns to soup after a week, add a spoonful of flour and mix it stiff, then feed as normal before baking.
Going away? Refrigerate the starter, and expect it to sit there happily for two to three weeks. Come home to a flat, grey mass with hooch on top, then revive it with two feeds 12 hours apart before trying to bake. A stiff starter left for a month may need three.
How to Adjust After Missing a Feeding
Missing a feed is annoying, not fatal. Starters are described as forgiving on sourdough forums for good reason, and most gaps of a day or two recover on the next feed. What matters is that you do not skip the next one.
| How long the gap ran | What you will probably see | What to do |
|---|---|---|
| A few hours late | Nothing unusual | Feed as normal on your next scheduled time |
| About 12 hours extra | Flat, dome collapsed, sharp smell, maybe hooch | Feed at 1:1:1, expect a slower rise |
| About 24 hours extra | Very acidic liquid on top, drained and dense below | Pour off the hooch, feed twice at 1:1:1 a few hours apart |
| Two or three days | Thin, grey, separated, weak or no rise | Two or three feeds 12 hours apart before it is usable again |
| A week or more | Soupy and inactive, or stiff and dried | Stiffen with flour if soupy, then two to three revive feeds at 1:1:1 |
| Months, or pink or orange fuzz appeared | Mold, not hooch | Mold is the one true restart trigger — discard and start a new starter |
That last row is the rule to remember. Hooch, a sour smell, a sluggish rise and a grey colour are all signs of a hungry starter that needs feeding. Pink, orange, green or black fuzzy growth is mold, and that is the only reason to throw a starter out and begin again.
If you miss feeds often, change the routine rather than fighting it. Move to a 24-hour cadence with a 1:5:5 feed, or move the starter into the fridge. A schedule you keep easily beats a stricter schedule you break.
Common Mistakes and How to Fix Them
Skipping the discard. This is the most common mistake, and it is why some starters get thin and weak. Removing starter before adding fresh flour and water keeps the culture volume and the ratio consistent. Keep the reserve small so there is less to throw away.
Reading the jar at the wrong moment. A starter at peak is domed and bubbly. A starter that has peaked and collapsed is still usable, just slower. Check the rubber band rather than the clock, and if it has already fallen, build your levain with a 1:2:2 feed instead of expecting a fast rise.
Feeding on schedule while the kitchen heats up. The clock you set in January is wrong in July. If the kitchen crosses 24C, shorten the gap to 12 hours. Cold winter kitchens can stretch to 24 hours without trouble.
Refrigerating a hungry starter. Feed first, refrigerate second. A starter that goes into the cold already past peak tends to go soupy and needs more revive feeds than it should.
Using chlorinated tap water. Bleach kills the culture. Filtered water is safest, and if you must use tap water, let it stand uncovered overnight so the chlorine dissipates.
Panicking about hooch and throwing the starter out. That grey liquid on top is a metabolic by-product from a culture that ran out of food. Pour it off, feed, and carry on. Mold looks nothing like hooch — it is fuzzy and coloured, not clear or grey and smooth.
Keeping a starter that never doubles in 12 hours. If you have fed twice daily for a week at 1:1:1 and it still drags, check the flour and the temperature. Then move to a warmer spot, switch to a whole wheat feed, and give it a week at 1:1:1. Some cultures take that long to build up, and no schedule fixes an underfed culture that just needs time.
Frequently Asked Questions
How long should I wait between feedings for my sourdough starter?
At 21-24C (70-75F), feed every 12 hours. In a cooler kitchen below 21C (70F), once every 24 hours is fine for a mature starter. Above 24C (75F), go back to 12 hours. A fridge starter fed once a week is normal. The strongest single habit is pairing a 12-hour gap with a 1:1:1 feed and a 24-hour gap with 1:5:5.
What does a hungry starter look like?
A hungry starter has a domed surface that has collapsed and gone flat, a sharp or vinegary smell, and often a layer of grey or brown liquid on top called hooch. It is usually dense and stiff rather than aerated. A hungry starter is not spoiled. Pour off the hooch, feed it fresh flour and water, and it should come back within a day or two.
How do I feed sourdough starter from the fridge without a scale?
Take the jar out and let it warm for an hour, then discard all but a small amount, roughly half a cup. Add the same volume of flour and the same volume of water by cup, stir until no dry pockets remain, and mark the top with a rubber band. Let it sit on the counter until it doubles, then refrigerate what you do not need.
How do I know when my starter is ready?
Ready means it has roughly doubled since feeding, sits above the rubber band, and shows bubbles and a stretched web-like interior when you pull it apart. It should smell tangy and faintly sweet rather than sharp. For a quicker check, float a spoonful in water. If it sinks, it needs more time; if it floats, it is at or past peak and ready to use.
How long can a sourdough starter go without feeding in the fridge?
A healthy starter refrigerated straight after a feed stays usable for two to three weeks, and some make it a month. A stiff, low-hydration starter lasts longer than a wet one. Beyond that it tends to go grey, soupy and inactive, and takes two or three revive feeds at 1:1:1 before it works again. It rarely needs discarding.
Do I need to feed my sourdough starter every day?
No. If you bake once a week, keep the starter in the fridge and feed it weekly. If you bake every other day, a daily counter feed at 1:5:5 works well. Daily feeding is only necessary for frequent baking or for a young starter that has not built strength yet. Pick the cadence you can actually maintain and adjust the ratio to suit it.
Conclusion
Start tonight: pick two clock times you will actually keep, write them somewhere you will see them, and do your first feed at 1:1:1 with 50g of starter, 50g of flour and 50g of water. Mark the jar with a rubber band and note the time and the kitchen temperature. After a week of those notes, adjust one thing only — usually the gap between feeds, occasionally the ratio — and let the starter’s rise time tell you whether the change worked. Feed it when it is hungry, and remember that missing a feeding is a nuisance rather than the end of your starter.