Learning how to make yeast rolls from scratch is mostly about three things: activating the yeast in liquid at 105-115F, kneading until the dough is smooth and elastic, and giving the dough two full rises instead of watching the clock. This recipe makes 12 soft, tender dinner rolls in about three and a half hours, most of it spent waiting.
Bake them at 350F for 20 to 25 minutes. No special equipment beyond a bowl, a pan, and a thermometer. Updated for 2026.
Table of Contents
- What You Need to Make Yeast Rolls from Scratch
- Step-by-Step
- 1. Activate the Yeast and Mix the Dough
- 2. Knead Until the Dough Is Smooth and Elastic
- 3. Let the Dough Rise Once
- 4. Shape the Yeast Rolls
- 5. Proof the Shaped Rolls Until Pillowy
- 6. Bake Until Golden Brown
- 7. Cool Before Serving or Storing
- Common Mistakes
- Frequently Asked Questions
- Can I make yeast rolls from scratch without a stand mixer?
- How long should yeast rolls rise before baking?
- Why did my yeast rolls come out dense?
- Can I make yeast rolls the night before?
- How do I keep yeast rolls soft after baking?
- Can I freeze unbaked yeast rolls instead of baked rolls?
- Start With Your First Batch
What You Need to Make Yeast Rolls from Scratch
This dough makes 12 rolls in a 9×13 pan. Weight the flour if you can, because cups vary and the dough texture depends on the ratio.
- 3 1/2 cups (440 g) bread flour or all-purpose flour
- 1 packet (2 1/4 teaspoons, 7 g) instant yeast
- 1/3 cup (67 g) granulated sugar
- 1 teaspoon fine salt
- 3/4 cup (180 ml) whole milk, warmed to 105-115F
- 2 large eggs, room temperature
- 4 tablespoons (57 g) unsalted butter, melted and cooled a few minutes
- 1 teaspoon vanilla extract, optional
- Softened butter and honey for serving, optional
Instant yeast goes straight into the flour. Active dry yeast needs 5 to 10 minutes in the warm liquid first until a foam forms on top; if there is no foam, the yeast is dead and you should start over. Both work here at the same 2 1/4 teaspoon measure.
You also need a 9×13 baking pan or a 12-cup muffin tin, a large bowl, a bench scraper or knife for dividing, a clean towel or plastic wrap for covering, and an instant-read thermometer. A stand mixer with a dough hook saves real time, but hands work fine.
Ingredient temperature matters more than anything else in the bowl. Milk straight from the fridge slows the yeast and can add 15 minutes to each rise. Milk heated to 130F kills the yeast outright, and that mistake produces a flat, dense brick nobody can figure out.
Step-by-Step
1. Activate the Yeast and Mix the Dough
Warm the milk to 105-115F and stir in the instant yeast and sugar, or the active dry yeast if that is what you have. Let it sit 5 to 10 minutes before moving on, and skip that wait for instant yeast.
Whisk the eggs, melted butter, and vanilla into the yeast liquid. Pour that into the flour and salt in your mixing bowl and stir with a sturdy spoon until no dry streaks remain. The dough will look shaggy and sticky. That is normal.
2. Knead Until the Dough Is Smooth and Elastic
Knead until the dough is smooth and slightly tacky, which takes 8 to 10 minutes by hand or about 5 minutes on low speed in a stand mixer. Stop at smooth, not at torn. Once a ball of dough is formed, turn the mixer to medium for one or two minutes to pick up the extra structure and develop the gluten that traps gas.
The windowpane test tells you when you are close: pull a small piece of dough and stretch it thin. If you can stretch it without tearing and see light through it like a window, the gluten is ready. If it snaps back or tears in the middle, knead another two minutes.
How the dough should feel depends on what is in it. Enriched dough with butter, eggs, and milk stays softer and more tender than lean bread dough, and it needs less kneading. Stop at the soft-ball stage, where the dough feels like a soft earlobe and holds its shape briefly. Most home bakers describe the same target the same way: the dough has to be worked until it feels stretchy and alive in your hand.
3. Let the Dough Rise Once
Put the dough in a lightly greased bowl, cover it, and let it rise at about 75F for 60 to 90 minutes. In a 68-70F kitchen, expect the closer to two hours. A kitchen at 80F can finish in 45.
The dough is ready when it looks nearly doubled and feels puffy and full of air. Use the poke test rather than the clock: press a floured finger about half an inch into the side and lift. A slow spring that leaves a slight dent means it is proofed. A fast springback means it needs more time, and a dent that never fills in means it has over-proofed and lost its strength.
4. Shape the Yeast Rolls
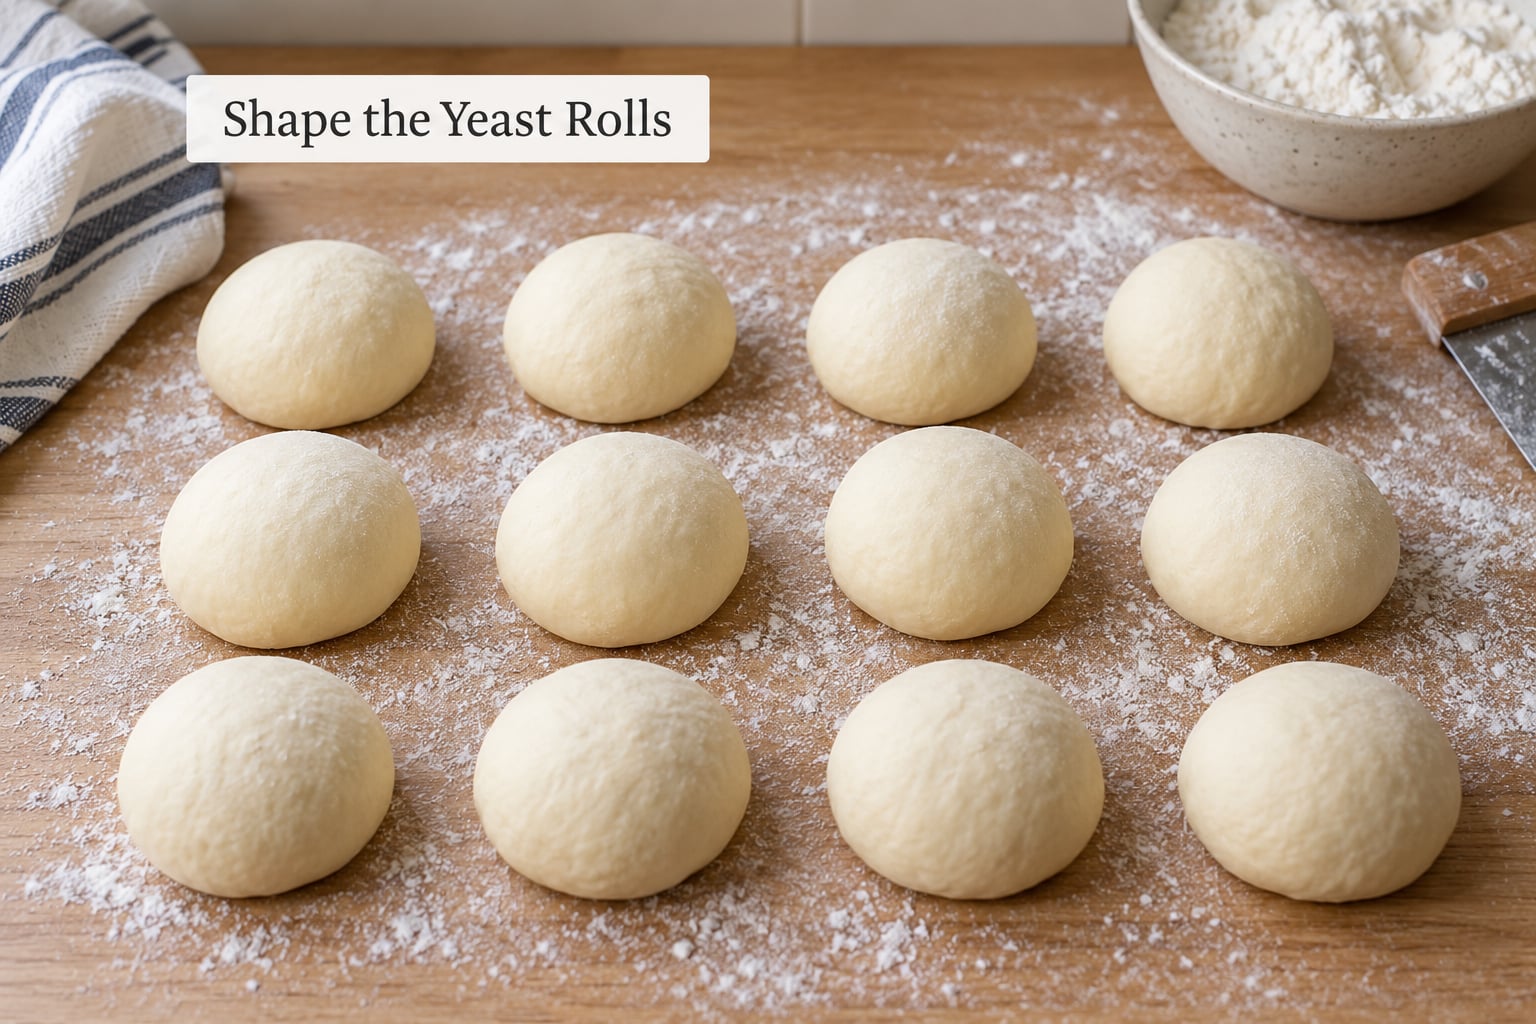
Scrape the dough onto a floured surface and press out the big air bubbles with a firm push of your hands. Turn the dough, divide it into 12 pieces, and weigh them if you have a scale. Around 71 grams each keeps the rolls baking evenly; even size is what makes a pull-apart batch look right.
To shape, cup your hand over a piece of dough and drag it lightly across the counter in a circle, tucking the edges underneath as it moves. That motion builds surface tension on the outside, which is what lets the roll hold its height in the oven instead of spreading flat.
For a tighter, denser crumb like a bakery dinner roll, roll each piece into a short rope, fold it into a spiral, and tuck the seam down underneath. That extra tension gives a neater slice and keeps the layers defined. Nestle the rolls seam side down in a greased 9×13 pan.
5. Proof the Shaped Rolls Until Pillowy
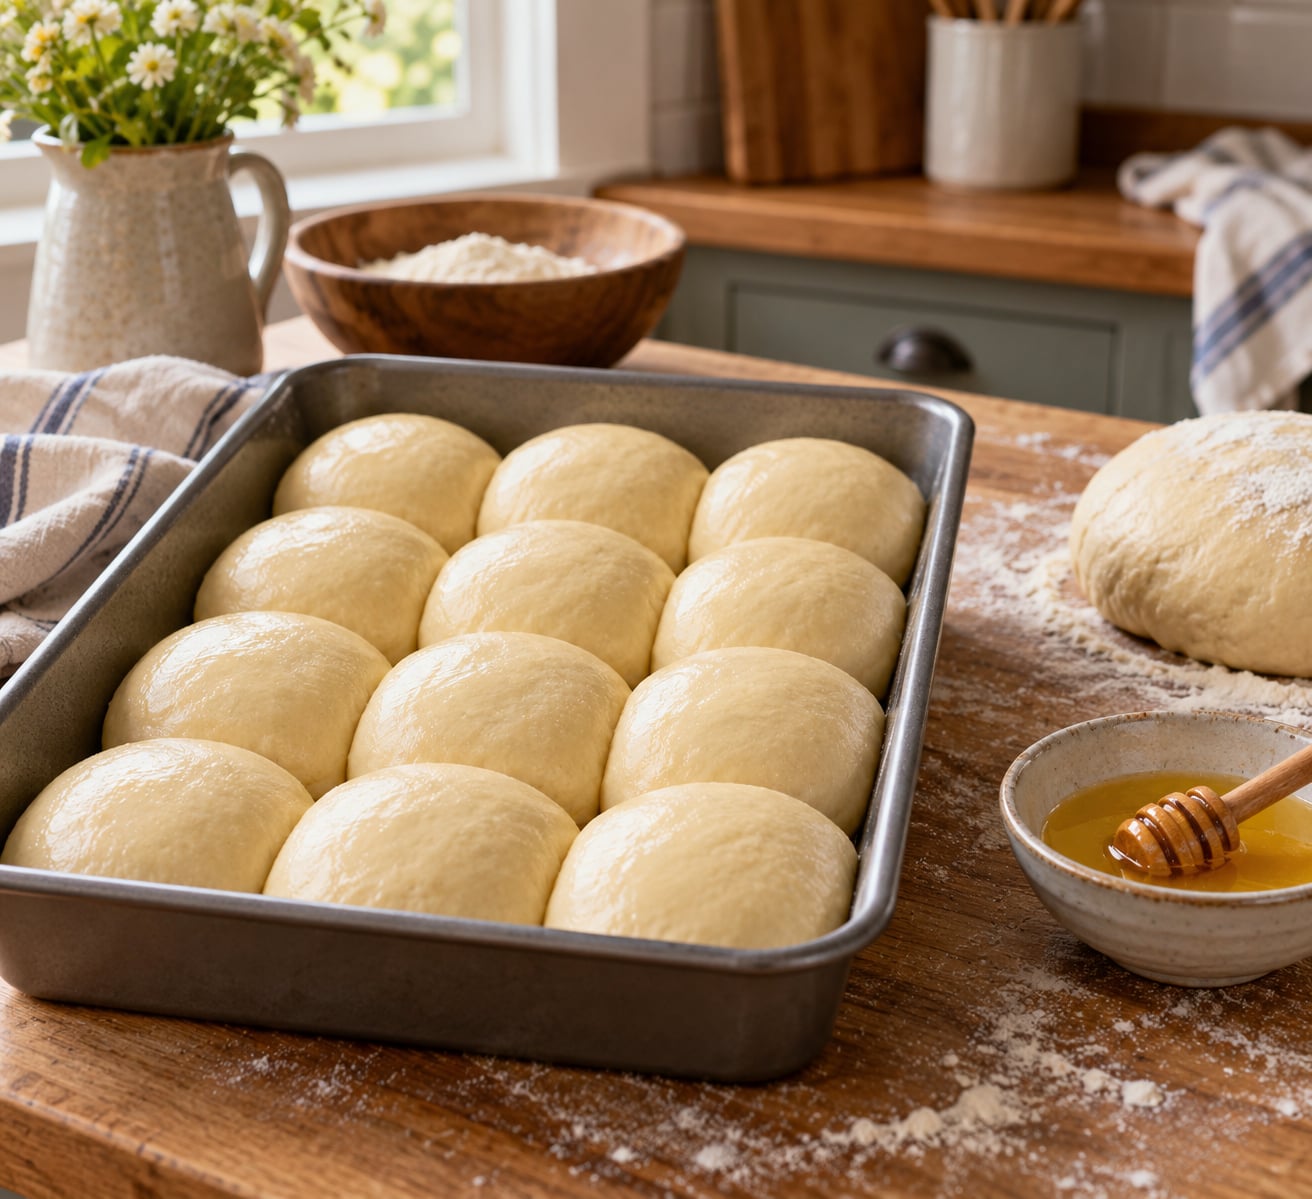
Cover the pan loosely with a towel or plastic wrap and let the rolls rise at 75F for 45 to 60 minutes. They should look puffy, fill most of the gaps in the pan, and feel springy when you press one lightly with a fingertip.
Under-proofed dough bakes into rolls that are pale, tight, and low. Push a finger into the side of one roll: if it springs back slowly and leaves a small dent, it is ready for the oven. In a cold kitchen, turn the oven light on and let it warm with the door shut while the dough rises, or set the pan in the car for a few minutes on a mild day.
6. Bake Until Golden Brown
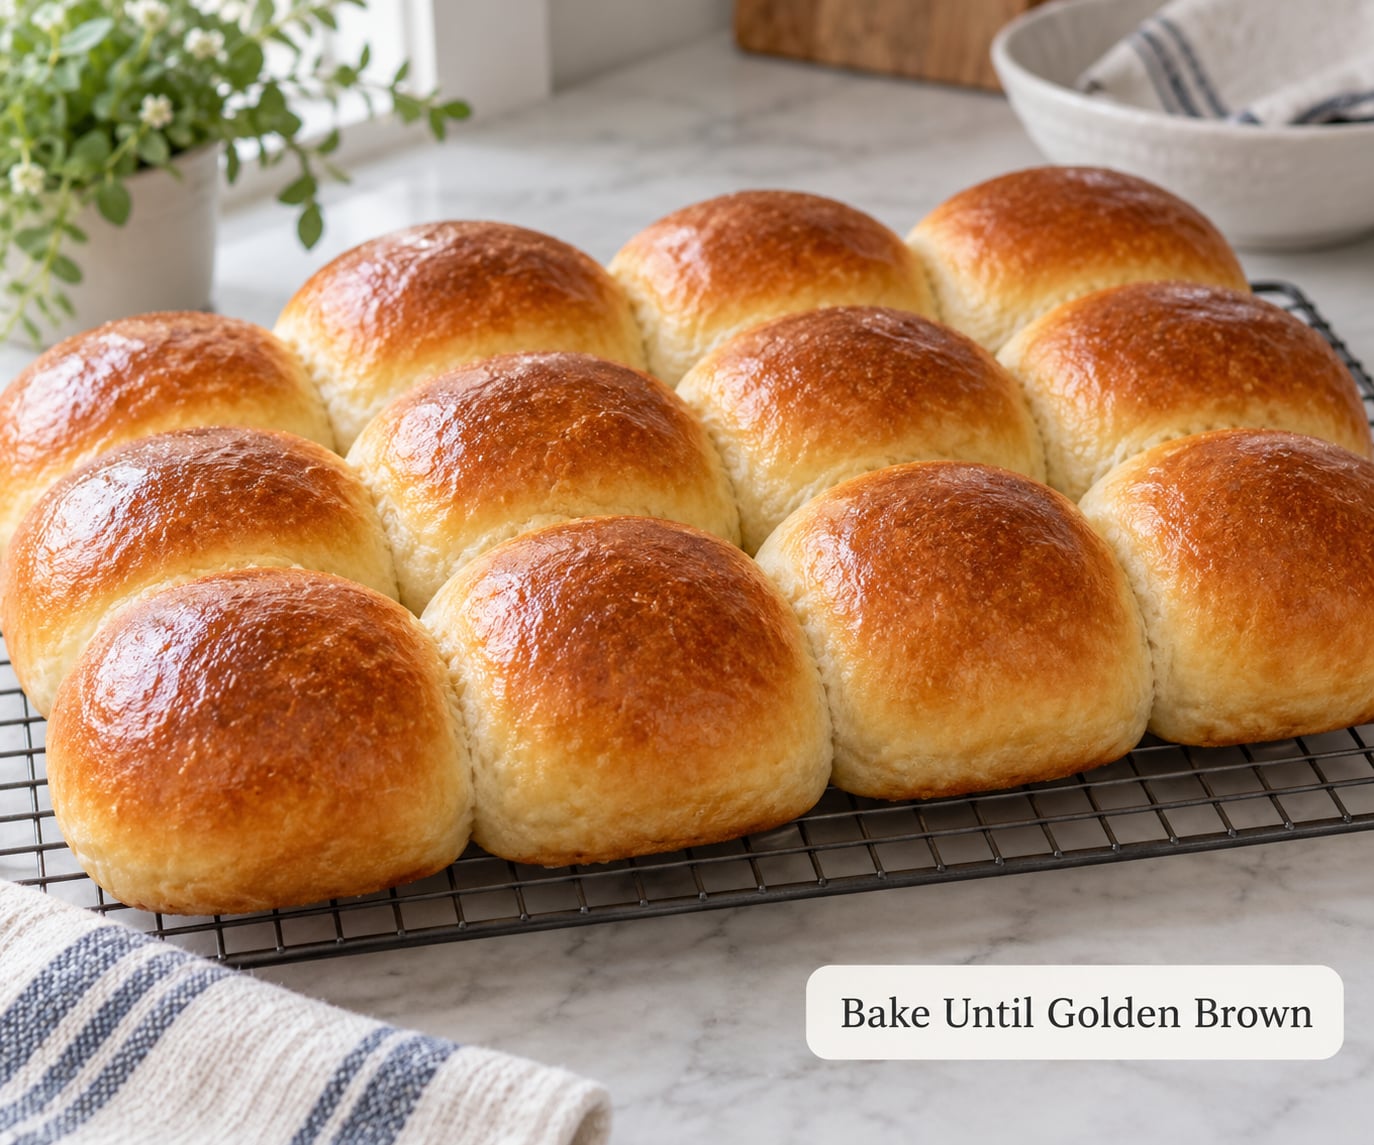
Bake at 350F for 20 to 25 minutes until the tops are deep golden brown. Rolls in a muffin tin run closer to 25 minutes because they are thicker and hold more moisture. Brush the tops with melted butter the moment they leave the oven if you want a glossy, soft crust.
For an enriched dough like this one, an internal temperature of 190F is the useful target. Lean doughs bake differently and want a higher reading, so treat 190F as the number for this recipe only. Golden tops and a hollow sound when you tap the bottom are the cues most bakers actually rely on.
7. Cool Before Serving or Storing
Cool the rolls in the pan for 10 minutes, then move them to a wire rack. Cutting them too early lets steam escape and sets the crumb before it finishes firming up, which is why the first roll out of the oven often feels gummy.
Store covered at room temperature for two days. For longer storage, wrap the cooled rolls individually in plastic wrap or foil and freeze them for up to three months. Thaw at room temperature in their wrapping, then refresh in a 325F oven for 5 to 10 minutes. A splash of water in a low oven steam for a couple of minutes brings back a soft crust.
Common Mistakes
Almost every bad batch traces back to temperature, timing, or one skipped check. Find your symptom below.
- Dough never rose at all. The yeast was probably killed by liquid above 120F, or it was too old. Check liquid temperature first, then try fresh yeast.
- Trying to fix slow dough with more yeast. More yeast makes faster gas and worse flavor without fixing the real cause. Warm the room or give the dough more time.
- Rolls came out dense and heavy. Under-kneading, under-proofing, or too much flour in the bowl. Weigh your flour and stop kneading once the dough is smooth.
- Rolls spread out and went flat. They were shaped too loosely or the pan was over-greased. Build tension by tucking the edges under, and grease lightly.
- Dough was sticky and hard to handle. Too much liquid. Add flour a tablespoon at a time rather than pouring it all in.
- Dough felt tough after baking. It was kneaded past smooth, or it was allowed to proof far too long and collapsed in the oven.
- Baked too early and pale. The second rise was cut short. Wait for the slow spring-back test, not for the timer.
- Rolls were gummy in the center. Underbaked. Add 3 to 5 minutes to the bake time and check again next batch.
- Second rise produced nothing. The first rise likely happened too slowly. The dough needs to double during the first rise before it will rise again, so check your kitchen temperature.
Frequently Asked Questions
Can I make yeast rolls from scratch without a stand mixer?
Yes, and the results are nearly identical. Budget 8 to 10 minutes of kneading by hand instead of 5 minutes in a mixer. Cup the dough, push it away with the heel of your hand, fold it back, and quarter-turn after every push. Stop when the dough feels smooth, tacky, and passes the windowpane test. A stand mixer is a time saver, not a requirement.
How long should yeast rolls rise before baking?
The first rise takes 60 to 90 minutes at 75F, and the second rise takes 45 to 60 minutes. Time alone is a poor guide, so use the poke test instead. The dough should roughly double in size and spring back slowly when you press it. In a 70F kitchen, add 15 to 30 minutes to each rise.
Why did my yeast rolls come out dense?
Three causes account for nearly all dense rolls: not kneading long enough to develop gluten, not letting the dough finish its first rise, and measuring flour by volume instead of weight. Dense rolls also happen when the second proof is short. Weigh your flour, knead to the windowpane stage, and wait for the slow spring-back test before baking.
Can I make yeast rolls the night before?
Yes. Shape the rolls, cover the pan tightly, and refrigerate overnight. Take the pan out of the fridge about 60 to 90 minutes before baking so the dough can come to room temperature and finish its rise. Straight from a cold fridge into a hot oven gives you dense rolls, because cold dough will not spring in the first few minutes of heat.
How do I keep yeast rolls soft after baking?
Cool them fully on a wire rack, then store them in an airtight container or a clean towel-covered basket at room temperature for up to two days. For longer storage, freeze each roll wrapped. Reheat at 325F for 5 to 10 minutes, or microwave 15 seconds with a cup of water alongside. A splash of water in the oven adds steam and softens the crust.
Can I freeze unbaked yeast rolls instead of baked rolls?
You can, but the second rise has to be complete first. Freeze the rolls after they finish proofing, right before baking, and thaw them in the refrigerator overnight with the pan wrapped. Let them come to room temperature on the counter for an hour, then bake at 350F for 20 to 25 minutes. Frozen unbaked rolls rise better than dough frozen at the shaping stage.
Start With Your First Batch
Get the temperature right and the rest of the recipe mostly runs itself. Warm the milk to 105-115F, measure flour by weight, and knead only until the dough is smooth and passes the windowpane test.
Let the first rise finish until doubled and springy, then give the shaped rolls a full second rise. Bake at 350F until the tops are deep golden, not just tan. Cool them on a rack, brush with butter while hot, and put them straight into the bread basket. Once your first batch of yeast rolls from scratch comes out right, you will not need the timer again.