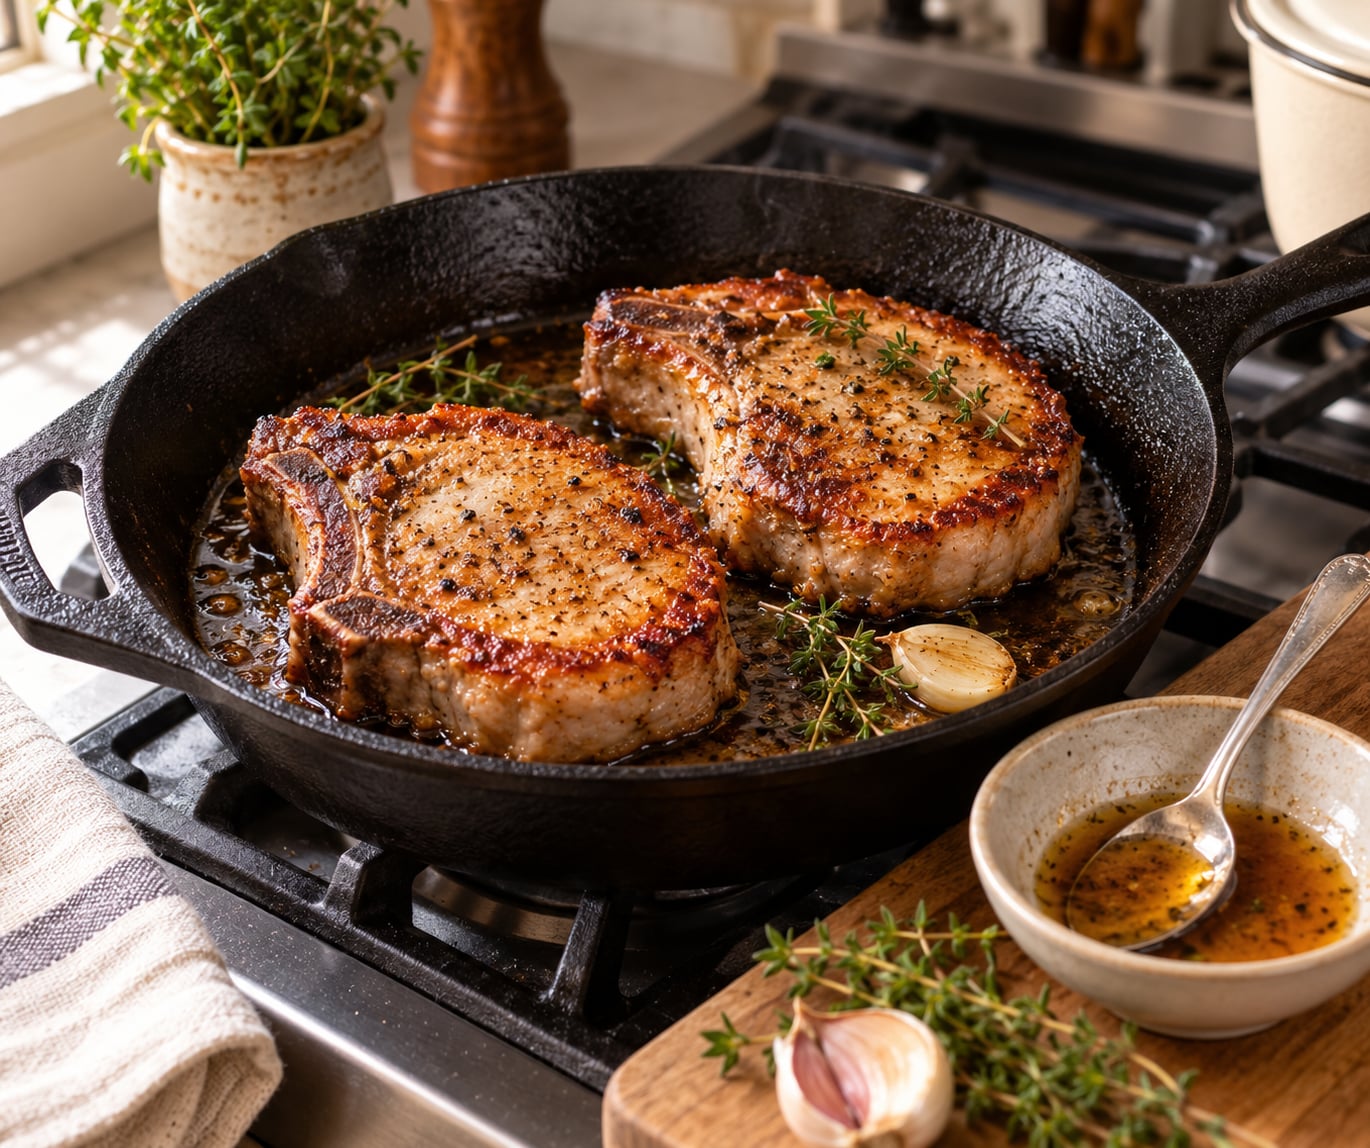
Most dry pork chops come down to two things: a lean cut with almost no fat to spare, and heat applied for longer than the meat can stand. Knowing how to cook pork chops without drying them out means bringing them to room temperature, patting them dry, searing them hot and fast, finishing them gently, pulling at 145°F (63°C), and resting them before you slice.
This is the method I keep coming back to with the same skillet, week after week. From start to plate it takes about 30 to 40 minutes, and the cooking part is genuinely simple once you stop flipping.
Last updated for October 2026.
Table of Contents
- What You Need
- Step-by-Step
- How to Cook Pork Chops Without Drying Them Out: Choose and Season the Right Chop
- Cook the Chops Gently and Check the Temperature
- Baste, Rest, and Confirm the Pork Is Fully Cooked
- Common Mistakes
- Frequently Asked Questions
- How do you stop pork chops from drying out?
- Is it better to pan fry or oven bake pork chops?
- What is the secret to making pork chops tender and juicy?
- Can I pull pork chops at 140°F?
- Should I brine pork chops before cooking?
- How do you reheat pork chops so they stay juicy?
- Conclusion
What You Need
The ingredient list is short. The tool that matters is a thermometer.
- Pork chops — look for ones that are even in thickness, ideally 1 to 1.5 inches thick. At the market, you can also ask the butcher to slice a whole pork loin for you at that exact thickness, which solves most of the dry-chop problem before heat is ever involved.
- Oil — a neutral oil such as canola, vegetable, or avocado for the pan.
- Seasoning — kosher salt and black pepper are enough. A dry rub of paprika, garlic powder, and a little cumin works too, applied right before cooking so it doesn’t burn.
- An instant-read thermometer — this is the single non-negotiable item. You are aiming for a number, not a guess, and guessing is what turns chops into jerky leather.
- A heavy skillet — cast iron or stainless steel, 12 inches for four chops. A crowded pan drops the temperature and the meat steams in its own liquid instead of searing.
- Optional: butter, garlic, fresh thyme — for basting in the last few minutes.
- Optional: brining supplies — kosher salt and either water or a zip-top bag.
Why thickness matters so much: the outside of a chop is in direct contact with the pan and browns fast, while the center lags behind. A 1.5-inch chop has a wide enough gap that you can brown the outside without overshooting the middle. A half-inch chop does not, which is why thin chops give you maybe a two-minute window between underdone and dry.
Step-by-Step
How to Cook Pork Chops Without Drying Them Out: Choose and Season the Right Chop
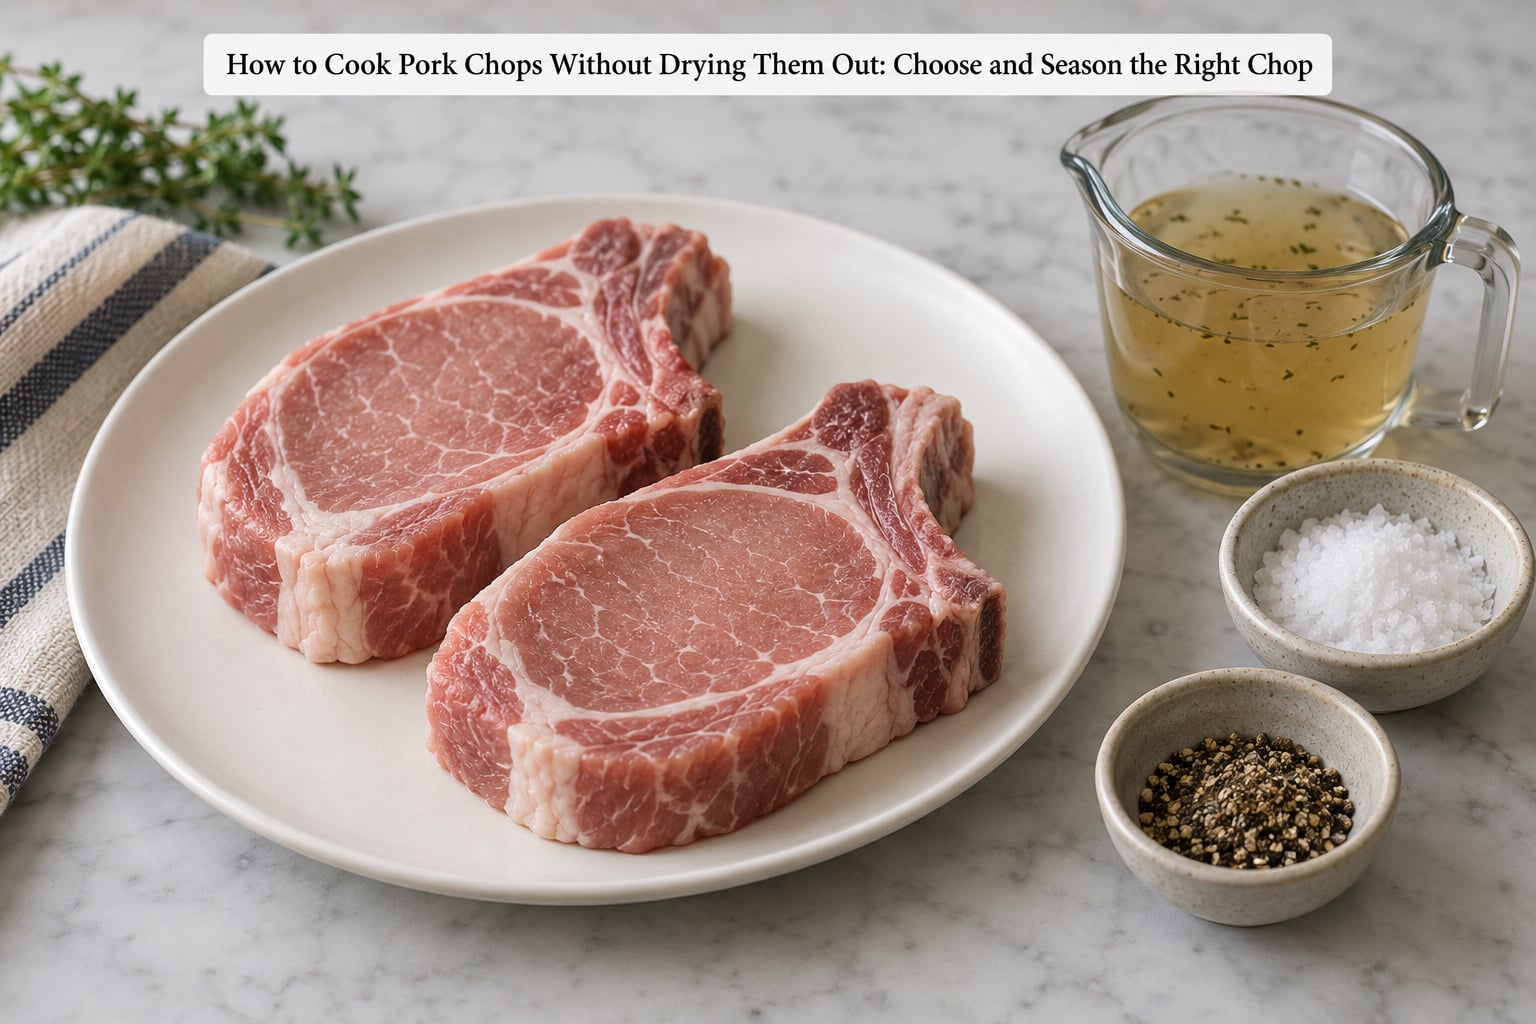
Take the chops out of the fridge 30 minutes before you cook. Cold pork hits a hot pan and the outside races ahead while the center catches up, which is the exact mechanism behind uneven, dry chops. An hour is fine too on a cool kitchen counter, but don’t leave them out for two hours at room temperature.
While they sit, decide on brining. It is the single most effective moisture fix, and it is the advice that comes up most often in cooking forums when people ask why their chops keep failing.
For a wet brine, dissolve 1/4 cup of kosher salt in a quart of water, submerge the chops, and refrigerate for 1.5 to 4 hours. The ChefTalk consensus is closer to an hour and a half, which is plenty and keeps the salt from masking your seasoning.
For a dry brine, salt the chops with about 1 tablespoon of kosher salt each and refrigerate uncovered on a rack for 3 to 4 days. That is the approach longtime grillers use for thick chops, and it seasons all the way through as well as keeping water in the muscle.
You can freeze chops still sealed in their brine bag and cook them from frozen, thawing overnight in the fridge. A dry-brined chop is already partly seasoned, so skip the salt and go straight to pepper and spices. Rinse off a wet brine and pat the chops completely dry, because surface water is what stops a proper sear.
Pat each chop dry with paper towels, then season both sides generously with salt and pepper. If you’re brined and salting again in the same meal, you’ve gone too far — that’s the one time the salt balance needs a second thought.
Cook the Chops Gently and Check the Temperature
Heat a tablespoon of oil in a heavy skillet over medium-high heat until it shimmers and a drop of water sizzles and skitters. Lay the chops down away from you, leaving real space between them. More than four chops needs two batches or a second pan.
Leave them alone for 2 to 3 minutes. Resist the urge to peek or to nudge them, because every early flip tears the forming crust and lets juices run out onto the stove. You are looking for a deep golden-brown surface that releases from the pan with no resistance.
Flip once, cook another 2 to 3 minutes, then move the heat down to medium or medium-low and finish. A chop this thin does not need another five minutes in a screaming-hot pan; the residual heat finishes it while it rests.
Cook times by thickness, starting from when the chop hits the pan:
- 1/2 inch — 2 minutes per side in the skillet, no oven finish. Check temperature after the first side.
- 3/4 inch — 2 to 3 minutes per side, then 4 to 6 minutes in a 375°F (190°C) oven.
- 1 inch — 3 minutes per side, then 8 to 10 minutes in a 375°F (190°C) oven.
- 1.25 inch — 3 minutes per side, then 10 to 13 minutes at 400°F (205°C).
- 1.5 inch — 3 to 4 minutes per side, then 13 to 16 minutes at 400°F (205°C).
- 1.75 inch and thicker — 4 minutes per side, then 16 to 20 minutes at 400°F (205°C). These benefit most from a brine.
Bone-in chops run about 2 to 3 degrees hotter at the edge near the bone and cook slightly faster than boneless of the same stated thickness, so start checking temperature a couple of minutes early.
Stick the thermometer into the thickest part of the chop, away from the bone, and pull it when the center reads 140°F (60°C). Carryover cooking will take it the rest of the way while it rests, which is how you land at a safe 145°F (63°C) center without overshooting it.
Baste, Rest, and Confirm the Pork Is Fully Cooked
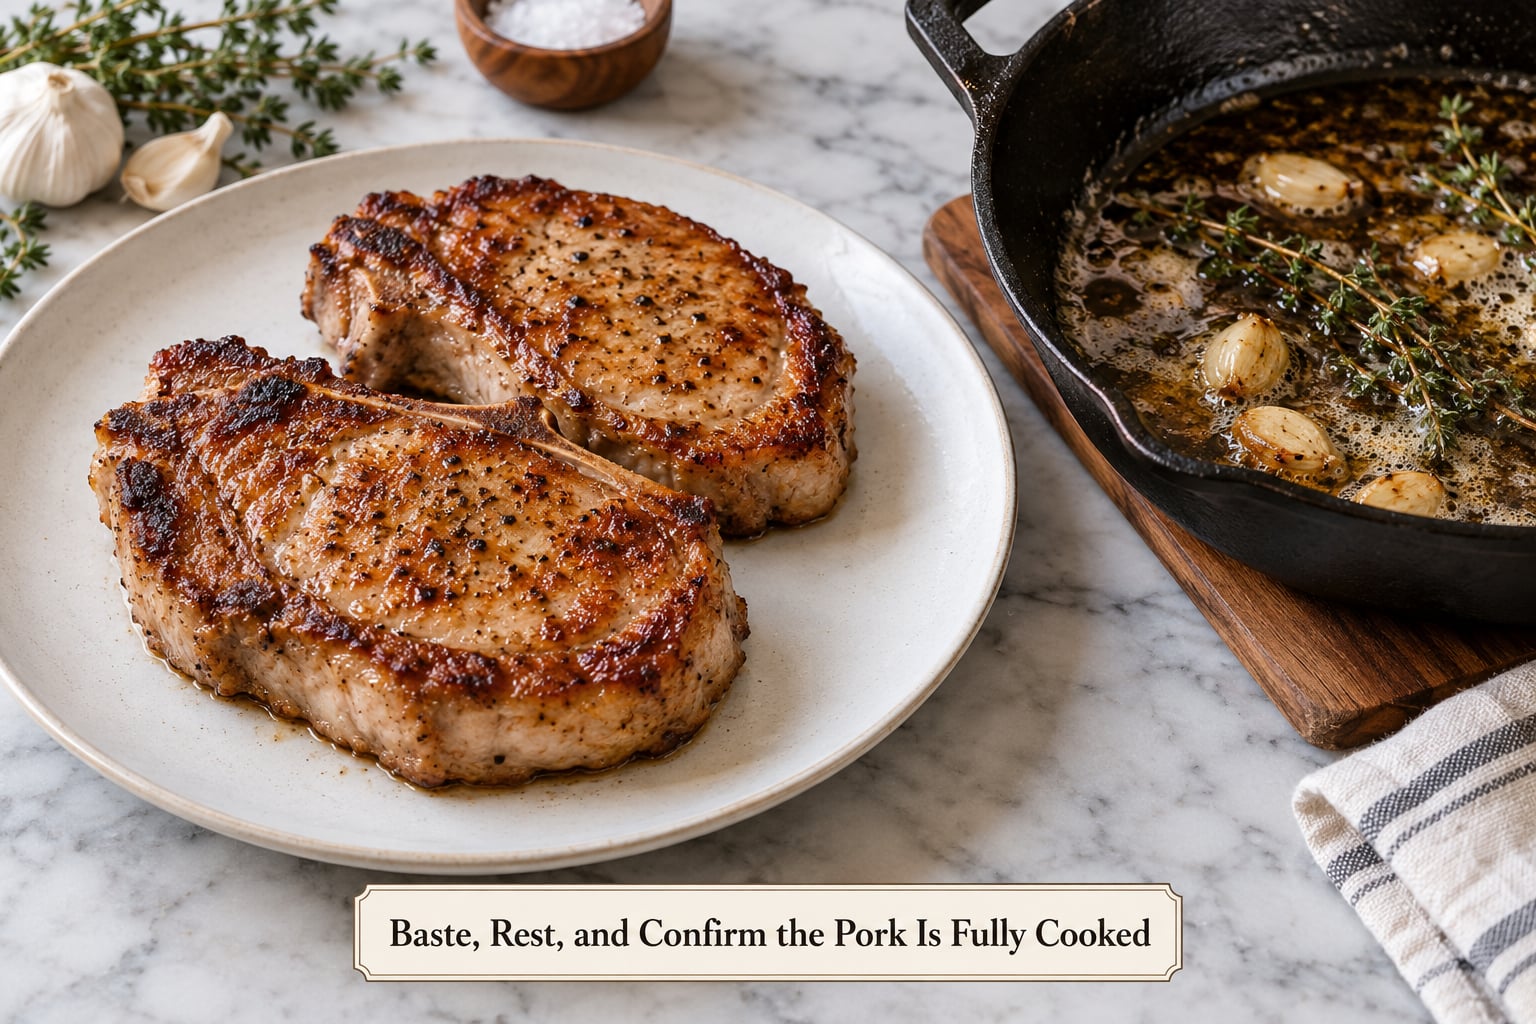
In the last two minutes, drop in a tablespoon of butter, a crushed garlic clove, and a few sprigs of thyme. Tilt the pan and spoon the melting butter over the chops repeatedly. This is not just for looks: the fat and steam keep the surface from drying out and buy you a little more grace on the heat.
The USDA safe minimum internal temperature for whole cuts of pork is 145°F (63°C), measured at the thickest part and away from bone. If a source tells you to cook pork to 165°F, that’s older guidance that has been revised — following it is a reliable way to make chops tough.
Move the chops to a warm plate and wait 5 to 10 minutes before cutting. That pause lets the muscle fibers relax and reabsorb the juice instead of letting it run onto the cutting board. Thick chops are worth the full 10 minutes; thin ones need about 5.
Slice against the grain and serve right away. A chop that has been sitting out for 10 minutes while everyone finds their plates will taste drier than one that rested properly and then sat, because the rest already did its job.
Common Mistakes
Cooking straight from the fridge. The outside sets and contracts before the center warms, so you end up with a crust that has leaked moisture and a raw middle. Thirty minutes on the counter fixes it.
Flipping repeatedly. Every flip before the crust sets tears the surface and bleeds juice. One flip per side is plenty, and using tongs or a spatula instead of a fork keeps things cleaner.
Crowding the pan. Six chops in a 12-inch skillet drops the temperature, and the liquid that collects makes them steam. Steam gives you a pale, rubbery chop. Cook in batches instead.
Skipping the pat-down. Wet surfaces sear badly and release into the pan as water rather than browning. Paper towels, both sides, before the chop ever touches oil.
High heat all the way through. A screaming-hot pan browns the outside beautifully and then turns the inside to leather. Sear hot and fast, finish gently at medium or in a moderate oven.
Trusting the pop or the color. Chops can pop when the connective tissue contracts well before the center is done, and a chop can look pink in the middle while being safely cooked. The thermometer is the only real check.
Cutting immediately. Slicing straight off the heat sends the juice onto the board. Five to ten minutes, no exceptions.
Cooking a wet marinade in the pan. Sugared marinade burns before the meat cooks through. Pat the marinade off, or skip it and use a dry rub, which is what most grillers prefer anyway.
Trying to fix dry chops with more heat. Once a chop is dry, low heat and a sauce with fat or stock in it are the only move. Cook it gently in the sauce, add a splash of broth and a knob of butter, and cover loosely for a few minutes.
A few habits that pay off every time: choose an even chop, brine if you have the time, use the pan as a grill surface rather than a pot to simmer in, and let the thermometer make the final call.
Frequently Asked Questions
How do you stop pork chops from drying out?
Take them out of the fridge 30 minutes early, pat them dry, sear 2 to 3 minutes per side in a hot skillet, then finish gently until the center reaches 145°F (63°C). Pull at 140°F and let carryover cooking do the last of the work, then rest 5 to 10 minutes. Brining for a few hours beforehand adds the most protection of any single step.
Is it better to pan fry or oven bake pork chops?
The skillet gives you a better crust and more control; the oven is gentler and easier for thick chops. The strongest results come from combining them: sear 2 to 3 minutes per side in a hot oven-safe skillet, then move the whole pan into a 375°F to 400°F oven for the finish. Oven-only cooking dries chops faster because there is no initial sear to slow moisture loss.
What is the secret to making pork chops tender and juicy?
Pork loin is a lean muscle with very little marbling, so there is no spare moisture to lose. Three things help most: brine the chops for a few hours so the fibers hold more water, cook them gently and stop at 145°F (63°C) instead of cooking until they feel firm, and rest them before slicing so the juice stays in the meat. Overcooking undoes everything else.
Can I pull pork chops at 140°F?
Yes. Pulling at 140°F (60°C) is exactly the right call, because residual heat carries the center up to the USDA-recommended 145°F (63°C) during the rest. That window is where the chop stays juicy. Check the thickest part of the chop away from the bone, then rest it 5 to 10 minutes before slicing.
Should I brine pork chops before cooking?
It helps, especially on chops thicker than 1 inch, and it is optional on thin chops. A wet brine is 1/4 cup of kosher salt per quart of water for 1.5 to 4 hours. A dry brine is about 1 tablespoon of kosher salt per chop for 3 to 4 days in the fridge. Rinse and pat dry afterwards, or the surface will not sear.
How do you reheat pork chops so they stay juicy?
Reheat gently rather than hot. Put the chops in a single layer in a pan with a splash of broth or stock, cover loosely, and warm over low heat just until steaming, checking that the center is still comfortable to eat. Ninety seconds to two minutes in a microwave on low also works. Avoid a hot oven or a full-power microwave, both of which push the meat past done.
Conclusion
If you do one thing differently, start with an evenly thick chop and a thermometer. Take it out of the fridge 30 minutes ahead of time, pat it dry, and cook it gently to 145°F (63°C) rather than until it feels firm.
That is really the whole answer to how to cook pork chops without drying them out: even thickness, a hot pan used only for the sear, a gentle finish, and a rest before slicing. The skillet method above is the fastest route to all four. If you have a few hours before dinner, add the brine and the difference is noticeable.