Choosing a roast for the oven is mostly a matching exercise: pick the cut that suits the way you plan to cook it, then check size, marbling and freshness at the counter. A tenderloin or top sirloin wants hot, fast heat and slices clean for a roast dinner. A rib roast or ribeye is the classic centerpiece. Chuck, brisket and rump roasts are cheaper and beefier, but they need low, slow cooking to turn connective tissue into gelatin. Get that first decision right and the rest is quick.
Six checks get you the rest: the cut, the size against your pan, the marbling and color, the thickness and shape, the seller, and the finish you have in mind. The whole process at a market meat counter takes about five minutes if you know what to look at.
Table of Contents
- What You Need Before You Buy
- Step-by-Step: How to Choose a Roast for the Oven
- 1. Choose the Cut for Your Cooking Method
- 2. Match Size to Servings and the Pan
- 3. Check Marbling, Color, and Surface Condition
- 4. Consider Thickness and Shape
- 5. Buy From a Seller Who Can Answer Questions
- 6. Plan the Finish and Serving
- Common Mistakes When Choosing a Roast
- Frequently Asked Questions
- What size roast should I buy for a family dinner?
- Is more marbling always better for an oven roast?
- How do I tell whether a roast is fresh at the market?
- Can I freeze a raw roast and cook it later?
- What is the best roast cut for a roasting pan at home?
- How long should a cooked roast rest before slicing?
- Conclusion
What You Need Before You Buy
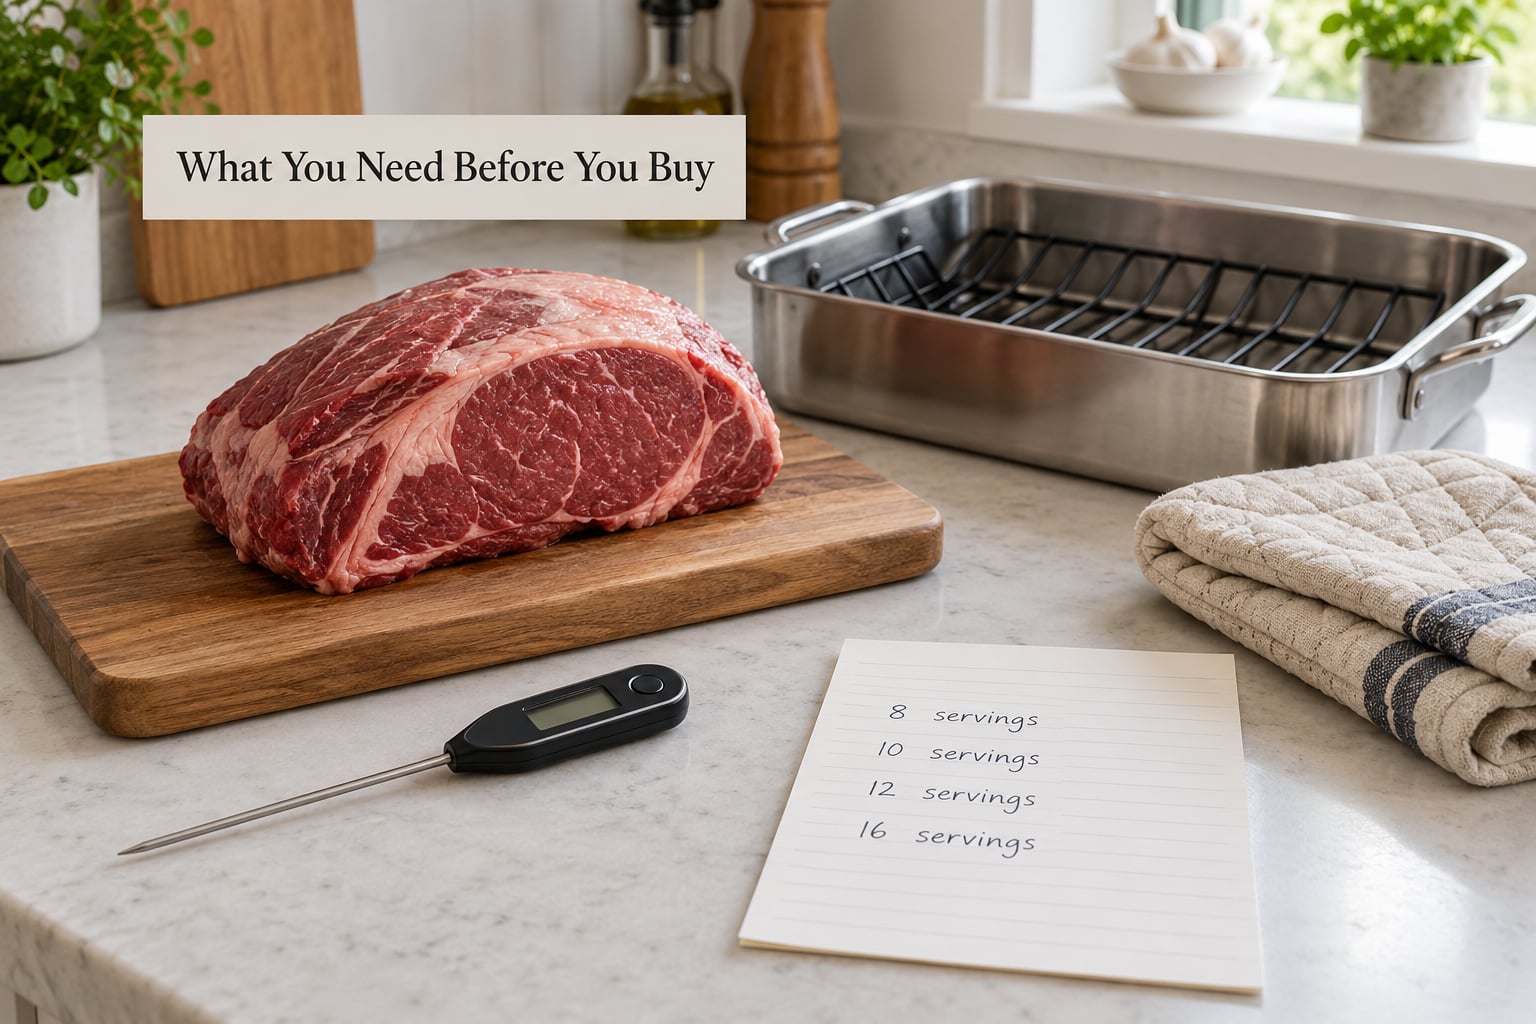
Start with a number, not a cut. Count the people eating, then decide whether this is the main event with sides or one dish among several. That single choice pushes you toward a tender cut for a smaller, more formal dinner and a larger, tougher cut when you are feeding a crowd with potatoes and gravy.
Next, know your equipment. Measure the inside of your roasting pan and the clear space under your oven rack. A bone-in rib roast needs a pan that holds it without the bones touching the sides, and a tall, uneven chuck roast needs an oven with room to rotate the pan halfway through.
Decide the cooking method before you shop, because it decides the cut.
- Hot and fast roasting (roughly 425°F to 450°F, then a lower finish) favors ribeye, prime rib, top sirloin, sirloin tip and tenderloin.
- Low and slow oven roasting (roughly 300°F to 325°F for two to three hours) favors chuck, shoulder petite tender, rump and bottom round.
- Pot roast or braise favors chuck, brisket and shank, all of which reward liquid and low heat.
- Sliced roast beef for sandwiches favors eye of round and top round, which slice cleanly across the grain.
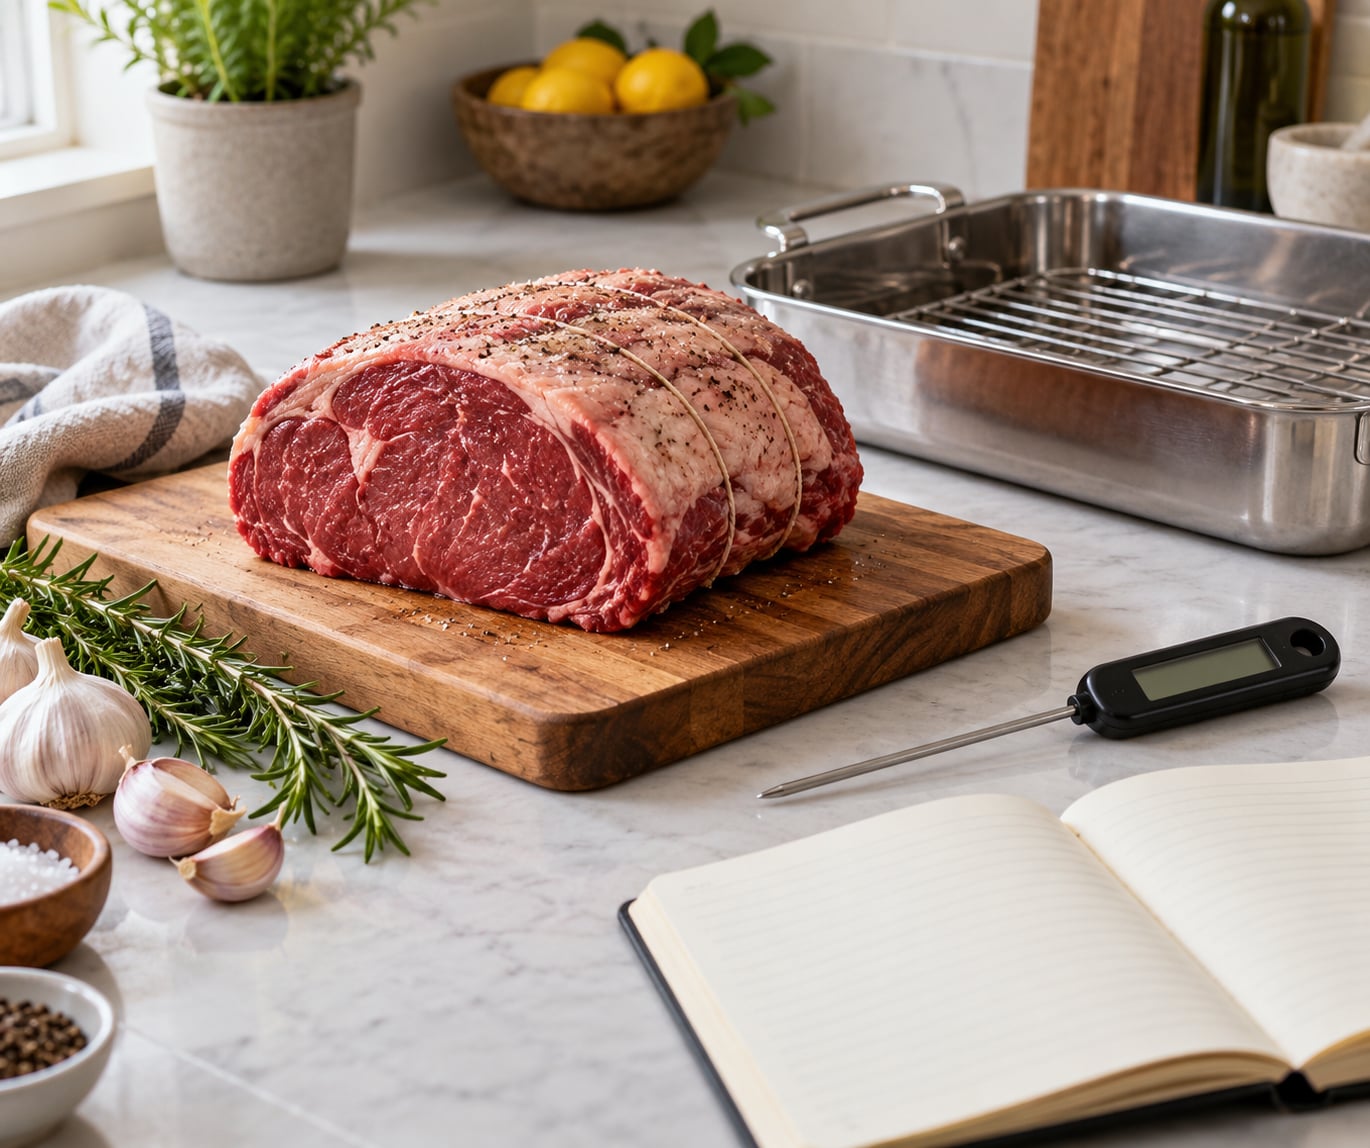
Have a probe thermometer on hand. Temperature, not time, is the only reliable test, and the USDA safe minimum internal temperature for whole cuts of beef is 145°F (63°C) with a three-minute rest. We re-check that guidance for 2026 and it has not moved. For ground beef it is 160°F (71°C), and for poultry 165°F (74°C).
Safe handling matters while you shop and after. Keep the meat cold on the way home, refrigerate it within two hours, and cook it within three to five days or freeze it. A cooler bag in the trunk beats a hot car on the drive from the market.
Step-by-Step: How to Choose a Roast for the Oven
1. Choose the Cut for Your Cooking Method
The cut comes from the animal’s muscle, and the muscle tells you everything about temperature and time. Beef from the rib and loin does almost no work, so it stays tender. Beef from the shoulder, chuck and rump moves constantly and grows connective tissue, which needs time and moist heat to soften.
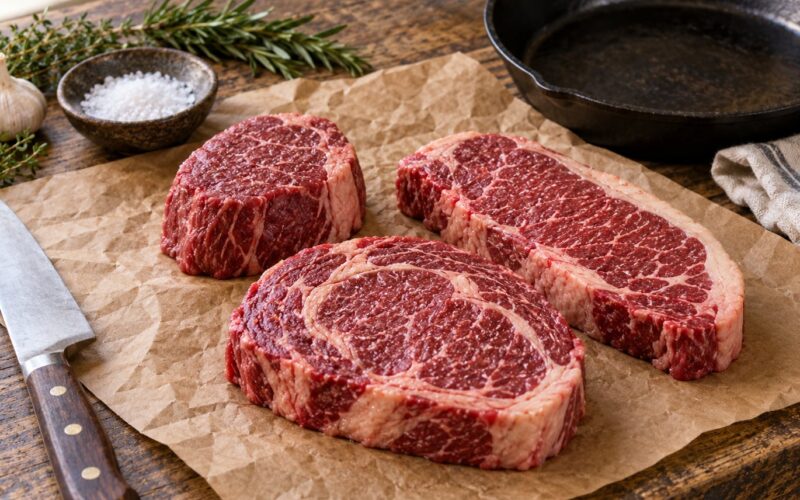
For a hot roast dinner, ribeye and prime rib give you marbling and fat for flavor and a forgiving edge, while top sirloin is leaner, cheaper and still tender enough for a fast roast. Beef tenderloin is the tenderest cut available and the easiest to slice, but it is small, it has almost no fat of its own, and it burns on the outside before the center catches up.
For low, slow cooking, chuck roast and shoulder petite tender bring serious beefy flavor and plenty of collagen. Brisket works in the oven, though it is usually better outside of it, and rump roast is a lean, dependable option that wants a long cook and a decent sauce.
Shape and thickness matter as much as the name. A long, narrow cut like a sirloin tip side or an eye of round is harder to cook evenly than a compact, even muscle, and a chuck is usually a bundle of several muscles that will never slice like a single clean roast-beef slice. Round cuts are also very lean, so they need either a fat cap or a low-and-slow cook to stay juicy.
2. Match Size to Servings and the Pan
A useful starting point is about one-half pound of boneless raw beef per adult for a main course, and about three-quarters pound for a bone-in roast where some of the weight is bone and fat cap. A two-pound boneless roast comfortably feeds four people with sides, or two with a pile of potatoes.
Adjust from there. A holiday dinner where the roast is the centerpiece deserves more generous portions, and a roast served with several other dishes can go lighter per person. If you are planning a second meal from what remains, buy one to one and a half pounds more than the first-night estimate.
Then check the pan. A roast wider than the pan sits in its own juices and steams on the bottom instead of browning, and a bone-in rib roast needs clearance on all sides so you can lift it out whole. Very large roasts are not automatically better value either: they tie up the oven for hours, they crowd a home pan, and the thickest parts lag far behind the thin ones.
3. Check Marbling, Color, and Surface Condition
Fresh beef looks bright cherry red on the cut face, with a moist sheen rather than a dry, dull surface. Fat should be creamy white, and a fat cap should be firm and clean, not yellow, greasy or slick. Look at the underside too, where a cut has often been sitting in a tray.
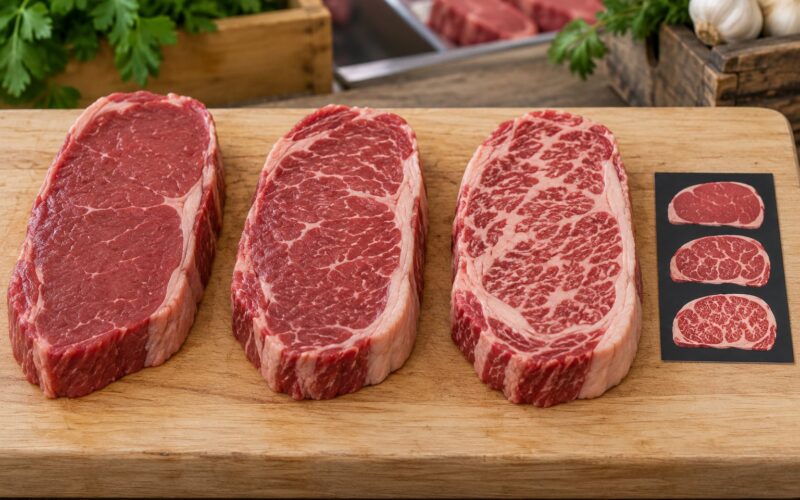
Marbling means fine flecks of intramuscular fat, and the right amount depends on the cut. Ribeye and prime rib should show visible flecks running through the muscle. Top sirloin, round cuts and sirloin tip will be nearly lean, and that is normal. Chuck and rump do not need marbling because their tenderness comes from collagen instead, so do not pass on a well-trimmed chuck for being lean.
Walk away from beef that is brown or grey at the edges, shiny with surface moisture, slimy, or smells sour. Also skip a piece with a large loose flap of fat or a wide dry band of exposed muscle, because that exposed surface dries out before the center is done. An even, compact piece with a modest fat cap is the easiest thing to roast well.
4. Consider Thickness and Shape
Thick does not mean better. It means more time for the outer inches to overcook while the center catches up, and it means a pan that has to be rotated to cook evenly. An even three-and-a-half to four inch roast is the easiest to judge with a thermometer; a six inch chuck roast at the same temperature will pull toward well done long before its middle is tender.
For a very thick or irregular roast, lower the oven a notch, add liquid to the pan so the bottom stays moist, and plan on moving the roast to a heatproof surface for a short blast at the end to build crust. For a thin, wide cut, cook it fast and pull it early, because carryover cooking keeps raising the temperature after the oven door closes.
Probe placement matters too. Push the tip of the thermometer into the thickest part, at an angle, and never let the tip touch bone or the side of the pan, since both give a false reading.
5. Buy From a Seller Who Can Answer Questions
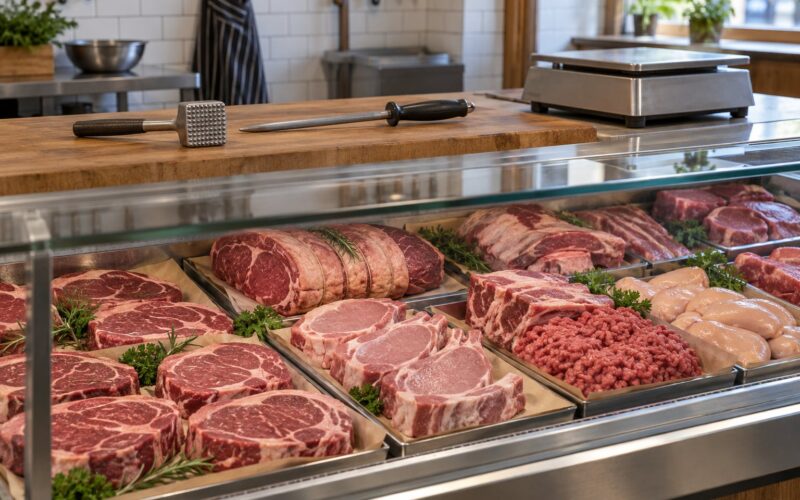
At a market butcher or a staffed grocery meat counter, ask before you point. A short script covers almost everything:
- What is this cut called, and where does it come from on the animal?
- How much does it weigh, and is that trimmed for roasting?
- Is this the same animal as the other cuts in the case, or a different one?
- Is it dry aged or wet aged, and how long?
- What internal temperature do you suggest for the doneness I want?
- How should I store it, and how long will it keep?
Ask about substitutions when your first choice is gone. A butcher can often turn a chuck shoulder into a smaller roast, or split a large eye of round into smaller pieces that cook more evenly, which is exactly what people shopping for a smaller household do with a whole round.
If the case is wrapped and unstaffed, read the label for the cut name, the weight, the pack date and the country of origin, and pick the piece with the cleanest cut face and the least time between the pack date and your cooking date.
6. Plan the Finish and Serving
Decide how the roast gets eaten, because that changes the cut. Slicing calls for an even muscle with a clear grain direction, so it will fall apart cleanly under the knife. Carving a bone-in rib roast looks dramatic but needs a sharp carving knife and a steady hand, so ask the butcher to chine the backbone if you want an easier lift from the bone. Pulling calls for a cut with enough connective tissue to shred, such as chuck or brisket.
Plan seasoning to match the cut. Fatty rib cuts need salt and little else, a lean tenderloin benefits from barding or a compound butter, and a chuck takes bold seasoning and liquid without complaint.
Resting is not optional. A three-pound roast wants roughly fifteen minutes before slicing, and a large one wants closer to twenty-five, because the juice needs to redistribute instead of running onto the board. Pull the roast from the oven a few degrees below your target temperature to account for carryover cooking, then let the residual heat finish the job.
Common Mistakes When Choosing a Roast
Buying the cheapest cut per pound and hoping the oven fixes it. Cheap lean round cuts are a poor choice for a hot roast. The fix is a low-and-slow method, a fat cap, or a different cut. Ask the counter for a chuck or rump roast instead of an eye of round if your oven runs cool.
Ignoring thickness and grabbing the biggest piece in the case. A thick, heavy roast is harder to cook evenly and needs a pan most home ovens cannot accommodate. Choose an even piece that fits your pan with clearance, and let a bigger cut be two smaller roasts instead of one oversized one.
Buying a cut that fights your equipment. A tall bone-in rib roast in a shallow pan will not cook right, and a spatchcocked bird shape for beef is not a home-oven solution. Tip: check the pan against the roast at home before the trip, not at the counter.
Skipping the freshness questions because the counter is busy. Ask two things: the pack date and whether the cut has been sitting under a heat lamp. Beef that has been displayed for days loses its surface color and dries out at the edges, and no amount of marbling compensates for that.
Confusing US and UK cut names. British and Australian shoppers reading US charts need a translation: fillet equals tenderloin, silverside is the round used for roast beef, topside is the top round, and rump maps to rump roast. Checking names before you shop prevents ordering the wrong muscle entirely.
Forgetting to plan the second meal. A roast that feeds four on Sunday can become sliced beef for sandwiches, a hash, or a soup base later in the week, which makes a larger cut easier to justify. Tip: think about the rest of the roast before you decide the size, not after.
Frequently Asked Questions
What size roast should I buy for a family dinner?
Plan on about one-half pound of boneless raw beef per adult for a main course, and closer to three-quarters pound for a bone-in roast where bone and fat cap reduce the edible yield. A two-pound boneless roast feeds four people with sides. For a second meal from what remains afterward, add one to one and a half pounds more than your first-night estimate.
Is more marbling always better for an oven roast?
No. Marbling matters most in cuts you will roast hot and fast, such as ribeye and prime rib, where fat is the flavor and the guard against dryness. Chuck, rump and brisket gain their tenderness from collagen instead, so a lean, well-trimmed piece of those can be the better buy for slow cooking. Judge each cut on its own terms rather than chasing the fattiest piece.
How do I tell whether a roast is fresh at the market?
Look for a bright cherry-red cut face, a moist sheen, firm creamy-white fat, and clean packaging. Pass on beef that is brown or grey at the edges, slimy, or has a dull dried-out surface. Ask for the pack date, keep the meat cold on the trip home, and cook it within three to five days or freeze it on arrival.
Can I freeze a raw roast and cook it later?
Yes. Freeze it at or below 0°F (-18°C) in airtight packaging or a freezer bag, and label it with the cut and date. Thaw it in the refrigerator, which takes roughly a day per pound, so plan ahead rather than thawing at room temperature. Once thawed, cook it within a day or two and never refreeze raw meat you have already thawed.
What is the best roast cut for a roasting pan at home?
For a standard home roasting pan, a top sirloin, sirloin tip roast or small boneless ribeye is the easiest fit and cooks quickly. A bone-in rib roast works if the pan is wide and deep enough that the bones do not touch the sides. A tall chuck roast needs a deeper pan plus liquid, and a very large round roast is better split into two pieces than roasted whole.
How long should a cooked roast rest before slicing?
Roughly one minute per 100 grams, so about fifteen minutes for a three-pound roast and closer to twenty-five minutes for a large one. Rest it on a board or in a warm pan, loosely covered, so the juices redistribute into the meat instead of running out during carving. Slice against the grain afterward, and add a few minutes for a bone-in cut you need to carve rather than portion.
Conclusion
Work through the decision in this order: cooking method, then cut, then size against your pan and guest count, then marbling and freshness, then thickness, then a quick word with the seller. Pick a ribeye or prime rib for a hot classic roast, a top sirloin or tenderloin for speed and clean slicing, and chuck, rump or brisket when you want slow, low cooking and a lot of flavor for the money.
Once it is home, take the roast out of the oven a few degrees early, rest it properly, and confirm doneness with a probe thermometer rather than the clock. Follow the USDA safe minimum internal temperature of 145°F (63°C) for whole cuts with a three-minute rest, and you will have a roast worth serving.