To label homemade food for sale, every package needs a product name, your business name and an address or state-issued identifier, a full ingredient list in descending order by weight, net quantity, and every major food allergen inside the product. Most states also require an exact home-kitchen disclosure sentence, printed word for word. Federal rules set the floor; your state health department sets the final wording, and it changes.
The whole job takes an afternoon once you have a template. The hard part is not printing. It is knowing which of your product’s details are federally required, which are state-specific, and which you can leave off. Get those three groups straight and the label writes itself.
Table of Contents
- What You Need
- How to Label Homemade Food for Sale: Step-by-Step
- How to Label Homemade Food for Sale: Identify the Product and Its Legal Name
- List Ingredients in the Required Order
- Declare Major Food Allergens Clearly
- Check Federal and State Requirements
- Add Nutrition Facts, Net Quantity, and Claims Only When Required
- Add Dates, Storage Instructions, and Disclosures When Needed
- Proofread, Print, and Keep a Record
- Common Mistakes
- Frequently Asked Questions
- Do I need a Nutrition Facts label on homemade food?
- What is the easiest way to check allergens in a homemade recipe?
- Can a home food seller print labels and apply them later?
- Can I sell homemade food at farmers markets or online?
- Where can I find the labeling rules for my state?
- What to Do First
What You Need
Start with the recipe, written down and weighed. If your only record is a screenshot of a video, you cannot list ingredients in the order the rule requires. A kitchen scale that reads in grams and ounces solves most of that problem in one afternoon.
You also need the packaging in hand before you design the label. Label space depends on the container, and a wide-mouth mason jar holds far more text than a small cellophane bag on a cake pop stick. Measure the usable print area of your package, leave a small margin on every side, and design to that number.
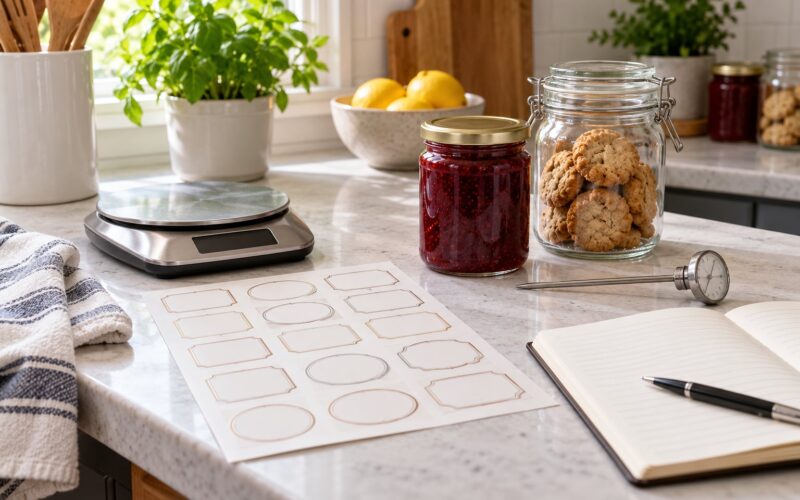
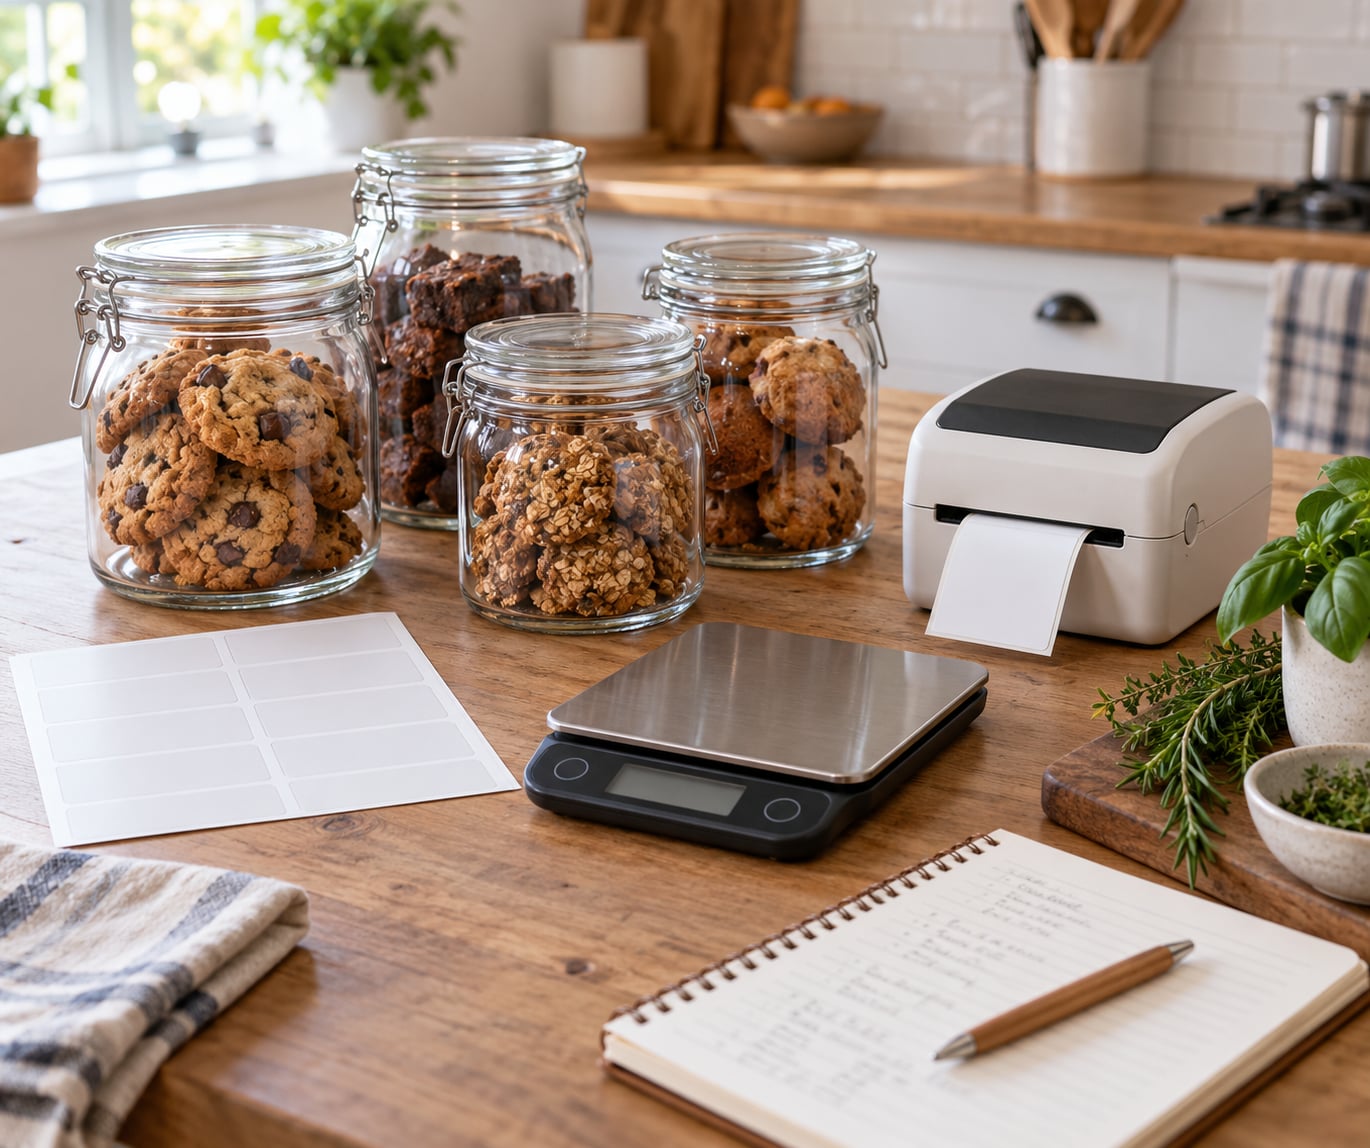
Gather these before you start:
- The recipe with every ingredient weighed, including the sub-ingredients inside any mix, frosting, or marinade
- A kitchen scale, plus measuring cups for the prep work
- Your packaging, and a ruler or tape measure for the usable label area
- Blank label material and a printer, or a design file to send to a label supplier
- Product photos showing the finished item and the packaged item
- A ledger for batches: date, quantity, lot code, and where the labels came from
- The current cottage food labeling page from your own state health department
The last item is the one beginners skip, and it is the one that decides whether your label is legal. State cottage food statutes are amended regularly, and the wording of the disclosure statement is set by law in most states.
How to Label Homemade Food for Sale: Step-by-Step
Seven steps, in the order that saves rework. Set the text first and the printing last, because once labels are on jars, fixing a wording error means peeling them off.
How to Label Homemade Food for Sale: Identify the Product and Its Legal Name
Name the food the way a shopper would find it on a shelf, using its common or usual name. “Chocolate Chip Cookies,” “Sourdough Bread,” and “Strawberry Preserves” all work. What does not work is a name so broad that the customer cannot tell what’s in the package.
Where a federal standard of identity exists for a familiar product, use the standardized name rather than your own wording. A jar of chunky cucumber pickle is relish under the standard, and calling it “Garden Crunch” tells a customer nothing about the contents or the allergens. Your brand name can appear on the label, but it works best as an accent next to the plain name rather than in place of it.
List Ingredients in the Required Order
Ingredients run from greatest to least by weight, which is the part most home recipes get wrong. A sugar cookie recipe written in cups almost never matches its weight order, because a cup of flour and a cup of brown sugar do not weigh the same.
So weigh the whole batch once. Add each ingredient to the bowl and note the number, or calculate from the weight of each container before and after. Then sort your list from heaviest to lightest.
Two rules cover most of the rest:
- Sub-ingredients must be broken out. If you buy a bakery mix, a prepared frosting, a marinade, or a spice blend, every component of it becomes its own line item in your list. “Cake mix” on your label is not acceptable when the mix contains wheat flour, sugar, butter, and baking soda.
- Compound ingredients get parentheses. When an ingredient is itself a mixture, list it and then put its components inside parentheses, or list them separately in the order they appear in the compound.
Include colors, artificial flavors, and preservatives in the list like any other ingredient. Write the statement in a readable typeface at a size people can actually read on the package in front of them.
Declare Major Food Allergens Clearly
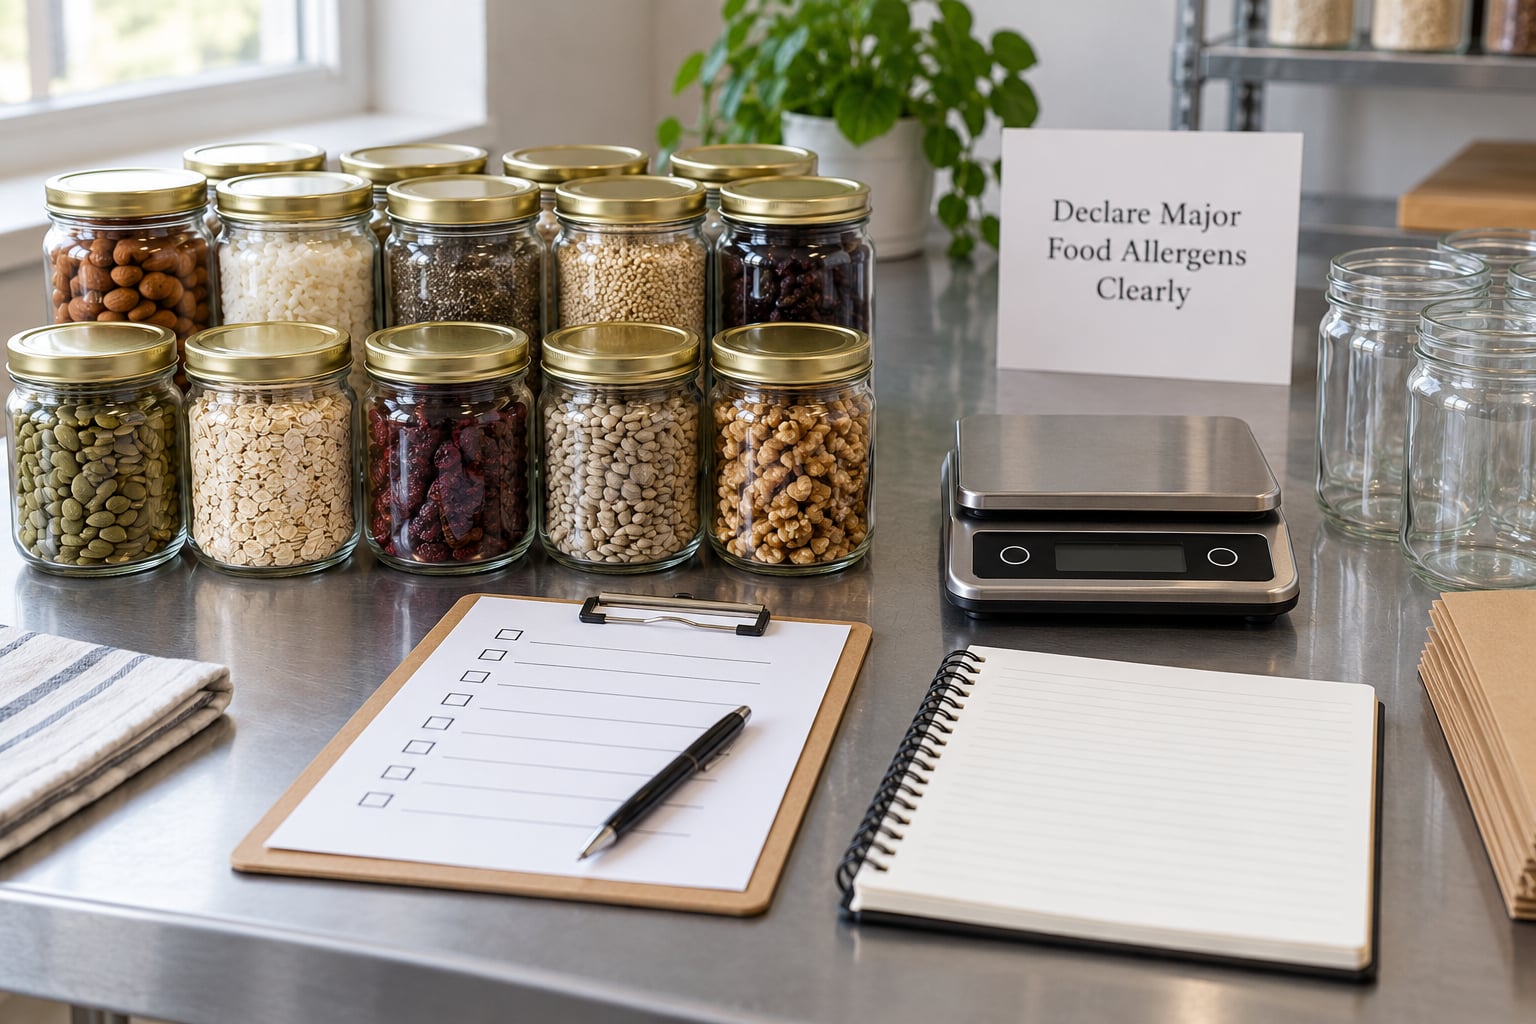
There are nine major food allergens under federal law: milk, eggs, fish, crustacean shellfish, tree nuts, peanuts, wheat, soy, and sesame. If any of them is an ingredient, it must appear on the label.
Federal rules also govern the wording, and two mistakes are common enough to name here. Write Milk, not “dairy.” Write Wheat, not “gluten.” A blanket “may contain” line is not a substitute for declaring what is actually in the product, and several states reject it outright.
For tree nuts, name the specific nut. “Nuts” is not acceptable; “almonds” or “pecans” is.
There are two legal ways to disclose allergens. You can declare them inside the ingredient list, marking them clearly within the parenthesis, or you can add a separate Contains statement beneath the ingredient list. Pick one and be consistent across the whole line of products.
Cross-contact matters too. If you run peanut cookies and gluten-free scones in the same kitchen with shared bowls, utensils, and ovens, that is a real question rather than a paperwork one. Say what your process actually supports, and if you cannot rule it out, do not print a gluten-free or allergen-free claim. Sellers regularly discuss this exact problem in cottage food business groups, and the honest answer is usually to drop the claim rather than argue for it.
Check Federal and State Requirements
Federal rules give you the baseline: identity, ingredient list, allergen declaration, net quantity, and the name and place of business. State cottage food laws add the items that matter most to home sellers, and they vary more than most people expect.
State statutes typically define three things: which product categories you may sell from home, what your label must say, and how the state wants you registered. A state may require a permit or certificate of registration, and the registration number is often used in place of your home address so the state can trace a product back to a source without your address appearing on a jar at a market.
Rules also move. Texas changed its disclosure statement and added a unique identifier option effective September 1, 2025, which is the kind of amendment that quietly invalidates labels printed the year before. Assume any label artwork older than a year needs a check before you use it again.
Verify against your own state health department or agriculture department rather than a national summary. Search for your state’s cottage food operation page, and read the labeling section rather than just the eligibility section. If your county issues its own forms, check those too, and note that a county form that stays silent on labeling does not override the state rule.
Add Nutrition Facts, Net Quantity, and Claims Only When Required
A full Nutrition Facts panel is a federal requirement for most packaged foods, but cottage food operations and small local sellers frequently fall into an exemption, and the exemptions differ by state and by product category. Check whether yours applies before you build a panel from scratch, because a panel that is present but calculated wrong is worse than one that is properly omitted.
If a panel is required, calculate it from the finished product and the declared serving size, not from the recipe box. Serving size, servings per container, and the nutrient amounts all have to agree with each other.
Net quantity is the amount of food in the package, by weight for most packaged items, and it belongs in the lower third of the principal display panel. Count-based net quantity applies to items sold by piece, such as a wrapped box of cookies sold as a unit.
Claims are where well-meaning labels go wrong. Organic, natural, local, gluten-free, preservative-free, and any health claim each carry a legal standard of proof. If you cannot show the documentation behind the claim, leave it off. A “no preservatives” line on a jar of shelf-stable cookies made with commercial dough is a claim you cannot support.
Add Dates, Storage Instructions, and Disclosures When Needed
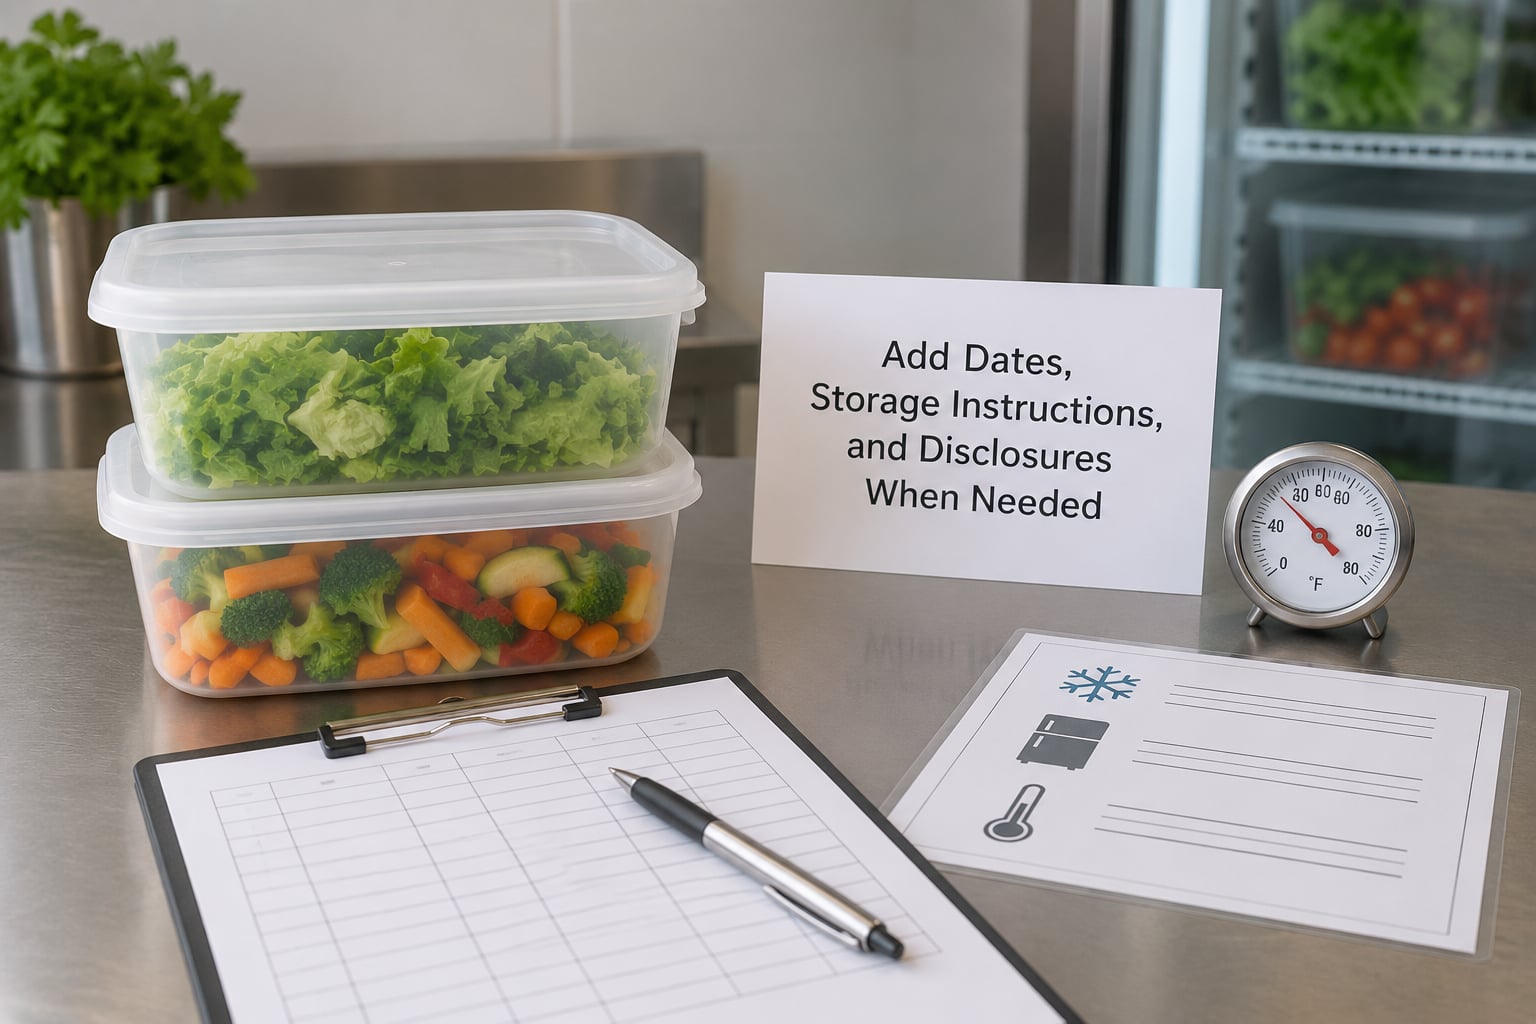
Many states want the date the product was made or the date it was packaged. Use a format people read without guessing, such as “Made 03/14” or “Packaged on March 14.”
A lot or batch code does more than look professional. It is how a recall narrows from every jar you sold to one afternoon of one batch, and it is what a health department will ask for if someone reports an illness. A simple sequential code tied to your ledger works fine.
Shelf-life dates should come from the actual recipe and process, not from a round number a competitor used. Water activity, pH, fat content, and whether the product is refrigerated all change how long it holds. Where a product is time and temperature control for safety, the refrigeration statement and safe handling instructions become part of the label requirements, in the specific wording the state prescribes.
The home-kitchen disclosure statement is the one line you must not improve on. Print it exactly as your state provides it, including capitalization if they require it, and do not paraphrase it into friendlier language. Sellers consistently report that re-worded versions are treated as non-compliant, which is a hard way to learn that a well-meaning rewrite cost you a compliance fix.
Proofread, Print, and Keep a Record
Read the printed label, not the screen. Screen fonts render smaller than they print, and a squeezed ingredient list is the most common last-minute problem.
Run through this list before you stick anything down:
- Product name is prominent and accurate
- Business name, plus the address or the state identifier your state requires
- Ingredient list complete, sub-ingredients included, in weight order
- Allergens declared with the required wording, and no blanket may contain line
- Disclosure statement pasted verbatim from your state’s page
- Net quantity and serving information consistent with the package size
- Date format, batch code, and storage wording legible and unbroken
- Contrast strong enough to read, and the label firmly attached so it cannot peel off in a cooler
Then archive three things per product: the approved recipe with weights, the final label artwork, and the batch log. When an inspection or a complaint comes, those three documents answer almost every question you would otherwise be guessing at.
Sellers in cottage food forums use a hybrid approach that solves the small-label problem well: a simple branded sticker for the front, and a separate compliance label carrying the ingredient list, allergens, disclosure statement, and business information on the back or bottom. It keeps the design simple and gives the legal text room to breathe.
Common Mistakes
Most labeling problems fall into a handful of fixable patterns:
- Missing allergens. The nut was in the frosting, the soy was in the margarine, and nobody checked the recipe changes from last season. Fix: review the recipe line by line against the nine allergens every time the formula changes, not once at launch.
- Ingredients in cup order instead of weight order. Fix: weigh one full batch and sort the list by number. Save that measured list beside the original recipe.
- A copied nutrition panel. Fix: either build the panel from the finished product or confirm your exemption applies. Never reuse another seller’s numbers.
- A vague product name. Fix: use the common or usual name so a customer can identify the food without asking.
- An unsupported claim. Fix: drop any claim you cannot document, and remove the corresponding sticker if the product is already packaged.
- Overlooked state rules. Fix: check the labeling page of your own state health department, not a national summary, and re-check whenever a year turns over.
- An unreadable label. Fix: move legal text to a larger back label rather than shrinking the font until it is technically legible and practically invisible.
A few habits make the rest easier: keep one master label template and duplicate it per product rather than designing fresh each time, label a full batch in one sitting, and print a test sheet on plain paper before you commit a roll of glossy labels. If your state allows a registration number instead of your home address, use it. Sellers dislike publishing a home address, and several states now offer that alternative precisely for traceback purposes.
Frequently Asked Questions
Do I need a Nutrition Facts label on homemade food?
Usually not, and it depends on your state and product. Many cottage food operations and small local sellers fall under an exemption from the federal Nutrition Facts panel. Check your state cottage food rules for the exemption wording, and check whether your product category is covered by it. If a panel is required, calculate it from the finished product with a declared serving size rather than reusing a template or another seller’s numbers.
What is the easiest way to check allergens in a homemade recipe?
Read the recipe line by line against the nine major food allergens: milk, eggs, fish, crustacean shellfish, tree nuts, peanuts, wheat, soy, and sesame. Watch the packaged items you add, since butter, margarine, breading, and stock often carry milk, wheat, or soy. Name the specific tree nut rather than writing nuts, and remember that cross-contact from shared equipment is a separate question from ingredients.
Can a home food seller print labels and apply them later?
Yes. There is no rule against printing your own labels and applying them as you package, which is how most small sellers work. Print a full batch at once, keep unused labels in a labeled folder, and apply them as product goes out. Do not pre-apply labels to packaging you may return to inventory, and do not reuse artwork after your state amends its disclosure wording.
Can I sell homemade food at farmers markets or online?
Direct sales to the consumer, including farmers markets, roadside stands, and many online storefronts, are commonly allowed under cottage food rules. Sales to stores, restaurants, or resellers usually require a different license and often a licensed facility. State law sets the sales cap, the approved product categories, and whether the customer must live in your state, so verify those three points before you set up a stall or a website.
Where can I find the labeling rules for my state?
Start with your state health department or agriculture department and search for the cottage food operation page, then open its labeling section. State extension offices publish clear summaries of the same rules, and both are more reliable than a national article. Download the exact disclosure statement wording from your state and paste it directly into your template, then save the page with the date you checked it.
What to Do First
Four moves, in order. Identify your state and your product category, then confirm your product is eligible and which labeling exemptions apply. Gather the weighed recipe, your packaging measurements, and your state’s exact disclosure wording.
Build one label template, print a single test copy, and check it against the elements above. Archive the approved artwork with its date. Once that first label passes review, the rest of your line-up is a variation on the same file, and you can take it to market.