Learning how to make pie crust that does not shrink comes down to three things: keep the fat cold, handle the dough gently, and weight the shell down in a hot oven. A shrunken crust is not a fluke of your oven or your pan. It is dough that got handled too much, rolled too thin, or heated too gently at the wrong moment.
The good news is that the whole fix takes maybe 20 minutes of extra waiting. You will need a cold block of time, not a trip to the store.
Most home bakers I talk to about crust problems were doing everything right and still watching the sides slump. That frustration is what this guide is built around: the seven steps below, in the order that actually matters, plus a troubleshooting section for when a crust has already gone wrong.
Table of Contents
- What You Need
- Step-by-Step: How to Make Pie Crust That Does Not Shrink
- 1. Keep the Butter and Dough Cold
- 2. Avoid Overmixing the Dough
- 3. Let the Dough Rest Before Rolling
- 4. Roll Without Adding Too Much Flour
- 5. Fit the Crust Without Stretching It
- 6. Chill, Dock, and Blind Bake the Shell
- 7. Cool the Crust Before Adding Filling
- Common Mistakes
- Frequently Asked Questions
- Can you fix a pie crust that already shrank?
- Should I use butter, shortening, or a mix?
- What is the best temperature for blind baking a pie crust?
- Do pie weights matter, and what can I use instead?
- Does vinegar or vodka in pie crust really help?
- Start Here
What You Need
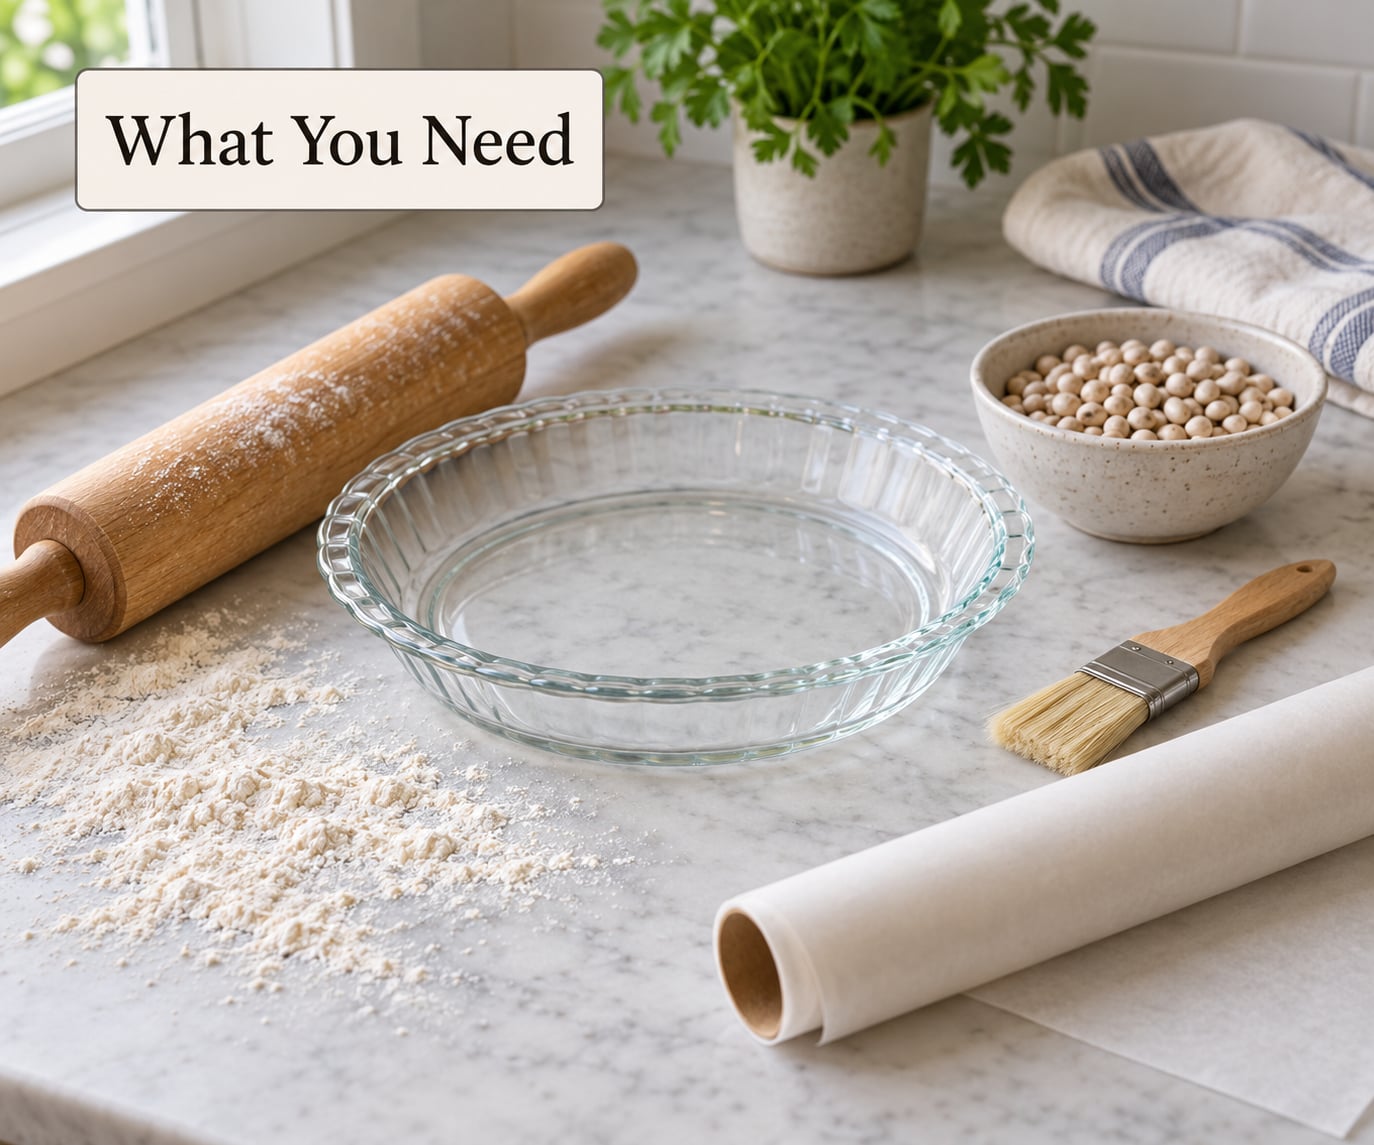
A shrinking crust is a dough-handling problem more than an equipment problem, so your shopping list is short. Everything below you likely already own.
- Flour: all-purpose works for most pies, and a cup of extra for the work surface.
- Fat: cold unsalted butter, shortening, or a mix of both. Butter gives flavor, shortening holds shape.
- Salt: a teaspoon or so. It tightens the dough and seasons it.
- Ice water: measured in tablespoons, added one at a time.
- A pie dish: glass or ceramic. Both bake more evenly than thin dark metal, which is the point here.
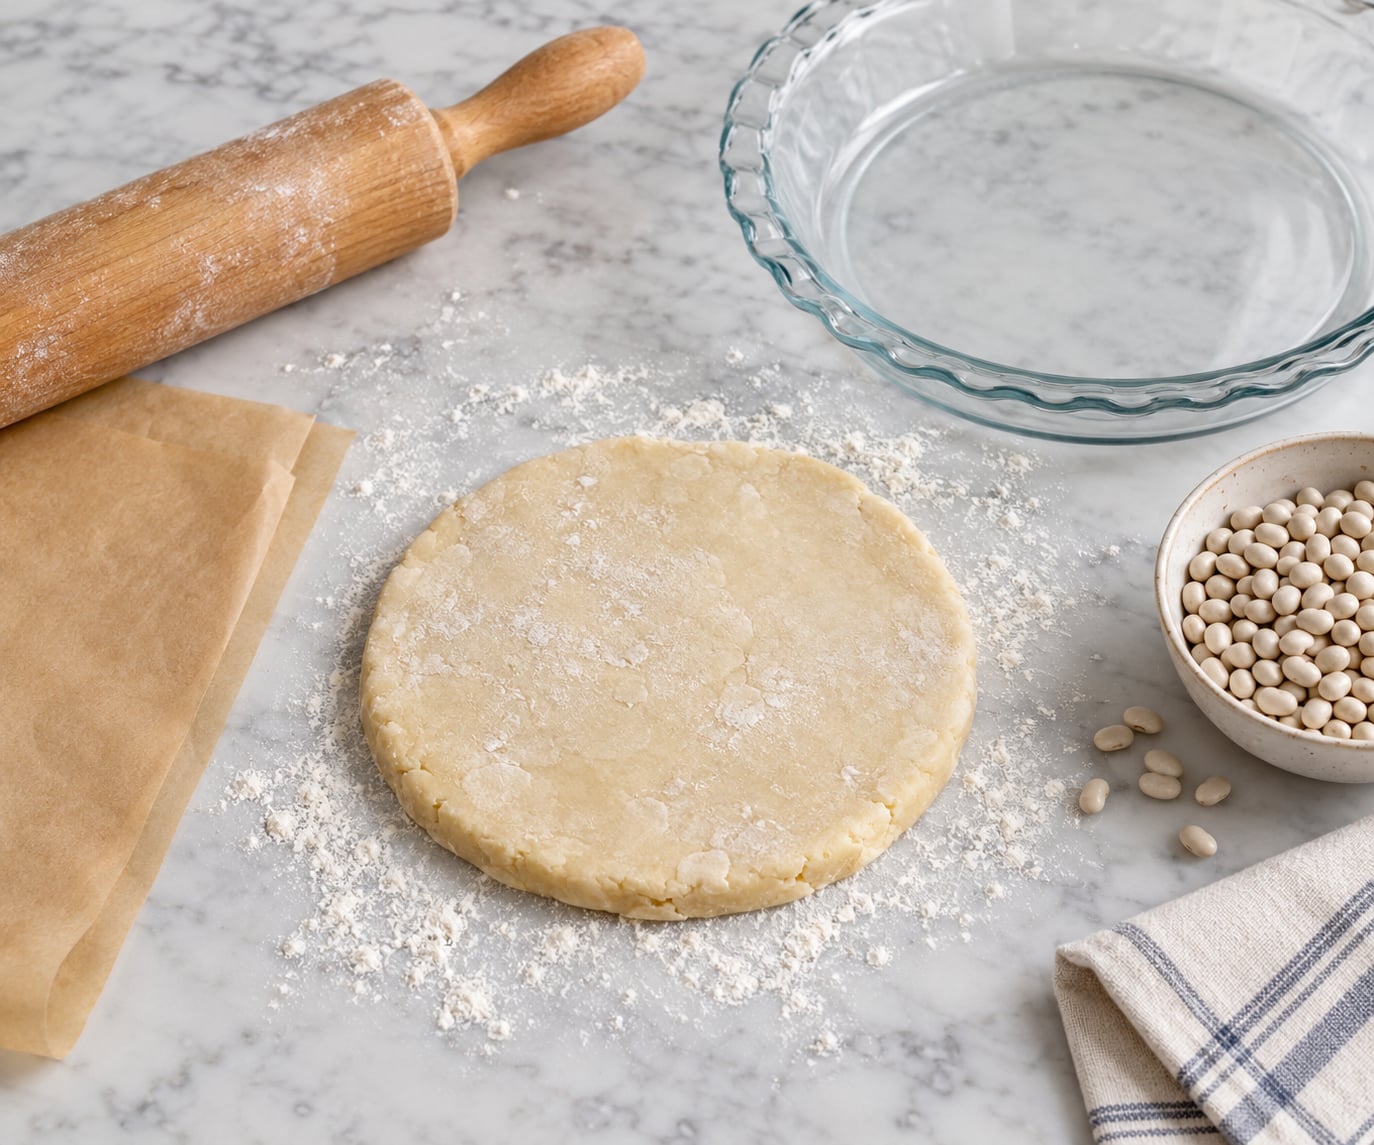
- A rolling pin: any straight one, ideally 14 inches or longer so you can roll one continuous piece.
- Pastry brush: for egg wash and for moistening dough edges when crimping.
- Parchment paper: one large sheet for blind baking, plus a second sheet folded into a collar if your filling is liquid.
- Pie weights or dried beans: about 2 cups. Dried beans are cheaper and work just as well, and you can eat them afterward.
If you are skipping one item, skip the pastry blender and use a food processor or even a fork. Just cut the fat into the flour until no pieces are bigger than a pea.
Step-by-Step: How to Make Pie Crust That Does Not Shrink
1. Keep the Butter and Dough Cold
Cold butter, straight from the fridge, is what makes a crust flaky and what keeps it from slumping. As the fat melts in the oven it creates pockets of steam that push the layers apart, and the butter’s higher melting point means it holds its structure longer than liquid oil does.
Cut the butter into 1/2-inch cubes, then work it into the flour quickly and keep everything cold. Wash the flour down the sides of the bowl with a tablespoon of ice water at a time, stirring with a fork until the dough clumps when you squeeze a pinch. Wrap it and refrigerate for 30 to 60 minutes before you roll.
Cold dough is also firmer dough, and firm dough is dough you can roll without breaking. That is a practical reason to chill even when flavor is not on your mind.
2. Avoid Overmixing the Dough
Do not knead the dough. Pastry is not bread. The flour in your bag has about 10 to 13 percent protein, and when you add water and mix, those proteins link into gluten strands.
You want the minimum network needed to hold together, which is a shaggy, slightly crumbly mass that holds its shape when pressed. Those strands tighten further as they heat, and tightened strands pull inward. That pull is the shrinking.
The sign you stopped at the right moment: the dough holds together in a ball but cracks at the edges when you pinch it. Cracks mean you need one more tablespoon of water, not more mixing.
3. Let the Dough Rest Before Rolling
Resting relaxes the gluten that formed while you mixed. The strands are under tension, and rest lets them loosen so the dough spreads instead of springing back.
Thirty minutes in the fridge is the minimum for a single pie, and an hour is better if you are making multiple. A dough that has rested overnight in the fridge will roll beautifully, so for holiday baking this is the easiest fix on the list.
Store-bought crust discs from the fridge are already rested, so they get a much shorter rest, maybe 10 minutes, just to firm up. Rolling them straight from cold works fine because there is no tension to release.
4. Roll Without Adding Too Much Flour
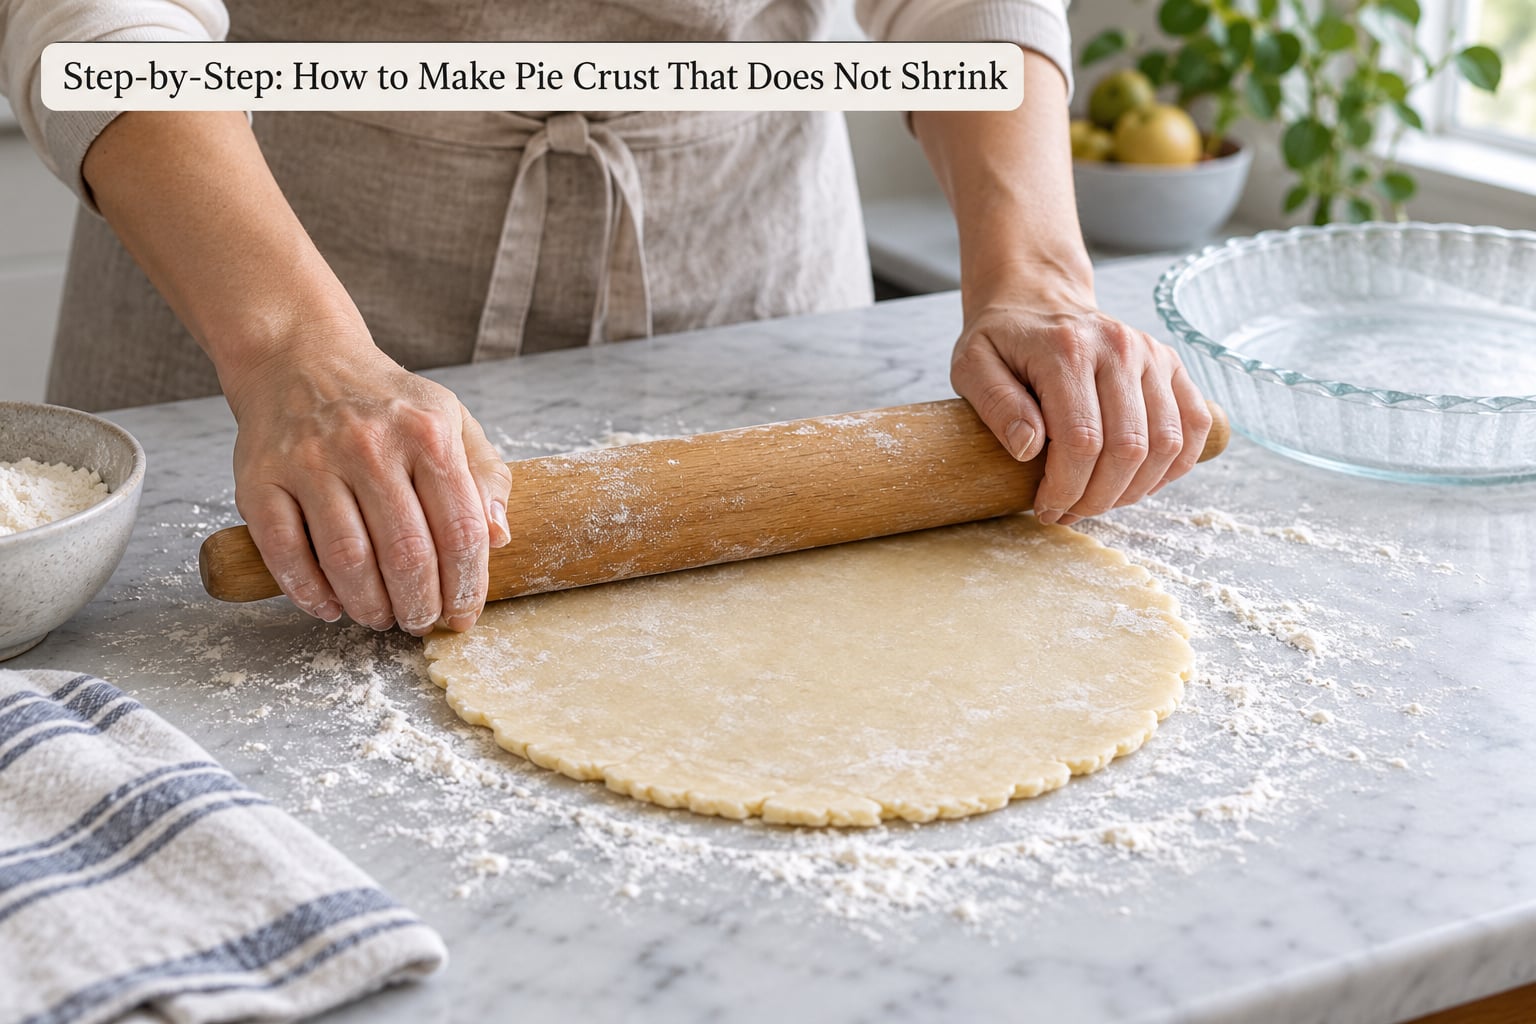
Start in the center of the dough and roll outward in every direction, turning the dough a quarter turn after each pass. Roll from the middle to the edges, never the other way, because pushing the outer edge first stretches the middle.
Keep the thickness even at about 1/8 inch, and use a ruler or a marked rolling pin to check a few spots. A thinner spot bakes darker and sooner, and it shrinks more because there is less structure holding it.
Dough clings to the counter and tears when dry, so the fix is a light hand, not a heavy pour of flour. Tap excess flour off after the second or third pass. Flour you bake in leaves a dry, chalky texture and can brown the crust early.
Check the size before you commit: measure your pan’s rim, then add an inch and a half to 2 inches all the way around. For a 9-inch pan, most bakers land somewhere around a 13- to 14-inch circle. A tape measure and a pencil mark on the counter makes this guesswork into a fact.
5. Fit the Crust Without Stretching It
Lay the dough over the pan and let its own weight drop it in. Ease the sides down with your hands, then gently nudge it into the corners so there is no air pocket.
Do not pull the dough tight against the sides. Anchoring it is not the goal. A stretched section is under tension, and tension releases in the oven heat, dragging the walls down with it. Overhang left slack in the pan actually holds the shell in place more reliably than a taut fit.
Trim the overhang even with the rim of the pan and crimp. If you are baking a filled pie straight through, leave the overhang in place instead of trimming, because that extra dough is what holds the edges up while the filling cooks down.
6. Chill, Dock, and Blind Bake the Shell
Put the shaped crust in the fridge for 30 minutes, or the freezer for 15. This is a second rest, and it firms the fat and relaxes the dough after shaping, right when you need the shell to stay put.
Then dock it. Prick the bottom all over with a fork so steam can escape instead of lifting the base, line with parchment paper, and fill with pie weights or dried beans right up to the edges of the pan. Weights at the edges matter more than weights in the middle, since the sides are what slump.
Bake at 375F for 15 to 20 minutes, remove the weights, pull out the parchment, and bake another 8 to 10 minutes until the edges are pale gold. Some bakers go to 400F for the first 10 minutes to set the butter fast, then drop the temperature. Both approaches work.
Go by color, not the clock. Pale gold at the rim and a dry, sandy bottom means done. If the shell needs more time before you add filling, the bottom should feel dry and firm when you press it with a fingertip.
7. Cool the Crust Before Adding Filling
Set the baked shell on a rack for 15 to 20 minutes before it goes near a filling. A warm shell is still soft, and soft plus wet equals sag.
A cooled bottom has set enough to support the weight of a heavy fruit filling, which is what keeps a pie from collapsing inward in the oven. For custard and cream fillings, cool fully and chill the shell for 20 minutes if you can spare the time.
If you are skipping blind baking entirely, fill the unbaked shell and bake immediately with the filling in place. The filling’s weight does the job of pie weights, which is why pumpkin and pecan pies can go in unbaked, as long as the shell is cold and the oven is hot.
Common Mistakes
Almost every shrinking crust traces back to one of six mistakes. Here is how to tell which one you made.
The dough was warm. Warm fat melts before the structure sets, so the walls slump. Fix: 30 to 60 minutes in the fridge, 15 in the freezer, and grate your butter straight from cold storage if you are in a hurry.
You mixed or kneaded too much. The dough was smooth and elastic when you rolled it. Fix: mix only until the dough holds together. If it is already mixed, rest it 30 minutes longer and roll with a light hand.
You used too much bench flour. The crust came out tough, cracked while baking, or baked pale and hard. Fix: use just enough to stop sticking, brush off the excess, and add a tablespoon of ice water next time if the dough tears.
You stretched the dough into the pan. The sides sank below the rim, or the crust pulled away from the pan wall. Fix: let the dough drop in by its own weight and leave a generous overhang instead of trimming tight.
You skipped the chill after shaping. A shell that goes from rolling to oven in ten minutes has tension in it. Fix: 30 minutes in the fridge or 15 in the freezer while the filling gets ready.
You did not blind bake, or you did not weight the edges. A custard or cream filling in an unbaked shell will slump. Fix: pre-bake, or use dried beans packed firmly up the sides, not just in the middle. Bakers on baking forums report doubling the weights and still seeing the sides drop, so density is not the whole answer, which is why chilling and the overhang matter too.
One more under-rated culprit: pulling on the crust while it is still hot. A warm shell is soft and slightly contracted, so tugging at it while you turn out or crimp sets a smaller shape permanently. Wait for the cool stage, and use a spatula, not a knife, to lift the edge.
For store-bought and frozen crusts, the work is mostly refrigeration. Thaw in the fridge, not the counter, roll it to the size you need rather than using it as-is, and keep the overhang generous. A store-bought disc is typically rolled thinner and drier than homemade, so it has less slack built in, which is why it slumps more often.
Frequently Asked Questions
Can you fix a pie crust that already shrank?
Not once it is baked and set. There is no way to stretch cooked pastry back to size without tearing it, and reheating makes it tough rather than elastic. You can hide modest shrinkage with a thicker crimp, a lattice top, or a generous whipped cream border. For the next pie, work backward through the six common mistakes above, and the shell will hold.
Should I use butter, shortening, or a mix?
Butter tastes best and bakes to a flaky, tender crust, but it melts earlier, so a little shortening added alongside it gives the shell extra structure in the oven. Shortening alone shrinks the least, which makes it the safest option for a first attempt, at the cost of flavor. A two-thirds butter, one-third shortening mix is the compromise most home bakers land on.
What is the best temperature for blind baking a pie crust?
Start at 375F with the weights in place, then finish the exposed shell at the same temperature until the edges look pale gold. Higher temperatures, around 400F or 425F, set the butter faster, which reduces slumping, but they also brown the rim before the bottom cooks through. Whichever temperature you pick, the edges turning golden are the signal that the shell is set.
Do pie weights matter, and what can I use instead?
They matter, because they press the walls outward and stop steam pockets from inflating the sides. Any heavy oven-safe filler works: dried beans, uncooked rice, ceramic pie weights, or even sugar for single crusts. Fill them up to the rim of the pan, since the sides slump more than the bottom. Skip them for double crust pies, where the top dough and the filling do that work.
Does vinegar or vodka in pie crust really help?
A small amount of acid, usually a teaspoon of cider vinegar, does help. Acid slows gluten development, so the dough is less likely to tighten and pull inward. Vodka works on the same principle plus its lower freezing point, which chills the dough faster. Neither replaces chilling, resting, and blind baking, so treat them as supporting moves rather than a fix on their own.
Start Here
If you fix one thing, make it the chill: 30 to 60 minutes in the fridge after mixing, and 30 more after the dough is shaped in the pan. Everything else on this list is a variation on keeping that fat solid and that gluten relaxed. Make it once, feel the difference, and you will never wonder why your crust pulled away from the pan again.