To cook a cheap cut of beef until tender, use low, slow, moist heat: brown the meat, then braise it covered at 300-325F for roughly 45 minutes per pound until a fork slides in with no resistance. Chuck, brisket, shank, short ribs and round all need that kind of treatment, and most of the work happens in the oven or on the back of the stove, not at the sear.
The reason cheap cuts fight back is anatomy, not technique. Muscles a cow uses all day — shoulder, rump, shin — are packed with collagen and sinew, and collagen only turns to gelatin inside a narrow temperature window you cannot reach with a hot pan.
Timing runs from about 2 hours for small cubes of stew meat to 4 or so for a whole brisket, and pressure cookers cut that roughly in half. Budget 15 minutes of hands-on work plus the cooking time, and plan to eat well twice.
Even if you follow every steak rule perfectly, a chuck roast in a screaming-hot pan will come out juicy and still chewy. Plenty of home cooks have hit that wall and blamed their technique, when the cut was the problem all along.
Table of Contents
- What You Need
- Step-by-Step: How to Cook a Cheap Cut of Beef Until Tender
- Choose the Right Cooking Method for Your Cut
- Brown the Beef and Build the Braise
- Cook Covered Until the Beef Is Tender
- Rest, Slice, and Use the Leftovers
- Common Mistakes
- Frequently Asked Questions
- What is the best cheap cut of beef for cooking until tender?
- Can I cook a chuck roast in a slow cooker from frozen?
- Why is my cheap beef still tough after several hours?
- How do I know when a cheap cut of beef is tender enough to eat?
- Does adding vinegar, wine, or tomato make tough beef tender?
- Is pressure cooking beef safe, and what internal temperature should I use?
- Conclusion
What You Need
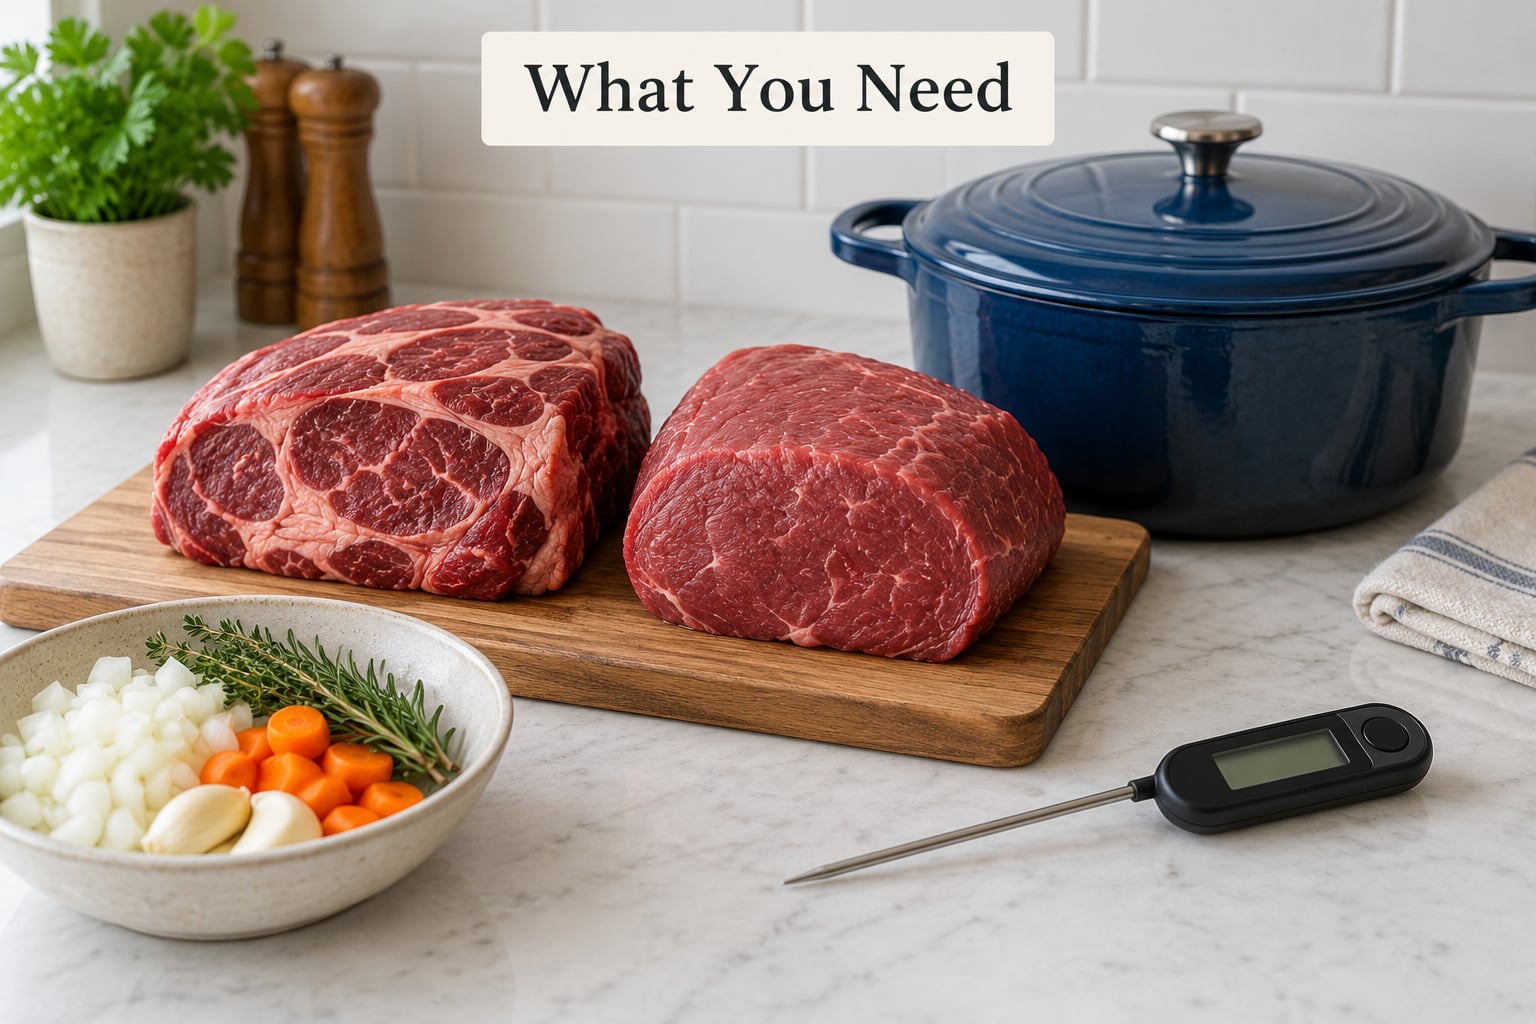
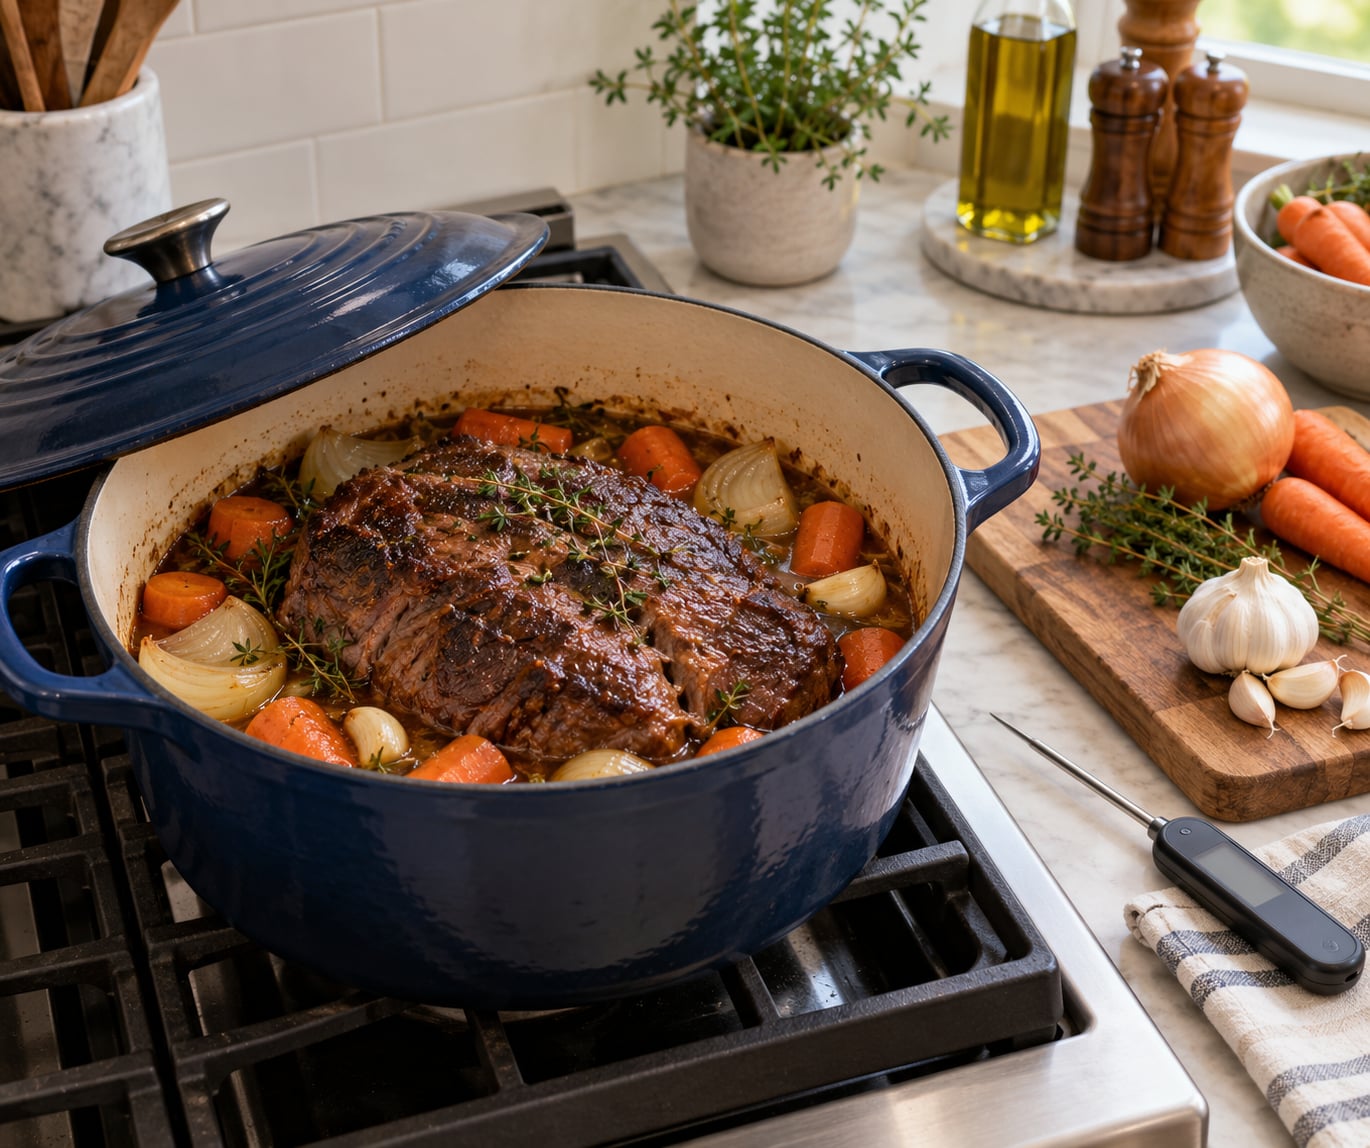
The core tool is a heavy Dutch oven or braising pan with a tight lid. It holds heat evenly, keeps the liquid from reducing away, and lets you go straight from stovetop browning to oven without dirtying two pans.
Beyond that you need an instant-read probe thermometer (a steak sear alone cannot read tenderness), a wooden cutting board, a sharp knife, and a salt box you actually trust. A slow cooker works in place of the oven, and an Instant Pot or stovetop pressure cooker is a real shortcut for weeknights.
For the meat, cheap cuts of beef to look for are chuck roast or shoulder, brisket, beef shank, beef short ribs, top or bottom round, skirt steak, and cubes of stew meat from the counter. Ask the butcher to trim away thick outer fat and loose silver skin, though leaving a little fat is useful for the braise.
For liquid and flavor you want onions, garlic, carrots, celery, a can of tomatoes or tomato paste, and about two cups of beef broth, red wine, or water. An acidic marinade is optional — vinegar, citrus and wine help on the surface but will not turn a tough cut tender, and an overnight soak can leave the meat mushy and bland.
Step-by-Step: How to Cook a Cheap Cut of Beef Until Tender
Choose the Right Cooking Method for Your Cut
Moist heat is the whole trick. Braising holds the meat in liquid at a temperature low enough that collagen slowly converts to gelatin, which is what makes the fibers fall apart instead of fighting your teeth. Marinating alone cannot do this; only time and sustained gentle heat will.
Use this chart as a starting point, then test for doneness rather than trusting the clock. Times assume the meat is at room temperature and the liquid is at a bare simmer.
| Cheap cut | Best method | Time at 300-325F | Pressure cooker |
|---|---|---|---|
| Beef cubes / stew meat | Stovetop simmer or slow cooker | 1.5-2.5 hours | 20-30 minutes high pressure |
| Top round | Braise, then slice thin | 2-3 hours | 25-35 minutes |
| Bottom round | Braise | 2.5-3.5 hours | 30-40 minutes |
| Chuck roast (3 lb) | Dutch oven braise | 3-3.5 hours | 30-40 minutes |
| Beef short ribs | Dutch oven braise | 3-4 hours | 35-45 minutes |
| Brisket (3-4 lb) | Low-and-slow braise | 3.5-4 hours | 40-50 minutes |
| Beef shank | Braise, whole or split | 3-4 hours | 40-50 minutes |
Round and flank are leaner and denser than chuck or ribs, so they benefit from a shorter cook and a thinner slice. Chuck, shank and short ribs can handle a longer braise and reward it with more fat and flavor.
Brown the Beef and Build the Braise
Pat the meat dry with paper towels and salt it on all sides. If you have time, salt it 12 to 24 hours ahead in the fridge and leave it uncovered on a rack — the dry brine seasons the meat all the way through and helps it stay juicy in a long cook.
Heat a little oil in the Dutch oven until it shimmers, then brown the meat in batches. Crowding the pot drops the temperature and steams the beef instead of searing it, which is where a lot of home cooks lose the browning they were counting on.
Take the beef out and let it sit. Cook the onions and garlic in the same pot for a few minutes, then deglaze with broth or wine, scraping the browned bits off the bottom. Those bits carry most of the flavor.
Return the meat to the pot and add enough liquid to come halfway up the side. Add tomatoes or paste if you have them. Keep the excess beef fat in the pot rather than pouring it off; that fat is flavor, not waste.
Cook Covered Until the Beef Is Tender
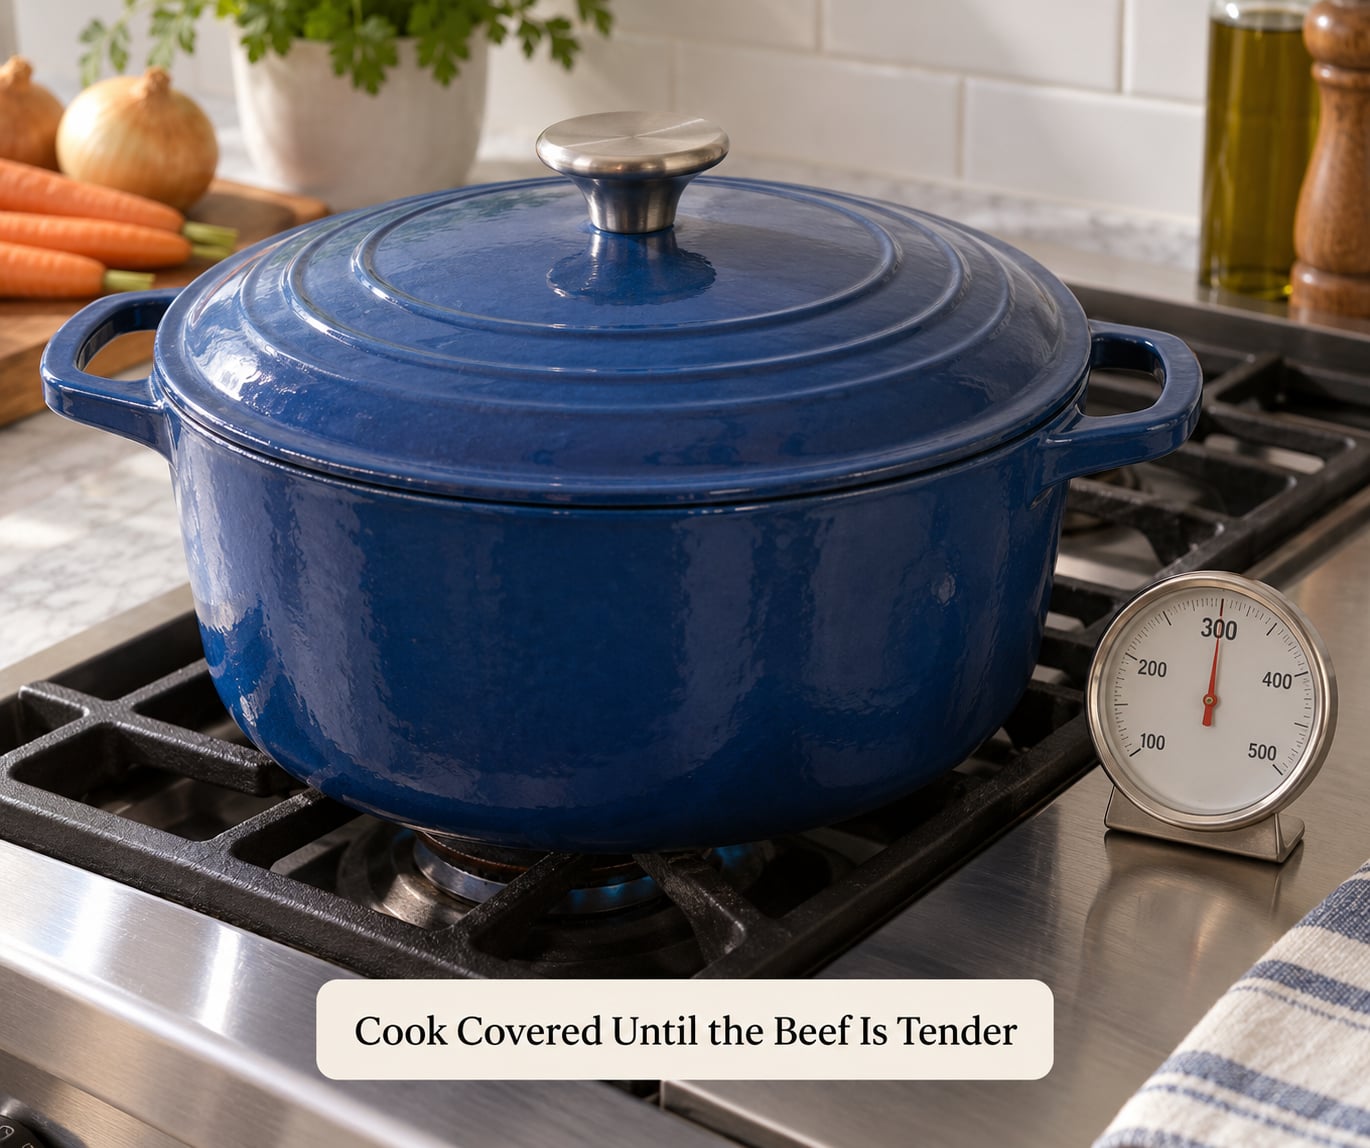
Bring the liquid to a bare simmer, cover the pot, and move it to a 300-325F oven. It should never boil. Boiling water at 212F pushes moisture out of the meat and leaves it dry and stringy, so a lazy simmer with an occasional bubble is exactly right.
For a slow cooker, brown the meat the same way first, then cook on low for 6 to 8 hours. Skipping the browning step is the most common reason slow cooker beef tastes flat rather than deep.
For a pressure cooker, brown the beef, add the liquid so it comes a third of the way up, seal, and cook on high pressure for 20 to 50 minutes depending on the cut. Always add about a cup of cold water to the pressure can, since steam needs something to turn into.
Test for tenderness with a fork or the back of a spoon. It should slide into the meat and go through with no resistance. A probe reading 195-205F (90-96C) in the thickest part is a good backup signal for connective-tissue cuts, far past the 130-135F window where most steaks are pulled.
Watch the clock the other way too. Once collagen has converted, extra hours only make the muscle fibers contract and squeeze out what liquid is left. Experienced cooks on cooking forums put brisket at about 4 hours, and report that a 9-hour braise came out dry and stringy even though it fell apart.
Rest, Slice, and Use the Leftovers
Rest the beef 10 to 30 minutes, longer for large roasts, so the juices redistribute instead of running out the moment you cut. Skipping the rest is one of the clearest reasons braised meat disappoints.
Find the grain — the fine lines running through the meat — and slice straight across it. Cutting with the grain leaves long fibers intact, which makes a tender cut taste tough and is the fastest fix available.
Check temperature one last time with the probe. The USDA recommends that whole cuts of beef reach at least 145F internally with a three minute rest, and most home cooks take collagen-rich cuts well past that for texture. If a tough cut is still chewy at 145F, keep cooking.
Cool leftovers within two hours, refrigerate them covered, and eat within three to four days. Freeze any extra portion flat for up to a few months, and reheat gently with a splash of broth so it does not dry out.
One batch usually pays twice: shred the meat over rice or into tacos, or dice it for soup, pot pie, and sandwiches. It is also the cheapest filling you will find for stuffed peppers.
Common Mistakes
Using a braising cut in a hot pan. A chuck roast or top round seared four minutes a side will taste fine and stay chewy. Searing bakes in flavor, not tenderness, so move those cuts to a covered pot.
Boiling instead of simmering. Hold the liquid around 185-195F (85-90C). A rolling boil is the single most reliable way to end up with dry meat.
Forgetting the salt. Salt before the meat goes in the pan. Unseasoned braised beef, even after four hours, tastes flat no matter how tender it is.
Not enough liquid, or the lid off. If the meat sits in a dry pot with the cover tilted, the sauce burns and the surface tightens up. Add liquid to come halfway up the meat and seal the lid properly.
Cooking far past done. Tenderness arrives in a window, and after it the meat dries out and strings. Check every 30 minutes after the halfway point rather than setting a timer for the full predicted time and walking away.
Slicing with the grain. Rotate the meat 90 degrees before cutting. Same roast, a completely different texture.
Confusing safety temperature with tenderness. 145F is the safe minimum for a whole cut, not the temperature where a tough cut becomes tender. Plan for 195-205F when the texture is the goal.
Leaving the braising liquid behind. Skim the fat, reduce the liquid by half, and spoon it over the meat. That sauce puts back the moisture the long cook pushed out.
When time is short, pick a cut that suits it: cubes of stew meat or thin strips of round sear fast, and a pressure cooker handles a shank in under an hour.
Frequently Asked Questions
What is the best cheap cut of beef for cooking until tender?
Chuck roast is the most forgiving and the most common answer: it is cheap, widely available, full of collagen, and turns into pot roast after 3 to 4 hours at 300-325F. Brisket and beef shank are deeper in flavor but take longer. If you want the fastest results, buy cubes of stew meat or a pack of beef chunks, which go tender in 1.5 to 2.5 hours of simmering.
Can I cook a chuck roast in a slow cooker from frozen?
You can, but thaw it first if you can. Frozen meat cooks unevenly in a slow cooker and is hard to season properly, and the USDA recommends thawing in the refrigerator, not on the counter. Overnight in the fridge works well. If you must cook from frozen, add a longer cook time and check the internal temperature early and often.
Why is my cheap beef still tough after several hours?
Four things cause this most often: you boiled the liquid instead of simmering, you skipped salting, you sliced with the grain, or you used the wrong method for the cut. A hot pan sear on a chuck roast will never tenderize it. Check that the pot stayed at a bare simmer around 185-195F and that the meat was covered. Sometimes the cut simply needs another 30 minutes.
How do I know when a cheap cut of beef is tender enough to eat?
Push a fork or the back of a spoon into the thickest part. It should slide in with no resistance, and larger cuts should begin to separate into shreds. A probe thermometer is a useful backup: connective-tissue cuts are usually tender between 195F and 205F. Rest the meat 10 to 30 minutes before slicing, then cut across the grain.
Does adding vinegar, wine, or tomato make tough beef tender?
Acid helps only on the surface, and it works against a long braise: after about two hours the outside turns mushy while the center is still chewy. Wine adds flavor, and tomatoes add body and acidity that balances rich beef. For real tenderness you need time at low temperature. Baking soda is the one shortcut that genuinely works, at about 1 teaspoon per pound.
Is pressure cooking beef safe, and what internal temperature should I use?
Pressure cooking is safe and fast, and it cannot overcook beef the way a long oven braise can. Brown the meat first, add liquid, and follow the cooker manual for venting. Check the internal temperature after pressure cooking; whole cuts should reach at least 145F with a three minute rest, and connective-tissue cuts usually need 195-205F before they shred.
Conclusion
Start by choosing a collagen-rich cut such as chuck roast or beef short ribs, since lean round and flank are better suited to a quick cook and thin slicing. Salt it well, brown it on all sides, then braise it covered at 300-325F with liquid halfway up the meat.
Stop cooking when a fork slides in without resistance, around 195-205F in the thickest part, rest it, and cut across the grain. Cheap cuts of beef reward patience more than any other cut on the counter, and the leftovers are half the meal.
Updated for 2026. Internal temperatures follow USDA guidance for whole cuts of beef.