To wrap meat for the freezer, press plastic wrap tight against the meat to force out every pocket of air, then add a second airtight layer of freezer paper or a heavy-duty freezer bag. That two-layer seal is what keeps cold, dry freezer air off the surface and stops freezer burn. The whole job takes about five minutes a package.
The part most people skip is the air. You can own the best freezer paper in the building and still end up with a pale, leathery steak in February if a pocket of air got trapped against the meat. Push the air out, label the package, and the rest is straightforward.
Two safety notes before you start, because neither is optional. Wrap meat and get it into a freezer at 0°F (-18°C) or below within two hours of buying or preparing it, one hour if you are outside in hot weather. And wrapping does not rescue meat that has already sat warm too long — no amount of plastic makes that safe again.
Table of Contents
- What You Need
- Which Wrapping Material Should You Use?
- How to Wrap Meat for the Freezer Step by Step
- How to Wrap Meat for the Freezer Based on the Cut
- How to Prevent Freezer Burn
- How Long Can Wrapped Meat Stay Frozen?
- Common Mistakes
- Frequently Asked Questions
- Is it better to freeze meat in aluminum foil or plastic wrap?
- Should I use wax paper or parchment paper to freeze meat?
- Can I put meat in a Ziploc bag and freeze it?
- How long will meat last wrapped in freezer paper?
- Should you freeze meat before you vacuum seal it?
- What foods should never be vacuum sealed?
What You Need
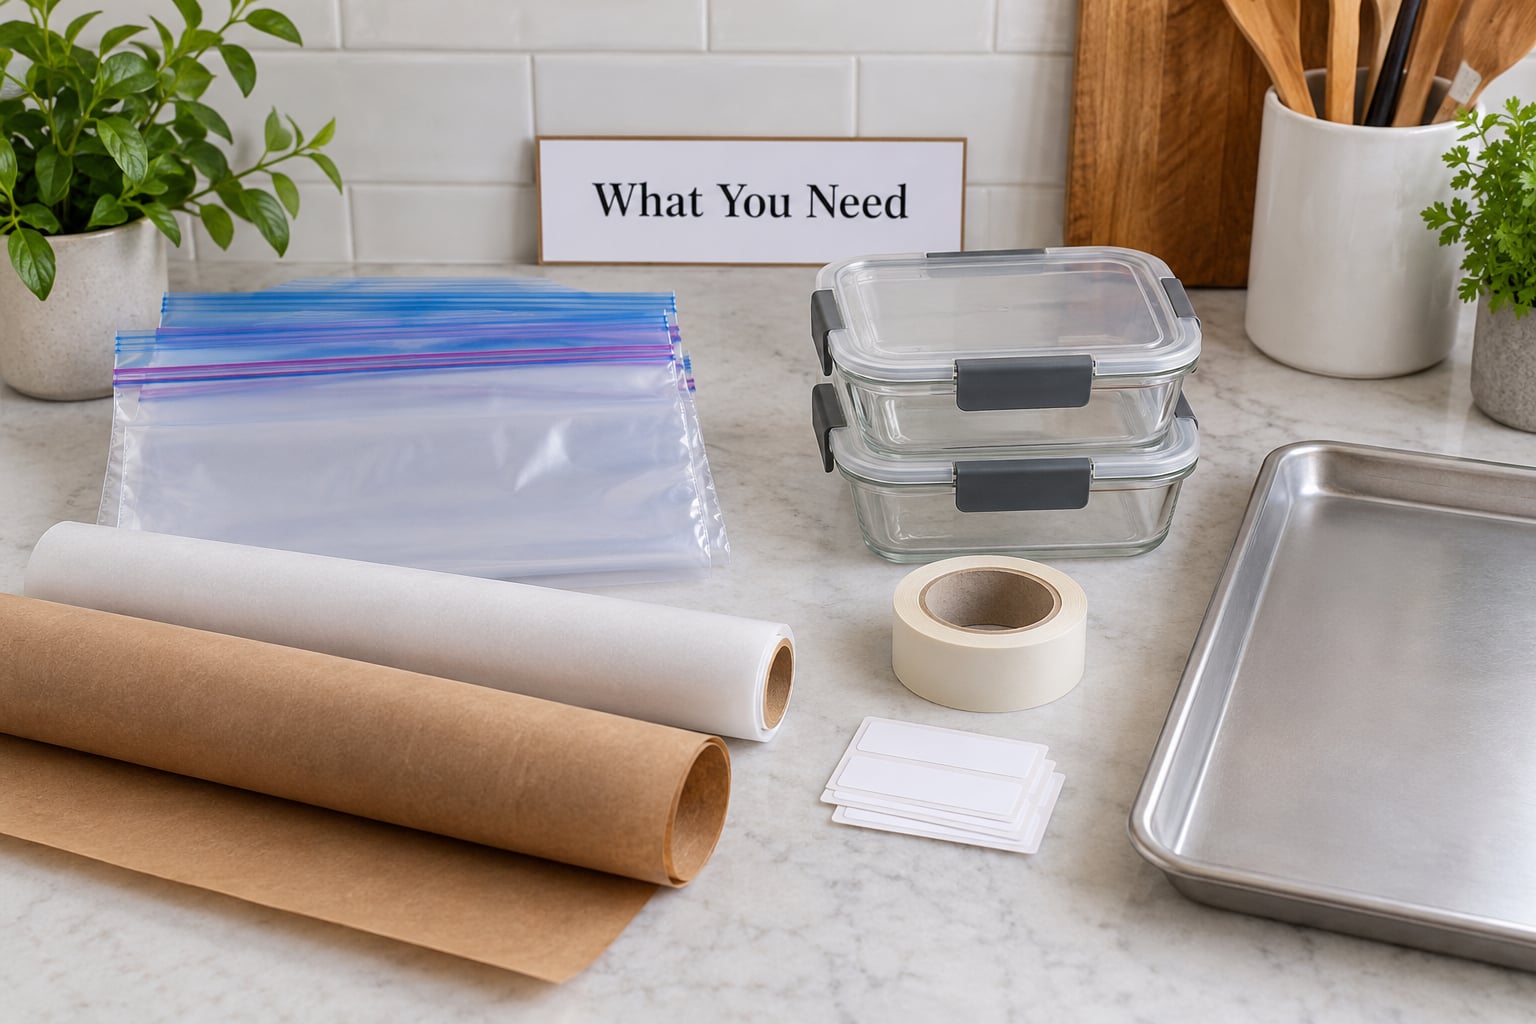
You do not need a full set. Most home freezers do their best work with three things, and the rest are substitutes that cost you a little more protection or a little more plastic.
- Plastic wrap or cling film for the first layer, pressed directly onto the meat. It conforms to odd shapes like a chicken breast or a leg of lamb better than anything else you can buy.
- Wax-coated freezer paper for the second layer, in 2 to 3 mil thickness. Look for the label that says freezer paper, not plain butcher paper.
- Heavy-duty freezer bags as the outer layer when you want the package to sit flat and stack, or when a piece has a strange shape that paper will not wrap cleanly.
- Freezer tape or twine to secure the paper. Masking tape works in a pinch, though it can walk loose after a few months in cold.
- A permanent marker for the label. Regular pen fades, and faded labels are how packages end up in the back of the freezer for three years.
- Parchment or wax paper for separating individual portions, and a parchment-lined sheet pan if you are freezing meals one serving at a time.
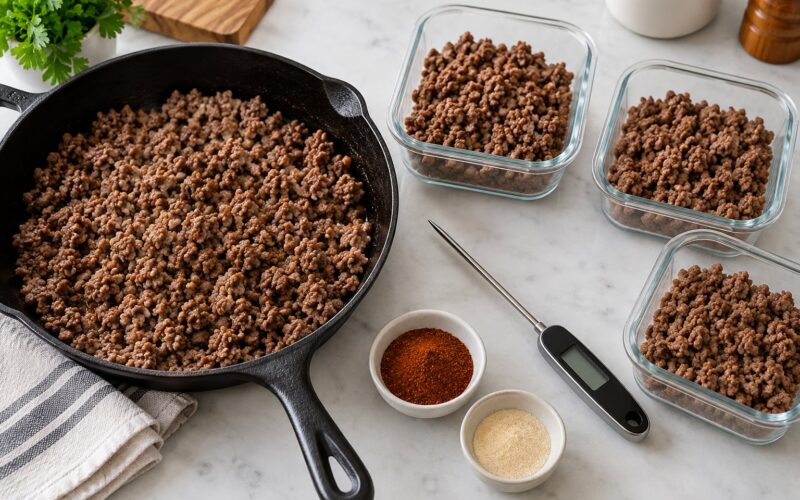
- Airtight containers for cooked meat and for anything you want to stack upright.
One correction worth making early, because you will read it elsewhere: freezer paper is not breathable. The wax coating is deliberately a moisture barrier that slows the drying that causes freezer burn. Plain butcher paper is for wrapping meat at the counter on its way home, not for the freezer.
Which Wrapping Material Should You Use?
| Material | How airtight | Best for | Reusable? |
|---|---|---|---|
| Plastic wrap | Very tight | First layer on the meat itself | No |
| Wax-coated freezer paper | Tight, holds a fold | Outer layer on steaks, chops and roasts | No |
| Heavy-duty freezer bag | Tight if you press the air out | Ground meat, portions, flat stacking | Sometimes |
| Aluminum foil | Very tight | Poultry and anything with a lot of surface area | No |
| Wax or parchment paper | Loose | Separating individual portions | No |
| Airtight container | As good as the lid | Cooked meat, upright stacking | Yes |
| Vacuum-sealed bag | Best available | Bulk buys and long storage | Bag no, sealer yes |
How to Wrap Meat for the Freezer Step by Step
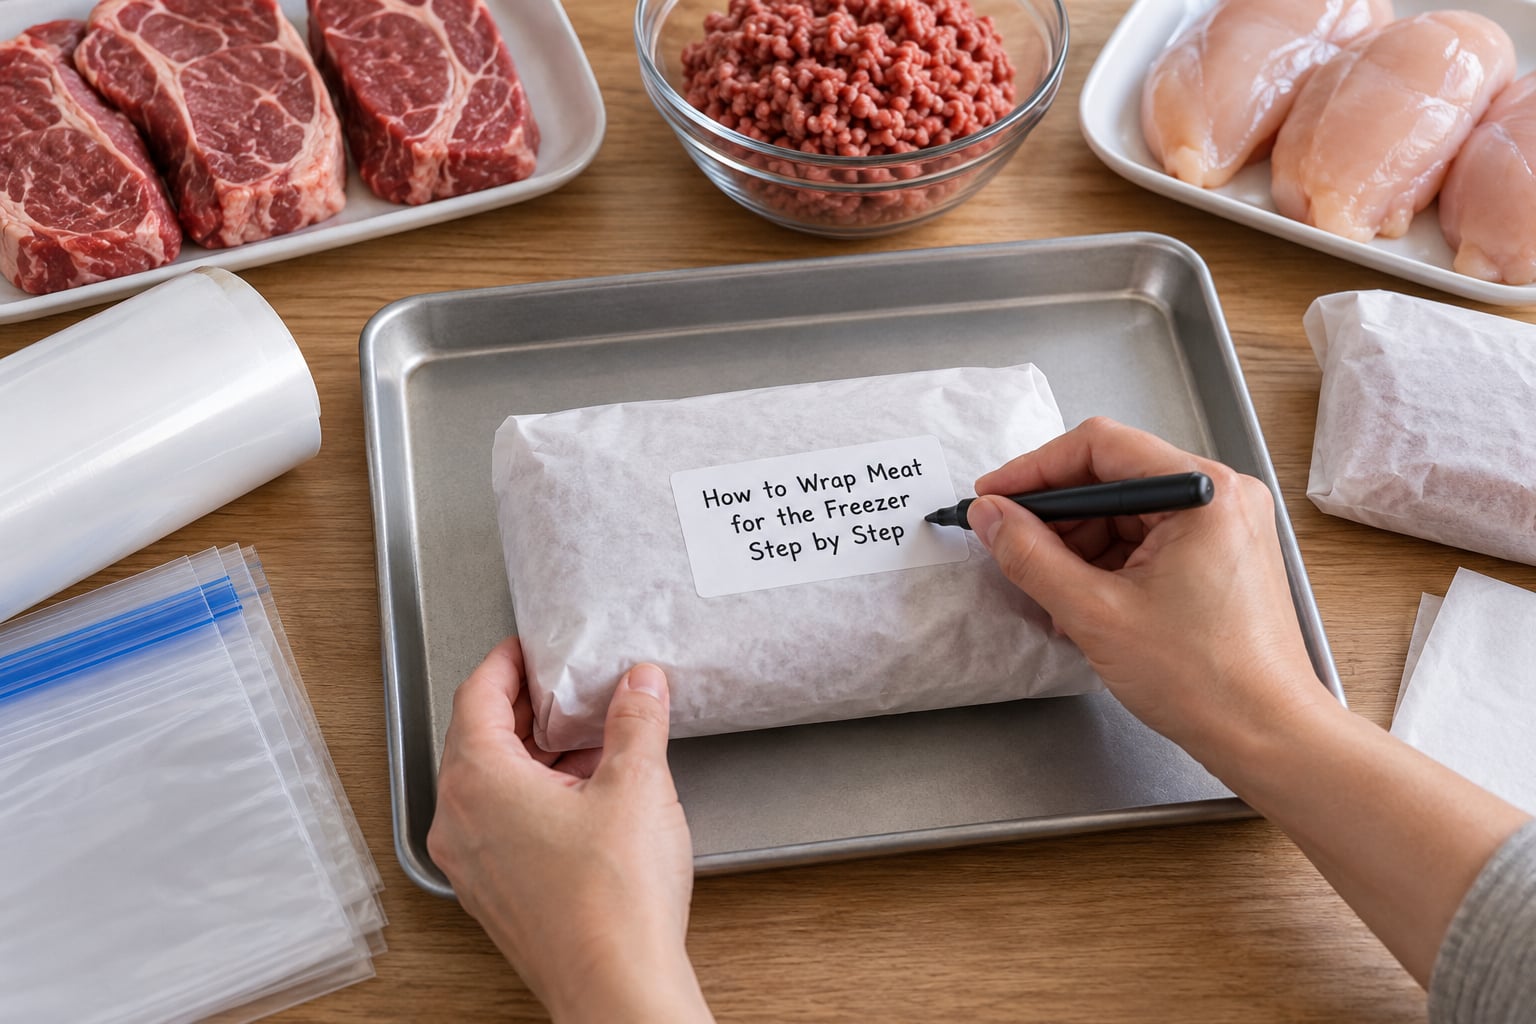
- Prepare and chill the meat. Pat the surface dry with paper towels, trim off loose silver skin if you plan to eat it soon, and divide large pieces into the portions you will actually cook. Chilled meat wraps tighter and crisper than meat straight from the warm box.
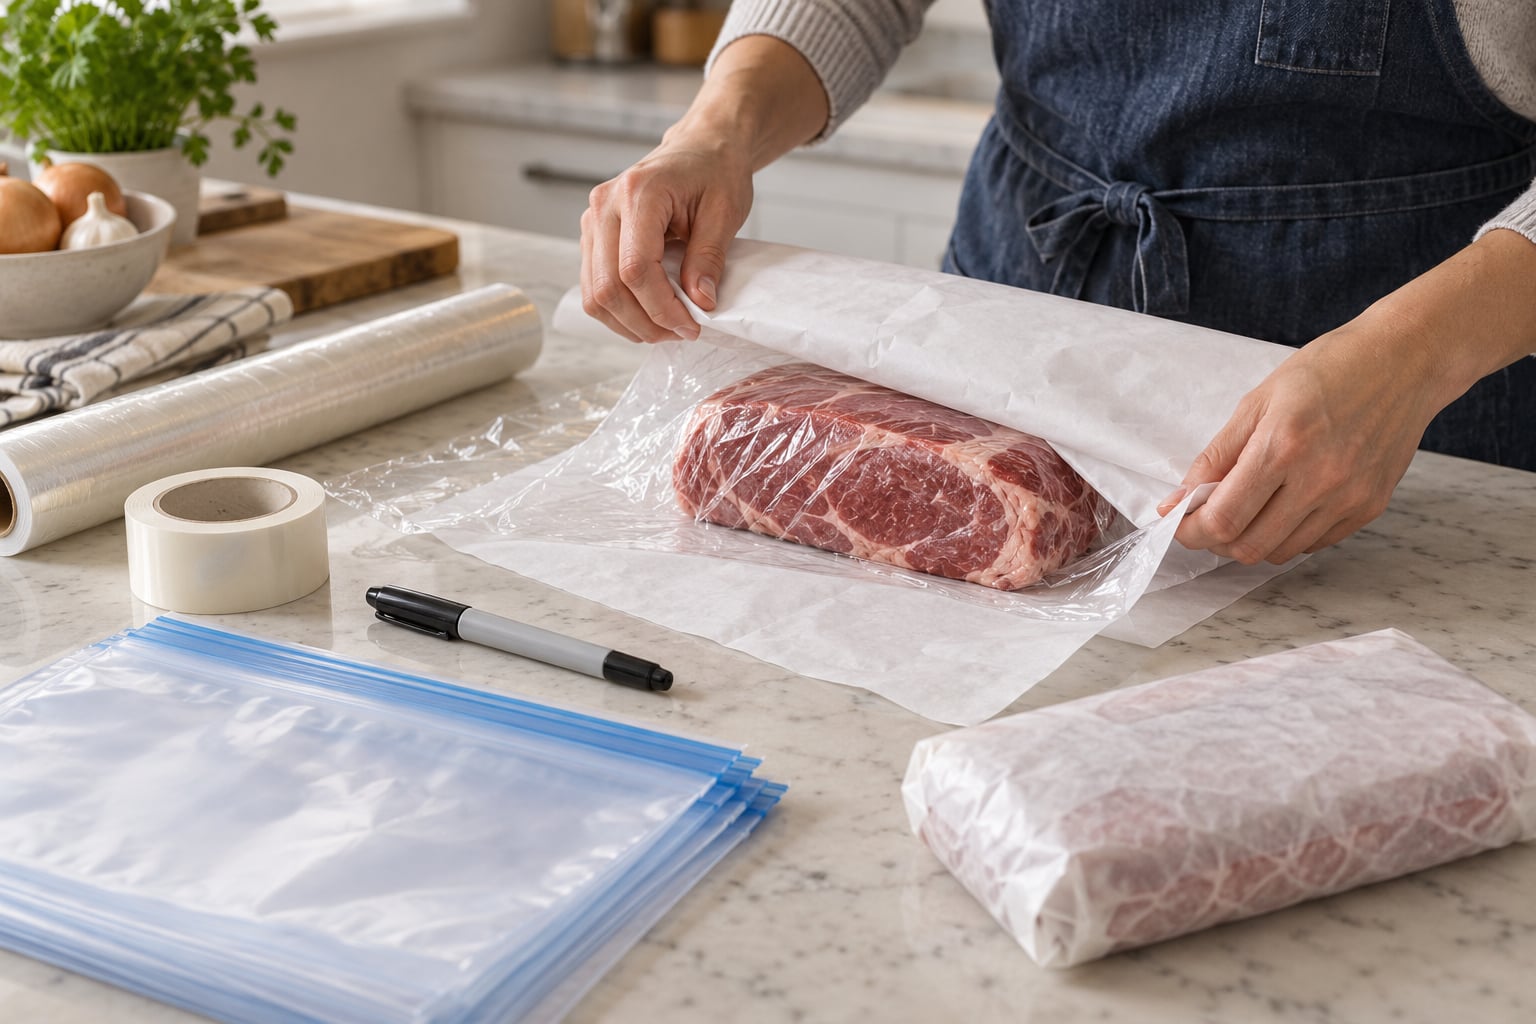
- Wrap the first layer. Press plastic wrap snugly around the meat, working out from the center and pushing air toward the seams. Fold the ends over and smooth them down.
- Add the second layer. Set the wrapped meat on a sheet of freezer paper, bring the paper up and over in a drugstore fold or a straight butcher wrap, then press the air out with your palms before folding the seam. Slip the package into a heavy-duty freezer bag instead if the shape is awkward.
- Secure it. Run a strip of freezer tape along the seam, or tie butcher twine around the middle for a package that will get handled a lot. The seal has to hold for months, so check it once before you move on.
- Label with cut, weight and date. A permanent marker on the outer layer: what it is, roughly how much it weighs, and the date it went in. If you buy in bulk, add the purchase price per pound while you still remember it.
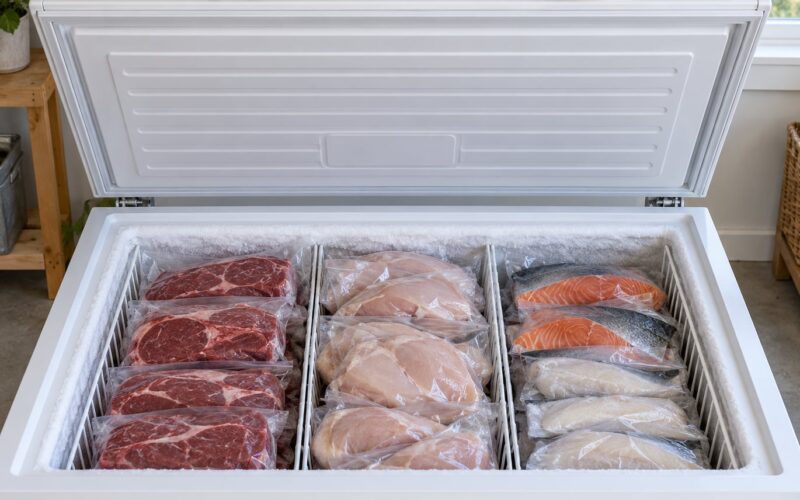
- Freeze promptly. Lay packages flat on a shelf at 0°F (-18°C) or below, away from raw poultry and seafood so nothing can drip onto them.
The drugstore fold and the butcher wrap are the same idea with different geometry. In the drugstore fold you wrap the paper around the meat like a tube, twist the ends closed and lay the seam down. In the butcher wrap you fold the paper flat over the top, crimp the long seam, and tuck the ends. Either works if all the air is out first.
How to Wrap Meat for the Freezer Based on the Cut
Steaks, chops and other flat cuts. These are the easiest. Press plastic wrap onto the meat, then wrap in freezer paper in the drugstore fold. Individual portions stack beautifully this way, and there is no need to double-bag.
Roasts and other big pieces. Wrap in two layers of plastic wrap first because a roast has a lot of odd contour, then take it to freezer paper or foil. Foil does an excellent job on a large roast since it follows the shape and crimps tight at the corners.
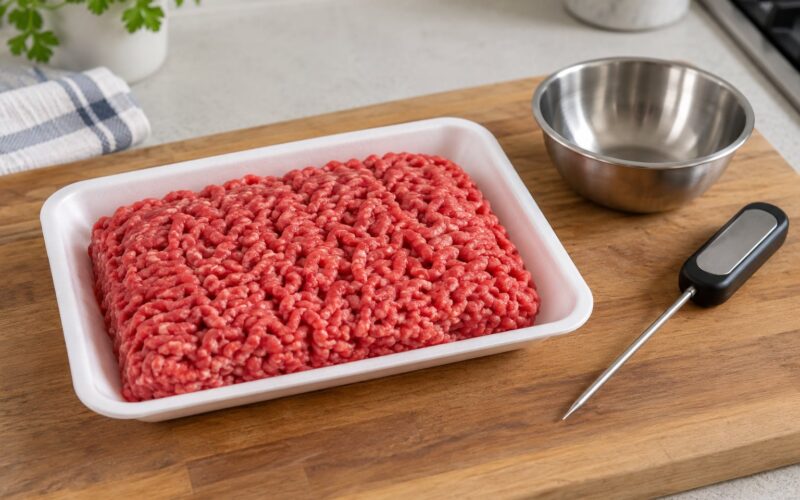
Ground meat. Most ground meat from a market or butcher counter already sits in a tray. Press out every bit of air from the tray, slide the whole tray into a freezer bag inside a second bag, and label it with the weight rather than the count. If you buy ground meat in bulk, press it flat in one layer in the bag first so it freezes as a slab you can snap off portions from, rather than a lump.
Sausages and links. Lay them in a single layer on parchment, roll the parchment into a tube, and put the whole tube in one freezer bag. Home cooks who do this report being able to pull out four or five links at a time instead of breaking apart a frozen block.
Irregular pieces and small portions. Meat off a bone, trim, a partial bag, a single burger patty — small things get lost and get buried. Put each one in a small freezer bag or a square of plastic wrap twisted closed, then drop six or so of them into one larger bag. A layer of parchment or wax paper between the pieces keeps them from fusing.
The related trick worth stealing: if you plan to eat one portion at a time, lay the portions on a parchment-lined sheet pan first, freeze them solid for an hour or two until they are hard, then transfer them to a bag or box. That flash freeze is what keeps Tuesday’s dinner from becoming a cleaver job on Sunday.
Meat bought at a market or butcher counter. Take the meat out of the styrofoam tray and off the butcher paper at home, and never freeze it in the tray. Meat gets stuck to expanded polystyrene, and the tray is a poor barrier on its own. Re-wrap, label, and stack it flat in the bag.
How to Prevent Freezer Burn
Freezer burn is not spoilage. It happens when cold, dry air reaches the surface of the meat and pulls moisture out of it through sublimation, leaving dry, pale, leathery patches. The meat stays safe. It just tastes dry, and nobody wants to pay butcher-counter money for that.
- Seal airtight. The seal has to be continuous. Every gap is a doorway for dry air.
- Push out air pockets. Air is the thing carrying the moisture out. Squeeze the wrap down onto the meat from every side until it looks vacuum-tight.
- Shrink the surface area. A flat steak with one surface facing out dries slower than a lumpy cut with air in the folds.
- Use freezer-grade material. A grocery store bag rated for shopping is thinner than a freezer bag and lets more through over months.
- Keep the freezer at 0°F (-18°C) or below and shut the door. Every time the compressor kicks off and the air warms, moisture condenses on the packages.
- Rotate your stock. Move older packages to the top. They get eaten first and stop being an experiment.
If you would rather cut plastic, reusable containers and wash-and-reuse bags handle most of it, and beeswax wraps hold up well around roasts. The tradeoff is space: rigid containers waste shelf room, and reusable bags need to be laid flat rather than shoved in a pile.
How Long Can Wrapped Meat Stay Frozen?
These are the times at which quality starts to slide, assuming the package is well wrapped and the freezer holds 0°F (-18°C) or below. Safety does not end at the same moment as quality.
| Meat | Best quality | Safe but lower quality |
|---|---|---|
| Beef steaks, chops and roasts | 4 to 12 months | 12 to 18 months |
| Pork chops and roasts | 4 to 12 months | 12 to 18 months |
| Lamb | 4 to 12 months | 12 to 18 months |
| Veal | 3 to 4 months | 10 to 12 months |
| Ground meat | 3 to 4 months | 4 to 5 months |
| Chicken and turkey, whole or pieces | 4 months | 4 months |
| Venison and other wild game | 3 to 6 months | 6 to 12 months |
| Cured meat, ham, sausage | 1 to 2 months | 3 to 4 months |
Thawing is where things go wrong. Put the package in the refrigerator and plan on about a day per pound, or use it straight from frozen in a soup, stew or stir-fry. Cooked meat lasts the same way raw does. Reheat leftovers to 165°F (74°C), cook ground meat to 160°F (71°C), and cook whole cuts, chops and steaks to 145°F (63°C) with a rest.
You can refreeze meat that thawed in the refrigerator, though some texture is lost. Meat that thawed on the counter or in warm water cannot be refrozen safely, and the USDA treats a counter-thawed package as a perishable item that has to be cooked immediately.
Common Mistakes
- Wrapping wet meat. Surface moisture freezes into ice crystals and dry patches later. Pat the meat dry first — this takes ten seconds and it matters more than the brand of paper you use.
- Leaving air in the package. Squeeze the wrap down from the center outward, then re-seal the seam and squeeze once more. You are looking for the plastic to look drawn tight with no soft bulges.
- Using thin grocery bags. Those are built for a trip home from the shop, not for six months in a freezer. Get the heavier freezer-grade ones and double-bag anything irregular.
- Freezing a whole brick of portions. Separate with parchment, flash-freeze on a lined sheet pan first, or accept that you will be swinging a cleaver. It is the single most common complaint from home cooks.
- Not labeling. An unlabelled package is a package you will find in 2026 and throw out. Cut, weight, date, in permanent marker.
- Thawing on the counter. The outer layer warms into the bacterial danger zone long before the center thaws. Refrigerator, cold water in a leakproof bag with water changed every 30 minutes, or microwave straight into the pan.
Frequently Asked Questions
Is it better to freeze meat in aluminum foil or plastic wrap?
Use both, in that order. Plastic wrap goes on the meat itself because it clings to curves and squeezes air out. Foil goes on the outside because it holds a tight crimp and blocks more moisture over months. Neither works on its own for long storage: a single layer of foil tears easily in the freezer, and a single layer of plastic wrap loses grip as it thaws and refreezes.
Should I use wax paper or parchment paper to freeze meat?
Neither is a barrier on its own. Wax paper holds grease back from the meat below it, and parchment works just as well for that job, so use whichever is on hand. The real job of both is separating individual portions. Put your wax or parchment between pieces, then put the whole group inside a freezer bag where it has a proper airtight seal around it.
Can I put meat in a Ziploc bag and freeze it?
Yes, and for many people it is the whole system. Press the air out of the bag before you seal it, get the seal line properly zipped, and double-bag anything irregular or rough-edged so a small tear cannot let moisture in. People report thin bags starting to show freezer burn in about four to six weeks, so if you are storing longer, add a second layer or switch to heavier freezer bags.
How long will meat last wrapped in freezer paper?
At 0°F (-18°C) or below, well-wrapped whole cuts hold their best quality for four to twelve months, and stay safe to eat considerably longer at reduced quality. Ground meat is the shortest window at three to four months for good eating. Poultry is good for about four months. Freezer paper stores meat well; the limiting factor is almost always seal quality and freezer temperature, not the paper.
Should you freeze meat before you vacuum seal it?
Vacuum sealers work best on fresh, not frozen, meat. A frozen piece is hard to fit into a bag, and the machine can pull juice through the seal. If the meat is already frozen, seal it anyway — just expect a messier bag. Vacuum sealing buys you roughly six to nine months for good quality according to home cooks, which is a real gain but not a reason to skip wrapping the meat first.
What foods should never be vacuum sealed?
Raw mushrooms turn mealy and release a surprising amount of liquid under vacuum, and soft or watery fruit like berries and tomatoes collapse. Never vacuum seal anything with dry ice, and do not seal live shellfish. Cooked meat is fine. If you are packaging meat, vacuum sealing is safe — the caution that matters there is removing air and keeping the seal clean, not the food itself.
Start with two things and you will rarely go wrong: get every pocket of air out, and write the cut, weight and date on the outside in permanent marker. Wrap the meat in plastic wrap first, seal it in freezer paper or a freezer bag, and get it into a freezer holding 0°F (-18°C) the same day.