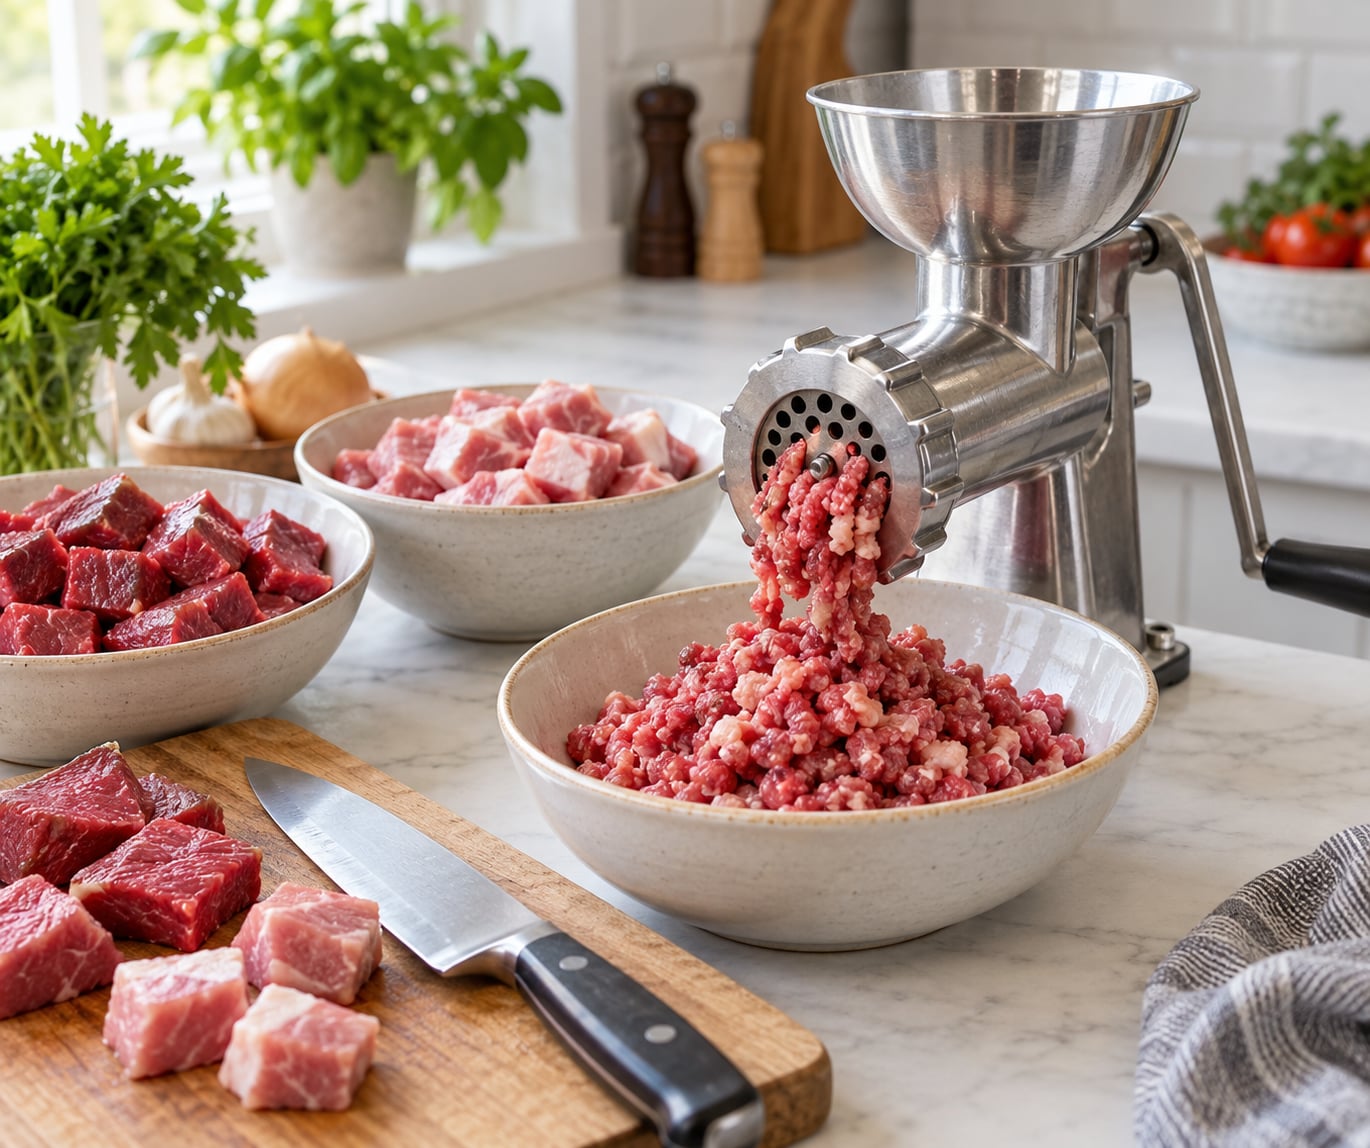
Grinding meat at home takes about 10 minutes of active work, and you can do it with a dedicated meat grinder, a stand-mixer attachment, a food processor, or nothing but a sharp knife. The whole method rests on three habits: keep the meat and the machine cold, cut the meat into even pieces that fit the feed tube, and push it through twice, coarse plate first.
It is worth it. You control the cut, the fat ratio and the grind size, you can pull out the silver skin and gristle that commercial grinds leave behind, and the texture comes out loose and craggy instead of dense. The texture difference is the first thing people notice, not the flavor.
If you shop at a public market and do not want to own a machine, ask the meat vendor to grind you a custom blend at the counter. Most will do it while you wait, and it is a good way to try a blend before committing to a grinder.
Table of Contents
- What You Need
- Pick the machine that fits how often you cook
- How to Grind Your Own Meat at Home Without a Grinder
- Choose cuts for the fat ratio you actually want
- The rest of the kit
- Step-by-Step
- Step 1: Trim the meat
- Step 2: Cut it into even cubes
- Step 3: Chill the meat
- Step 4: Chill the machine parts
- Step 5: Dial in the coarse grinding plate
- Step 6: Grind once and resist pushing
- Step 7: Grind a second time for a finer texture
- Step 8: Form patties with a light touch and store the rest
- Common Mistakes
- Frequently Asked Questions
- What is the best meat to grind at home?
- Should ground meat be washed before grinding it?
- What is the difference between a coarse and fine grind?
- How many times should you run meat through the grinder?
- How long can freshly ground meat stay in the refrigerator?
- Can I grind frozen meat at home?
- Conclusion
What You Need
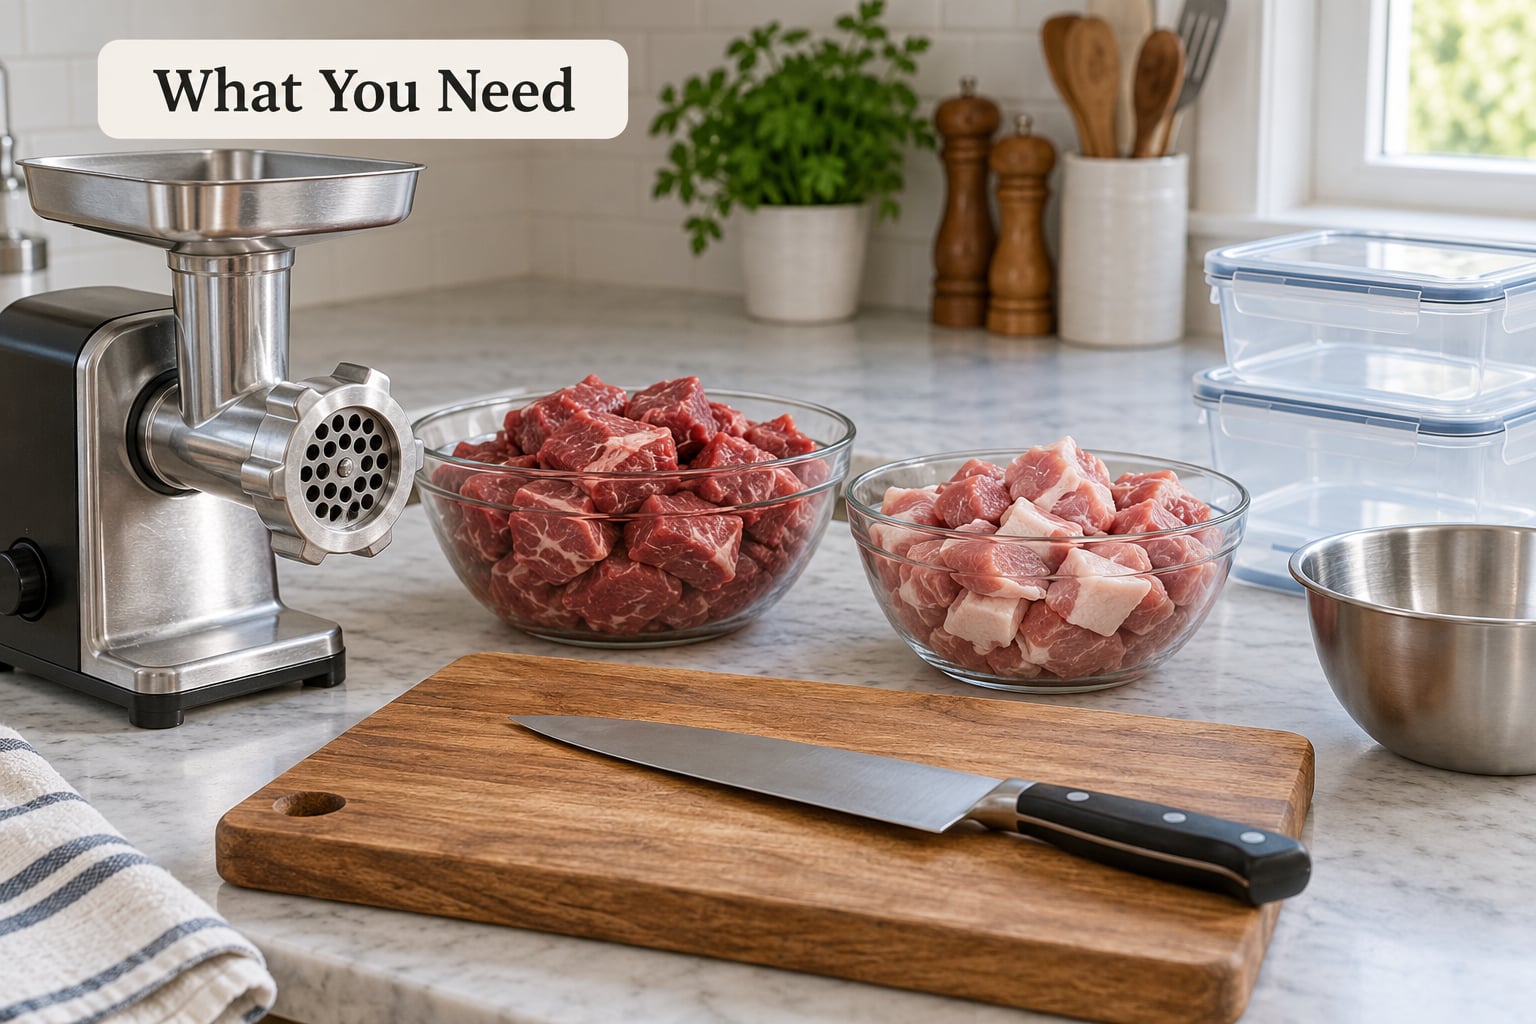
Pick the machine that fits how often you cook
Four options cover nearly every home kitchen. None of them is right for everyone, and the choice matters less than most guides make it sound.
| Option | Grind consistency | Cleaning | Best for |
|---|---|---|---|
| Stand-mixer or drill attachment | Very good, fine control over plate size | Full teardown, many small parts | Home cooks who already own a mixer and grind weekly |
| Dedicated electric grinder | Good, fast on 5 to 10 pound batches | Similar to attachment, larger throat to scrub | Batch grinding and meal prep |
| Manual crank grinder | Very good, total control over speed | Fewest parts, easiest to dry fully | Occasional grinds and small kitchens |
| Food processor | Fair, less consistent particle size | Blade guard traps bits, needs careful scrubbing | Beginners, 1 to 2 pound batches, no new equipment |
A second set of plates and a second shaft is the upgrade experienced home grinders actually recommend, because you can swap between them fast and cold equipment textures better than warm equipment. A cleaner keeps meat below 40 F throughout the session, which matters more than any brand name.
How to Grind Your Own Meat at Home Without a Grinder
The food processor method is slower and the grind is uneven, but it works. Home cooks on cooking forums confirm the result improves a lot if the meat is partially frozen first.
- Trim and cut the meat into 1/2 inch pieces, smaller than you would for a real grinder.
- Freeze the pieces for 20 to 30 minutes, until firm with a light icy crust.
- Load about one quarter of the bowl so the blade has room to work.
- Pulse in 2 to 3 second bursts and check after each one.
- Stop at roughly 20 pulses for a fine result, or earlier for a coarse one.
- Transfer to a bowl, then repeat with the rest of the batch.
For the knife method, dice the cold meat to 1/4 inch, then rock a very sharp knife or a cleaver back and forth across the pile, scooping and re-dicing as you go. It suits a pound or two at most, and the texture is closer to a coarse mince than a true grind.
Choose cuts for the fat ratio you actually want
Fat is flavor, and the ratio you pick decides whether the patties are rich and juicy or lean and dry. Aim for 15 to 30 percent fat for burgers and 20 to 25 percent for sausage.
| Cut | Typical fat | Texture and flavor | Best use |
|---|---|---|---|
| Chuck roast | 15 to 20 percent | Rich, deep, loose craggy grind | All-purpose burger base |
| Brisket | 15 to 20 percent | Beefy, well marbled | Blends, chili, meatloaf |
| Top sirloin | 10 to 15 percent | Lean, mild, slightly firm | Balances a fatty blend |
| Short rib or short plate | 20 to 30 percent | Very rich, soft | Flavor booster in a blend |
| Flank or round | 8 to 12 percent | Lean and tight | Sausage casing, kebabs |
| Fat cap or pork fat | Nearly all fat | No structure, pure richness | Adjusts a lean grind to target |
A widely published butcher blend for 5 pounds is roughly 2.7 pounds chuck, 1.3 pounds clod, 0.7 pounds brisket and 0.3 pounds short rib, which lands close to 80/20. A kitchen scale is what makes a repeat blend repeatable.
The rest of the kit
You need a sharp boning knife and a cutting board with a groove, since slipping on bone ruins a batch. A clean bowl set, paper towels, and a cold plate or tray keep everything at temperature. Pull a bowl of ice water to chill the grinder parts in.
Wash your hands, dry the work surface, and give yourself room. Ground meat goes everywhere fast when you are not ready for it.
Step-by-Step
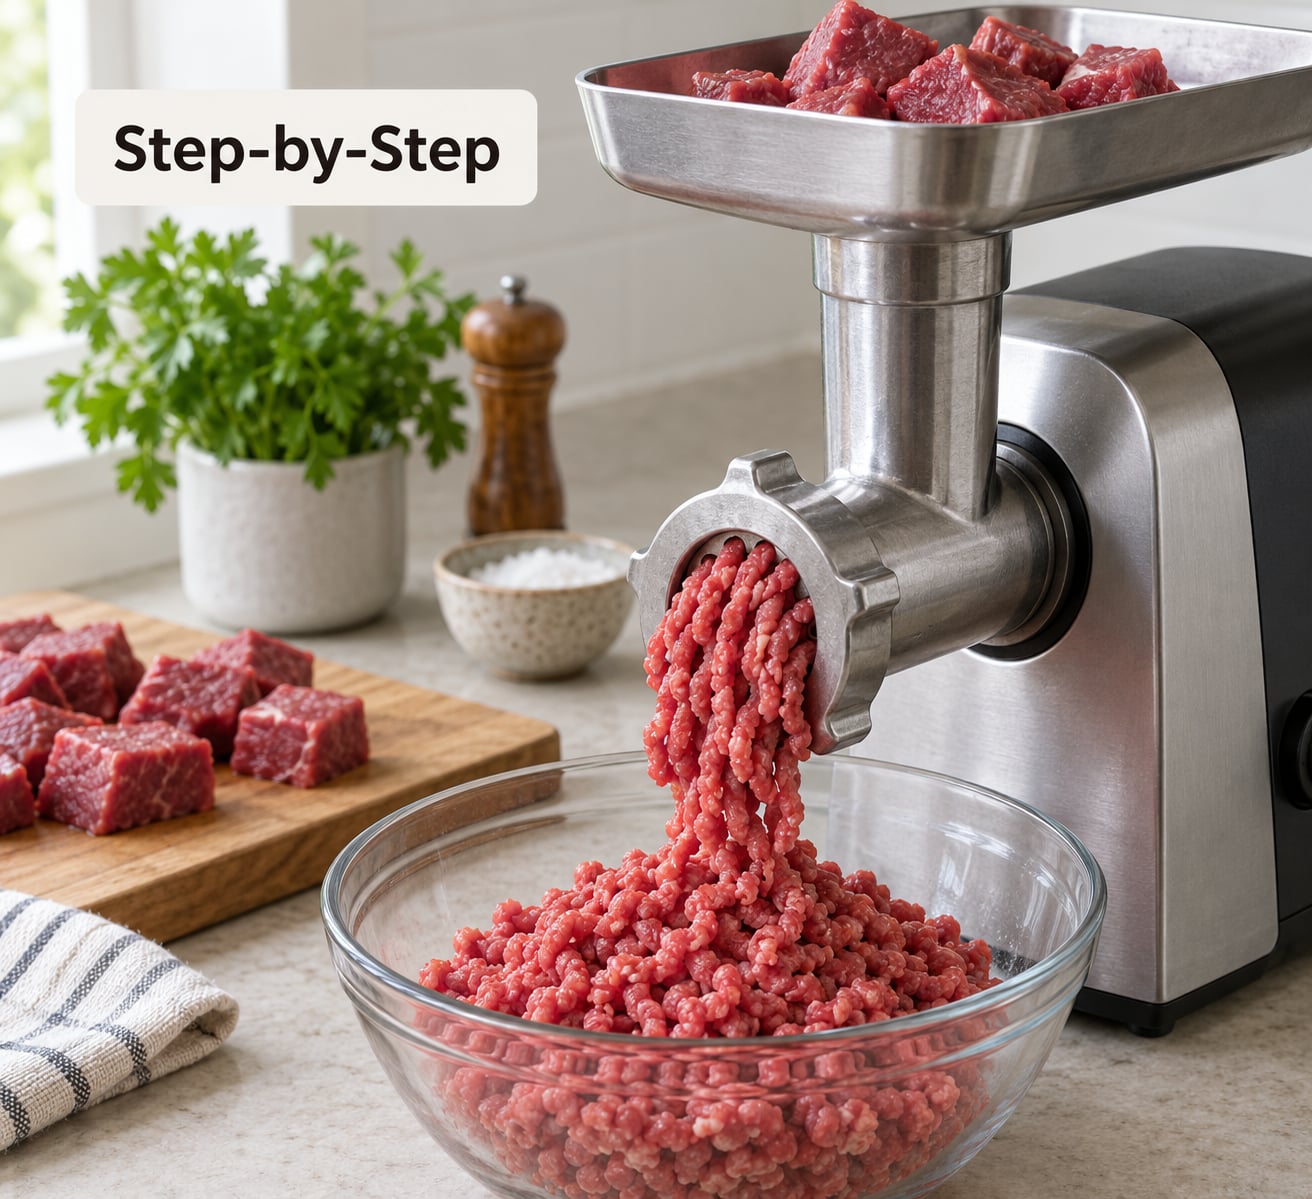
Step 1: Trim the meat
Pull off silver skin, gristle, bone and loose membrane with the knife. Those bits cause most clogs and leave stringy chew in the patties.
Leave the fat that runs through the muscle. Trim away only the thick external fat caps if you want a leaner blend, and keep them for a different batch if you do not.
Step 2: Cut it into even cubes
Cut the trimmed meat into 1 inch cubes for a real grinder, or 1/2 inch pieces for a food processor. Even size matters more than exact size, because the auger feeds what it can grab first and uneven pieces come out uneven.
Cut against the grain where the muscle runs long. The short fibers that result are what make a patty tender.
Step 3: Chill the meat
Spread the cubes in a single layer on a tray and freeze them for 20 to 30 minutes. They should be firm with a light icy crust, not frozen solid.
This is the step that decides the texture. Warm fat melts under friction and smears into a homogeneous pink paste, and paste makes dry patties.
Step 4: Chill the machine parts
Put the grinding plate, plate screw and shaft in the freezer for 30 minutes, or submerge them in an ice-water bath for 45 minutes, which some sausage makers consider colder than the refrigerator. First-time grinders on r/burgers freeze the whole attachment for about an hour.
Advice online conflicts on freezing metal parts. Chilling them right before a session is what home cooks actually do and what improves the grind. What to avoid is freezing a wet, assembled machine for long-term storage and then forcing it open, because trapped ice can crack a housing. Chill it, grind it, dry it, store it.
Step 5: Dial in the coarse grinding plate
Fit the coarse plate first, about 1/4 inch holes, and hand-tighten the plate screw. A loose screw lets meat squeeze past the plate uncut.
Keep the feed tube clear and put a bowl under the plate before you turn anything on.
Step 6: Grind once and resist pushing
Feed the cubes in slowly and use the pusher only to guide. Never put fingers or a hand anywhere near the plate. Pressing harder just splatters ground beef across the kitchen and heats the meat faster.
If the machine clogs, stop it fully, unscrew the plate and clear the head with the pusher. Clogging on a first pass is normal and is usually connective tissue that survived trimming.
Stop while the meat still shows clear particle separation. Homogeneous paste means the grind has gone too far.
Step 7: Grind a second time for a finer texture
Spread the first pass on a tray, chill it again for 10 to 15 minutes, then hand-mix it to redistribute the fat evenly. Cold second-pass meat keeps the fat in distinct pieces rather than smearing it again.
Run it through a medium plate around 1/8 inch for burgers, or a fine plate for sausage, meatloaf and dumpling filling. A coarser grind is better for smash burgers and coarse taco filling.
Step 8: Form patties with a light touch and store the rest
Loosely mound 6 ounce portions and press the center thinner than the edge, about a quarter inch difference, so the patties stay flat on the grill. Handle them once. Overworking the meat squeezes out the fat that keeps them juicy.
Chill formed patties for 20 minutes before cooking. Cold patties hold their shape and crust better.
Season only the outside, with salt, just before the patties hit the heat. Mixing salt in early draws moisture out and tightens the texture.
Keep ground meat in the refrigerator for 1 to 2 days at or below 40 F, or freeze it for 3 to 4 months. Thaw in the refrigerator, never on the counter. Cook ground meat to an internal temperature of 160 F and ground poultry to 165 F.
Common Mistakes
Grinding meat that is not cold enough. This causes the pink paste outcome and the dry patties that follow from it. Fix: 20 to 30 minutes in the freezer for the meat, and chill the grinder parts while the meat rests.
Pushing meat through with your fingers. Beyond the safety risk, it heats and smears the meat and makes a mess. Fix: feed at the pace the machine pulls, and use the pusher only to nudge.
Leaving silver skin and gristle on the cut. Those are what cause repeated clogs and the stringy bite in finished patties. Fix: trim thoroughly before cubing, and run the second pass through your fingers to pick out anything missed.
Overworking the meat. Too many passes, food processor run too long, or patties handled repeatedly all produce a dense, crumbly result. Fix: stop at coarse for coarse recipes, pulse in 2 to 3 second bursts, and touch each patty only twice.
Skipping the coarse pass or the second pass. One pass through a fine plate gives a uniform, tight texture with no variation. Fix: coarse plate first, chill, hand-mix, then the finer plate.
Not cleaning the machine right away. Fat residue turns rancid and gums up the plate holes within hours. Fix: disassemble completely right after the last batch, wash the parts in hot soapy water, and dry them fully before storing. Many grinders are not dishwasher safe, so check the manual.
One last habit that pays off later: grind a first small batch of 2 pounds of chuck before committing to a big buy. It tells you how your machine handles fat, and how you like the texture, in about 20 minutes.
Frequently Asked Questions
What is the best meat to grind at home?
Chuck roast is the safest first choice for a beginner because it carries about 15 to 20 percent fat and grinds loose with forgiving texture. Brisket and short rib add deeper flavor and extra fat, while sirloin at 10 to 15 percent balances a rich blend. Avoid very lean round and flank as a base unless you plan to add fat back, since lean meat alone makes dry patties.
Should ground meat be washed before grinding it?
No. Rinsing raw beef or pork spreads bacteria across the sink, the surface and your hands, and cooking is what kills them, not washing. Pat the meat dry with paper towels after trimming instead. That also gives the surface a little grip, which helps the cubes feed into the grinder evenly without sticking to the cutting board.
What is the difference between a coarse and fine grind?
A coarse grind, roughly a quarter inch, keeps visible pieces of meat and fat, which is what you want for smash burgers, chili and taco filling. A fine grind, around an eighth inch or smaller, blends seamlessly and works for sausage, meatloaf, meatballs and dumpling filling. Grind coarse first and fine second when you want an even texture throughout the batch.
How many times should you run meat through the grinder?
Two passes is the standard for burgers and sausage: a coarse plate first, then a chill, a hand-mix and a finer plate. A third pass is useful only for emulsions like hot dog or bologna sausage, where you want no visible particles. Every extra pass warms the meat, and that is where texture starts to suffer and patties turn crumbly.
How long can freshly ground meat stay in the refrigerator?
Keep ground meat at or below 40 F for 1 to 2 days, whether you ground it or bought it. Freeze it at 0 F or below for 3 to 4 months for best quality, and label the container with the date. Thaw in the refrigerator rather than on the counter, and cook ground meat to 160 F before serving.
Can I grind frozen meat at home?
Frozen solid meat will not work. It chips the blade, stalls the motor and clogs the plate. What you want is meat chilled to about refrigerator temperature or a little colder, which takes 20 to 30 minutes in the freezer and leaves the cubes firm with a light icy crust. That chilled state is exactly what keeps the fat solid instead of smearing.
Conclusion
Start small. Buy 2 pounds of chuck roast, trim it well, cut it into even 1 inch cubes and chill both the meat and the grinder parts for about 30 minutes. Run it through the coarse plate once, chill again, hand-mix, then finish on the finer plate.
Handle the meat gently, season only the outside, and keep the result cold from the counter to the freezer. Once you have a coarse batch down, the same routine handles a custom 80/20 blend, ground pork for sausage, or trimmings you did not want to waste. If you would rather test the idea before buying equipment, ask the meat vendor at your market to grind a small blend for you at the counter.