Breading falls off oven fried chicken for three reasons: the chicken is wet, the coating has no sticky layer to grab onto, or the crumbs were never pressed on firmly enough. Pat the chicken dry, work in the order flour then egg then crumbs, press the coating down with your fingertips, and let it rest 15 to 30 minutes before it hits a 425F oven. That is the whole fix. It takes about 30 minutes of hands-on work and no deep pot of oil.
I have to set expectations honestly before we start. Oven fried chicken will never crunch quite like chicken that has been through a fryer, and no technique closes that gap completely. What a hot oven does well is brown, dehydrate and crisp the outside of the coating while keeping the inside of the meat juicy. It is a different kind of crust, more like a well-made roasted chicken than fast-food fried chicken.
If you have been searching how to oven fry chicken without breading falling off, you are probably cooking at too low a temperature, crowding the pan, or flipping the pieces before the coating has set. All three are fixable.
Table of Contents
- What You Need
- Step-by-Step
- Step 1: Dry and Season the Chicken
- Step 2: Set Up a Sticky Coating
- Step 3: Bake Without Moving the Chicken
- Step 4: Check the Chicken and Finish It
- Common Mistakes
- Frequently Asked Questions
- Should I let the breading rest before baking oven-fried chicken?
- Why does my chicken breading fall off after flipping?
- Do I need to spray oil on the breading before baking?
- Can I oven fry chicken on parchment paper instead of a baking sheet?
- How long should I bake chicken cutlets, breasts, and drumsticks?
- What is the safe internal temperature for oven-fried chicken?
- Before You Start Cooking
What You Need
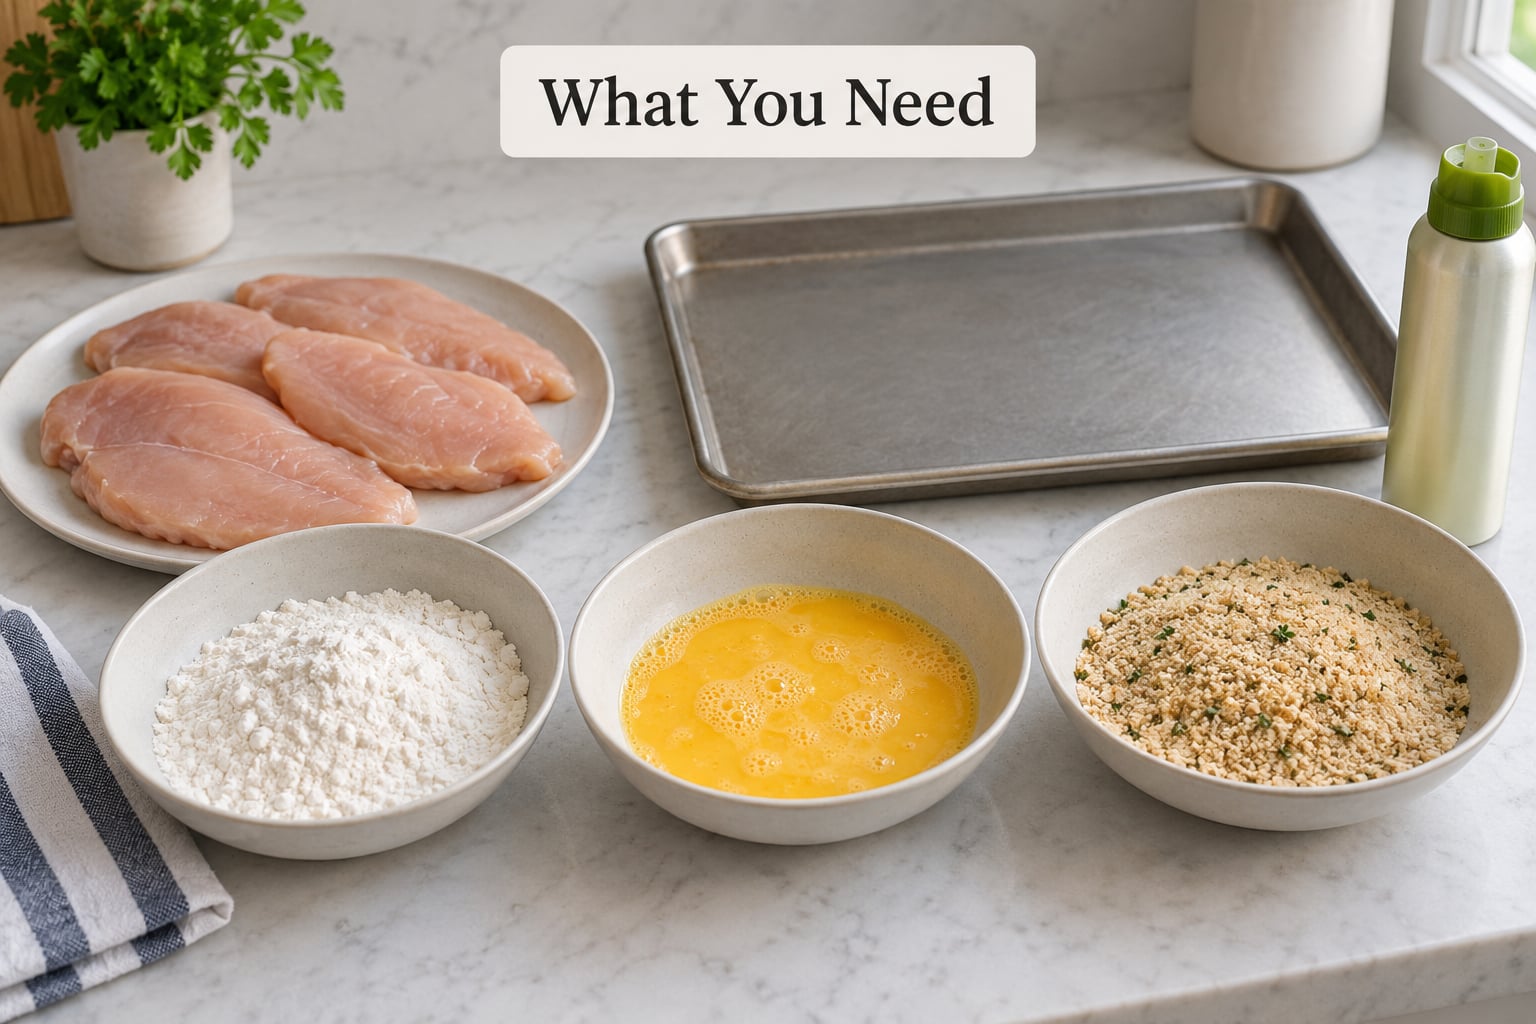
None of this is exotic. The list is short because good breaded chicken is mostly technique, not equipment.
- Chicken. Bone-in thighs and drumsticks are the most forgiving because the skin and fat give the crumbs something to hold onto. Boneless skinless breasts are the hardest cut to coat, since the meat is often damp from the tenderizing process.
- All-purpose flour. For the first dredge. This is your glue primer, not your crust.
- An adhesion layer. One beaten egg, or buttermilk mixed with an egg, or mayonnaise thinned with a little milk. Any of these gives the crumbs something wet to stick to.
- Coarse crumbs or panko. Panko stays crisp longer than fine breadcrumbs because the coarse pieces leave air gaps. Toast them in butter first if you want a deeper flavor and faster browning.
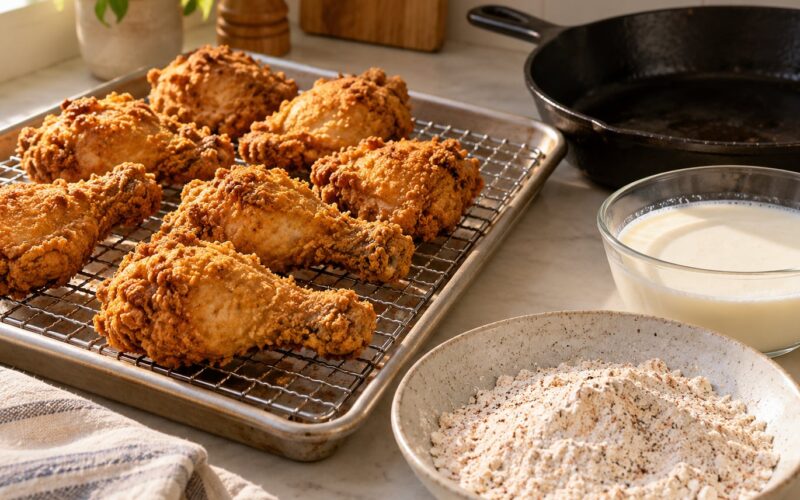
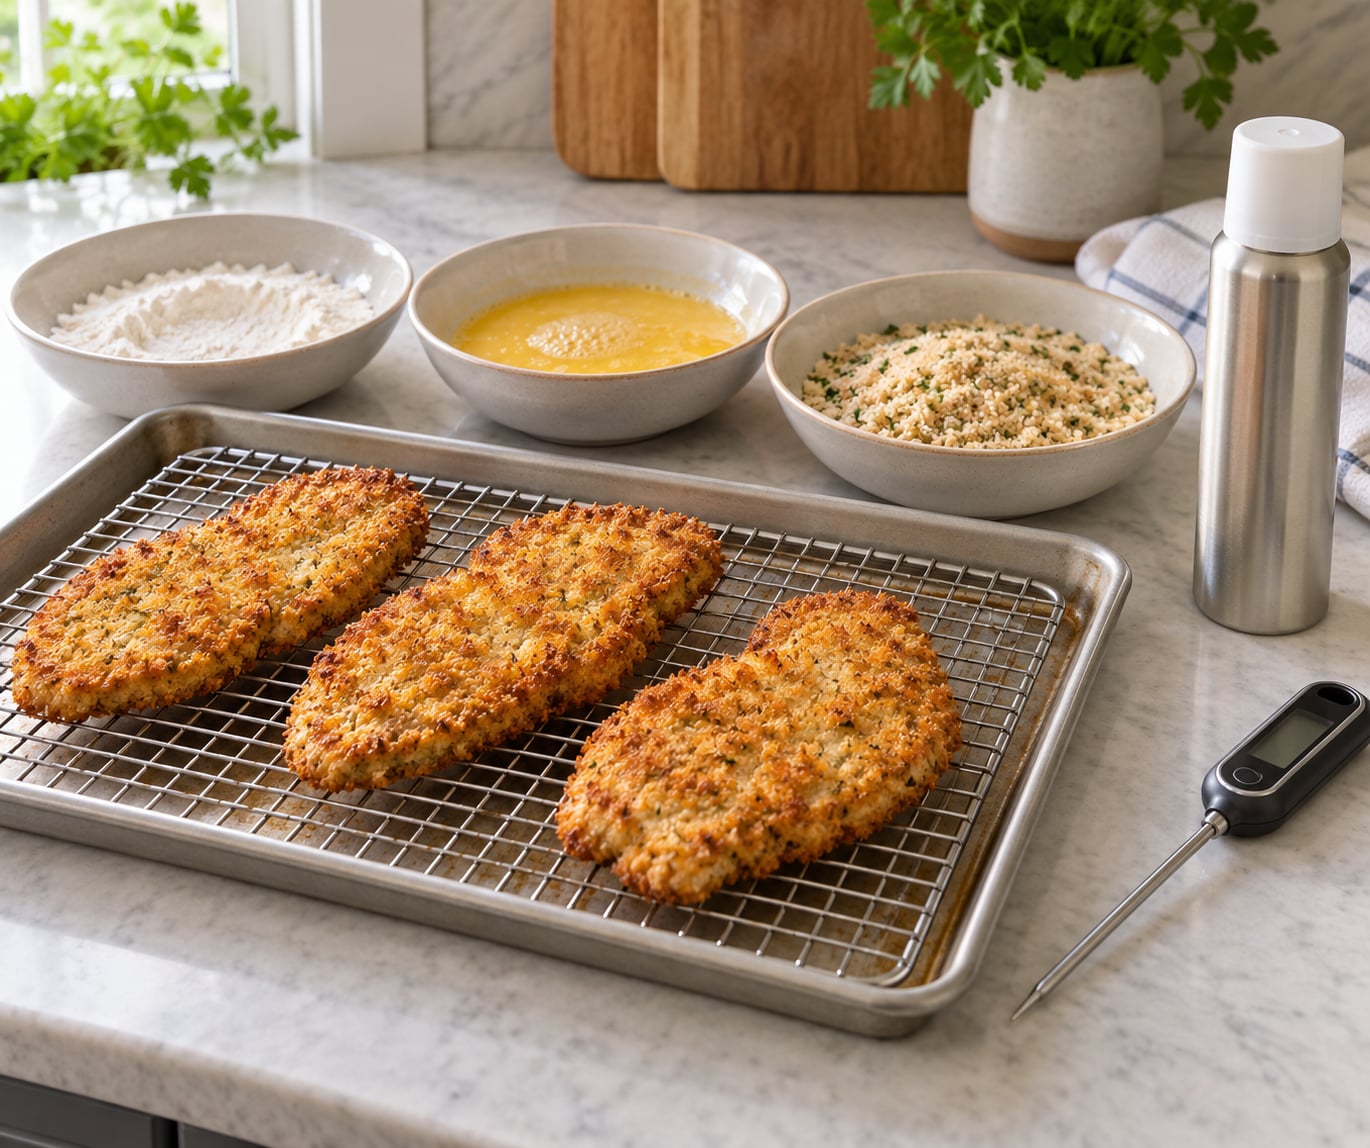
- A rimmed baking sheet plus a wire rack. The rack holds the chicken above the pan so the underside gets air instead of sitting in its own moisture. A jelly roll pan with its low sides is even better.
- Cooking spray or a small amount of oil. A light mist on the crumb surface makes the coating brown rather than dry out before it colors.
- An instant-read thermometer. Poultry is done at 165F (74C). Guessing is how you end up with dry chicken or a pale crust cooked too long.
Two substitutions work well. Cornstarch mixed into the flour absorbs moisture as it bakes, which helps a coating that has already adhered stay put instead of going soft. Cornstarch in the egg layer on its own also works if you want the crust to snap rather than crunch. Skip the mayo layer only if you are avoiding fat, and use a plain egg wash instead.
Step-by-Step
Step 1: Dry and Season the Chicken
Trim away loose skin and any dangling bits of fat, then pat the chicken thoroughly dry with paper towels. I mean actually press on it, not a single token swipe. Surface moisture is the single biggest reason breading peels off in one sheet, and it is the reason boneless skinless breasts give people the most trouble.
Let the chicken sit at room temperature for 15 to 20 minutes, then season it with salt, black pepper and whatever else you like, inside and out. Room temperature chicken cooks more evenly, which means less time in a hot oven before the crust has had a chance to dry out.
If you marinate the chicken in buttermilk, mayo or a citrus mixture, drain it well and blot the surface before it goes anywhere near the flour. A wet marinade that drips into the flour turns the flour into paste, and then the egg grabs the paste instead of the meat. The whole coating lifts off as one piece.
Step 2: Set Up a Sticky Coating
Set up three shallow bowls in a row: flour in the first, your egg or buttermilk mixture in the second, seasoned crumbs in the third. The order matters. Dredge the chicken in flour and shake off the excess, dip it in the egg mixture, then press it into the crumbs.
Shake off the flour thoroughly. A thick flour layer is the most confusing failure there is, because it looks like the breading is sticking when in fact the egg is bonding to loose flour and the flour is barely touching the chicken.
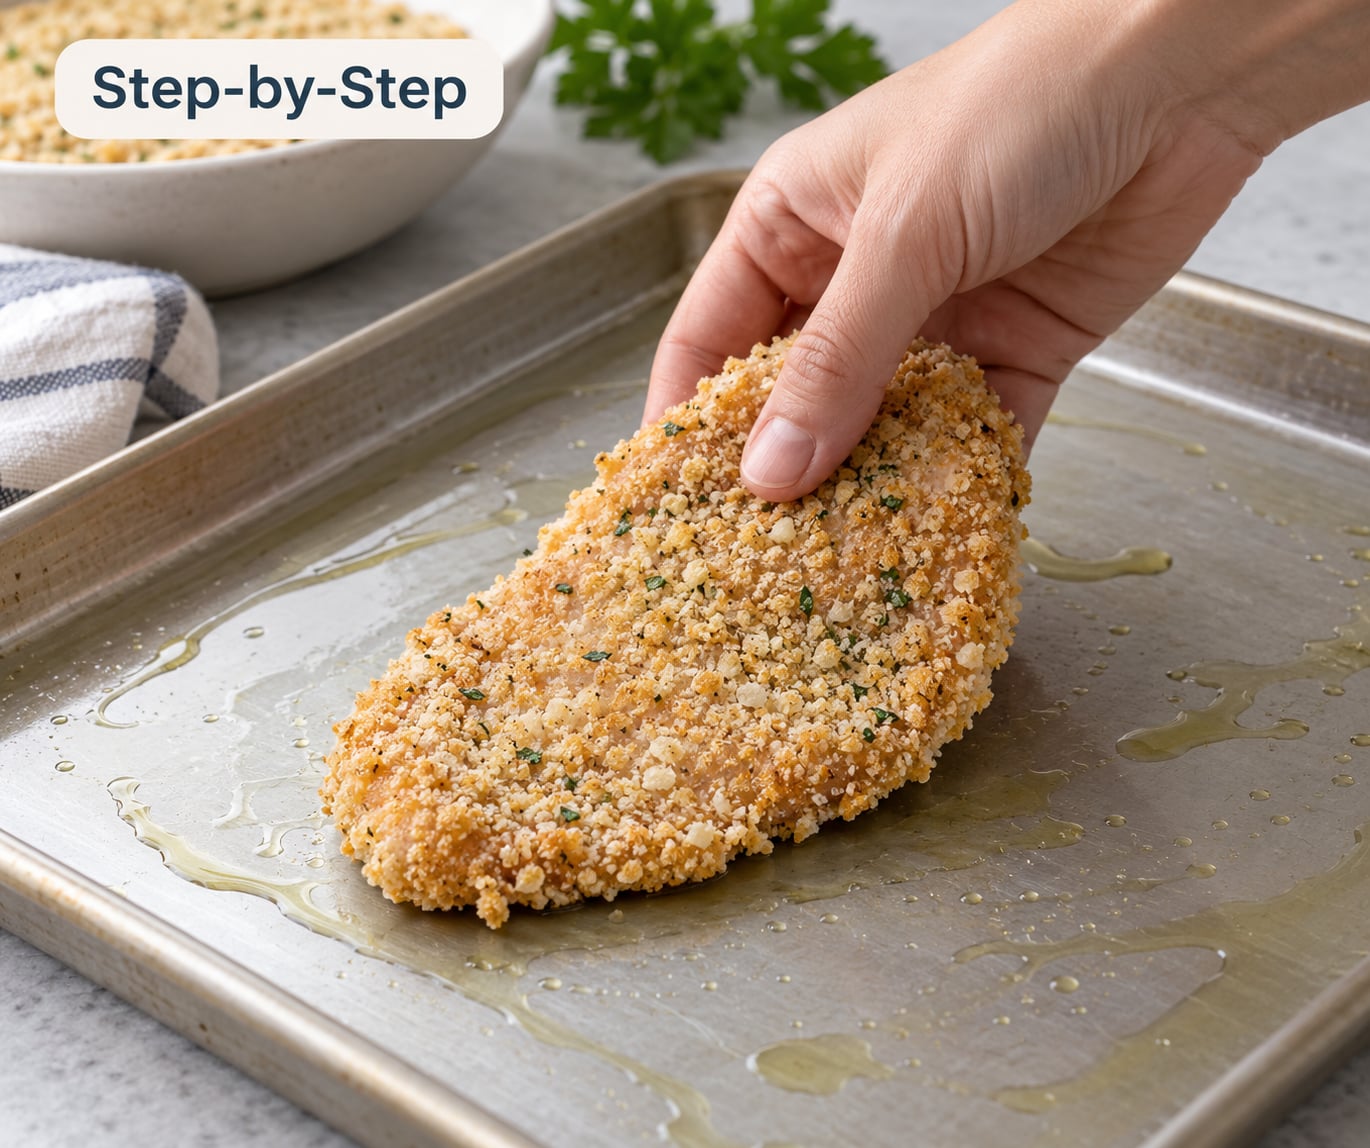
Press the crumbs on with your fingertips rather than rolling the piece around the bowl. Gentle, firm pressure pushes the crumbs into the wet egg layer, which is where the adhesion actually comes from. Roll only if you need an even layer on a thin cutlet.
For thin or uneven pieces like cutlets and strips, pat the crumb coat once more with your fingertips before moving them. It looks fussy. It works.
Keep the bowls shallow so crumbs do not pile up, and work in batches. Crowding the breading station causes double-dipped, clumpy coating, and half of it falls into the bowl instead of onto the chicken.
Step 3: Bake Without Moving the Chicken
Preheat the oven to 425F. Lightly oil a wire rack set inside a rimmed baking sheet, or spray the sheet and lay the rack on top. Heat the pan in the oven for five minutes if you have the time, because chicken that hits a hot surface starts crisping immediately.
Lay the chicken on the rack breading-side up, with about two inches between pieces. If the pieces are touching, they steam each other and the undersides release. Use two pans instead of cramming one.
Lightly mist the coating with cooking spray, or drizzle a teaspoon of melted butter over it. Then leave the pan alone. Do not move, flip or adjust the chicken for the first 10 minutes, because the coating needs time to set before heat finishes the job.
Do not line the sheet with parchment for this method. Parchment traps moisture under the chicken and the crumb coat absorbs it, which turns your crisp crust soft. A bare oiled sheet, a foil-wrapped sheet or a wire rack all move air better. Foil is worth using if you are worried about the sugar in a seasoned crumb blend catching on the pan.
If you have a convection oven, drop the temperature by 25F and start checking ten minutes early. Circulating hot air crisps the underside faster.
Step 4: Check the Chicken and Finish It
Take an instant-read thermometer and push it into the thickest part of each piece, avoiding bone. Every piece needs to hit 165F (74C). Pull the chicken when the crumb coat is deep golden brown and the thickest pieces read 165F.
If the crust is pale but the chicken is done, move the pan to the top rack and broil for two or three minutes. That is faster and more even than leaving it in the oven while the coating dries out and goes pale.
Let the chicken rest on the rack for five minutes before you move it. Resting sets the juices so they stay in the meat, and it firms the crust slightly, which means it resists sliding when you plate it. Serve with a wedge of lemon, or use the pieces for sandwiches the next day.
Here is roughly what to expect at 425F, based on piece thickness rather than size:
| Cut | Bake time at 425F | Notes |
|---|---|---|
| Cutlets or thin strips | 18 to 22 minutes | Watch these closely; they dry out fast |
| Boneless skinless breasts | 22 to 26 minutes | Pound to even thickness first |
| Bone-in breasts | 30 to 35 minutes | Pull at 160F and rest to finish |
| Chicken tenders | 16 to 20 minutes | Fastest cut, easiest to overcook |
| Thighs and drumsticks, bone-in | 35 to 45 minutes | Best browning of any cut |
| Wings | 30 to 35 minutes | Flip once at the halfway mark |
Common Mistakes
Two problems get mixed up constantly, so let us separate them. Breading that falls off is an adhesion failure. Breading that stays on but goes limp and chewy is a moisture and airflow failure, and more oil or more spray will not fix it. Find the right row before you start changing things.
| What you see | The real cause | The fix |
|---|---|---|
| Coating peels off in one sheet | Chicken surface was wet | Pat dry thoroughly before seasoning |
| Coating slides off after flipping | Excess flour that was not shaken off | Shake the flour until almost none remains |
| Crumbs fall off onto the pan | Coating was not pressed on, or moved too soon | Press with fingertips, then rest it 15 to 30 minutes |
| Breading sticks to the paper, not the chicken | Bare sheet pan with no rack, no oil | Wire rack over an oiled sheet, or foil plus rack |
| Underside pale and soft | Chicken sitting on a flat sheet with no airflow | Elevate on a wire rack |
| Crowded, uneven browning | Too many pieces in one pan | Two inches of space, or use a second pan |
| Pale crumb coat, chicken done | Oven set too low | 425F, plus a two to three minute broil |
| Crumbs go loose and dusty | Coating over-thickened with dry flour clumps | Use thin even layers and press, never roll hard |
| Coating stays on but chewy | Parchment or foil trapped steam under the chicken | Drop the liner, use a rack, mist with oil |
| Chicken dry inside, crust fine | Overbaked waiting for the coating to brown | Pull at 165F and broil to color |
The rest-before-baking step deserves one more mention because it is the fix most home cooks leave out and the one printed recipes skip. Thirty minutes on a rack in the refrigerator lets the egg layer tack up and the crumbs bond. It also means you can coat chicken ahead of time, which is a genuine advantage on a weeknight.
If you want to skip breadcrumbs entirely, that works too, and it is the other half of what people mean by oven fried chicken without breading. Season the dried chicken heavily, sear it on an oiled preheated sheet pan for two minutes per side, then finish it in a 425F oven until it reaches 165F. The result is a browned, peppery crust with no crumb coating to shed at all.
Frequently Asked Questions
Should I let the breading rest before baking oven-fried chicken?
Yes, and this is the fix most recipes skip. Set the coated chicken on a wire rack or parchment in the refrigerator for 15 to 30 minutes before it goes in the oven. The egg layer dries just enough to become tacky, and the crumbs bond to it instead of loosening during the bake. It also lets you coat ahead of time. Skip the chill only if you are in a hurry and pieces are thick, where the coating has more mass holding it on.
Why does my chicken breading fall off after flipping?
Two usual reasons. First, the flour layer was too thick, so the egg stuck to loose flour rather than to the meat and the whole sheet lifted at once. Second, the coating was still loose because it had not set. Shake off excess flour until almost none remains, press the crumbs on firmly with your fingertips, and give the chicken 15 to 30 minutes in the refrigerator before baking.
Do I need to spray oil on the breading before baking?
A light mist helps, and it is not optional if you want color. Oil on the crumb surface lets the coating brown in the same time it takes to cook the chicken, instead of slowly drying out and going pale. Cooking spray works, and so does about a teaspoon of melted butter drizzled over the top, which also adds flavor. An oiled rack underneath the chicken handles the underside.
Can I oven fry chicken on parchment paper instead of a baking sheet?
You can, but you will get a softer crust. Parchment traps steam under the chicken and the crumb coat absorbs it. For the crispest result, elevate the chicken on a wire rack set inside a rimmed baking sheet, or line the sheet with foil and put the rack on top. Foil is the better choice when your seasoning blend has sugar in it, since it keeps the coating from welding itself to the metal.
How long should I bake chicken cutlets, breasts, and drumsticks?
At 425F, thin cutlets need 18 to 22 minutes, boneless skinless breasts 22 to 26 minutes, and bone-in thighs or drumsticks 35 to 45 minutes. Pound uneven breasts to an even thickness first, since a thick part next to a thin one is the usual reason for overcooked dry chicken. Start checking temperature at the low end of each range rather than trusting the clock.
What is the safe internal temperature for oven-fried chicken?
All chicken, bone-in or boneless, is safe to eat at 165F (74C) measured in the thickest part with an instant-read thermometer, keeping the probe away from bone. Pull bone-in pieces at about 160F and let the carryover heat finish the job while they rest. Checking temperature also protects the coating, since the chicken no longer has to stay in the oven while you wait for the crust to darken.
Before You Start Cooking
Two things to fix this week, in order. Pat the chicken properly dry before anything else touches it, and give the coated pieces 15 to 30 minutes in the refrigerator before they go into a 425F oven on an oiled wire rack. Those two changes solve the falling-off problem on their own, and everything else in this guide is detail.
Store leftovers in the refrigerator for up to three or four days. To bring them back, spread the pieces on a rack, mist lightly with oil, and bake at 425F for 10 to 12 minutes. The rack is what stops them turning soft in the reheating oven.