Yes, you can case homemade sausage without a stuffer. Load the filling into a meat grinder’s stuffing tube, a piping bag, or even a zip-top bag, push it through by hand into a soaked natural casing, then twist the filled length into links and chill it before cutting. Learning how to case homemade sausage without a stuffer takes about 20 minutes of setup per batch, and the linking part is fiddly for the first ten minutes of your life, then it clicks.
The honest truth is that most home sausage makers own a grinder, and the stuffer is the one piece of dedicated equipment they skip. That leaves the filling itself to do by hand, which is slower than a piston stuffer but entirely workable for small batches of fresh links.
Table of Contents
- What You Need
- Step-by-Step: How to Case Homemade Sausage Without a Stuffer
- 1. Chill the filling
- 2. Soak and open the casing
- 3. Load the casing onto your nozzle
- 4. Fill slowly and steadily
- 5. Pinch and twist into links
- 6. Tie off the tail
- 7. Rest, then cut
- How to Control Filling and Avoid Air Pockets Without a Stuffer
- How to Tie and Cut the Sausage
- Common Mistakes
- Frequently Asked Questions
- Can you stuff sausage casings by hand?
- What can I use instead of a sausage stuffer?
- How do you stop sausage casings from bursting?
- What size casing should I use for fresh sausage?
- Do you take the casing off sausage links before eating?
- How long can I keep homemade sausage in the fridge?
What You Need
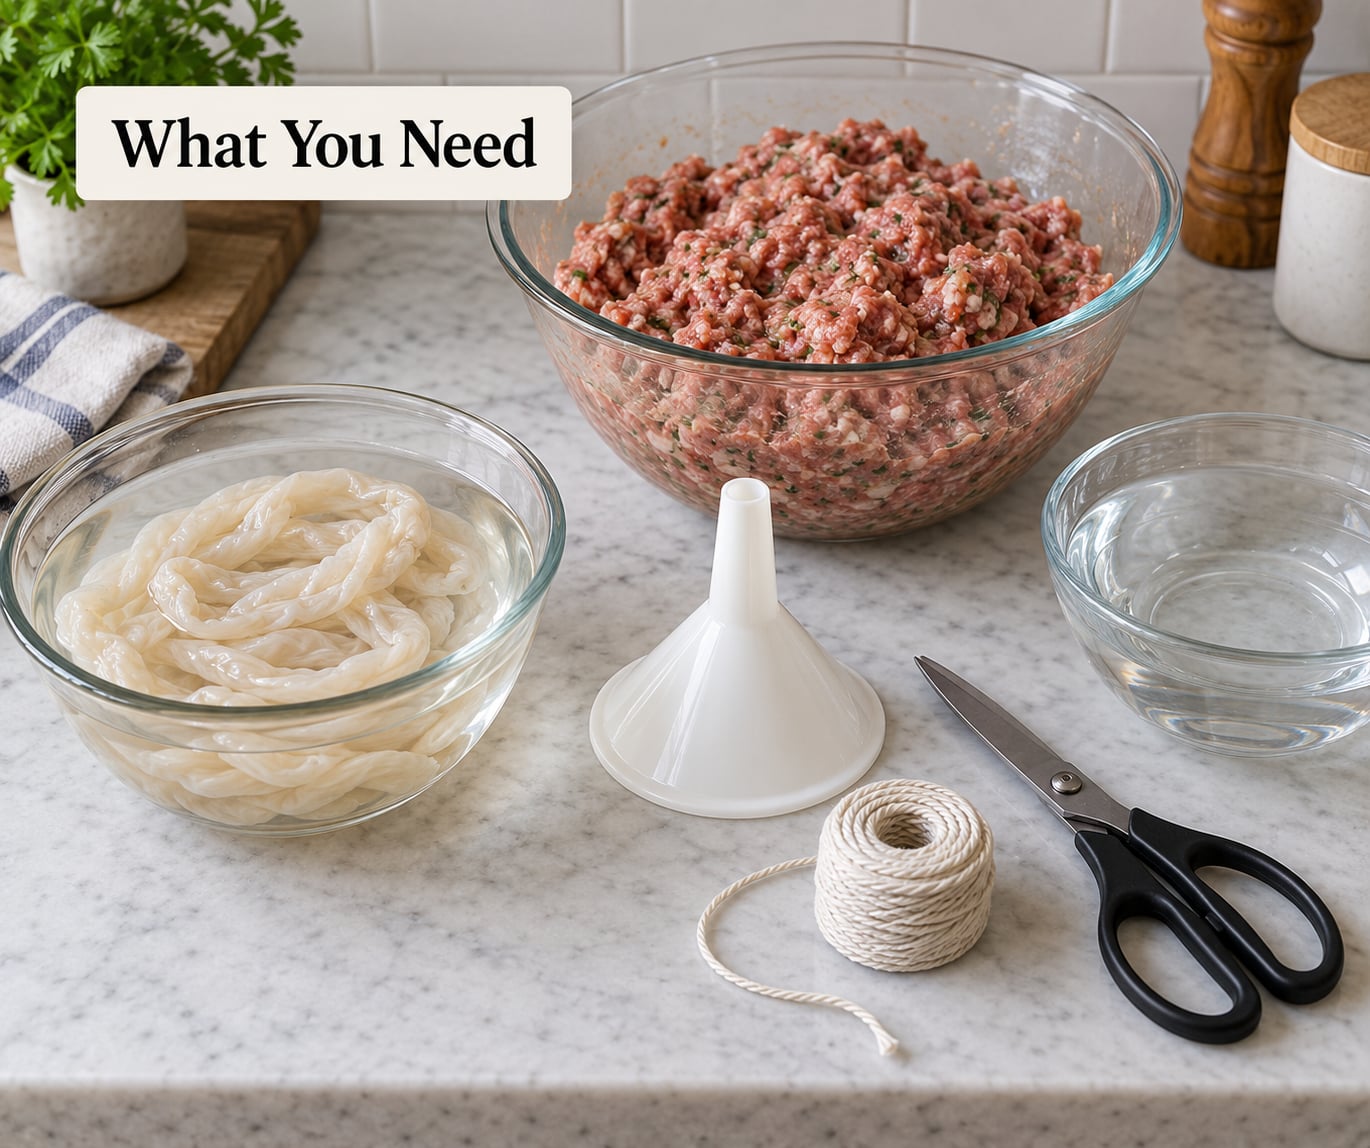
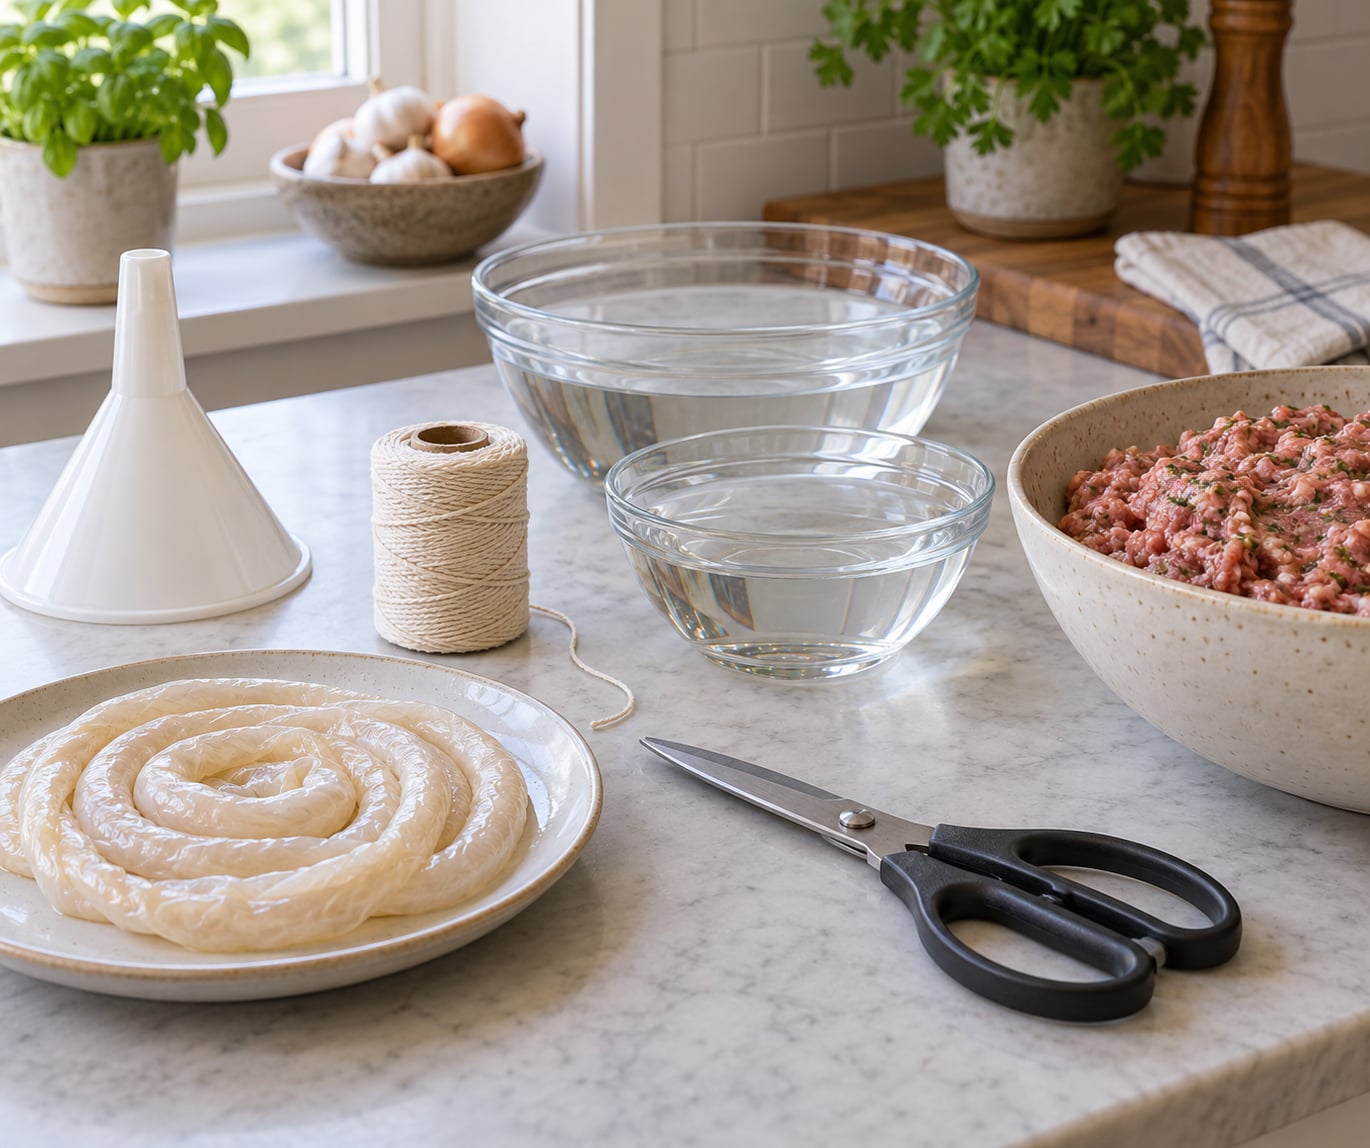
Most of the tool list is stuff you already own. What you actually need to buy is casing, and possibly a cheap plastic nozzle.
- Filling tool: a grinder stuffing tube, a pastry/piping bag with a round tip, a clean zip-top bag, or a small funnel set into the neck of a plastic bottle.
- Casing: natural hog, sheep, or beef casing for fresh links; collagen casing for small snack sticks; fibrous casing for cured and summer sausage.
- Kitchen twine for tie-offs, plus scissors and a bowl of cool water.
- A shallow tray or sheet pan and a spot in the refrigerator large enough to hang the links.
- Your seasoned meat mixture, kept cold, ideally close to 32°F until it goes into the casing.
Natural hog casing is the workhorse for fresh breakfast sausage and Italian sausage. Buy it tubed on a string, not hanked and tangled. Sheep casing runs smaller and works for venison and lamb. Collagen casing comes in edible and inedible versions and is sized in millimeters, which matters more for snack sticks than for links.
Whichever you pick, soak natural casing in hot water for about 30 minutes, then rinse it under cool running water. Water forced through the length opens the strands and lubricates them, and a casing that has not been opened properly will split the moment you push meat into it.
Step-by-Step: How to Case Homemade Sausage Without a Stuffer
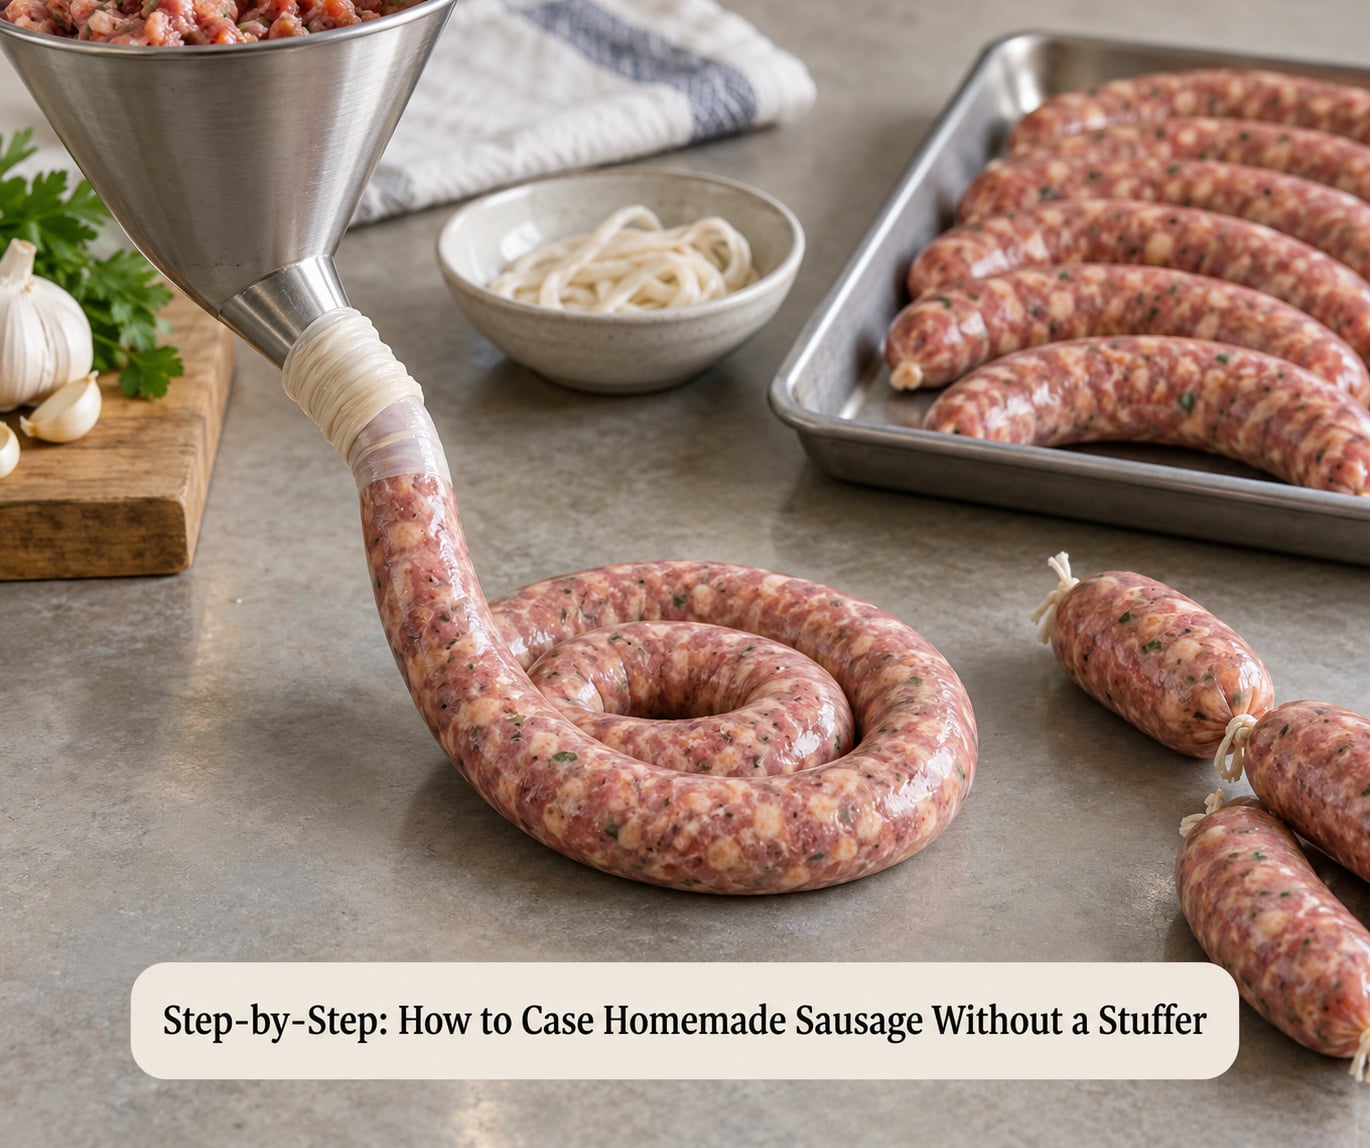
These steps apply whether you use a grinder tube or a piping bag. Only step three changes between tools.
1. Chill the filling
Refrigerate your seasoned mix until it feels like cool clay. Warm meat smears the fat into the lean, and greasy, pasty links are the number one complaint from first-time makers. Thirty minutes in the freezer or fifteen in the coldest part of the fridge usually does it.
2. Soak and open the casing
Soak the casing in hot water for roughly 30 minutes, then run cool water through it from end to end until the whole length feels slack and slippery. Slide your fingers down the length to feel for a stuck spot. Find it now rather than mid-batch.
3. Load the casing onto your nozzle
For a grinder tube, thread the casing onto the tube and fit it over the tip like an oversized sleeve. For a piping bag, cut the tip down to about half an inch and slide the casing on. For a zip-top bag, snip one corner and stretch the casing over the opening. In each case, leave two inches of slack at the top of the casing for the tie-off.
4. Fill slowly and steadily
Scoop a small amount of filling into the tool at a time and push it forward with your thumb or, if you have a grinder, run it at its slowest setting. Speed is your enemy here, because fast filling traps air and forces pressure against the casing wall.
5. Pinch and twist into links
When the length of casing feels full, pinch the meat between your thumb and finger and twist the casing above the pinch five or six turns. Pinch again a few inches down and twist the opposite direction. Keep the pinches the same distance apart for even links.
6. Tie off the tail
Leave a stub of empty casing at the end, knot it, and trim it with scissors. If the tail is going to hang for a long rest, tie it to the tray edge with a piece of twine so the link does not roll open.
7. Rest, then cut
Refrigerate the links, hanging or coiled on the tray, for 12 to 24 hours. The casing surface dries and contracts, which is what makes the twist hold. Cut between the pinches with scissors after the rest, not before.
How to Control Filling and Avoid Air Pockets Without a Stuffer
Firm means the sausage is dense enough that you cannot see light through it, not tight enough to stretch the casing. When you feel resistance building as you push, stop and massage the filled section with your hands from the meat toward the nozzle, which chases trapped air out through the open end.
If you notice a lump, pinch and work it along toward the nozzle rather than trying to fix it in place. Some people also prick the casing lightly with a skewer, though pushing air out by hand gives a cleaner result. Never push past the point where the casing turns shiny and thinned, because that thinned spot becomes tomorrow’s blowout.
How to Tie and Cut the Sausage
Beginners often twist toward then away and lose count. There is a trick that makes direction irrelevant: make two pinches, then twist the casing in the middle between them. Nothing to keep straight, and the links cannot unwind. It is the method regulars on smoking forums describe as the one that finally made linking feel simple.
Twisting tight enough to cut off blood flow leaves the end of the link pinched and dry. Firm but not strangling is the target. Fresh links need no twine at all once the fridge rest has done its job, so cutting between the twists takes seconds instead of the knot-tying marathon it looks like beforehand.
Common Mistakes
Almost every sausage failure traces back to fill pressure, temperature, or a casing that was not opened properly. Here are the ones I would expect you to hit, and what to do about each.
- Casing bursts and meat squirts out: you filled too fast or too full. Slow down, keep the meat near 32°F, and fill only until the casing feels firm. For a blowout that already happened, cut at the split, pinch the meat back in, knot both ends with twine, and keep going.
- Links are limp and floppy: they are underfilled. Push more meat into each link so it holds its shape when you set it down, and never try to twist a twist into a soft, empty-looking sausage.
- Links look greasy and smeared: the filling was too warm, or the fat content is too low for the result you want. Cold meat fixes the smear. For texture, aim for at least 20 to 25 percent fat, or the sausage crumbles like dry breadcrumbs when sliced.
- Links unravel after cutting: they were cut too soon. Give them the 12 to 24 hour refrigerator rest so the casing dries and shrinks around the twist.
- Casing tangles and wastes a batch: you bought hanked casing. Next time buy tubed, and soak it in a bowl rather than hanging it.
- Filling will not slide through: it is too warm, or you loaded too much into the tool at once. Return the mix to the refrigerator and add filling in smaller portions.
For storage, keep finished links in the coldest part of your refrigerator and cook within a few days, or freeze them. If you use a vacuum sealer, freeze the links on a sheet pan first so the ends cannot collapse inward and get sucked out like paste from a tube.
Cooking is where safety matters. Heat sausage to 160°F internally, which is the USDA minimum for ground meat, and 165°F if you add chicken to the mix. Let fresh sausage hit that temperature before serving.
Frequently Asked Questions
Can you stuff sausage casings by hand?
Yes. A stuffer is a convenience, not a requirement. You can push seasoned filling into a soaked natural casing by hand using a piping bag, a zip-top bag with one corner snipped, or a funnel seated in a bottle neck. The links will not be as perfectly uniform as stuffer-made ones, but for a few pounds of fresh sausage at home, the difference does not matter.
What can I use instead of a sausage stuffer?
Three tools work well. A meat grinder with a stuffing tube handles the biggest batches if you run it at its slowest setting. A pastry or piping bag with a round tip works nicely for a couple pounds of fresh links. A clean zip-top bag with one corner cut off is the fastest zero-cost option, and for small amounts a small funnel set in a plastic bottle neck does the job.
How do you stop sausage casings from bursting?
Fill slowly, fill cold, and stop while the casing still feels slightly slack. Warm meat smears the fat and forces the filling through the casing faster than you can control it. If you feel the casing stretch thin or turn shiny, you are already at the limit. A burst sausage is not ruined, so cut at the split, pinch the meat back in, and tie both ends with twine.
What size casing should I use for fresh sausage?
Natural hog casing in the 32 to 35 mm range is the usual choice for breakfast and Italian sausage links, while 29 to 33 mm works for kielbasa and smaller links. Collagen casing comes sized in millimeters, with around 21 mm typical for snack sticks. If your links look loose, or burst while filling, the casing is too large for the link you are making.
Do you take the casing off sausage links before eating?
No need to remove natural hog, sheep, or beef casing. They are cleaned, edible, and full of flavor, and they are meant to be eaten as part of the sausage. Edible collagen casing is also eaten. The only casing to peel away is inedible plastic or cellulose casing, which is used for snack sticks and must be pulled off before eating.
How long can I keep homemade sausage in the fridge?
Keep fresh homemade sausage at or below 40°F and cook it within three or four days for the safest window, treating it like any other raw ground meat. If you want it longer than that, freeze the links on a sheet pan first, then bag or vacuum seal them once they are firm. Cured and smoked sausages behave differently and keep much longer.
Start with a two-pound batch. Chill the mix, soak the casing, load your piping bag or grinder tube, and fill one link all the way through before you touch the twist technique. Once you know how to case homemade sausage without a stuffer, everything after that is seasoning and practice.