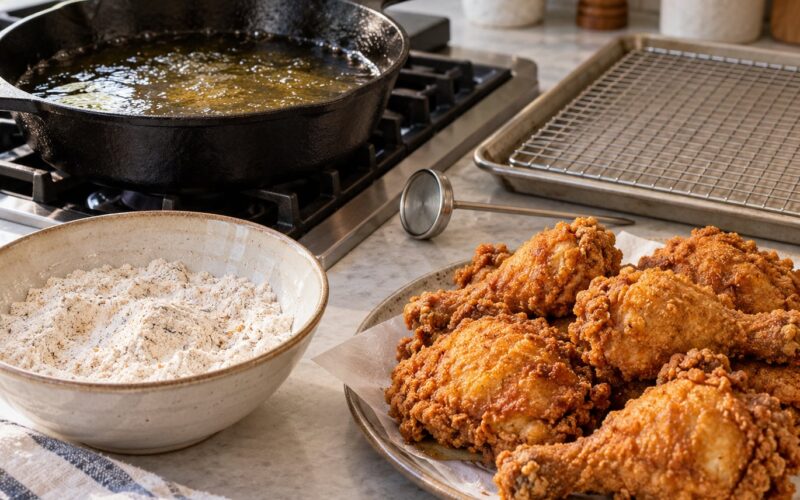
To make buttermilk fried chicken, marinate the chicken in seasoned buttermilk for 2 hours to overnight, dredge it in a flour-and-cornstarch mix, then fry in batches at 350°F until the crust is golden and the thickest piece reaches 165°F inside. Plan on about 40 minutes of active cooking plus brining time, and it is beginner-friendly work with a heavy pot.
The buttermilk is not optional decoration. The acid tenderizes the meat while the buttermilk soaks into it, which is why a brined breast comes out juicy instead of dry, and the cornstarch in the dredge is what gives you a craggy crust that shatters when you bite it.
Here is the whole method, including the fry times by cut and what to do when the coating slides off or the crust goes pale.
Table of Contents
- What You Need
- Chicken
- Buttermilk brine
- Flour dredge
- Frying
- Tools that matter
- Step-by-Step
- Step 1: Prepare and Brine the Chicken
- Step 2: Season and Build the Crumb Coating
- Step 3: Heat the Oil Safely
- Step 4: Fry Until Golden and Fully Cooked
- Step 5: Check Doneness and Drain the Chicken
- Common Mistakes
- Tips for the Crispest Buttermilk Fried Chicken
- Frequently Asked Questions
- Can I make buttermilk fried chicken without buttermilk?
- How long should chicken soak in buttermilk before frying?
- What temperature should oil be for buttermilk fried chicken?
- Should I let fried chicken rest before serving?
- How do I keep fried chicken crispy until dinner?
What You Need
Nothing here is exotic. Grouped the way the method uses them:
Chicken
- 2 to 3 pounds bone-in pieces, or 1.5 to 2 pounds boneless: thighs, drumsticks, breasts, wings, or tenders
- Mix cuts if you like, but keep sizes similar in a batch so they finish together
Buttermilk brine
- 2 cups buttermilk
- 1 teaspoon kosher salt
- 1 teaspoon black pepper
- 1 teaspoon hot sauce, or 1/2 teaspoon cayenne
- 1 teaspoon garlic powder, optional
No buttermilk on hand? Stir 1 tablespoon lemon juice or white vinegar into 2 cups of whole milk, let it sit 5 to 10 minutes until it thickens and looks slightly curdled, and use that. It is the same acid doing the same work.
Flour dredge
- 3 cups all-purpose flour
- 1/2 cup cornstarch
- 2 teaspoons kosher salt
- 2 teaspoons black pepper
- 2 teaspoons smoked paprika or regular paprika
- 1 teaspoon garlic powder and 1 teaspoon onion powder
- 1 teaspoon cayenne, optional, for heat
Frying
- About 2 quarts of a neutral, high smoke point oil such as peanut, canola, or vegetable oil, enough for a 3/4 inch depth in your pot
- Flaky sea salt for finishing
Tools that matter
- A candy or instant-read thermometer for the oil, and an instant-read thermometer for the meat
- A heavy pot with straight sides, or a 12 inch cast iron skillet
- A wire rack set over a sheet pan for draining
- Tongs, a spider or slotted spoon, and paper towels
Step-by-Step
Step 1: Prepare and Brine the Chicken
Pick your cut based on how you plan to eat it. Thighs and drumsticks are the most forgiving and stay juicy longest. Breasts are leaner and dry out faster, so they need the full brine and a thermometer you actually use. Wings and tenders cook in less time and are the easiest place to build extra crunch.
Whisk the brine ingredients together in a container large enough to submerge the chicken completely. Add the chicken, cover, and refrigerate. Turn the pieces once or twice if you remember.
| Cut | Minimum brine | Best brine |
|---|---|---|
| Tenders and wings | 2 hours | 4 hours |
| Breasts | 4 hours | 8 to 12 hours |
| Thighs and drumsticks | 4 hours | 8 to 24 hours |
| Whole cut pieces for a big batch | 8 hours | 24 hours |
The upper end of that range is where tender, brined character comes from. Cooks who soak overnight generally land on a full 24 hours for the most tender result, especially on larger pieces. Keep raw poultry refrigerated the whole time and go no longer than about 48 hours, since buttermilk is acidic rather than salty enough to preserve the meat.
About 30 minutes before frying, take the chicken out so it loses the chill. Cold chicken drops the oil temperature hard, and that temperature drop is behind a lot of pale, greasy crusts.
Step 2: Season and Build the Crumb Coating
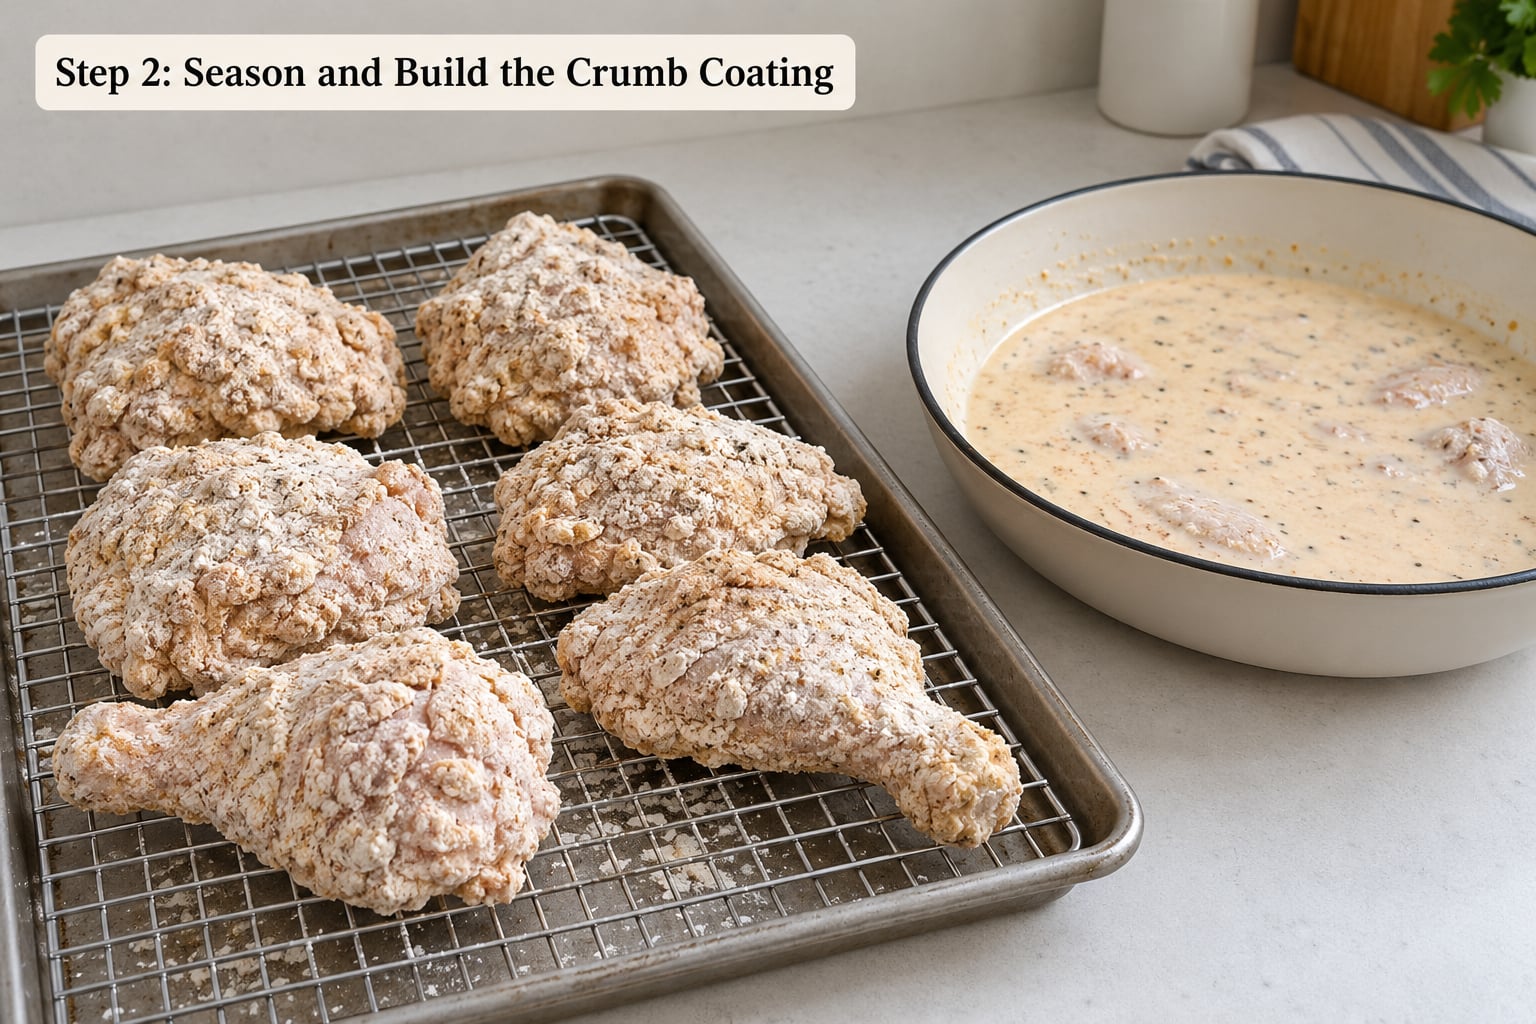
Whisk the flour, cornstarch, and every seasoning together in a wide bowl or a shallow pan. Tasting a pinch should read as faintly salty and seasoned, not salty on its own, because the brine already seasoned the meat.
Here is the trick that separates a good crust from a great one: don’t keep the dredge bone dry. After you whisk the dry mix together, drizzle in two or three spoonfuls of the buttermilk brine and toss with a fork until the flour breaks into damp clumps of every size. Those clumps fry into the craggy, shaggy bits people mistake for restaurant crust. A completely dry dredge gives you a thin, even shell that peels off.
Coat the chicken by pressing the seasoned flour firmly onto every surface. Pay attention to the crevices and the underside, then shake off the loose excess. What you want is a thin, even layer, not a thick flour blanket, because excess loose flour drops into the oil and makes it grainy and greasy.
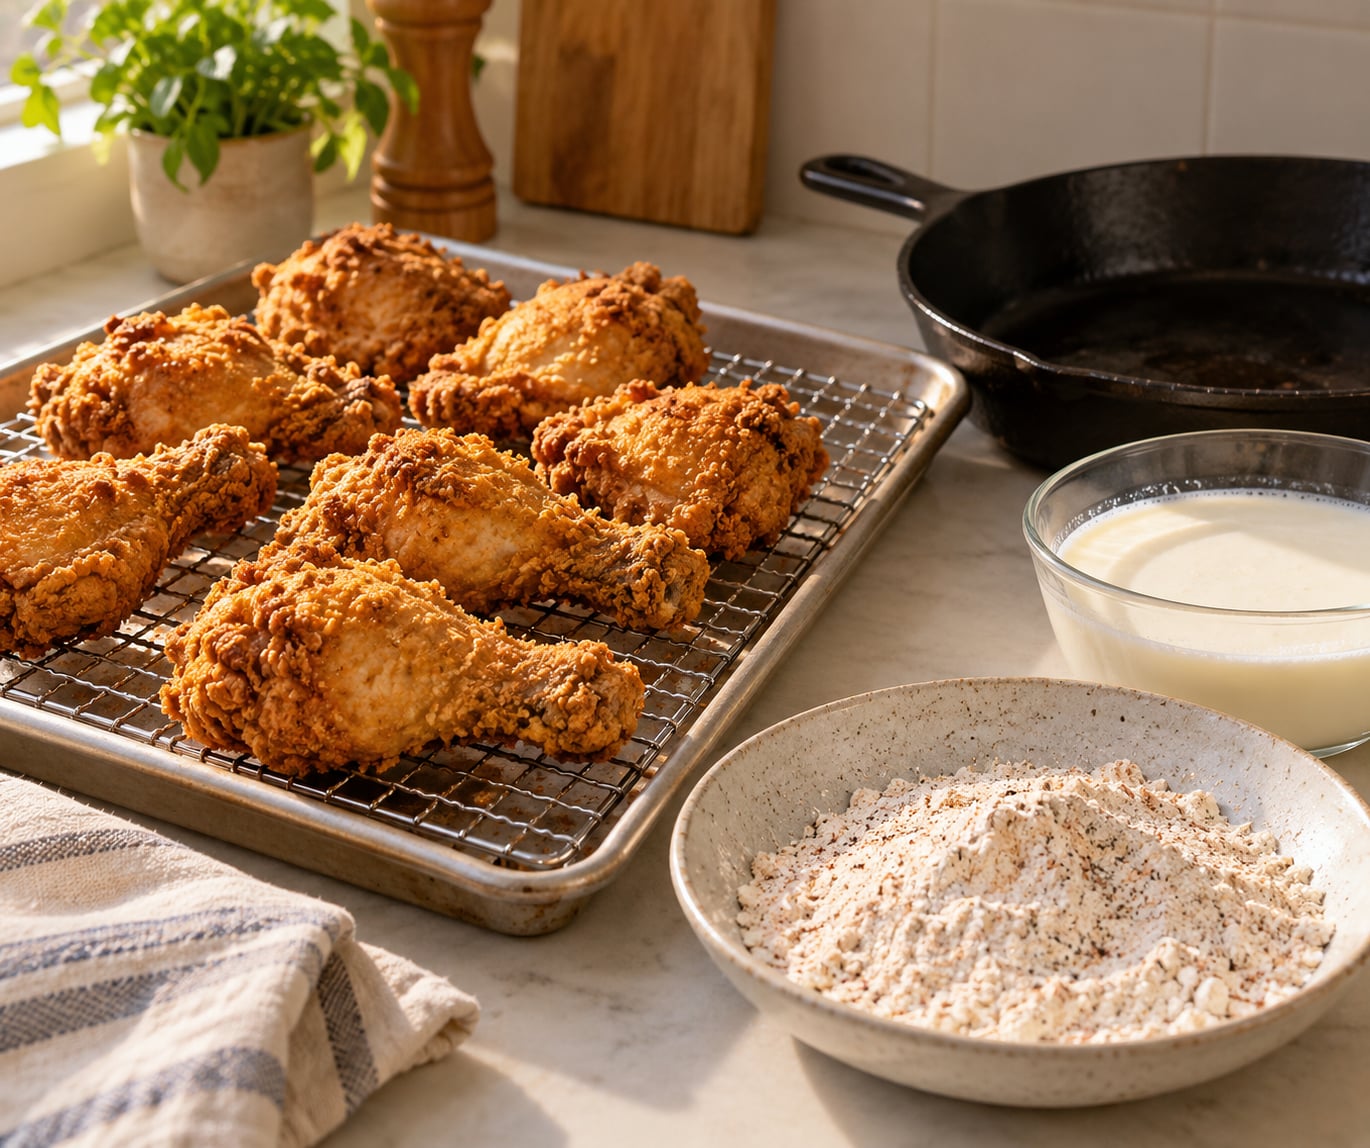
Set the coated pieces on a wire rack or a parchment-lined sheet and let them sit 15 to 20 minutes. That rest hydrates the coating so it bonds to the skin instead of sliding off in the oil. For a thicker crust, dip each piece back into the remaining buttermilk and into the flour a second time.
Let the breading set before it meets the oil. A crumb that has dried for 20 minutes comes off the chicken in one piece; a crumb you rushed into the pot flakes off in the oil.
Step 3: Heat the Oil Safely
Pour the oil into your pot until it is about 3/4 inch deep. Heat it to 350°F, and treat that as a target with a tolerance band: stay between 340°F and 360°F. That single number resolves the conflicting advice you will find elsewhere, and it is the number to hold.
Before the chicken goes in, pinch a small piece of breading into the oil. If it sizzles steadily, you are ready. If it sits there quietly, wait. If it blackens in seconds, pull the pot off the heat and let it cool.
Keep water away from the pot. Wet hands, a wet spoon, or splashing rain can send a burst of steam through 350°F oil. Dry everything, and never leave hot oil unattended.
Step 4: Fry Until Golden and Fully Cooked
Lower each piece away from you into the oil, and do not crowd the pot. Six to eight pieces at a time is plenty for a large pot, since crowding drops the temperature and soggy crust follows every time. Fry similar sizes together so they finish at the same moment.
| Cut | Oil temperature | Time per batch |
|---|---|---|
| Tenders | 350°F | 5 to 7 minutes |
| Wings | 350°F | 8 to 10 minutes |
| Thighs and drumsticks | 350°F | 12 to 15 minutes |
| Bone-in breasts | 350°F | 12 to 14 minutes |
| Boneless breasts | 350°F | 8 to 10 minutes |
Turn each piece once, halfway through, and adjust your burner if the temperature drifts more than about 10°F either way. If it drops, give it 30 seconds before adding the next batch.
You are looking for a deep golden brown, a rough pebbled surface, and a crust that sounds hollow when you tap it. Pull pieces the moment they hit color; color is not doneness, and dark crust usually means the outside has outrun the inside.
Step 5: Check Doneness and Drain the Chicken
Thermometer first, color second. Push an instant-read thermometer into the thickest part of each piece, away from bone, and confirm 165°F. The USDA safe minimum internal temperature for poultry is 165°F, and that single check prevents the browned-outside-raw-inside problem that sends people back to the kitchen.
Move the chicken to a wire rack over a sheet pan. Paper towels soak up grease from the underside and leave you with a soft bottom, while a rack lets steam escape from all sides. This is the step most people skip and it is the cheapest way to keep the crust crisp.
Rest the chicken for 5 to 10 minutes, scatter flaky sea salt over it while it is still hot, and serve it right away.
Common Mistakes
The crust is pale and greasy. The oil was below 340°F when the chicken went in, so the flour absorbed oil instead of frying. Bring the oil to 350°F before each batch and wait 30 seconds for it to recover between batches.
The crust falls off in the oil. Usually one of three things: the coating was pressed on too lightly, the chicken was cold going in, or the breading never had its 20 minute rest. Also check whether you are flipping more than once, which loosens the coating.
The crust is soggy and heavy. Too much loose flour in the pot, or too many pieces crowding it. Shake off excess flour before frying, fry six to eight at a time, and drain on a rack.
The outside browns before the inside cooks. The piece is too thick for the batch time, or the oil is too hot. Cut thick breasts into even pieces, and take the meat out based on temperature, not color.
The meat is dry inside. The brine was too short, or the piece sat in hot oil past the time in the table. A full brine and an early thermometer check are the fixes.
It splattered everywhere. The chicken was wet going in, or the oil was over 375°F. Shake off the brine and use the rack before you lower each piece.
Tips for the Crispest Buttermilk Fried Chicken
Give the brine real time. Four hours is a decent night-before soak and 24 hours is the difference between good and noticeably tender, especially on breasts.
Drizzle buttermilk into the flour. Those damp clumps are the single biggest upgrade to crunch, and they are why the coating clings instead of sliding away.
Fry smaller batches than you think. Eight pieces is plenty for most home pots, and the oil temperature matters more than throughput.
Use a rack, not a towel. If you must hold the chicken before serving, set it uncovered on a rack in a 200°F oven rather than covering it, and hold it for no more than about 30 minutes.
Reheat in the oven, not the microwave. A 375°F oven or air fryer for 8 to 12 minutes brings the crust back. The microwave softens it no matter what you do afterward.
Fry from frozen when you bread ahead. Breaded pieces freeze well if you flash them on a sheet pan until solid, then fry from frozen at 350°F with a few extra minutes added to the times above.
Frequently Asked Questions
Can I make buttermilk fried chicken without buttermilk?
Yes. Stir 1 tablespoon lemon juice or white vinegar into 2 cups of whole milk and wait 5 to 10 minutes until it thickens and turns slightly curdled. That gives you the acid level buttermilk has and the same tenderizing effect on the chicken. Plain milk with no acid will still fry well, but the meat stays leaner and less tender.
How long should chicken soak in buttermilk before frying?
At least 2 hours, with 4 to 24 hours better depending on the cut. Tenders and wings only need a couple of hours. Breasts, thighs, and drumsticks take 8 to 12 hours for the best result, and a full 24 hours gives the most tender meat. Keep the chicken refrigerated the entire time and stay under about 48 hours.
What temperature should oil be for buttermilk fried chicken?
Aim for 350°F and hold between 340°F and 360°F. Below 340°F the crust absorbs oil and turns greasy, and above 360°F it browns before the meat cooks through. Use a candy or instant-read thermometer rather than guessing, and wait about 30 seconds for the oil to recover between small batches.
Should I let fried chicken rest before serving?
A short rest helps. Drain it on a wire rack and wait 5 to 10 minutes before serving, so the juices settle into the meat instead of running out onto the plate. That is also the window for scattering flaky sea salt over the crust. Skip the foil and plastic wrap, since anything wrapped softens the coating.
How do I keep fried chicken crispy until dinner?
Hold it uncovered on a wire rack in a 200°F oven for up to about 30 minutes. Covering it traps steam, which is what softens the crust. If you need longer, cool it fully and refrigerate it, then reheat in a 375°F oven or air fryer for 8 to 12 minutes right before eating. The microwave is the one appliance to avoid.
The short version of how to make buttermilk fried chicken: brine it, dredge it in dampened flour, then fry at 350°F until the thermometer says 165°F. Start tonight if you can, so the brine works while you do everything else. Everything else on this page is a refinement on those three moves.