Cooking ground beef for the week means browning one large batch on a Sunday, portioning it into daily servings, and keeping the first three or four days in the refrigerator while the rest goes straight into the freezer. That single session takes about 45 minutes for a family of four, and it turns roughly 5 pounds of beef into five to seven different meals instead of five separate weeknight cookings.
The part most week-long plans get wrong is the storage math. Cooked ground beef is safe in a refrigerator kept at 40°F or below for three to four days, not a full seven. So you freeze the later portions the same afternoon you cook them, which is what makes a real seven-day plan possible without playing roulette with day-five leftovers.
A few notes before we start. This is general food-safety guidance from the USDA Food Safety and Inspection Service, not medical advice. If you are pregnant, immunocompromised, cooking for an elderly person, or simply unsure, ask a doctor or registered dietitian about your own situation.
Table of Contents
- What You Need
- Basic pantry seasonings
- Storage gear and basic tools
- Step-by-Step: How to Cook Ground Beef for the Week
- Step 1: Plan the Meals and Divide the Beef
- Step 2: Season in Small Batches
- Step 3: Decide How to Cook Ground Beef for the Week
- Step 4: Brown Until the Color and Texture Look Right
- Step 5: Cool and Portion for Storage
- Step 6: Turn the Batch into Different Meals
- Common Mistakes
- Frequently Asked Questions
- How long does cooked ground beef last in the refrigerator?
- Can I cook ground beef ahead and freeze it for the week?
- What is the safest way to reheat cooked ground beef?
- How much ground beef should I cook for a family of four?
- Is it better to brown ground beef before putting it in a slow cooker?
- Conclusion
What You Need
For a household of four eating ground beef five or six times that week, you want between 5 and 6 pounds of raw beef. That works out to a little over a pound per person for the week, which is a normal portion for a beef-based main dish served with a starch and a vegetable.
| Household size | Raw beef for 5 to 6 meals | Cooked yield (about 75 to 80 percent) |
|---|---|---|
| 1 person | 1 to 1.25 pounds | 5 to 6 servings |
| 2 people | 2.5 to 3 pounds | 10 to 12 servings |
| 4 people | 5 to 6 pounds | 20 to 24 servings |
| 6 people | 7.5 to 9 pounds | 30 to 36 servings |
Raw ground beef loses a quarter of its weight to rendered fat during cooking, so buy more than the finished weight you need. If you are cooking for a market-style stock-up, ask your vendor for an 80/20 blend for chili, sloppy joes, and taco filling, where fat carries flavor, and a 90/10 lean blend for meat sauce and stuffed peppers, where you want the lean meat to stay tender.
Basic pantry seasonings
Salt, black pepper, garlic powder, onion powder, smoked paprika, dried oregano, and a little Worcestershire or soy sauce cover most weeknight profiles. Have chili powder and cumin on hand if you are building a taco or soup portion. You do not need fresh herbs, butter, or a long ingredient list, and that is the point of a base batch.
Storage gear and basic tools
You need a wide skillet or Dutch oven, a baking sheet lined with parchment for the oven method, an instant-read thermometer, a colander or slotted spoon, shallow glass or plastic containers, and freezer bags or a roll of freezer paper. Shallow containers matter more than people expect, because a deep pile of hot meat cools slowly in the middle.
A simple labeling system saves you later: the date, the meal it is seasoned for, and the portion size. Masking tape and a marker do the job as well as any fancy container system.
Step-by-Step: How to Cook Ground Beef for the Week
Step 1: Plan the Meals and Divide the Beef
Decide your three to five meals before you touch the meat, then divide the raw beef into matching piles. A 6-pound package might split into 2 pounds for taco filling, 1.5 pounds for chili or taco soup, 1.5 pounds of unseasoned beef for pasta sauce or stuffed peppers, and 1 pound reserved for patties or quick sandwiches.
Reserving at least one portion plain is the move that keeps the whole week from tasting identical. A batch of plain cooked beef waits in your fridge ready to become spaghetti sauce on Tuesday and a skillet scramble on Friday.
Handle the raw beef the way any raw meat is handled. Keep it in its tray or a bowl set on a tray, so nothing drips onto the counter, and wash your hands and board with hot soapy water afterward. Color in raw ground beef varies a lot, from bright pink to quite dark, and it can go gray on the surface when the oxygen leaves. None of that proves the meat is spoiled, and none of it is a doneness test either way.
Step 2: Season in Small Batches
Season each pile separately, and season most of it after browning rather than before. Salt on raw beef sitting in a pan pulls water to the surface, which slows browning and steams the meat instead of searing it. A light sprinkle of salt in the last two minutes of cooking, plus seasoning in the finished batch, gives you more control.
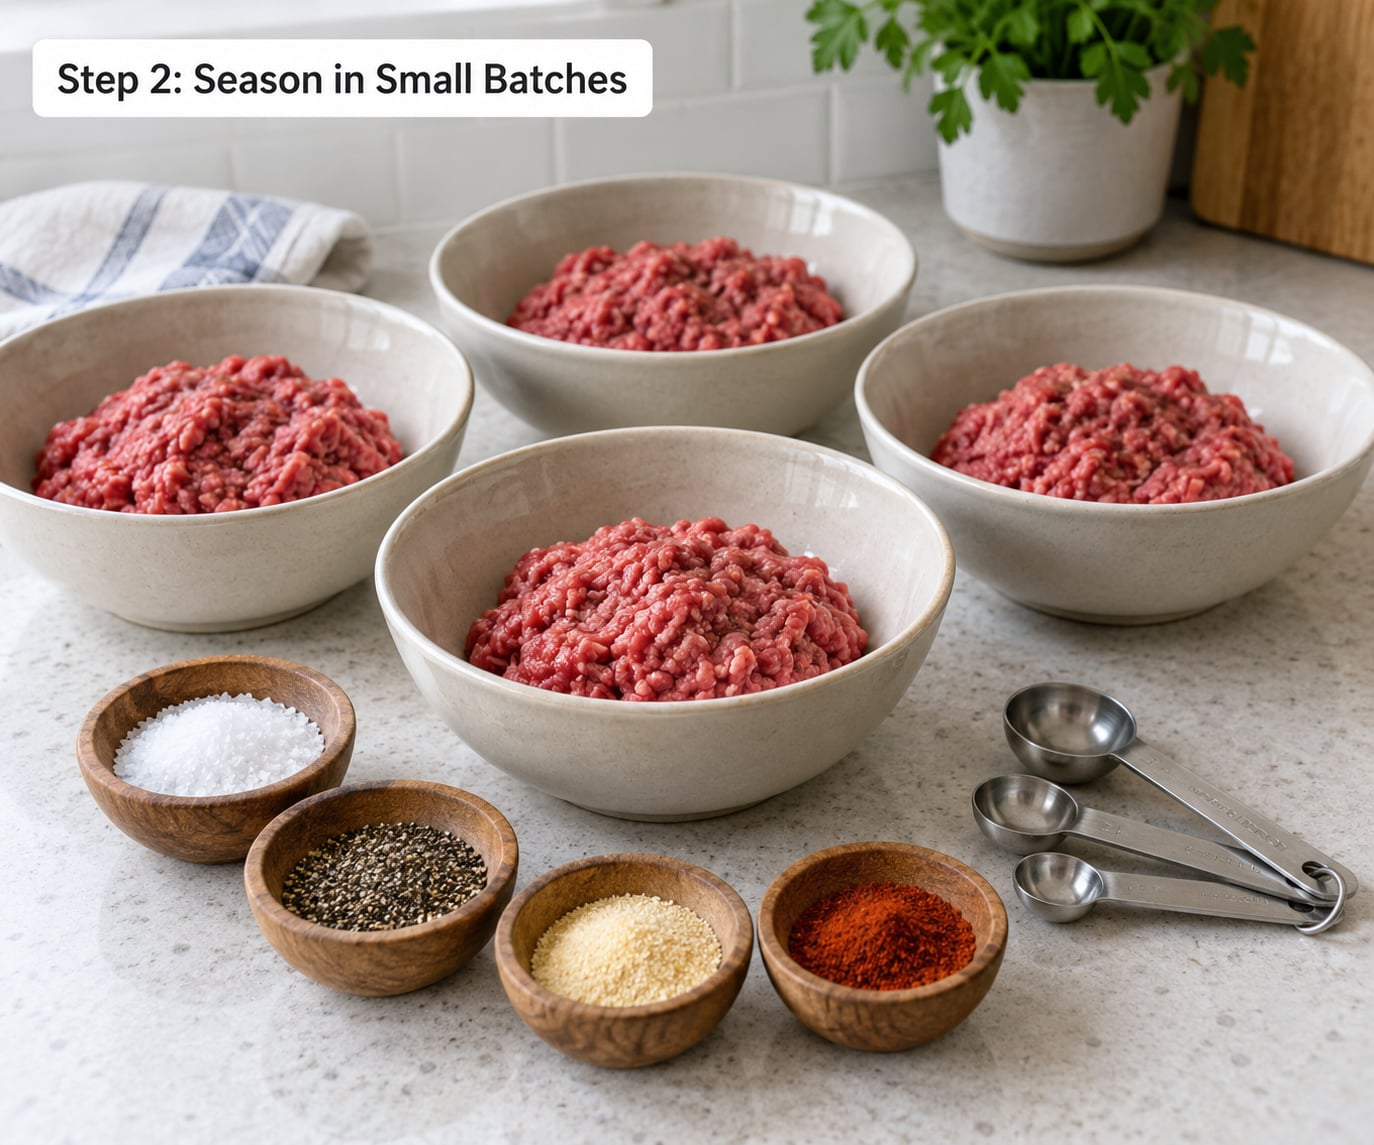
A neutral base for a plain portion is simple: one teaspoon of salt and half a teaspoon of black pepper per pound, added once the beef is out of the pan. For a taco portion, add two teaspoons of chili powder, one teaspoon of cumin, half a teaspoon of garlic powder, and a pinch of oregano per pound. For a soup or chili portion, two teaspoons of chili powder, one teaspoon each of cumin and smoked paprika, and a quarter teaspoon of cayenne.
For sloppy joe and sandwich filling, one teaspoon of onion powder, one teaspoon of Worcestershire sauce, and a little brown sugar or barbecue seasoning per pound reads sweet and tangy. Measurements do not need to be exact, and mixing the same profile into a two-pound pile rather than the whole batch keeps your options open.
Step 3: Decide How to Cook Ground Beef for the Week
The best method depends on how much beef you have and how much splatter you can tolerate. Sheet pan browning in the oven is the hands-off winner for five pounds or more, and stovetop browning in batches wins for texture and control on smaller batches.
| Method | Best batch size | Time | What you get |
|---|---|---|---|
| Skillet or Dutch oven | 1 to 2 pounds per batch | About 8 to 10 minutes per batch | Best browning and texture, most hands-on, heaviest spatter |
| Sheet pan in the oven | 2 pounds per pan | 20 to 25 minutes at 400°F | Crisp edges, even cooking, almost no cleanup |
| Two pans at once | 4 pounds | 25 to 30 minutes at 400°F | Middle ground, needs two oven racks rotated halfway through |
| Slow cooker | 3 pounds or more | 4 to 6 hours on high | Best for chili and soup, not for plain browning |
One caution on the slow cooker: it does not create browning, it only holds food at a simmer for hours. If you want the Maillard flavor that makes beef taste like beef, brown the beef on the stovetop first, then transfer it to the cooker with your liquids. Some chili and soup recipes genuinely skip that step and rely on long simmering and spice for their depth, which is a legitimate choice when you are making a one-pot dish rather than a flexible meal-prep base.
You can also cook ground beef straight from the freezer in a slow cooker, but I would not. The outside sits in the danger zone for hours while the center thaws, and you lose control of the temperature entirely. Thaw it in the refrigerator overnight first.
Step 4: Brown Until the Color and Texture Look Right
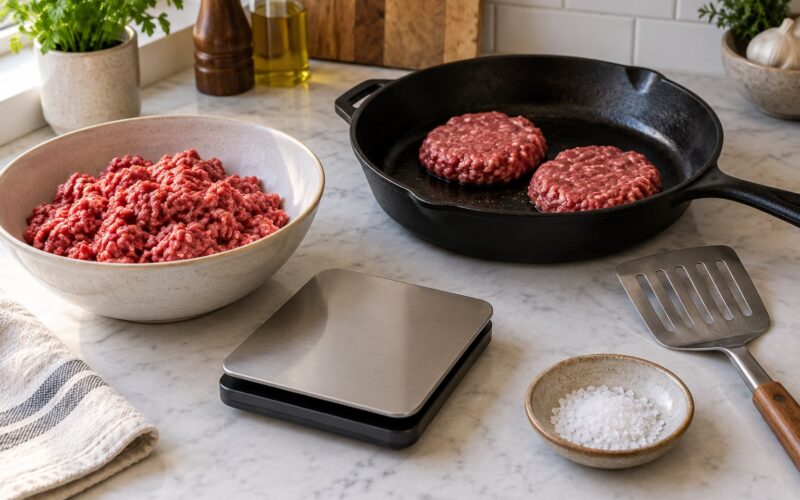
Heat the skillet until a drop of water sizzles and skitters, or preheat the oven to 400°F. Add the beef in a single layer and leave it alone for two to three minutes. Resist stirring early, because the contact with hot metal is what builds the browned bits you actually taste.
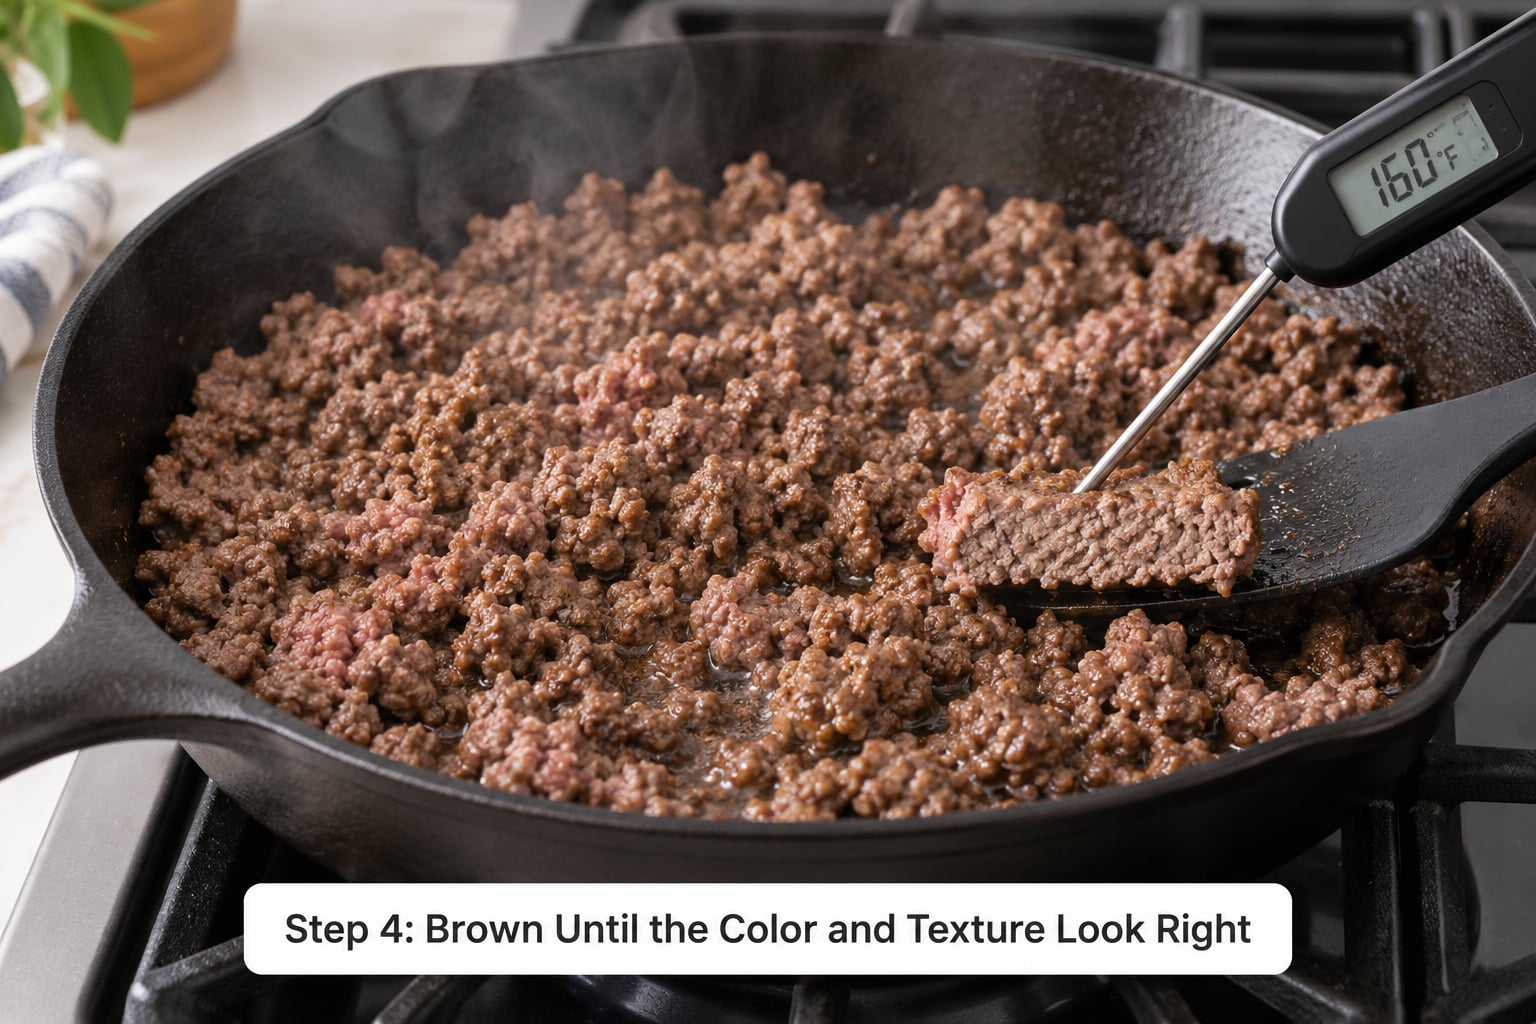
Break the beef up with the back of a spoon as it browns, and keep breaking it until you have small crumbles with no pink left. On the stovetop, overcrowding is the single most common mistake: a heaped pan releases water, the pan temperature drops, and you get grey steamed meat instead of browned meat. Cook in batches of one to two pounds even if it takes three rounds.
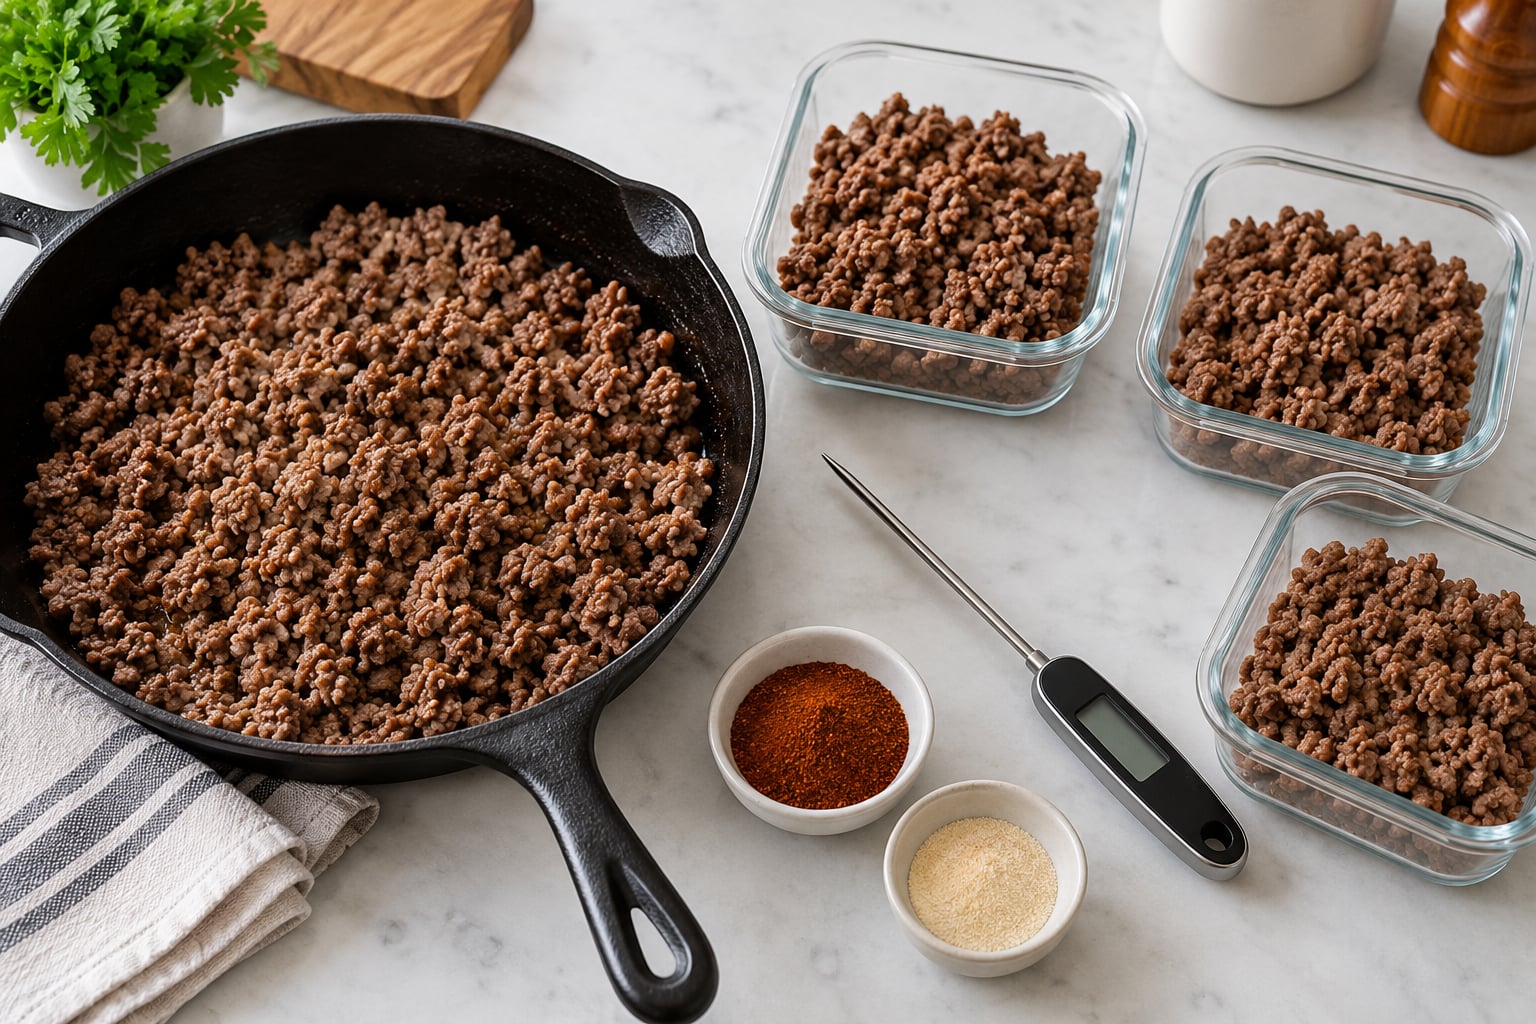
The USDA safe minimum internal temperature for ground beef is 160°F or 71°C. Check it with an instant-read thermometer inserted into the thickest part of a large clump, not against the pan floor where the reading would be misleading.
Color alone is not a reliable doneness test, in either direction. Ground beef can stay brown at a safe temperature because it was browned first, and it can look done in spots while the center is still cool. The thermometer costs almost nothing and settles the question every time. Rest the finished batch about five minutes before portioning, since the carryover heat keeps cooking the interior.
On the fat: leaving a thin layer in the pan gives you better flavor and keeps the crumbles from drying out. Spooning off the excess is the answer if you are meal prepping for people who prefer lean food. Spread the crumbles on a towel-lined tray for five minutes, blot them, and then season. You keep most of the flavor and lose most of the grease.
For the sheet pan method, preheat to 400°F, line two pans with parchment, and press the beef into as thin and even a layer as you can. That flat contact with the hot metal is what produces the crisp edges the oven method is known for. Bake for 20 to 25 minutes, rotate the pans halfway if you are using two, and pull them as soon as the crumbles brown and no pink remains. Push the beef off the hot pan onto a cutting board or a second sheet, since the residual heat keeps cooking anything that sits on the metal.
Step 5: Cool and Portion for Storage
Divide the cooked beef into shallow, meal-sized portions while it is still warm. A 4-ounce serving fits a lunch container and a 1-pound bag covers a family dinner with enough for seconds. Spread portions across the bottom of each container in a single layer rather than piling them, and only stack a second layer once the first has cooled in the fridge.
Get the meat into the refrigerator within two hours of cooking, and within one hour if your kitchen is hot. Put it on the bottom shelf or in a separate container, not on a high shelf where it could drip onto something you plan to eat raw.
Cooked ground beef keeps three to four days in the refrigerator at 40°F or below. Anything beyond that window goes in the freezer, and I mean at the time you cook it, not on day four when the smell is starting to bother you. Portion first, seal out the air as much as you can, and press freezer bags flat so they stack cleanly and freeze faster.
Label with the date and the intended meal. That one habit is what stops you in six weeks from thawing an unlabeled mystery of gray crumbles.
Step 6: Turn the Batch into Different Meals
Five to seven days of meals come from the same base, but only if you keep them genuinely different. Here are the versions I rotate.
Taco filling, used three ways. Warm the taco portion with a splash of water in a skillet, then add a few tablespoons of your favorite salsa at the end so it stays fresh. It works as a filling for tacos, a topping for nachos, and a mix-in for a baked potato with cheese and sour cream. This is the portion that freezes best because the seasoning profile is already complete.
Chili and taco soup. Thaw a portion in the refrigerator overnight, then simmer it with canned beans, diced tomatoes, and broth for twenty minutes. Add the chili powder and cumin at the simmer stage rather than at the freezer stage, so the batch keeps some brightness. Corn and a little lime at the end turn the same pot into taco soup on a different night.
Pasta sauce. Thaw the plain portion, add a can of crushed tomato and a spoon of tomato paste, and simmer for twenty-five minutes. Tomato paste is the shortcut that thickens a weeknight meat sauce without cream or a long reduction. Toss it with pasta, layer it with ricotta and mozzarella in a casserole, or use it as a hot dog topping when you have run out of energy for anything else.
Soup. The plain portion drops into hamburger soup, cabbage roll soup, or a simple beef and vegetable pot with frozen carrots and peas. Add the vegetables during the last ten minutes so they keep some texture, and season with Worcestershire and a bay leaf rather than more salt.
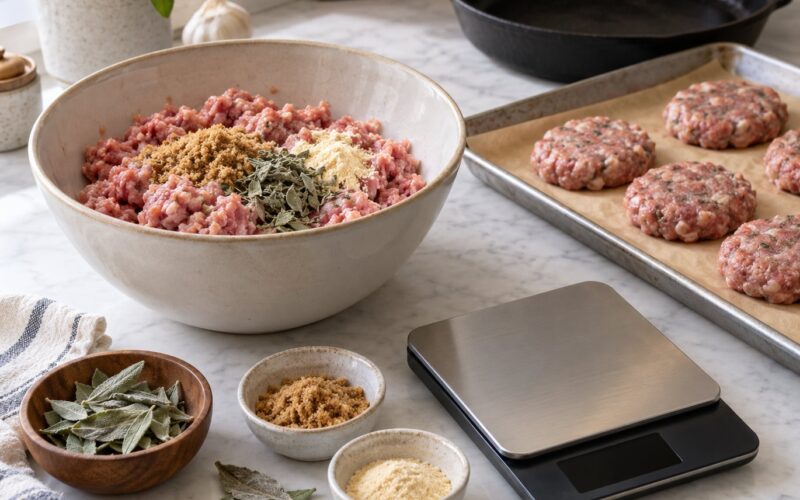
Stuffed potatoes and quick patties. Crumble the plain portion into a baked potato with butter, sour cream, and cheese for a fast dinner. The same crumbles mixed with breadcrumbs, an egg, and a little onion shape into patties in ten minutes and brown in a skillet. Neither needs much sauce to feel like a real meal.
The portions you season in Step 2 are the ones that travel well frozen. Keep the plain beef unseasoned and add salt at the reheating stage, because seasoning stored beef twice is how a batch turns too salty by Thursday.
Common Mistakes
Overcrowding the pan. A full pan drops to steam temperature and cooks grey. Cook one to two pounds at a time, or spread it thin on sheet pans and let the oven do the work. When in doubt, use more heat and fewer pounds per batch.
Skipping the breaking-up step. One large clump browns unevenly and leaves a raw center. Chop into it with a wooden spoon or potato masher as it cooks, aiming for crumbles the size of a pea.
Cooking by color alone. Ground beef looks done long before it is, and browned edges can fool you in the other direction. Use a thermometer and confirm 160°F.
Seasoning every pile the same way. If you season six pounds at once, you have made six pounds of one dish. Divide first, season second, and keep one portion plain for sauce, soup, and potatoes.
Salting the raw beef before it hits the pan. The salt draws out water and slows browning. Season during the last minutes of cooking or right after the beef comes off the heat.
Refrigerating too late. A hot container left on the counter for three hours puts the whole batch in the danger zone. Cool briefly, then refrigerate within two hours, splitting large amounts into shallow containers so the center cools fast.
Storing everything in one deep pile. A tall mound cools like a warm blanket around itself. Portion into shallow containers, cool uncovered in the fridge for the first twenty minutes, then seal.
Planning seven repeats. Meal prep that tastes like seven variations of the same dinner gets abandoned by Wednesday. Rotate the flavor profiles and the format, not just the sauce.
A few habits that make the whole week easier. Thaw frozen portions in the refrigerator, not on the counter, and reheat only what you are about to eat. A splash of water in the pan and a covered lid keeps reheated crumbles from turning grey and rubbery, which is the complaint most home cooks actually mean when they say leftovers seem off. Store sauces separately from the beef if you want to keep the reheated texture close to fresh.
If you want to go further, freeze the sauce right into the beef rather than freezing them apart. It costs you nothing in storage space and gives you a genuinely ready-to-heat meal on the nights when you cannot face a skillet.
Frequently Asked Questions
How long does cooked ground beef last in the refrigerator?
Cooked ground beef keeps three to four days in the refrigerator when stored at 40°F or below in a sealed container, according to USDA guidance. It does not last seven days in the fridge. A safe weekly plan freezes the later portions the day you cook them, which also protects the texture. Label and date every container so the oldest portion is always the one you eat first.
Can I cook ground beef ahead and freeze it for the week?
Yes, and that is the standard approach for week-long meal prep. Cool the cooked beef quickly, divide it into meal-sized portions, press freezer bags flat, and freeze the ones you will not eat within three or four days. Thaw those portions in the refrigerator overnight, never on the counter, and use them within one to two days after thawing.
What is the safest way to reheat cooked ground beef?
Reheat leftovers to 165°F or 74°C, measured with a food thermometer at the thickest part of the portion. A covered skillet over medium heat with a spoonful of water gives the best texture and keeps the crumbles from drying out. Microwaving works fine, but cover the container and stir halfway through. Reheat only the amount you plan to eat.
How much ground beef should I cook for a family of four?
For a family of four eating ground beef five or six times that week, cook 5 to 6 pounds of raw beef. That yields roughly 20 to 24 cooked servings once the rendered fat is gone. Buying extra sounds wasteful, but raw ground beef loses about a quarter of its weight during cooking. Plan one pound raw per person per week, plus a spare half pound if you like seconds.
Is it better to brown ground beef before putting it in a slow cooker?
Brown it first if you want savory flavor, because a slow cooker simmers rather than sears and never produces browned bits. Cook the beef in a skillet until it reaches 160°F, then transfer it with your liquids and cook the chili or soup on low for four to six hours. Recipes that skip browning still taste fine, they just lean on spices and long simmering for depth.
Conclusion
Start by picking three to five meals, then buy about one pound of raw ground beef per person and divide it into separate flavor piles. Brown it in batches or on sheet pans at 400°F, confirm 160°F with a thermometer, and cool it fast in shallow containers. Refrigerate what you will eat in the first three or four days, freeze the rest the same afternoon, and you have a genuinely safe, seven-day plan that takes under an hour of work.