To dry brine a steak, coat it generously with coarse kosher salt — about 1/2 teaspoon per pound of meat — then refrigerate it uncovered on a wire rack for 12 to 24 hours and cook it without rinsing. It costs one spoonful of salt and a refrigerator shelf, and almost all of the effort is waiting.
That wait is where the seasoning happens. Salt pulls surface moisture out of the muscle, then the meat drinks it back in with the salt dissolved in it, so the flavor travels past the crust into the center. The uncovered rack also dries the exterior, which is the single thing standing between you and the hard, browned crust people call steakhouse quality.
Table of Contents
- What You Need
- Step-by-Step: How to Dry Brine a Steak
- 1. Choose the Right Steak Cut and Thickness
- 2. Measure and Apply the Salt
- 3. Let the Steak Rest Uncovered in the Refrigerator
- 4. Cook the Steak from a Dry Surface
- 5. Check Doneness and Rest the Steak
- Common Mistakes
- Frequently Asked Questions
- How long should I dry brine a steak?
- Does dry brining need salt, sugar, or other ingredients?
- Should I cover the steak while dry brining?
- Can I dry brine a frozen steak?
- Does dry brining make steak healthier or lower in sodium?
- What temperature should steak reach when cooked?
What You Need
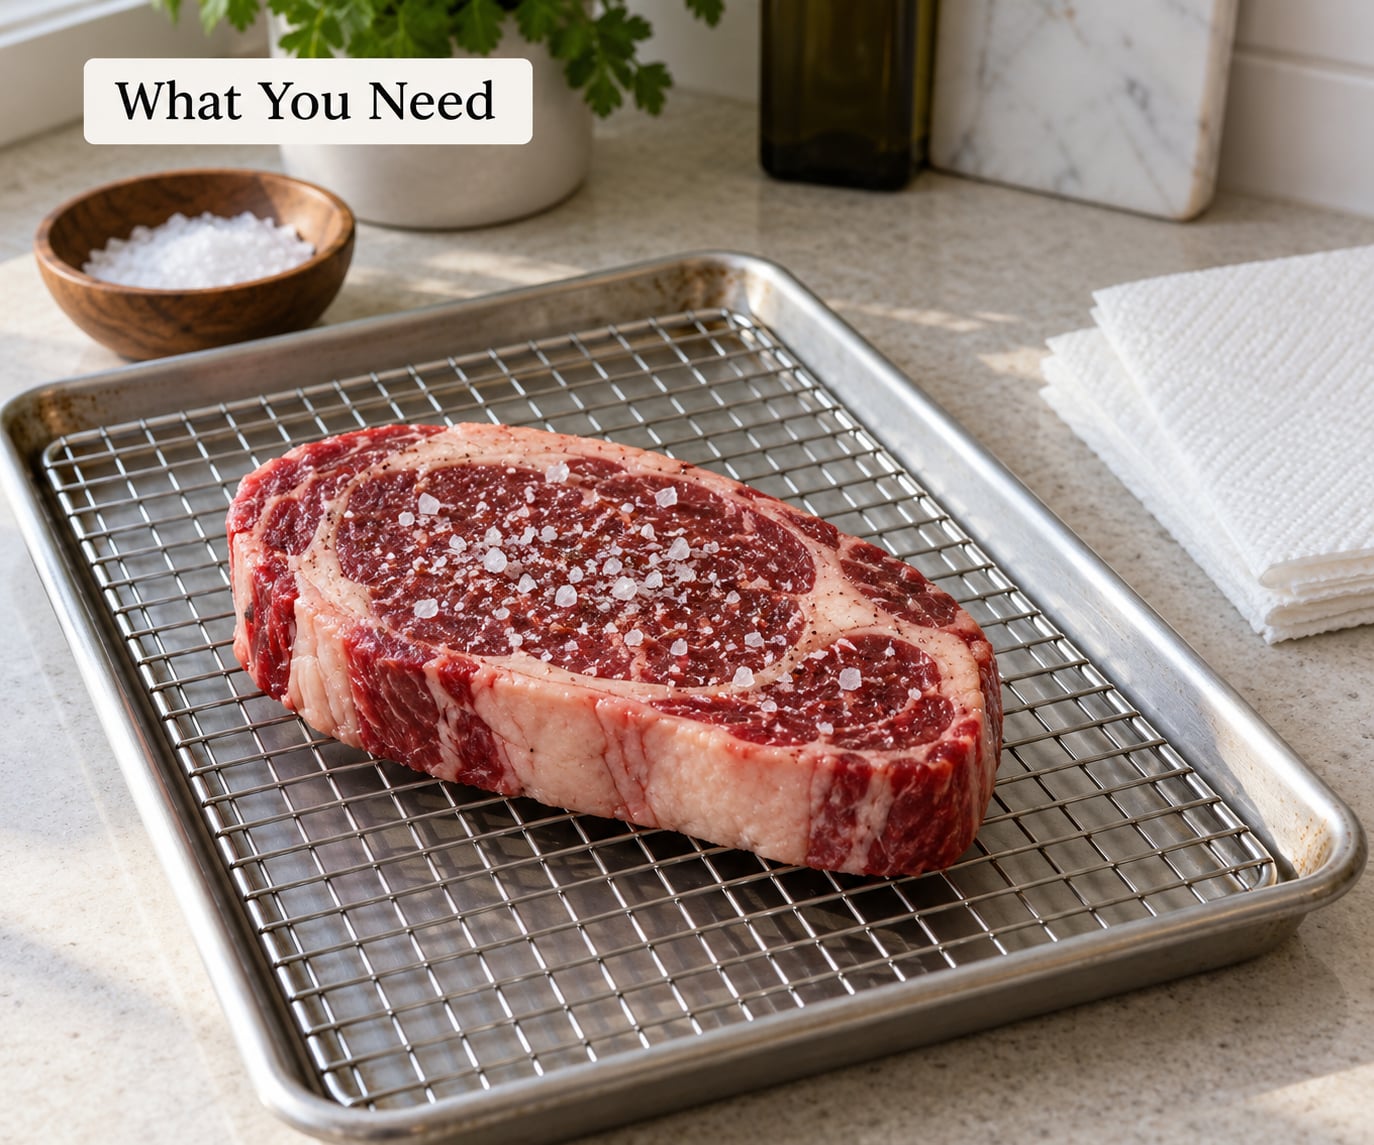
Coarse kosher salt is the only ingredient. Diamond Crystal and Morton both work, and the difference between them is small enough that you do not need to fuss. Just measure by weight if you can: 1 percent of the steak’s weight, which lands on roughly 1/2 teaspoon per pound.
Avoid fine table salt. Because the crystals are smaller and more tightly packed, a teaspoon of table salt carries close to three times the saltiness of a teaspoon of kosher, so a recipe that calls for kosher salt will oversalt the steak if you swap it. Sea salt falls somewhere in the middle and works fine, though it dissolves faster and stains the wood of a cutting board.
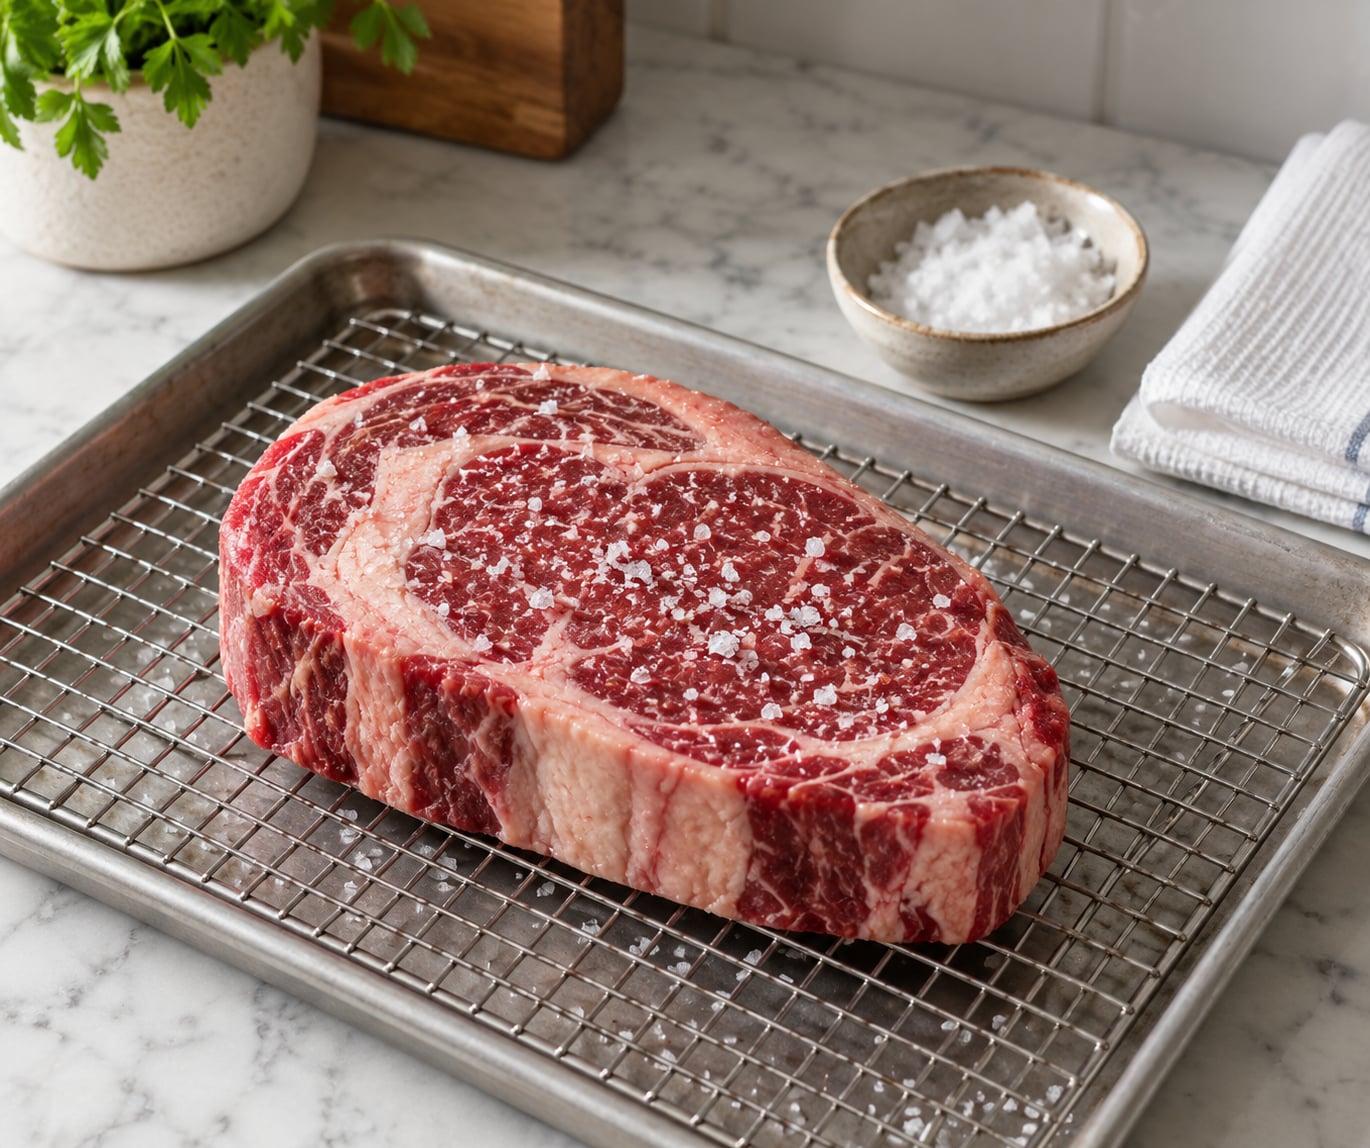
For equipment, set a wire cooling rack inside a rimmed sheet pan. The pan catches every drop that drips off, and the rack is what makes the method work: air moves under and around the steak on all sides, so the bottom dries as evenly as the top. A sheet pan alone traps moisture underneath and you end up salting one side of a wet steak.
No rack? Corners of two plates propped up like a tent work, and a couple of dry beans in the pan keep them from sliding. Skip the plastic bag and the sealed container, though. Anything that holds condensation against the meat recreates the problem you are trying to fix, and you will get a poorly seasoned steak with a soft, spotty sear instead.
You also want an instant-read thermometer. Step 5 depends on it, and guessing at doneness by pressing the meat is how people accidentally serve shoe leather.
A thin coat of oil or Dijon mustard is optional and worth skipping for a first attempt. Pepper belongs after the brine, not before — ground pepper scorches during a long sear and the bitterness sticks around.
Step-by-Step: How to Dry Brine a Steak
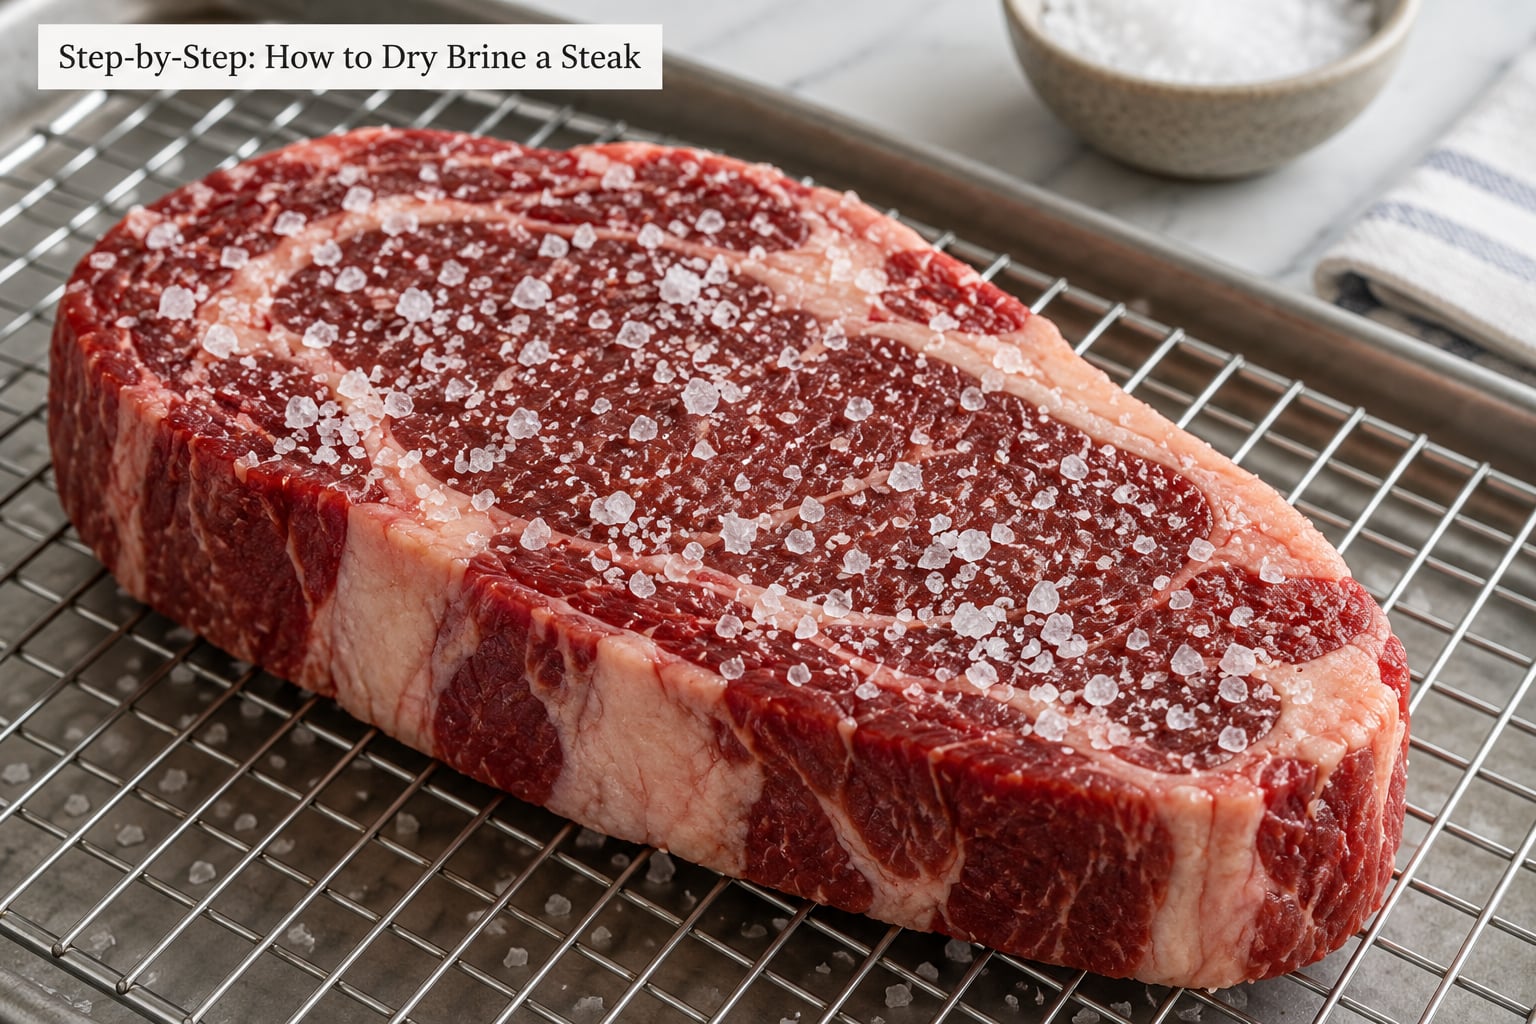
The whole process takes two minutes of work plus time in the refrigerator. The floor is about 2 hours, the useful window is 12 to 24 hours, and 48 hours is the ceiling before a steak starts tasting aggressively salty.
1. Choose the Right Steak Cut and Thickness
Ribeyes, New York strips, sirloins and flat irons are the usual candidates because they are thick enough to hold up to a long salt treatment. Thickness, not cut name, is what actually sets the clock: salt needs time to travel inward, and a thin steak gets there fast.
Skip anything already salted for you. Butcher-injected or “choice grade enhanced” steaks come pre-seasoned with a brine and solution, and adding more salt doubles down. Very tender cuts like filet mignon are better off with a short 2-hour treatment or none at all, since salt keeps loosening muscle fibers for days and the texture drifts past tender into crumbly.
2. Measure and Apply the Salt
The formula is 1 percent of the steak’s weight in salt. Weigh the raw steak, multiply by 0.01, and that is your target in grams. If you have no scale, 1/2 teaspoon of coarse kosher salt per pound gets you close.
| Steak weight | Coarse kosher salt (teaspoons) | Salt by weight (grams) |
|---|---|---|
| 8 oz (0.5 lb) | 1/4 tsp | 2 g |
| 12 oz (0.75 lb) | 3/8 tsp | 3 g |
| 16 oz (1 lb) | 1/2 tsp | 4 g |
| 24 oz (1.5 lb) | 3/4 tsp | 6 g |
| 32 oz (2 lb) | 1 tsp | 9 g |
Pat the steak dry with paper towels first. A wet surface clumps the salt into patches, and one heavily salted patch on a 16-ounce steak is enough to make the whole thing taste like a salt block.
Rub the salt over the entire steak: top, bottom, and all four edges. The edges are the part most people miss, and they are the part you chew through last. Seasoning should look sparse and even, like a light frost rather than a coating.
Do not add pepper now. You will salt nothing more after brining either — the steak is already seasoned, and the second sprinkle is the most common way people turn a good method into an oversalted dinner.
3. Let the Steak Rest Uncovered in the Refrigerator
Put the steak on the rack, uncovered, and refrigerate. Do not wrap it, do not put it in a bag, do not set a bowl upside down on it. Covered meat sweats, and that moisture sits exactly where you need it dry.
| Steak thickness | Minimum | Ideal window | Ceiling |
|---|---|---|---|
| Under 1 inch (sirloin flap, skirt) | 2 hours | 4 to 8 hours | 12 hours |
| 1 to 1.5 inches (strip, most ribeyes) | 4 hours | 12 to 24 hours | 36 hours |
| 1.5 to 2 inches (thick ribeye, tomahawk) | 8 hours | 24 to 36 hours | 48 hours |
| 2 inches and up (porterhouse, roast) | 12 hours | 36 to 48 hours | 72 hours |
You can see the surface change over that window. It goes from glossy and wet-looking to matte and tacky, sometimes with a faint dark tint at the edges where the salt has drawn out a little blood and fluid.
4. Cook the Steak from a Dry Surface
Take the steak straight out of the fridge and do not rinse it, do not wipe it, do not brush off the salt. Rinsing undoes the seasoning you spent a day building, and even a quick towel pat dries the exact exterior you want for browning.
Let it warm at room temperature for 30 to 45 minutes while you preheat. A cold steak dumped straight into a hot pan spends its first minutes warming up instead of searing, and you lose the crust.
Reverse sear works best on thick cuts. Heat your oven to 300°F (150°C), put the steak on a rack over a sheet pan, and cook until a thermometer reads 125°F (52°C) for medium rare. Rest ten minutes, then sear in a ripping-hot cast iron or grill for 30 to 45 seconds a side with a drop of high-smoke-point oil. Salt stays off until the very end, and pepper goes on after the flip if you want it.
A thinner steak does not want a reverse sear. Salt it, give it a hot pan or grill, and sear 2 to 3 minutes a side for a thin cut, longer for anything over an inch.
5. Check Doneness and Rest the Steak
Probe the thickest part of the steak with the thermometer, aiming for the center rather than the fat cap. USDA guidance puts whole cuts of beef at 145°F (63°C) for food safety, which lands medium well for most people.
Carryover cooking will add another 5°F or so while the steak rests, which is why a reverse sear pulls at 125°F (52°C) and comes out to 130°F. Pull early and let the residual heat finish the job.
Rest on a board for 5 to 10 minutes. Slicing straight off the heat lets the juice run out across the plate instead of staying in the muscle, and you will notice the difference with a cut this well seasoned.
Common Mistakes
- Too much salt. The single most common failure, and it comes from using table salt or from measuring by eye. Weigh your salt, use coarse kosher, and remember that 1 percent is the number, not a pile.
- Brining too long for the cut. A 3/4 inch steak left for three days tastes like a salt block. Match the time to the thickness table above and treat 48 hours as a hard ceiling on anything under two inches.
- Covering the steak. A bowl, plastic wrap, or sealed bag holds condensation against the surface and reverses the drying you paid a day for. Uncovered on a rack, always.
- Using table salt. Same spoon, far more saltiness. If you only have table salt, cut the volume by two thirds and accept a slightly crustier result.
- Rinsing or wiping the steak. This washes off the seasoning and re-wets the crust. Rinse nothing.
- Salting twice. Once you pull it from the refrigerator, the seasoning is complete. Any extra pinch at cook time stacks on top of what the brine already put in.
Two more things worth knowing. Dry brining is not marinating — it uses salt and time where a marinade uses acid or oil, and the results are different rather than interchangeable. And skip the idea of leaving salted steak on the counter overnight; refrigeration is what makes this safe.
If you have no time at all, the consensus among experienced cooks is simply not to salt it. A steak salted two minutes before it hits the pan will taste seasoned on the surface and plain in the middle, which is worse than a steak you seasoned properly yesterday.
Frequently Asked Questions
How long should I dry brine a steak?
Aim for 12 to 24 hours for a steak between 1 and 1.5 inches thick, which covers most ribeyes and strip steaks. Thin steaks under an inch only need 4 to 8 hours or they turn salty, while cuts over 1.5 inches can take 24 to 36 hours. Two hours is the practical minimum, and 48 hours is the ceiling for anything under two inches thick.
Does dry brining need salt, sugar, or other ingredients?
Salt alone is the traditional method and the one worth learning first. Sugar or garlic powder mixed into the salt will also dry-brine fine, but both burn during a long hard sear unless you finish gently. Oil and mustard are binders for a dry rub, not brining agents. Start with plain coarse kosher salt and add extras after you can already get a good crust.
Should I cover the steak while dry brining?
No. The steak needs to be uncovered so air circulates around it and the surface dries. Covering it traps condensation, which keeps the exterior wet and gives you a weak, blotchy sear. A wire rack set inside a rimmed sheet pan is the standard setup because air moves underneath as well as on top.
Can I dry brine a frozen steak?
Not safely. Salt applied to frozen meat does not dissolve or distribute properly, and the surface will not dry the way it should. Thaw the steak fully in the refrigerator first, pat it dry, then salt it and refrigerate it for your chosen brine time. Seasoning from frozen is the same problem as trying to sear from frozen.
Does dry brining make steak healthier or lower in sodium?
No, it is the opposite of lower sodium. A dry brined steak has salt pushed deeper into the muscle, so it is more evenly salted rather than less salty overall. Cutting back the quantity is how you reduce it, since a light hand on the salt still seasons well. For specific dietary advice, talk to a doctor or a registered dietitian.
What temperature should steak reach when cooked?
USDA guidance sets 145°F (63°C) as the safe minimum internal temperature for whole cuts of beef, which is medium well for most people. For a reverse sear, pull at 125°F (52°C) for medium rare and let carryover heat carry it to about 130°F. Always check the thickest part with an instant-read thermometer rather than guessing.
Four numbers do the whole job: 1 percent salt by weight, 12 to 24 hours in the fridge, uncovered on a wire rack, and no rinsing. Start tonight with a thick ribeye at 1/2 teaspoon of coarse kosher salt per pound, and check the surface tomorrow before you cook it.