To braise beef so it falls apart, brown it hard in a heavy pot, then cook it covered in a little liquid at 300 to 325F until the collagen turns to gelatin and a fork slides in with no resistance. Chuck, brisket, short ribs and shank do this naturally. Lean round cuts never will.
Most people who ask this are not asking about a technique. They are asking why their pot roast is still chewy after three hours. So the method below starts with the cut, keeps the heat low, and ends with a doneness test instead of a timer.
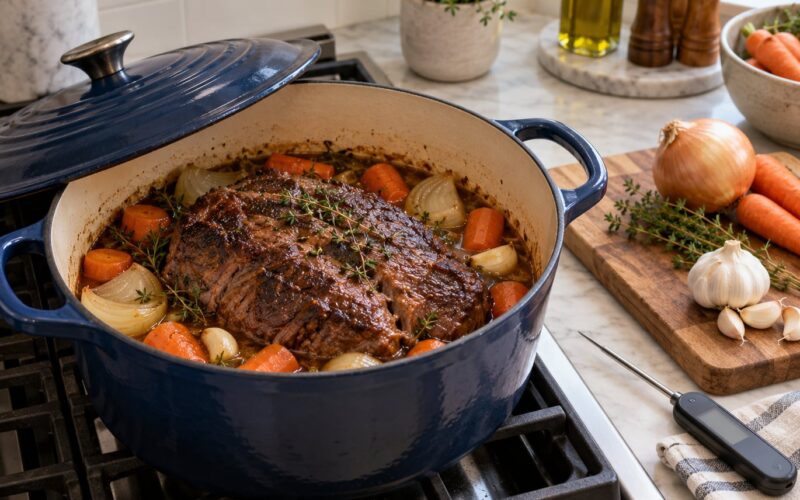
The short version: choose a collagen-rich cut, trim off silverskin, pat it dry, sear it 3 to 4 minutes a side in batches, cook onions and carrots in the fat, deglaze with wine and broth, and keep the liquid about halfway up the meat in a covered pot at 325F for two and a half to four hours. Pull it at 195 to 205F inside.
Table of Contents
- What You Need
- Step-by-Step: How to Braise Beef So It Falls Apart
- 1. Choose a Cut Built for Braising
- 2. Season and Brown the Beef
- 3. Build the Braising Liquid
- 4. Braise Gently Until the Beef Falls Apart
- 5. Test for Tenderness and Rest
- 6. Shred, Slice, and Serve
- Common Mistakes and Fixes
- Tips for the Most Tender Results
- Frequently Asked Questions
- What is the best liquid to use when braising beef?
- Should I braise beef at 300 or 325 degrees Fahrenheit?
- At what temperature does collagen break down in beef?
- What temperature should a fall apart chuck roast be cooked to?
- How do I cook a fall apart chuck roast in the crock pot?
- Why is my pot roast not falling apart?
- Conclusion
What You Need
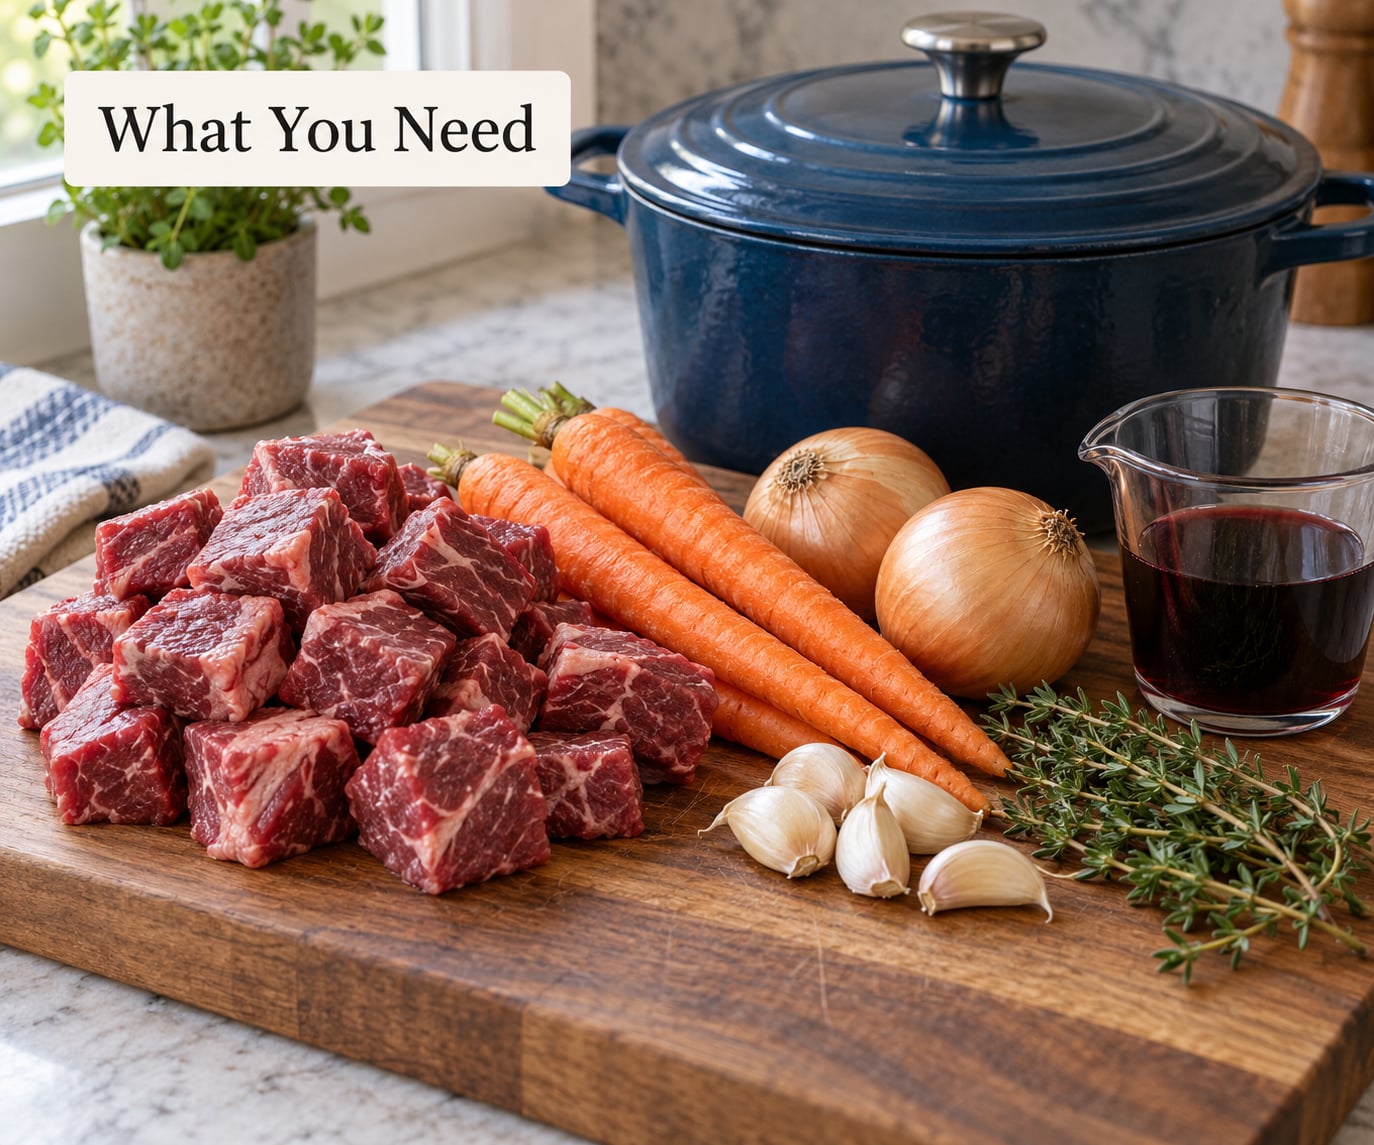
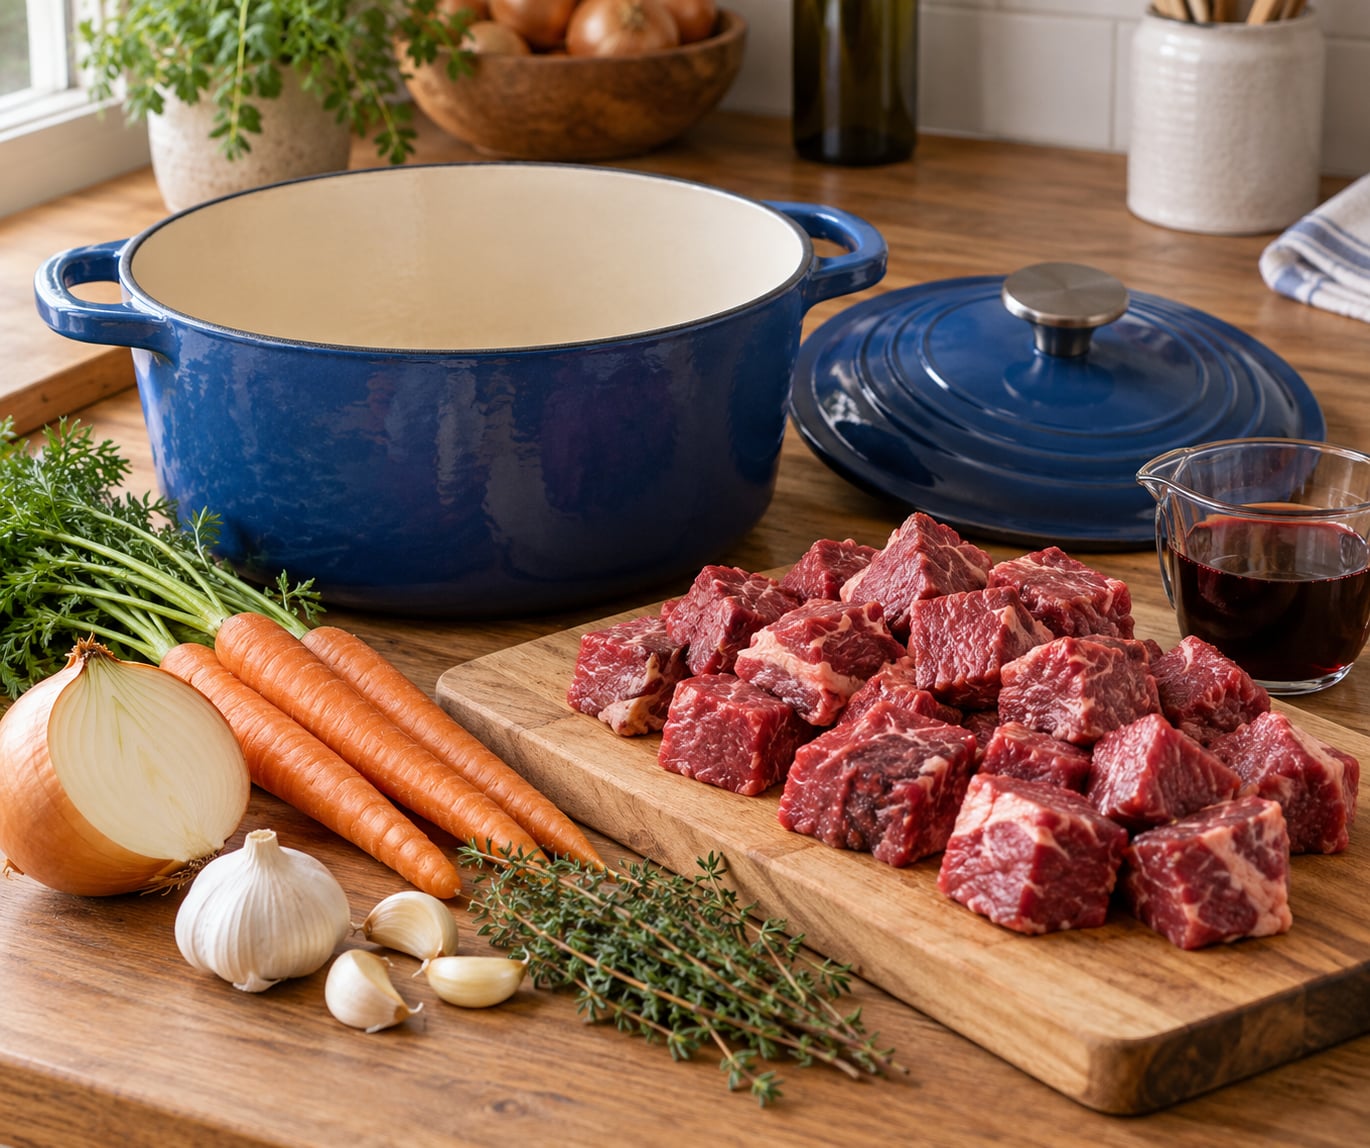
You need very little equipment, and the piece of gear that matters most is a heavy pot with a tight-fitting lid. An enameled cast iron Dutch oven is the classic choice because it holds heat evenly and survives two hours in a 325F oven. A heavy skillet plus a lidded braiser works too.
- Beef: chuck roast or shoulder clod, chuck 7-bone, beef chuck shoulder, beef short ribs, brisket, bottom round, rump roast, arm roast, beef shank, oxtail, or beef cheeks. Ask the butcher to trim it, and trim it again at home.
- Fat: neutral oil with a high smoke point, or a couple of strips of bacon or salt pork for richness.
- Aromatics: one yellow onion, two carrots, two ribs of celery, four or five garlic cloves, a spoonful of tomato paste, two bay leaves, and a few sprigs of thyme.
- Liquid: about one cup of dry red wine and two cups of beef broth, or all broth if you skip the wine.
- Tools: a sharp boning knife, an instant-read thermometer, and two forks for shredding.
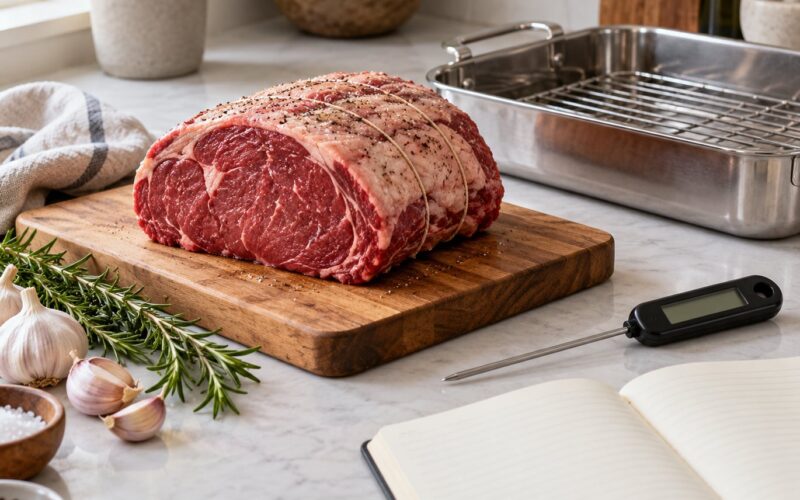
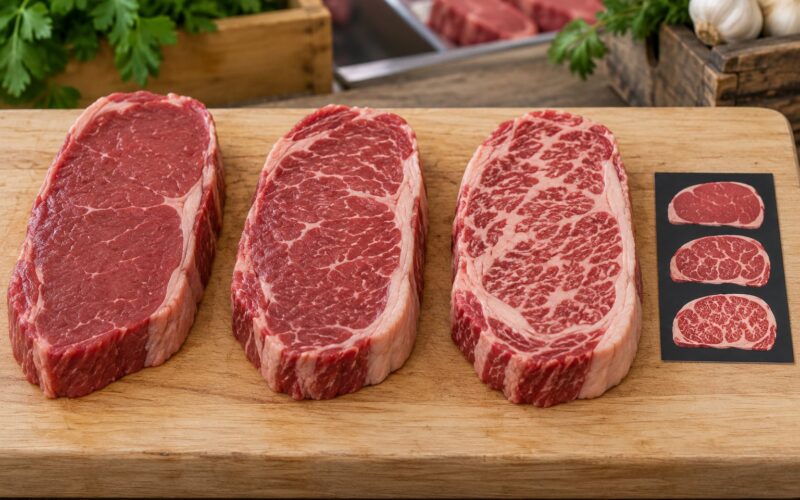
Buy the marbled piece. Thin white seams of intramuscular fat are flavor you cannot add later, and on our market stalls the well-marbled chuck clod is the one that turns silky while the lean boneless chuck sits there politely refusing to soften.
Step-by-Step: How to Braise Beef So It Falls Apart
Total time runs about three to four hours, most of it unattended in the oven. The active work is maybe twenty-five minutes. If you have a Dutch oven and a bottle of red wine, you are ready.
1. Choose a Cut Built for Braising
Beef falls apart when its collagen dissolves. Collagen lives in the connective tissue that runs through the shoulder, the breast, and the legs, so those are the cuts to buy. Chuck, brisket, short ribs, shank, oxtail, and beef cheeks all carry enough of it to go tender.
At the counter, look for meat with visible marbling and a loose, slightly grainy texture rather than a smooth, dense one. Point at the silverskin, the pale silvery membrane on the surface, and ask for it to come off. Same for any thick tendon running through the meat.
Skip the tenderloin, the top sirloin, the eye of round, flank steak, and lean ground. Those are built for dry heat and a short cook. If a sale sign says stew meat, assume it came from somewhere near the rear of the animal, so expect chewiness no matter how long you cook it.
2. Season and Brown the Beef
Pat the beef dry with paper towels. Wet meat steams instead of browning, and browning is where most of the braise flavor comes from. Season it all over with salt and black pepper, roughly one teaspoon of salt per pound of meat.
Heat a heavy pot or Dutch oven over medium-high until a drop of water skates across the bottom. Add a thin layer of oil, then lay the beef in without touching. Leave each face alone for 3 to 4 minutes until it is deep brown, then turn.
Brown in batches. If the pieces touch, they steam, the pan temperature drops, and you get gray meat with no fond on the bottom. Those browned bits are the fond, and they are what deglazing lifts into the sauce later.
A note on the classic myth: searing does not seal in juices. It builds flavor. The juices you keep come from resting the meat and from not overcooking it.
3. Build the Braising Liquid
Lift the beef out and set it on a plate. Turn the heat to medium, leave a little oil and fat in the pot, and add the onion, carrots, and celery. Cook them 8 to 10 minutes until soft and starting to color at the edges.
Add the garlic and tomato paste and stir for a minute. The paste burns fast, so keep it moving. Pour in the wine, scrape the bottom of the pot to loosen the fond, and let it bubble until it has reduced by about half.
Add the broth, bay leaves, and thyme. Return the beef to the pot. The liquid should come between one-third and two-thirds of the way up the meat, which is what makes this a braise. Cover the meat completely and you have made a stew, which is a fine dish but a slower one that never browns the top.
4. Braise Gently Until the Beef Falls Apart
Bring the pot to a bare simmer on the stovetop, then move it to a 325F oven. If your oven runs hot, 300F is fine and gives the collagen more time. Cover tightly and leave it alone for at least two hours.
You want a lazy bubble every second or two, not a rolling boil. A boil moves the liquid around so hard that the meat breaks down unevenly and the sauce reduces too fast.
Check the liquid every 45 to 60 minutes. Top it up with hot broth so it stays about halfway up the meat, and turn the meat once so the exposed top does not scorch.
| Cut | Oven temp | Braise time | Target inside |
|---|---|---|---|
| Chuck roast, 3 to 4 lb | 325F | 3 to 4 hours | 195 to 205F |
| Beef chuck 7-bone | 325F | 3.5 to 4 hours | 195 to 205F |
| Beef short ribs | 325F | 3 to 3.5 hours | 195 to 205F |
| Brisket | 325F | 3.5 to 4.5 hours | 195 to 205F |
| Beef shank | 325F | 4 to 5 hours | 200 to 205F |
| Arm roast | 325F | 3 to 3.5 hours | 195 to 205F |
| Bottom round | 325F | 3.5 to 4.5 hours | 200 to 205F |
| Oxtail or beef cheeks | 325F | 4 to 6 hours | 200 to 205F |
These are the baseline numbers we cook to. Treat them as a floor rather than a target, because the size of the piece, whether it is bone-in, and how fatty it is all change the clock.
There is a plateau between about 160F and 180F where the meat seems to get tougher instead of softer. Collagen is contracting and pushing out moisture before it dissolves. This is normal, it happens to everybody, and it is the reason people pull their beef early and end up disappointed.
5. Test for Tenderness and Rest
Do not trust the timer. Probe the thickest part with an instant-read thermometer and aim for 195 to 205F, where collagen has finished converting to gelatin. Then push a fork into the meat and twist. If it slides in with no resistance and the fibers separate when you turn it, it is done.
A cut-off chunk on the end of a spoon tells you more than any timer. Taste it. That habit is the difference between a cook who reads recipes and a cook who reads the meat.
Turn off the oven and leave the meat in the covered pot for 15 to 20 minutes. The muscle fibers reabsorb moisture during that rest, so cutting straight out of the pot costs you juice.
6. Shred, Slice, and Serve
For pulled beef, set the meat on a board and pull it apart with two forks, working along the grain. For a roast you want to slice, cut across the grain at a slight angle so the short fibers are shorter than your teeth.
For the sauce, skim the solid fat off the top of the braising liquid, then reduce it on the stove by a third or half until it coats the back of a spoon. Thicken with a slurry of one tablespoon cornstarch whisked into two tablespoons of cold water, or mount it with a knob of cold butter whisked in at the end.
For food safety, whole cuts of beef should reach 145F before eating, and a braise passes that long before it is tender. Keep cooked beef in the fridge for three to four days, and reheat it with a splash of broth so it does not dry out.
Common Mistakes and Fixes
Almost every disappointing braise is one of these six things. Work down the table until your symptom disappears.
| What you see | What caused it | What to do |
|---|---|---|
| Still chewy after four hours | Undercooked, or a lean cut | Check a thermometer. Under 195F means keep cooking. At 200F and still chewy, it is probably a lean cut or leftover silverskin. |
| Falls apart but tastes dry | Cooked several hours past the collagen window | Pull it at 195 to 205F, not later. Next time, rest it 20 minutes in the liquid. |
| Tough in spots only | Silverskin, tendon, or sinew still attached | Those never soften. Trim them off raw, and eat around them. |
| Greasy, no browning on top | Liquid was above halfway, so you made a stew | Keep the level at one-third to two-thirds up the meat. |
| Liquid gone, bottom burning | Pot too small or lid not tight | Use a pot the meat fits in with room around it, and add hot broth when you check. |
| Meat is bland | Pan was crowded, so nothing browned | Sear in batches, and deglaze with wine or broth to lift the fond. |
Crowding the pan is the mistake I see most often on home stoves. It is also the easiest one to fix, since it costs nothing but patience and a second batch.
The second most common mistake is lifting the lid. Every peek drops the temperature and lets moisture out, which extends the cook and concentrates the sauce. Set the meat and liquid levels before it goes in, then leave the pot alone.
Third is shredding straight from the pot with no rest. The juice runs out onto the board and you wonder why fall-apart beef tastes dry. Twenty minutes fixes it.
And a caution worth repeating: more liquid does not make meat tough. A forum myth says heavy liquid keeps the collagen from converting. It does not. More liquid just gives you a stew, which is a different dish.
Tips for the Most Tender Results
Marinate for flavor, not for tenderness. Eight hours in red wine, olive oil, garlic, onion, carrot, and bay leaf before braising is a lovely thing to do and it seasons the meat two inches deep. It will not turn a lean cut tender. That is chemistry, not time.
Season the liquid, not just the meat. A bay leaf, a few peppercorns, and a splash of Worcestershire or soy sauce in the broth add savoriness that a plain pot roast is missing. Tomato paste and canned crushed tomatoes bring acidity that softens connective tissue a little and tastes great with chuck.
Try stout, porter, or a dark lager in place of the wine. Coffee is the other sleeper option: a tablespoon of instant coffee in the liquid rounds out a pot roast without tasting of coffee.
Use the oven whenever your stovetop cannot hold a steady simmer. A gas burner fluctuates with the wind and the burner ring under a wide pot. A 325F oven is steadier and gentler, and it means you do not have to stand there.
Seal the rim if liquid keeps disappearing. Mix a little flour and water into a paste, run it around the edge of the lid, and press it down. That trick came out of an old cooking forum thread and it works.
Make it a day ahead. Braises are better the next day, and reheating is more forgiving than the first cook. Cool it in the pot, refrigerate it, then warm it gently with a splash of broth.
Do not waste the pot. Carrots, onions, and parsnips added at the end braise in the same liquid and soak up everything the beef gave off. A market lunch built on yesterday’s braise is half the work of today’s.
Frequently Asked Questions
What is the best liquid to use when braising beef?
Beef broth is the safest all-purpose choice, and a cup of dry red wine plus two cups of broth gives you the best flavor in most braises. The wine supplies acidity that cuts the richness, and the broth supplies body. Dark beer works in place of the wine, and crushed tomatoes or tomato paste work well with chuck, since the acidity softens connective tissue slightly.
Should I braise beef at 300 or 325 degrees Fahrenheit?
Both work. 325F is the standard for most home ovens and finishes chuck and short ribs in three to four hours. Drop to 300F if your oven runs hot or if you are working with a large piece, since the extra time gives collagen more chances to convert. The number matters less than holding the liquid at a gentle simmer without a rolling boil.
At what temperature does collagen break down in beef?
Collagen starts tightening and converting somewhere around 160F, and it is largely converted to gelatin between 180F and 205F. That is why a braise aims for 195 to 205F inside the meat instead of the 130 to 145F you would pull a steak at. Elastin, the yellow tissue in silverskin and tendon, never converts at any temperature and must be trimmed off.
What temperature should a fall apart chuck roast be cooked to?
Take a chuck roast out at 195 to 205F measured in the thickest part with an instant-read thermometer. Below that, collagen is still tight and the meat will feel springy. Confirm with a fork: it should slide into the meat with no resistance and twist apart into fibers. Rest it 15 to 20 minutes in the covered pot before cutting.
How do I cook a fall apart chuck roast in the crock pot?
Brown the chuck in batches on the stovetop first, since a slow cooker will not sear it. Then add aromatics, broth, and seasonings to the slow cooker, nestle the beef in, and cook on low for 8 to 10 hours, or on high for 4 to 5 hours. Keep the liquid about halfway up the meat and check near the end, since modern slow cookers often run hot.
Why is my pot roast not falling apart?
Four reasons cover almost every case. You used a lean cut such as eye of round or a boneless lean chuck piece. You pulled it too early, before collagen finished converting. Silverskin or tendon was left on, and elastin never softens at any temperature. Or the pot was crowded and the meat steamed instead of browning. Check the cut first, then check the internal temperature.
Conclusion
Most beef fails to fall apart for one of three reasons: the wrong cut, not enough time, or silverskin left on. Start with a well-marbled collagen-rich piece such as chuck, brisket, short ribs, or shank, and trim it properly before it hits the heat.
Then brown it hard in batches, deglaze the pot with wine, keep the liquid about halfway up the meat, and hold it at 325F for two and a half to four hours. Ignore the clock at the end and take the meat out at 195 to 205F, when a fork twists apart with no resistance at all.