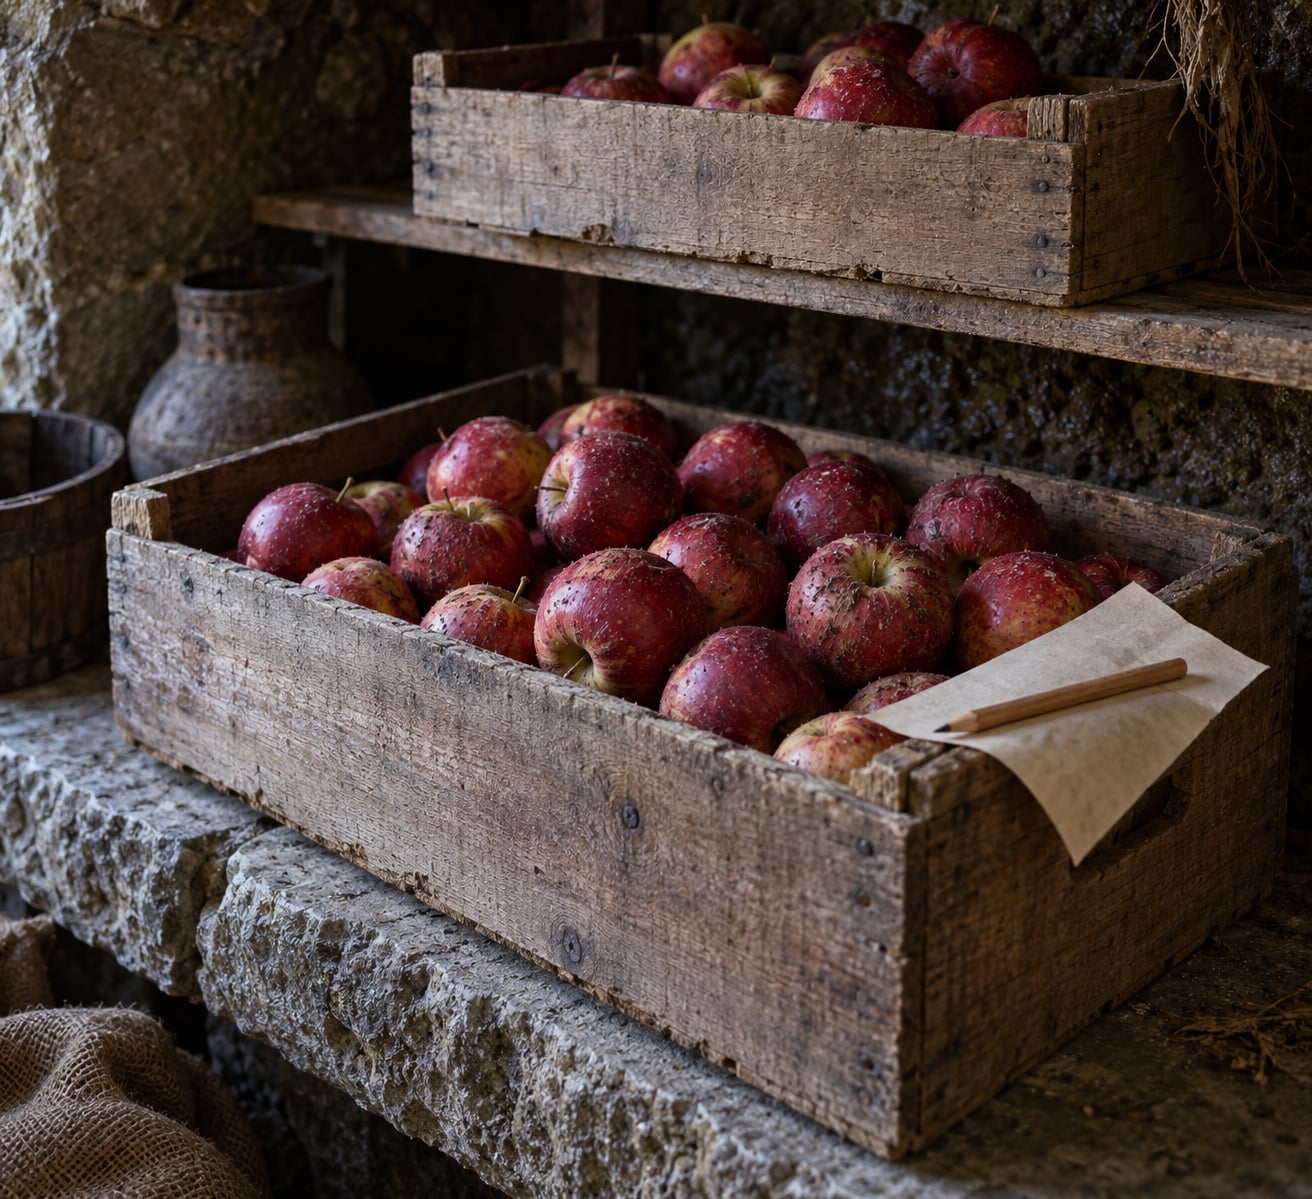
If you want to know how to store apples for months, the short version is: keep them cold (30-40F), humid (90-95% relative humidity), dark, and unwashed, and never let one bruised apple touch the rest. A home refrigerator crisper drawer buys you six to eight weeks. An unheated garage, shed or basement at 41-45F buys you two to three months. A proper root cellar or cold room at 32-38F with high humidity stretches that to four to six months, sometimes longer for late varieties.
Apples keep breathing after you pick them, and that respiration is what softens them, dulls the flavor and eventually rots the fruit. Temperature is the biggest lever you control at home, and humidity is the second. Get those two right and most of the rest is just habit: sort carefully, leave the wax bloom alone, give the fruit some airflow, and check the crate every few weeks.
I keep a bushel of late-season apples in an unheated outbuilding each fall, split between perforated bins in the coolest corner and paper bags in the fridge. The fridge batch goes first, usually within a month, and the cool-room batch carries us into late winter. The whole routine costs nothing beyond some stacking crates and an hour of sorting.
This guide covers whole apples, cut apples and frozen apples, plus the varieties worth buying if you genuinely want fruit in February.
Table of Contents
- What You Need
- Step-by-Step: How to Store Apples for Months
- 1. Choose apples that are fresh and sound
- 2. Sort and do not wash apples before storing
- 3. Pick the storage method that sets the shelf life
- 4. Layer apples in a breathable container
- 5. Store cut apples for up to several days
- 6. Freeze apples for long-term storage
- 7. Check apples regularly and use them in time
- Common Mistakes
- Frequently Asked Questions
- Can apples last 6 months in the fridge?
- How long do apples last in a Ziploc bag?
- How do Amish store apples?
- Is it better to freeze apples whole or sliced?
- Is low or high humidity better for storing apples?
- How do I know when a stored apple has gone bad?
- Conclusion
What You Need
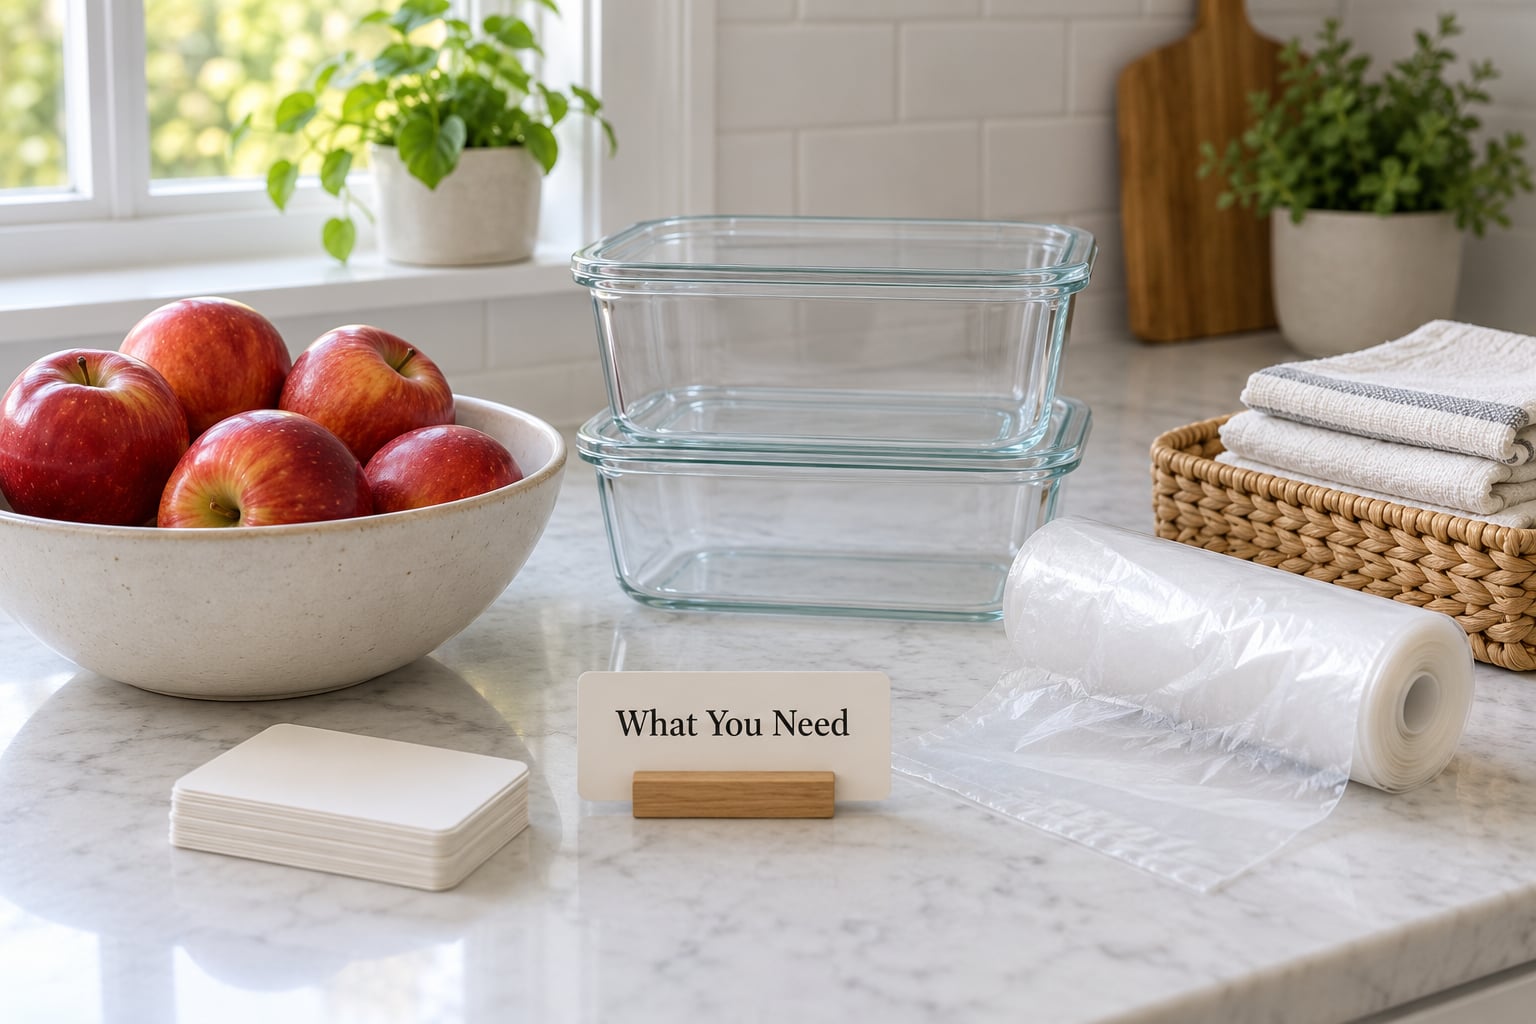
You need less than most guides suggest. A refrigerator with a crisper drawer and a way to raise humidity covers most households. Everything else is optional depending on how much fruit you are storing.
- Perforated plastic produce bags or a perforated bin liner. A regular grocery bag with a few holes punched in it works just as well. This is the single most useful item on the list.
- A shallow crate, cardboard tray, or small wooden bin. Depth of 4 to 6 inches is ideal. Deep piles bruise the bottom layer.
- Clean paper towels, plain paper, or newspaper. For lining and for wrapping individual apples in the fridge.
- Labels or masking tape and a pen. Write down the variety and the date. Without that you will never know which bin to open first.
- A hygrometer. Optional, but a cheap one tells you whether a shed corner is really holding 90% humidity or sitting at 60%.
- A water source for the container trick. A shallow pan of water in a closed bin raises humidity around the fruit without soaking it.
- Freezer space and freezer bags or parchment. Only if you have a surplus you cannot eat fresh.
Two containers with different humidity needs is worth knowing. A vented bag or crate at 85-90% humidity suits apples. An unvented container at 95-99% humidity suits leafy greens and herbs, which will wilt and rot in the drier apple setting. If your crisper drawer has a humidity slider, apples go on the low-humidity side, opposite the greens.
Step-by-Step: How to Store Apples for Months
1. Choose apples that are fresh and sound
Buy or pick firm, unbruised apples with tight skin. Heavy for their size usually means dense flesh and better keeping quality.
Variety matters more than anything else you can control. Gala, Honeycrisp and McIntosh soften quickly and go mealy within weeks. Fuji, Braeburn and Granny Smith hold far longer, and the difference is dramatic enough that it decides whether you have apples in March or not.
| Variety | Texture | Keeping quality | Approximate shelf life in good conditions |
|---|---|---|---|
| Fuji | Very crisp, dense | Excellent | 5 to 7 months |
| Braeburn | Crisp, sweet-tart | Excellent | 4 to 6 months |
| Granny Smith | Very firm, tart | Excellent | 4 to 6 months |
| Winesap | Spicy, firm | Very good | 4 to 6 months |
| Newton Pippin | Brittle, aromatic | Very good | 4 to 6 months |
| Arkansas Black | Hard, wine-like | Very good | 5 to 7 months |
| Honeycrisp | Crisp but softens fast | Fair | 2 to 3 months |
| Gala | Softens quickly | Poor | 4 to 8 weeks |
| McIntosh | Mealy when old | Poor | 2 to 4 weeks |
Apples ripen entirely off the tree, so picking or buying them slightly green and firm extends every number in that table. Windfalls and drop apples are a separate case. They bruise on impact from the fall, bruise again where they hit the ground, and almost never keep more than a few weeks. Set those aside for sauce, cider or baking instead of putting them in the long-term bin.
2. Sort and do not wash apples before storing
Sort every apple into three piles: perfect, slightly marked, and damaged. Only the perfect pile goes into long-term storage.
Do not wash them. The skin carries a natural wax bloom that resists moisture loss, and rinsing it off starts a mold clock that runs the whole time the apple is in storage. Wash at the moment you eat them, not before. Run them under cool water, and there is no need for soap or produce wash.
Handle them like eggs. Bruised skin turns brown, softens and turns into an entry point for rot and for the ethylene that ripens its neighbors. Growers on r/Apples and on the growingfruit.org boards describe the same thing in different words: one soft apple in a sealed bag will take the rest of the bag with it, and the damage is usually visible several days before the smell shows up.
Leave the stems in. A missing stem leaves a small open wound, and stem-in fruit also sits more securely in a crate without rolling.
3. Pick the storage method that sets the shelf life
Match the method to the space you actually have. Temperature is the deciding factor, and humidity is what keeps the skins from shriveling. Most people searching how to store apples for months are really choosing between a fridge and one unheated room.
| Method | Ideal temperature | Ideal humidity | Expected shelf life | Best for |
|---|---|---|---|---|
| Refrigerator crisper drawer | 33 to 38F | 90 to 95% | 6 to 8 weeks | A grocery haul or a small harvest |
| Unheated basement or pantry | 41 to 45F | 85 to 90% | 2 to 3 months | Most households without a cellar |
| Garage or shed | 41 to 45F, steady | 85 to 90% | 2 to 3 months | More volume, if temps hold |
| Root cellar or cold room | 32 to 38F | 90 to 95% | 4 to 6 months | Serious winter stores and pie apples |
| Commercial controlled atmosphere | 32 to 34F | 90 to 95% | 9 to 12 months | Not a home option, for reference |
| Kitchen counter, in a bowl | Room temperature | Ambient | 1 to 3 weeks | Apples you will eat this week |
The garage method is the one most home storage guides skip, and it works well in a surprising number of houses. The rule is that the space must stay between freezing and 55F all night, every night. A shed in late autumn usually qualifies; a shed in January usually does not. Check with a thermometer overnight before you commit a batch to it.
Commercial controlled atmosphere storage is worth understanding even though you cannot replicate it. Operators lower oxygen and raise carbon dioxide in sealed rooms, which slows respiration dramatically. That is why a grocery apple in March can taste flat while one from a controlled room tastes fine. Low oxygen and high carbon dioxide are doing something your crisper drawer cannot.
Keep apples away from bananas, avocados, pears and ripe stone fruit. Those produce ethylene gas, the ripening hormone, and apples absorb it and speed up. Potatoes are a special case: some people store them alongside apples, but the ethylene from a large apple batch will soften the potatoes and make them sprout, and nobody wants sprouted potatoes in February.
4. Layer apples in a breathable container
Give the fruit air but keep it from touching. That balance is the whole technique.
- Perforated bag, crisper drawer. Put the sorted apples in a perforated produce bag, or a regular bag with five or ten holes punched in it, and set it in the crisper on the low-humidity setting. This is the best method for most people.
- Paper bag on the counter, short term. Fold the top over loosely. The paper breathes, and the bag holds a little carbon dioxide around the apples, which slows them. This buys days, not months.
- Crate lined with paper. For basement, garage and cellar storage, line a shallow crate with plain paper or newspaper, lay apples in a single layer, and stack a second crate on top with a slat or two between them so nothing shifts.
- Individual wraps in the fridge. Wrap each apple in a paper towel and stand them in a bowl or container. Slower and fussier, but it works well if you want display fruit to look good and last.
- Humidity box. For a cellar with dry air, set a shallow pan of water in the bottom of a lidded bin, keep the apples on a rack above the waterline, and seal it. Check the water level every couple of weeks.
Do not seal apples in an airtight container with no ventilation. Growers report the same failure again and again on r/Apples: condensation forms, the skins go damp, and mold blooms inside the bag within a few weeks. Airtight is fine for cut fruit in the fridge, where the piece is small and you will eat it in days. It is wrong for whole apples in long storage.
5. Store cut apples for up to several days
Cut apples are a short-term problem, not a storage problem. They are safe refrigerated for about three to four days at or below 40F, and you will want to eat them well before that.
Toss cut pieces with a little lemon juice or a solution of powdered ascorbic acid dissolved in water, then seal them in an airtight container. The acid slows the enzyme reaction that turns cut flesh brown, and the airtight seal limits oxygen, which slows the same reaction. Beeswax wrap or plastic wrap stretched tight over the cut face works reasonably well too, but a container is more reliable.
Acid only buys you time. After two or three days the pieces brown anyway, and a soft or sour-smelling piece should be discarded rather than eaten.
If you are packing apples for a lunchbox or a kid’s snack, toss the slices in lemon water and drain them before packing. A thin layer of browning across a lunchbox is a wasted afternoon, and a piece the child will not eat is the same as a piece you threw away.
6. Freeze apples for long-term storage
Freezing is the right answer for a harvest you cannot eat fresh. Apples do not freeze well whole, so plan to prep them.
- Wash, peel if you want, core and slice into even pieces.
- Blanch the slices for three minutes in boiling water, then cool them quickly in ice water. Blanching stops the enzymes that destroy texture and color. Skipping it costs you quality, not safety.
- Drain thoroughly and spread the pieces on a towel to dry.
- Pack in portions you will actually use. A quart bag of one-inch slices is a single pie or a batch of sauce. Large family bags thaw into a soggy mass you cannot measure.
- Press out the air, seal, label with the date, and lay the bags flat in the freezer.
Frozen apples are for baking, sauce, smoothies and cider, not for eating out of the bag. Texture turns soft and mealy no matter how carefully you packed them. If you want a raw-fruit eating texture in March, that comes from cold storage, not the freezer.
Drying works the same way for a different reason: removing water. A food dehydrator at 135 to 140F for 8 to 12 hours turns apples into leathery rings that keep a year in a sealed jar. Canning in syrup or water is another option, and apple sauce, butter and unsweetened puree freeze well in jars or containers.
7. Check apples regularly and use them in time
Put a recurring reminder in your calendar. Once a month for cellar and garage fruit, once a week for a fridge bag you are eating down fast.
At every check: pick up any soft or leaking apple and take it out of the room entirely, including the ones underneath. Look for skins that are dull or wrinkled. Smell the crate. A fermented or cider-like smell that was not there last time means that apple is fermenting. Cut one suspicious apple in half and look for brown streaks running from the core outward, or a dry, mealy, spongy flesh. Those are rot signs, not storage effects.
Then rotate. Move the fruit closest to the front of the bin to the front of your cooking plan. The biggest waste in apple storage is not spoilage, it is ten good apples in the back of a crate that you forgot about in December.
Expect flavor to change. Cold-stored apples lose some aromatic punch and their starch-to-sugar balance shifts, so they taste milder and sometimes a little flat. Let them sit at room temperature for an hour or two before eating. For baking, that is a non-issue, since sugar and spice cover it entirely.
Common Mistakes
Almost every ruined batch traces back to one of these. The fix for each is cheap.
- Washing before storing. You strip the protective wax and add surface moisture. Fix: store dry and unwashed, wash at the moment you eat.
- Sealing the bag airtight with no holes. Condensation builds, skins go damp, mold follows. Fix: perforate the bag or use a vented crate liner.
- Using a bag from a closed container with no airflow. The same problem in a different wrapper. Fix: a paper bag is fine on the counter, perforated plastic in the fridge.
- Storing bruised or windfall apples with the good ones. The bruise becomes a rot door, and the apple releases extra ethylene as it goes. Fix: bruised fruit goes into the sauce pile the day you sort.
- Mixing in one overripe apple. One bad apple does spoil the barrel, because ethylene travels. Fix: sort twice, and again whenever you notice softness.
- Piling fruit too deep. Weight from the layer above bruises the layer below, and the middle of a deep pile never gets air. Fix: shallow crates, 4 to 6 inches, no more.
- Storing apples next to bananas, avocados or pears. Ethylene from those fruits speeds up ripening across the drawer. Fix: a separate shelf, and keep bananas out of the fridge entirely.
- Not labeling the bin. You will open the wrong crate, then open all of them, and drop the fruit you handle most. Fix: variety and date on masking tape.
- Putting fruit in a shed in midwinter. A space that swings below freezing and back ruins the batch faster than warmth does. Fix: check overnight temperatures before the fruit goes in.
- Expecting cut apples to keep for months. Cut fruit is a three-to-four-day refrigerated item, full stop. Fix: freeze or can it instead.
Two habits do more for a long store than any container. Sorting thoroughly before the fruit goes in, and checking it on a schedule. Everything else is detail.
Frequently Asked Questions
Can apples last 6 months in the fridge?
Yes, for the right variety, but the fridge is at the warm end of acceptable. A home crisper at 33-38F will hold firm late apples such as Fuji, Braeburn or Granny Smith for 3 to 6 months, while Gala and McIntosh will not. Commercial controlled atmosphere rooms at 32-34F with adjusted oxygen keep apples 9 to 12 months, which a home fridge cannot match. If a six-month store is the goal, a root cellar or a cool room at 32-38F and 90-95% humidity beats the fridge.
How long do apples last in a Ziploc bag?
A sealed Ziploc in the fridge gets you 4 to 8 weeks for firm varieties, and condensation is the risk people hit most. Poke five to ten small holes in the bag so moisture can escape, or use a perforated produce bag instead. Store the bag in the crisper on the low-humidity setting, away from bananas and other ethylene-producing fruit. Check it weekly and pull out any soft apple immediately, because a sealed bag spreads decay fast.
How do Amish store apples?
Traditional Amish and Pennsylvania Dutch cellaring follows the same principles a modern root cellar uses: a below-ground or shaded room held near 32-38F, high humidity, darkness, and no washing. Apples go in unwashed in single layers on slatted shelves or in ventilated crates, never piled. Some farms barrelled fruit in a cold pond or a spring-fed cave, which is essentially natural controlled atmosphere. The methods vary by community, but the conditions behind them are the same ones described above.
Is it better to freeze apples whole or sliced?
Sliced, always. Whole apples do not freeze well, because the ice expands in the flesh cell and turns the interior mealy on thawing. Core and slice, blanch the pieces for three minutes in boiling water, cool them in ice water, dry thoroughly, then pack in the portions you will cook. Frozen sliced apples are meant for pies, sauce, smoothies and cider, not for eating raw. Expect nine to twelve months in a freezer held at 0F.
Is low or high humidity better for storing apples?
High humidity, around 90-95% relative humidity, is what you want. Apples lose water readily, and in dry air the skins shrivel and the fruit goes mealy within weeks. That said, they still need some moving air, so the goal is a moist, ventilated space rather than a sealed wet one. If your crisper drawer has a humidity slider, put apples on the low setting opposite the greens, since sealed high humidity is designed for leafy vegetables.
How do I know when a stored apple has gone bad?
Look for softness, leaking, dull wrinkled skin, and a fermented or cider-like smell that was not there at the last check. Cut a suspect apple in half: brown streaks running from the core, a dry spongy texture, or white and grey mold all mean discard it. Slight skin pitting from dehydration is not the same as rot, and uniform yellowing as the background color ripens is normal. When in doubt, toss it, because one spoiled apple contaminates the whole crate.
Conclusion
Start with the container, not the fruit. Put your best, unbruised apples in a perforated bag in the crisper drawer today, and you have bought six to eight weeks. If you have a cool basement or garage that holds 41-45F overnight, build up to shallow crates lined with paper and stretch that to a few months. Buy Fuji, Braeburn or Granny Smith rather than Gala or McIntosh if the point is to still have pie fruit in February.
That is the short version of how to store apples for months at home: cold, humid, dark, dry on the skin, and checked on a schedule. Then do the two unglamorous things every month: pull out anything soft, and use the fruit in the front of the bin first. Updated for 2026, and still the cheapest food storage method in the house.