To freeze fresh corn on the cob, blanch the shucked ears briefly in boiling water, shock them in ice water to stop the cooking, dry them completely, and pack them airtight in the freezer. Blanching is what keeps the kernels sweet and firm instead of watery and bland, and the whole job takes about 30 minutes for a couple of dozen ears.
Sweet corn is at its best for roughly two weeks in midsummer and then it is over. Freezing is the only way to hold onto that just-picked flavor through February, and doing it right takes less fuss than most people expect.
Table of Contents
- What You Need
- Step-by-Step
- Step 1: Choose and Prepare the Corn
- Step 2: Blanch the Ears
- Step 3: Cool and Drain the Corn
- Step 4: Package and Label the Ears
- Step 5: Freeze and Use the Corn
- Common Mistakes
- Frequently Asked Questions
- Is it okay to freeze fresh corn without blanching it?
- Should sweet corn be blanched before freezing?
- How long should I blanch corn on the cob before freezing?
- Do you cut corn off the cob before or after blanching?
- How long to leave corn in ice water after blanching?
- How long does frozen corn on the cob last, and how do I tell if it went bad?
- Conclusion
What You Need
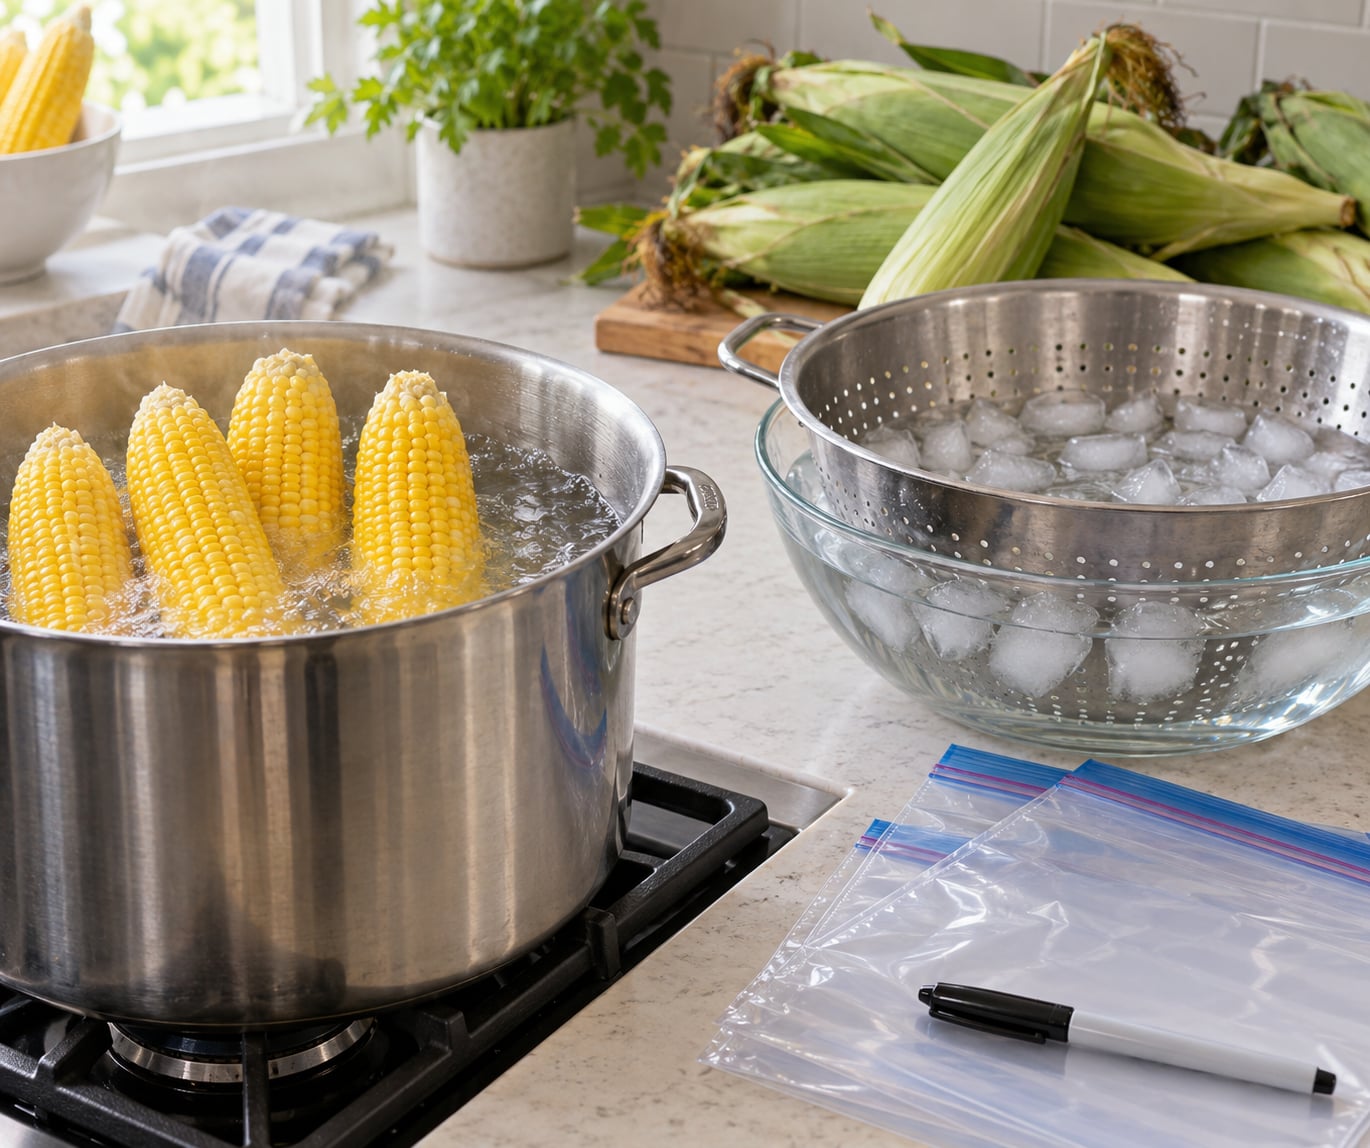
You need very little, and most of it you already own. The pot has to be big enough that the ears sit in the water without being crowded, because a crowded pot drops the temperature and gives you uneven blanching.
- A large pot with a lid, plus a wire basket or a second colander for lifting ears out
- A big bowl filled with ice and cold water for the shock
- A sharp paring knife or corn stripper
- Clean kitchen towels or a dish drainer
- Freezer bags, a vacuum sealer, rigid airtight containers, or wide-mouth jars
- A marker pen for labeling, and a timer
Before you start, pick well. A peak-season ear feels heavy for its size, has clean white or golden silks, a husk pulled tight to the tip, and no soft spots or tunneling bugs. Market corn picked the morning you buy it will freeze noticeably better than supermarket corn that has been sitting, and on a public market stall you can usually ask which variety came in that day.
Step-by-Step
Step 1: Choose and Prepare the Corn
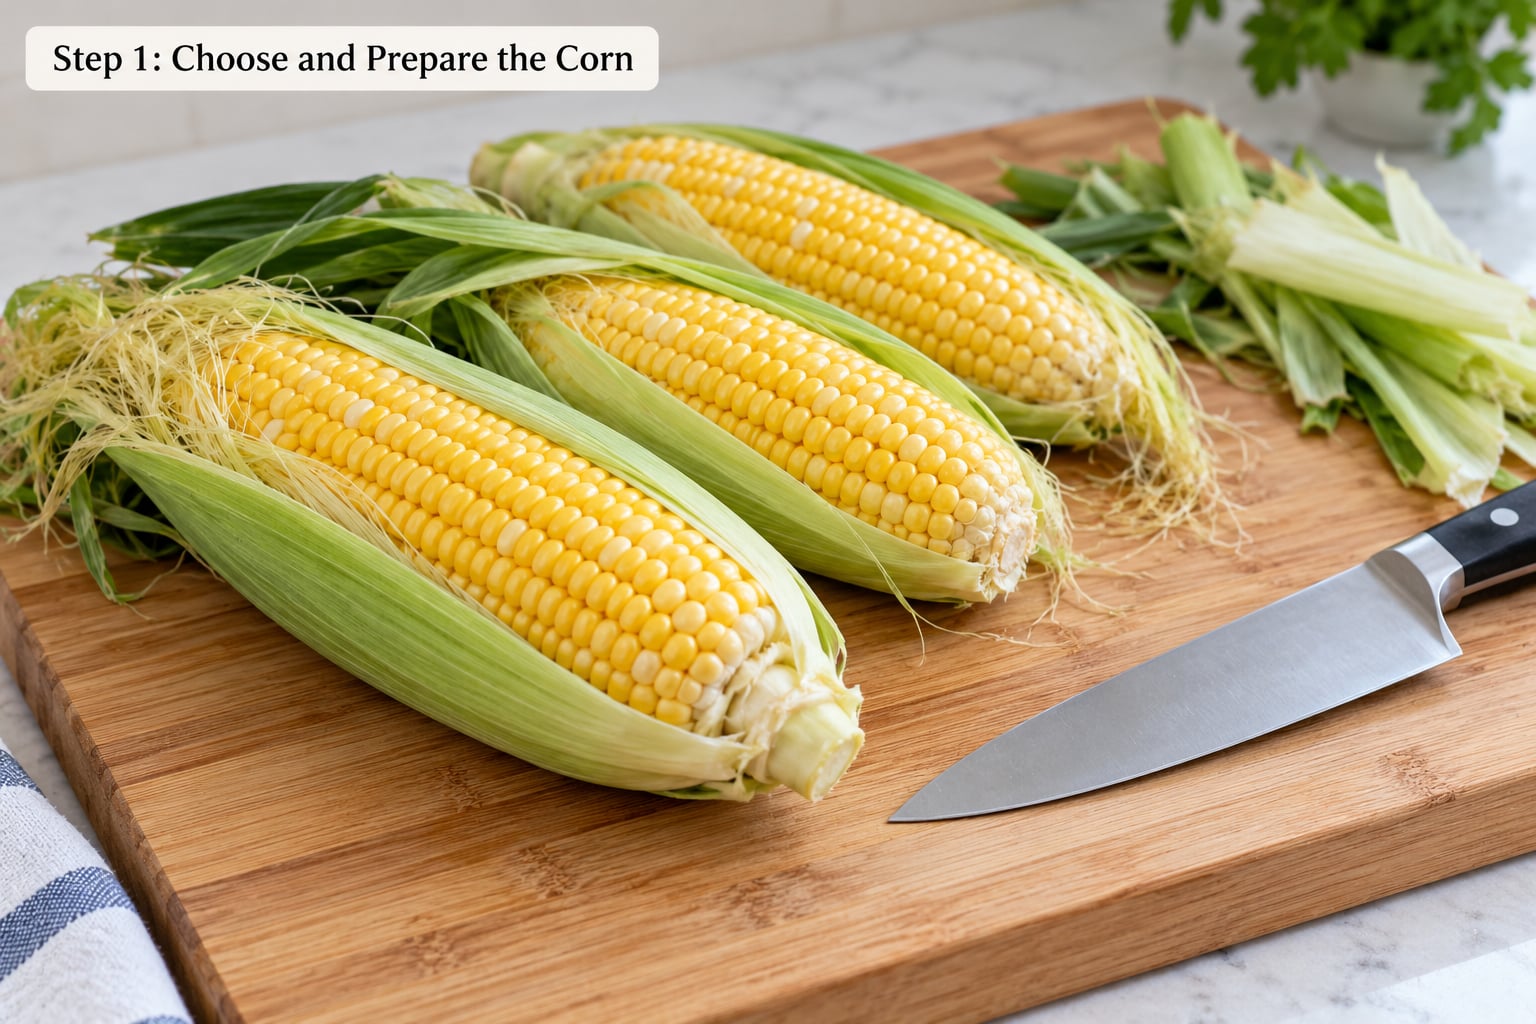
Shuck the ears right down to the bare cob and strip off every silk. Pull the silks downward rather than upward, since dragging them up can tear the kernels open and give you a slimy ear later.
Trim the ends flat and cut any bruised or worm-damaged sections off entirely. For large ears, cut them into 4 to 6 inch lengths so they fit your bags and your pot. Well-prepared corn looks clean and bright, with dry husks gone and no stray silk clinging to the rows.
Step 2: Blanch the Ears

Bring a large pot of water to a full rolling boil, then lower the ears in and start timing immediately. The blanching time depends on how thick the cob is, which is why you see such conflicting advice online: everybody is cooking a different ear.
The National Center for Home Food Preservation figures are the ones to trust here:
- Cobs under 1.25 inch thick: about 7 minutes
- Cobs between 1.25 and 1.5 inch thick: about 9 minutes
- Cobs over 1.5 inch thick: up to 11 minutes
- Whole kernels cut off the cob after blanching: 4 minutes
You know it worked when a kernel squishes easily between your fingers but the ear still holds its shape. If the kernels are splitting and drifting off the cob, you have gone too far, and you will taste it after thawing. If you are blanching kernels rather than whole ears, 4 minutes is plenty.
Step 3: Cool and Drain the Corn
Move the ears straight from the boiling water into the ice bath and leave them submerged for about the same length of time you blanched. The shock is not optional: it drops the temperature fast enough to halt the enzymes that turn corn sugars into starch, and that is what keeps your corn sweet instead of starchy.
Drain the ears in a colander, then stand them in a dish drainer and pat them dry with clean towels. Corn that goes into a bag wet enough to drip will freeze into a solid block with ice crystals through it, and that is the single most common reason frozen corn comes out tough.
Step 4: Package and Label the Ears
Decide what you are storing, because it changes the packaging. Whole cobs stack flat in gallon freezer bags or lie on their side in rigid containers. Kernels take up a fraction of the space once you cut them off and are better for soups, chili, casseroles, and sautés.
Work fast once the ears are dry, and push the air out of each bag before you seal it. A vacuum sealer does this well; without one, lay the bag flat on the counter, press the air out from the top, and seal it. Fill bags no more than halfway if you plan to freeze them lying flat, and leave a finger of room if you are stacking them upright.
Mason jars work, with one warning: leave a full inch of headroom for expansion, or the glass can crack. The burned-cob-milk-and-butter viral method, where raw corn goes into a sealed bag with a pat of butter and gets boiled, is not a safe shortcut. Extension services warn against it, and the bag can split or the contents can sit in a temperature danger zone.
Label every package with the contents and the date. Two bags of corn in November and two bags in December are not the same bag of corn a year from now, and a permanent marker takes ten seconds.
Step 5: Freeze and Use the Corn
Lay the packages flat in a single layer and freeze them until solid, usually an hour or two, then stack them. Freezing in one layer lets you pull out a few ears without thawing and refreezing the whole bag, which is how quality quietly degrades.
Frozen corn is solid and hard to the touch once it is done. Blanched cobs keep their best quality for about 12 months, while cut kernels stay good for roughly 6 to 10 months. Quality slides slowly rather than suddenly, so use the cobs within the year and taste a kernel from a bag you suspect before serving it to anyone else.
You do not need to thaw whole cobs. Drop them straight into boiling salted water and cook 3 to 4 minutes, or put them on the grill frozen and turn often. For kernels, move the bag to the refrigerator the night before and use them straight from frozen in most recipes; they need no thawing at all in a soup or a skillet.
And save the bare cobs. Toss them in a bag in the freezer and you have the base for corn stock or chowder all winter, which is the best possible answer to the question of what is left over.
Common Mistakes
Skipping the blanch. Unblanched corn freezes safely if it is genuinely fresh, but enzymes keep working and it turns watery and bland within months. Ten minutes of blanching buys a year of good corn.
Blanching on a guess. A flat three minutes is right for small cobs and too short for thick ones. Measure the cob once and use the diameter table.
Bloating past the point. Blanching is not cooking. If kernels are sliding off the cob, drain and stop the clock.
Cooling too slowly. Corn that sits in a colander steaming while you shuck the next batch keeps cooking. Ice bath for roughly the blanching time, then drain.
Packing wet corn. Moisture trapped in a bag freezes into ice crystals, dries the kernels, and causes freezer burn. Towel them dry first.
Filling bags to the top. Corn expands as it freezes, and a full bag splits or the seal fails. Fill halfway and press the air out.
Forgetting the label. Undated packages turn into mystery packages, and frozen food only stays safe if you use it inside a sensible window.
Frequently Asked Questions
Is it okay to freeze fresh corn without blanching it?
Corn picked and frozen the same day can be safe without blanching, and university extension services say so plainly. The catch is quality: without blanching, enzymes that convert sugar to starch keep working, so the kernels fade toward starchy and watery within a few months instead of holding their sweetness for a year. Blanching also destroys microbes that freezing alone does not kill. If the corn is a day or two old, or the husks were wet or the ears came from a field with disease, blanch it.
Should sweet corn be blanched before freezing?
Yes, and this is the step that decides how your corn tastes in February. Blanching briefly halts the enzymes that turn corn sugar into starch and reduces the microbes that survive freezing. Skipping it is legal and often safe with same-day-picked corn, but the ears lose firmness and sweetness within months. Four to eleven minutes in boiling water, depending on cob diameter, followed by an ice bath, is the whole insurance policy.
How long should I blanch corn on the cob before freezing?
About 7 minutes for cobs under 1.25 inch thick, roughly 9 minutes for cobs between 1.25 and 1.5 inch, and up to 11 minutes for cobs over 1.5 inch, following the National Center for Home Food Preservation figures. If you are cutting whole kernels off the cob, blanch for 4 minutes instead. Start timing the moment the ears go into the water, and do not extend the time to make up for a crowded pot.
Do you cut corn off the cob before or after blanching?
After. Blanch the whole ear first, shock it in ice water, dry it, and only then cut the kernels off. Cutting before blanching means the small pieces cook unevenly in the water and can turn to mush in four minutes. Once you cut the kernels, cut them about two thirds of the depth of the kernels and scrape the cob clean to save the cob for broth.
How long to leave corn in ice water after blanching?
About as long as you blanched it, which for most cobs means 7 to 10 minutes in a bowl of ice and cold water. The shock exists to drop the temperature fast enough to stop the cooking and the enzyme activity. Leave the ears submerged the whole time, then drain them and towel them dry. Skim the foam off the ice bath if you are doing several batches in a row.
How long does frozen corn on the cob last, and how do I tell if it went bad?
Blanched cobs keep their best color, flavor, and texture for about 12 months; cut kernels stay good for roughly 6 to 10 months. Freezer burn shows up as ice crystals, pale or gray patches, and a dry chewy texture, and it is safe even though it tastes dull. Real spoilage is different: gray-brown spots, a slimy feel, or a sour or off odor. If you see any of those, discard the corn.
Conclusion
Start by shucking your ears and getting a pot of water to a rolling boil, because that is the step everything else depends on. Blanch for the time that matches your cob thickness, shock in ice water for about as long, towel the ears dry, and pack them airtight with the date written on the package.
Blanch, cool, drain, freeze. That sequence is the whole job, and it gets you corn that still tastes like it came off the market stall instead of out of a bag, as long as you eat the cobs within about a year.