The fastest way to peel and devein shrimp is to snip a shallow cut down the back of each shrimp with kitchen shears, pull the shell off in one piece from the head end, and lift the dark vein out with the shell or one pinch of your fingers. Expect about five minutes per pound once you have done it twice.
That first ten minutes, when your hands are cold and the shrimp keep sliding off the board, is what makes this task feel slow. It is not difficult. It is just unfamiliar, and almost every mistake people make comes from rushing it.
Below are three methods, ordered by how quickly they go. The shears method is the one to learn. The knife method is the fallback when you do not own shears. The two-tined fork method is the quiet trick that peels and deveins in a single push, and it is the fastest of the three once your hand knows it.
Table of Contents
- What You Need
- Step-by-Step: How to Peel and Devein Shrimp Quickly
- Step 1: Prepare the Shrimp for Fast Cleaning
- Step 2: Peel the Shell and Pull the Vein in One Pass
- Step 3: Devein with a Knife or a Pinch
- Step 4: Use the Fastest Method for a Large Batch
- Peel Before or After Cooking?
- Common Mistakes and Quick Fixes
- Frequently Asked Questions
- Do you have to devein shrimp?
- Are you supposed to devein both sides of shrimp?
- Can I peel and devein shrimp ahead of time?
- Can you devein shrimp after it has been cooked?
- What is the two hour rule for raw shrimp?
- How do I make shrimp easier to peel?
- Conclusion
What You Need
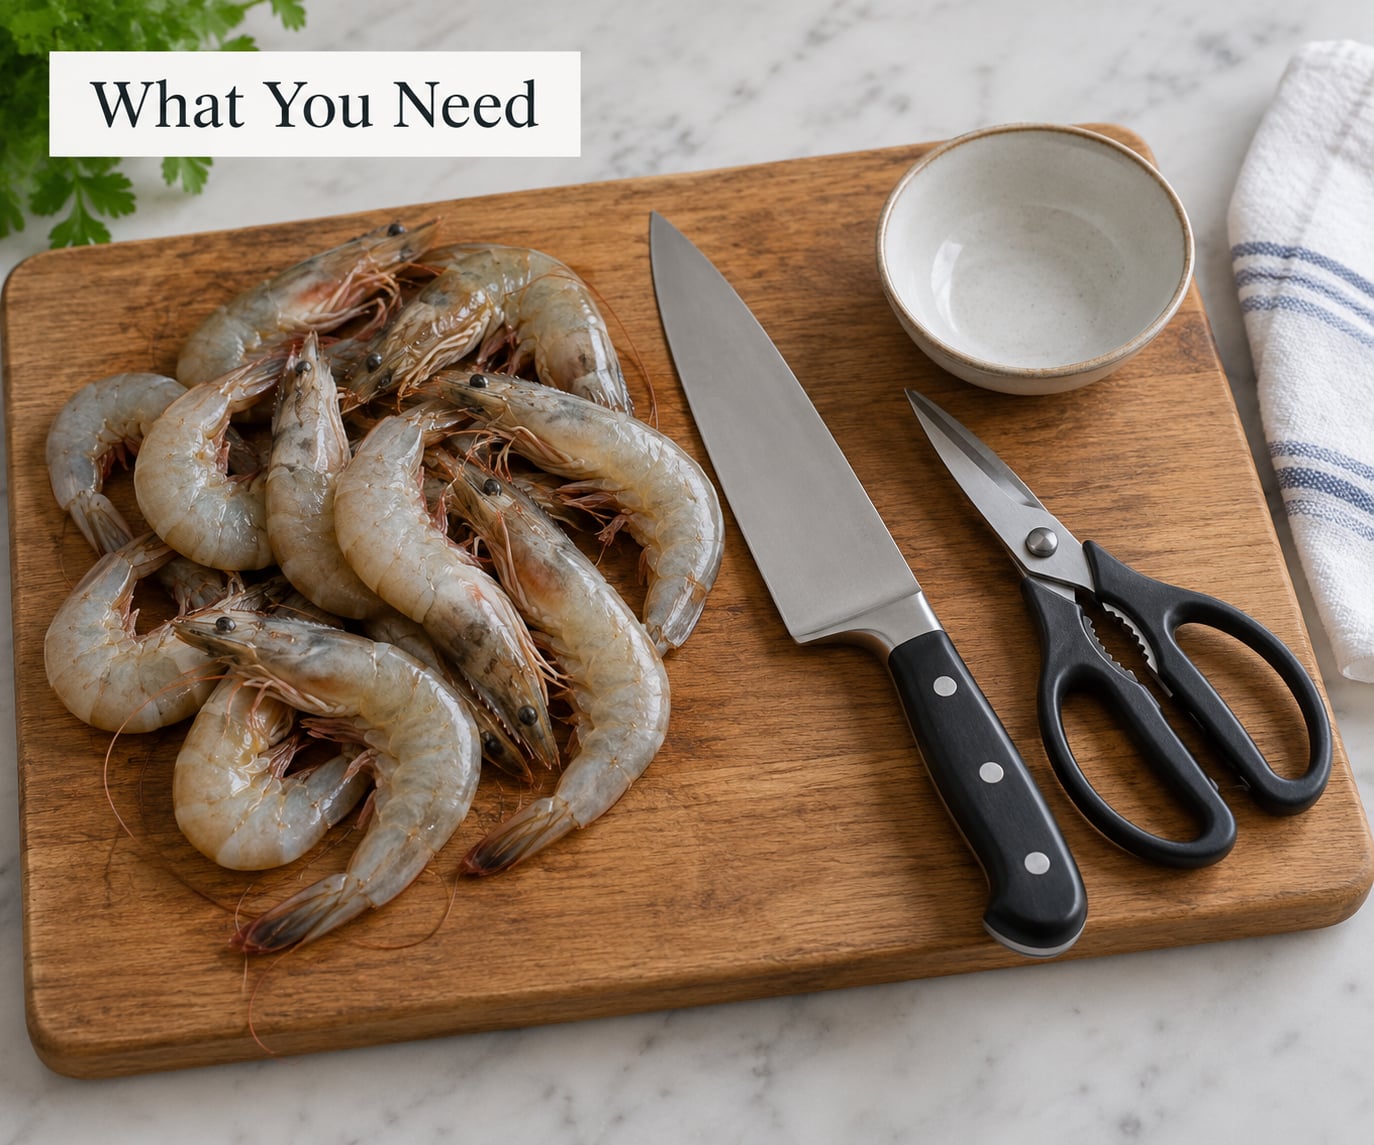
You need very little, which is part of why this is worth learning.
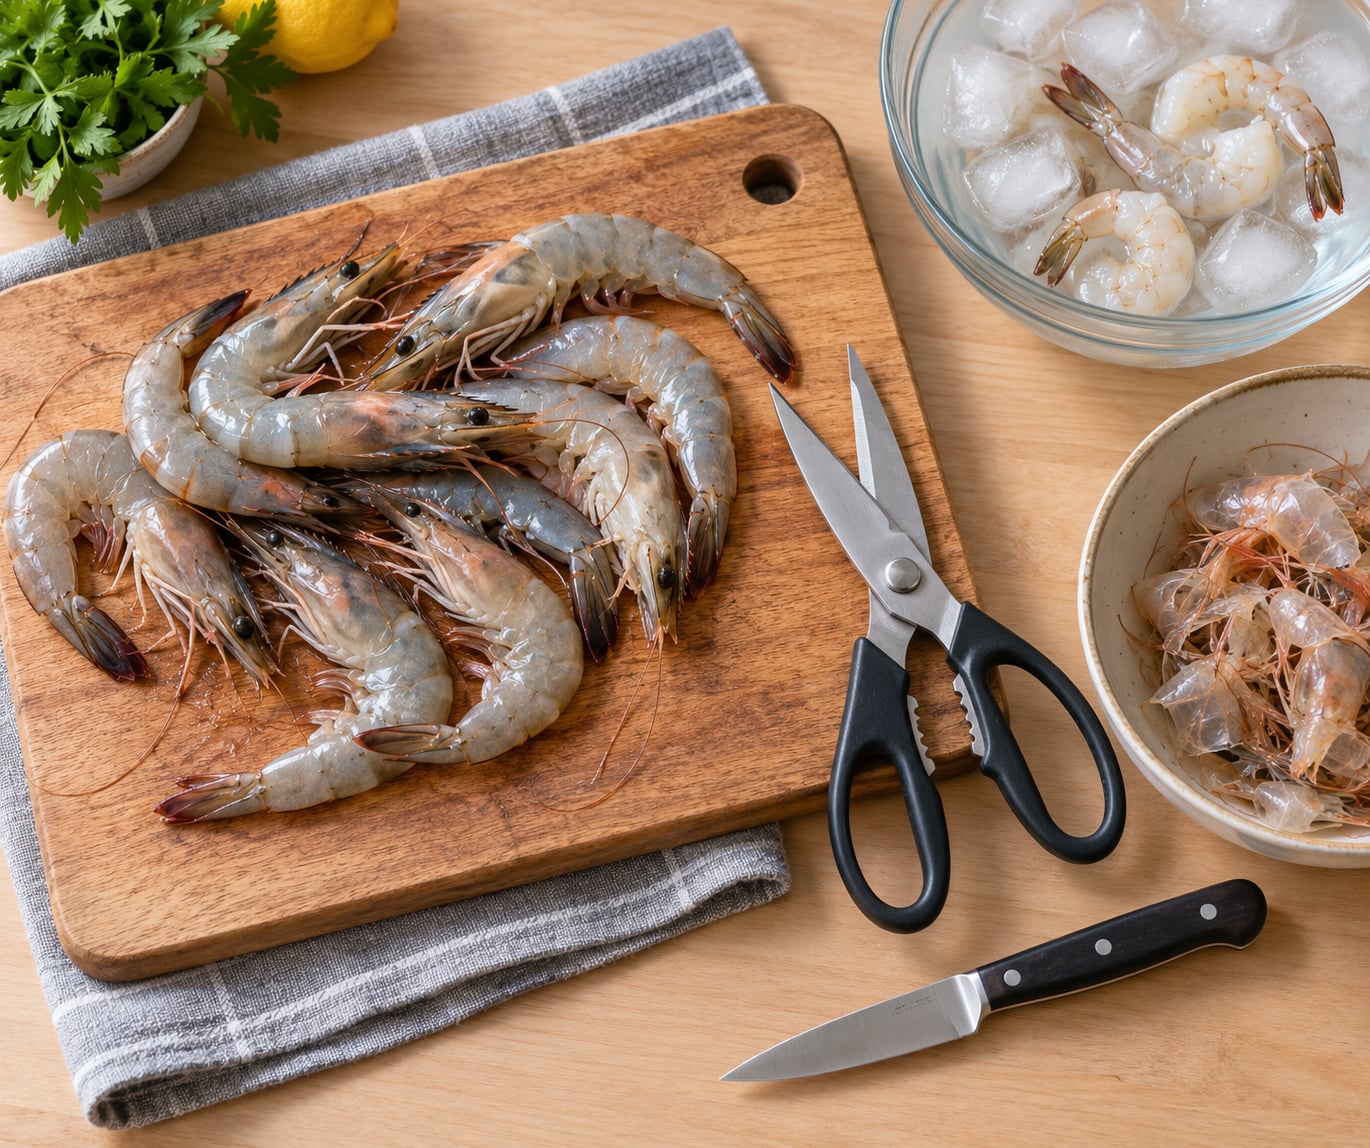
- Kitchen shears or kitchen scissors. This is the tool that makes the job fast. Blunt or dishwashers dull shears are frustrating, so test a pair by cutting through a sheet of paper towel before you start.
- A paring knife for opening the back and lifting a stubborn vein. You do not need a chef’s knife, and a big blade is actually harder to control on a small shrimp.
- A two-tined cooking fork for the fastest method. The two tines matter. A four-tined fork tears the flesh.
- A wide bowl of ice water to hold cleaned shrimp while you work through the rest.
- A second bowl or bag for shells so you are not throwing away the best flavor in the shrimp.
- Paper towels and a cutting board with a damp towel underneath so nothing skates.
One decision comes before any of that: shell-on or pre-peeled. If you bought pre-peeled shrimp, it has already been done for you, and the only reason to touch it again is a vein you can see. If you bought shell-on, which is what most market counters and seafood cases carry, everything below applies. Shrimp bought frozen and sold in blocks is usually already deveined and IQF frozen, so check the label before you plan the prep time.
On raw shrimp handling: do not rinse shell-on shrimp under running water. Rinsing spreads whatever is on the shell across the meat and the rest of your sink, and it does nothing you cannot do more safely in the ice bath later.
Step-by-Step: How to Peel and Devein Shrimp Quickly
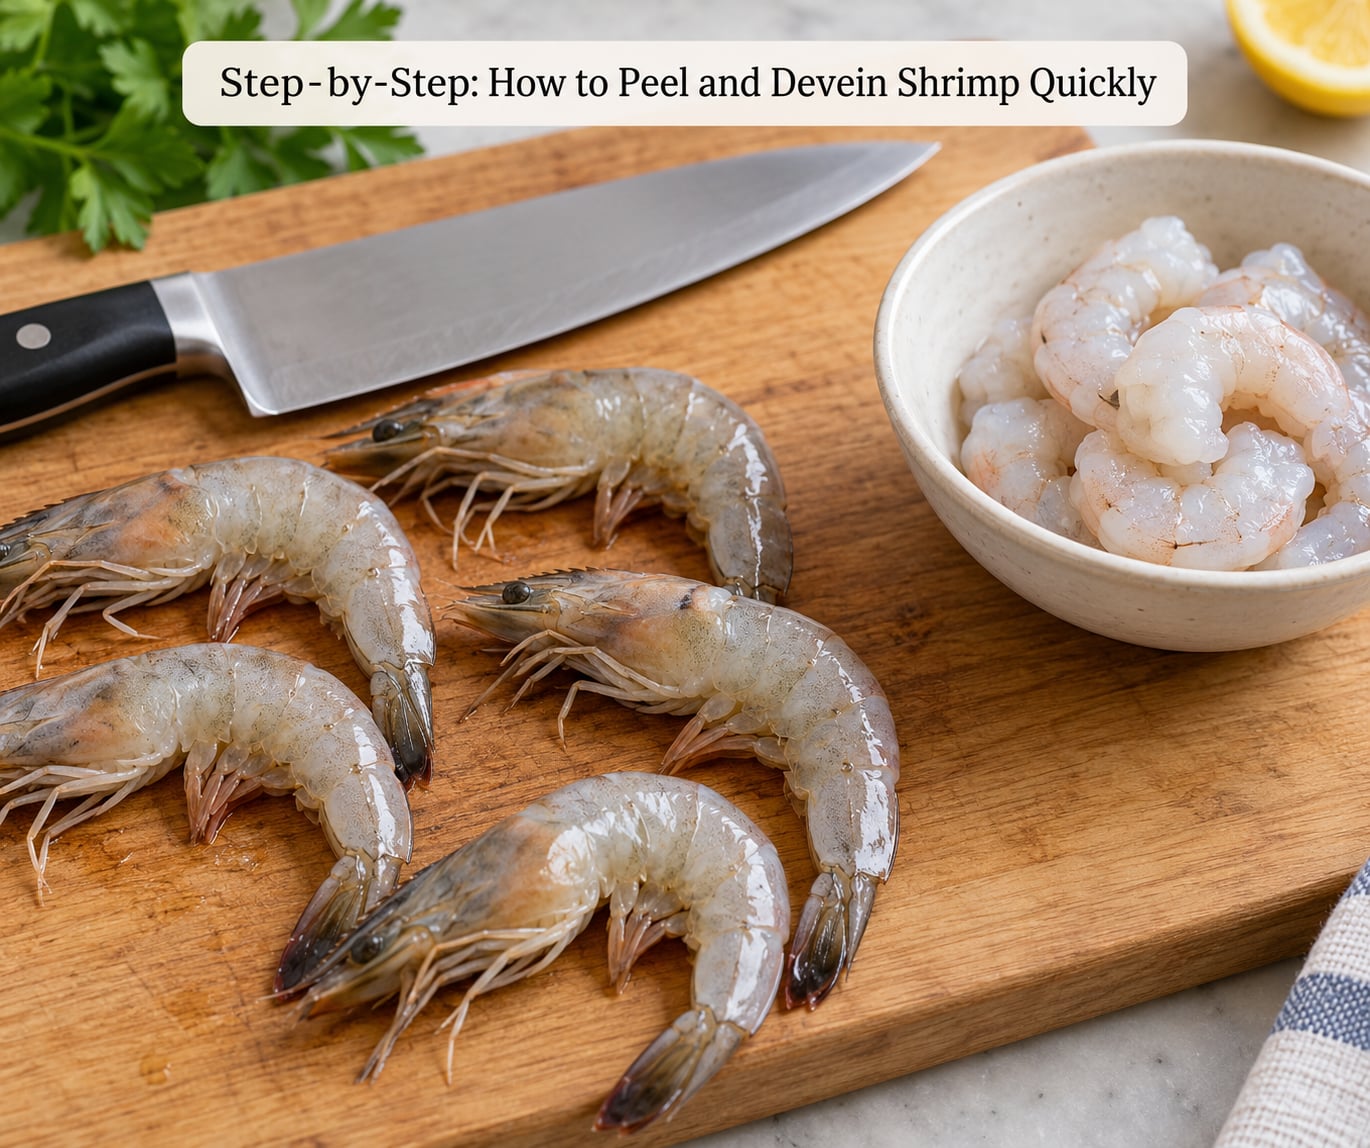
Step 1: Prepare the Shrimp for Fast Cleaning
Set up before you pick up a single shrimp. Put the ice water bowl on your non-knife hand side, the shell bowl on the other, and lay a damp towel under the cutting board.
Run your thumb along the back of a shrimp and you will feel the shell ridge on one side and a flatter, softer side on the other. The flat, curved side with the little legs and the swimmerets is the belly. The ridged, arched side is the back, and that is where the dark vein runs. Almost nobody gets this right the first two times because the shrimp are slippery and feel the same upside down.
Lay the shrimp belly-side down on the board with the back facing up. If you are prepping ahead, keep the shrimp in the fridge until the last minute rather than setting the whole tray out while you gather tools.
Step 2: Peel the Shell and Pull the Vein in One Pass
Snip the shell with your shears from just behind the head down to the last segment before the tail, cutting no deeper than the shell itself. You are opening a seam, not cutting the shrimp in half.
Then the peel happens in one motion. Pin the tail end with your free fingertips, grab the shell at the cut end, and pull toward the tail while the shrimp stays pinned. The shell should come away in a single piece, legs and all. If it tears or you get a fragment of shell stuck in the flesh, that means you went too deep with the shears.
The vein often lifts out along with the shell. Look at the top of the shrimp before you set it down, and if the dark line is still sitting in the groove, go straight to Step 3.
Leave the tail on for anything you are grilling, broiling, or serving as cocktail shrimp, since the tail holds the shape and adds flavor. Pull the tail off with the same pulling motion after you have opened the back, for stir-fries, soups, curries, and anything that gets tossed in a pan.
Step 3: Devein with a Knife or a Pinch
Flip the shrimp belly-side up and lay it flat. Hold it firmly at the tail end with your non-knife hand, fingertips well clear of the blade.
Set the paring knife flat against the top of the shrimp and slice lengthwise down the back, about a quarter inch deep. Just enough to open the groove where the vein sits. If you see white flesh pinking up through the cut, you have gone too deep, and the shrimp will tear when you pick it up.
Now pinch the exposed dark line between your thumb and forefinger and pull it toward the head. It comes out in one piece more often than not, and it feels like a tiny rubbery thread. If it stops halfway and shreds, leave the fragment, slice open that section again, and lift it with the knife tip. Scooping the tip under the vein and lifting straight up catches shredded pieces that fingers can no longer grip.
Do you have to take out the belly-side vein too? No. Most shrimp have a second, thinner line on the underside, but it is much smaller, mostly invisible once the shrimp cooks, and removing it is optional. Skip it on shrimp going into a curry, stew, or heavily spiced dish where nothing will see the shrimp anyway. Take it out on large tiger prawns, where it can add a gritty texture.
Step 4: Use the Fastest Method for a Large Batch
When you are cleaning a pound or more, stop doing steps 2 and 3 separately and use the two-tined fork. It peels and deveins in one push, and once you get the angle it handles about a pound in four minutes.
Hold the shrimp in your non-dominant hand with the back facing up and the head end pointing away from you. Set the two tines down into the shell at the head end, just behind the top of the head, then push them down and forward along the shrimp’s length in one steady motion.
The shell peels off and the vein comes with it as the tines travel. Let a thin stream of cold water run over the shrimp as the fork moves, which keeps the flesh firm and slippery enough for the tines to glide. Drop each cleaned shrimp straight into the ice water and move on.
For the cleanest batch workflow: sort out the tails first so you are not stopping mid-pound to make a decision, keep a dedicated shell bowl within arm’s reach, and refrigerate cleaned shrimp immediately. Two pounds in a single layer on a sheet pan chills faster than a pile in a bowl, and chilled shrimp peel faster for the next person in line.
Rough timing, which helps you plan around it. A first-timer working by hand needs closer to 10 to 12 minutes per pound. With shears and a practiced hand, 5 to 7 minutes. With the fork technique, about 4 to 5 minutes. If you are shelling and deveining a pound for a party while also cooking, start the peeling before the water boils.
Peel Before or After Cooking?
Cooking the shell on is the better choice for flavor, and you can always peel afterward. The shell traps moisture and steam, which is why restaurant shrimp comes out plump.
- Cook shell-on, peel at the table for boils, cocktail shrimp, and anything served to guests. The mess is social and nobody minds.
- Peel first, cook naked for stir-fries, soups, and curries, where a loose shell fragment ruins the dish and where you need the shrimp to sear rather than steam.
- Peel first, leave a slit for garlic shrimp and grilled shrimp with a tight cook time, where you want seasoning to reach the meat.
Cooked shrimp can be deveined, but it is easier to skip it. The flesh is firmer and the vein is often already visible against the white meat, so you can usually just pinch and pull it. On boiled shrimp served cold, though, deal with it the way the rest of the table deals with it and pull the vein with a fork as you eat.
Common Mistakes and Quick Fixes
You cut too deep. The most common failure by far. The snip and the lengthwise cut should only go through shell or into the top quarter inch of flesh. Deep cuts tear, and torn shrimp curl and cook unevenly.
You pulled the vein the wrong way. The vein exits toward the head, not the tail. Pull toward the tail and it shreds into pieces you will be picking out of the finished dish.
A piece of shell stayed behind. Do not dig with the knife tip. Pull the shell off in pieces along the natural segment lines, then run a finger down the flesh; anything sharp you feel is a shell fragment, and it comes out with your fingernail or the flat of the knife, not a stabbing motion.
The shrimp slides everywhere. Damp towel under the board, dry hands on the shrimp, and slow down on the last three of the batch when you are tired. Fresh shrimp leak moisture as they sit, so work in smaller piles rather than dumping the whole tray on the board.
You cannot remove the vein. If the knife tip lifts it, the fingers cannot. Make a second, slightly deeper slit in the same section and lift again. Large shrimp usually need two passes.
Big shrimp taste gritty. That is the belly-side line and the intestinal tract inside the tail. On prawns and jumbo shrimp, take out both lines and trim the top of the tail section.
Why some shrimp refuse to peel. Very fresh or very well-frozen shrimp can cling tight, and older shell-on shrimp peel easily but taste flatter. Thaw frozen shrimp in the fridge overnight, or in a sealed bag submerged in cold water for 15 to 20 minutes. Never in warm or hot water.
Cold chain. Raw shrimp should not sit out longer than two hours at room temperature, and no longer than one hour when it is above 90°F. When you are prepping for a party, that clock is the reason to move the ice bowl next to the board and not to the sink. Peeled shrimp keeps one to two days in the coldest part of the fridge; freeze it on a tray first if you need it longer, then bag it so it does not freeze into one block. Cook shrimp to an internal temperature of 145°F.
Do not throw the shells away. Heads, shells, and tails are the flavor base for a shrimp stock. Rinse them, bag them, and freeze until you have two or three bags. Simmer about 10 shells in a quart of water for 20 minutes, strain, and season it yourself.
Frequently Asked Questions
Do you have to devein shrimp?
No. The dark line is the digestive tract, and it is a taste and presentation decision rather than a safety requirement. Plenty of people eat deveined and non-deveined shrimp without issue. Remove it when texture or appearance matters, such as for a cocktail, a stir-fry, or large prawns where the gritty line can be noticeable. Skip it in curries, soups, and heavily spiced dishes.
Are you supposed to devein both sides of shrimp?
Only if you want to. The dorsal vein along the arched back is the one most cooks remove. A thinner line runs along the belly side, under the legs and swimmerets, and it is much smaller and mostly hidden once the shrimp cooks. Leave it for most recipes, especially curries and stews, and take it out on jumbo prawns where it can leave a gritty texture.
Can I peel and devein shrimp ahead of time?
Yes, and for a party it is the smart move. Peel and devein up to a day ahead, keep the shrimp in a sealed container in the coldest part of the fridge, and use them within one to two days. For longer storage, spread them on a tray, freeze until solid, then transfer to a bag so they freeze loose. Thaw overnight in the fridge rather than under running water.
Can you devein shrimp after it has been cooked?
Yes, though most cooks skip it. Cooked shrimp is firm and white, so the vein usually shows clearly and can be pinched and pulled with your fingers or a dinner fork as you eat. The case for removing it before cooking is presentation and texture, not safety. If the vein will not budge, use the tip of a paring knife to lift it out.
What is the two hour rule for raw shrimp?
Raw shrimp and any other seafood should stay out of refrigeration for no more than two hours, and no more than one hour when the air temperature is above 90°F. That clock starts when the shrimp leaves the fridge, not when you start cooking. If you are peeling a large batch, keep the bowl of finished shrimp on ice beside your cutting board so the time spent prepping counts toward dinner, not toward the danger zone.
How do I make shrimp easier to peel?
Thaw them slowly in the fridge overnight, or submerged in cold water for 15 to 20 minutes, and keep a damp towel under your cutting board. A dry board makes shrimp skate. Partially peeled shrimp with the back snipped open and the shell left in place also slip apart far more easily after a brief boil, which is how many cooks prep a batch for a cocktail. Buy pre-peeled shrimp if the batch is large and the time is short.
Conclusion
Here is the whole job. Set a bowl of ice water beside a damp towel. Lay the shrimp back-side up, snip the shell from head to tail with your shears, and pull the shell off in one piece toward the tail. Lift the vein out with a pinch or the knife tip, drop the shrimp on ice, and keep the shells for broth.
Master that sequence and a pound stops being a chore and becomes about five minutes of setup you do before the water boils.