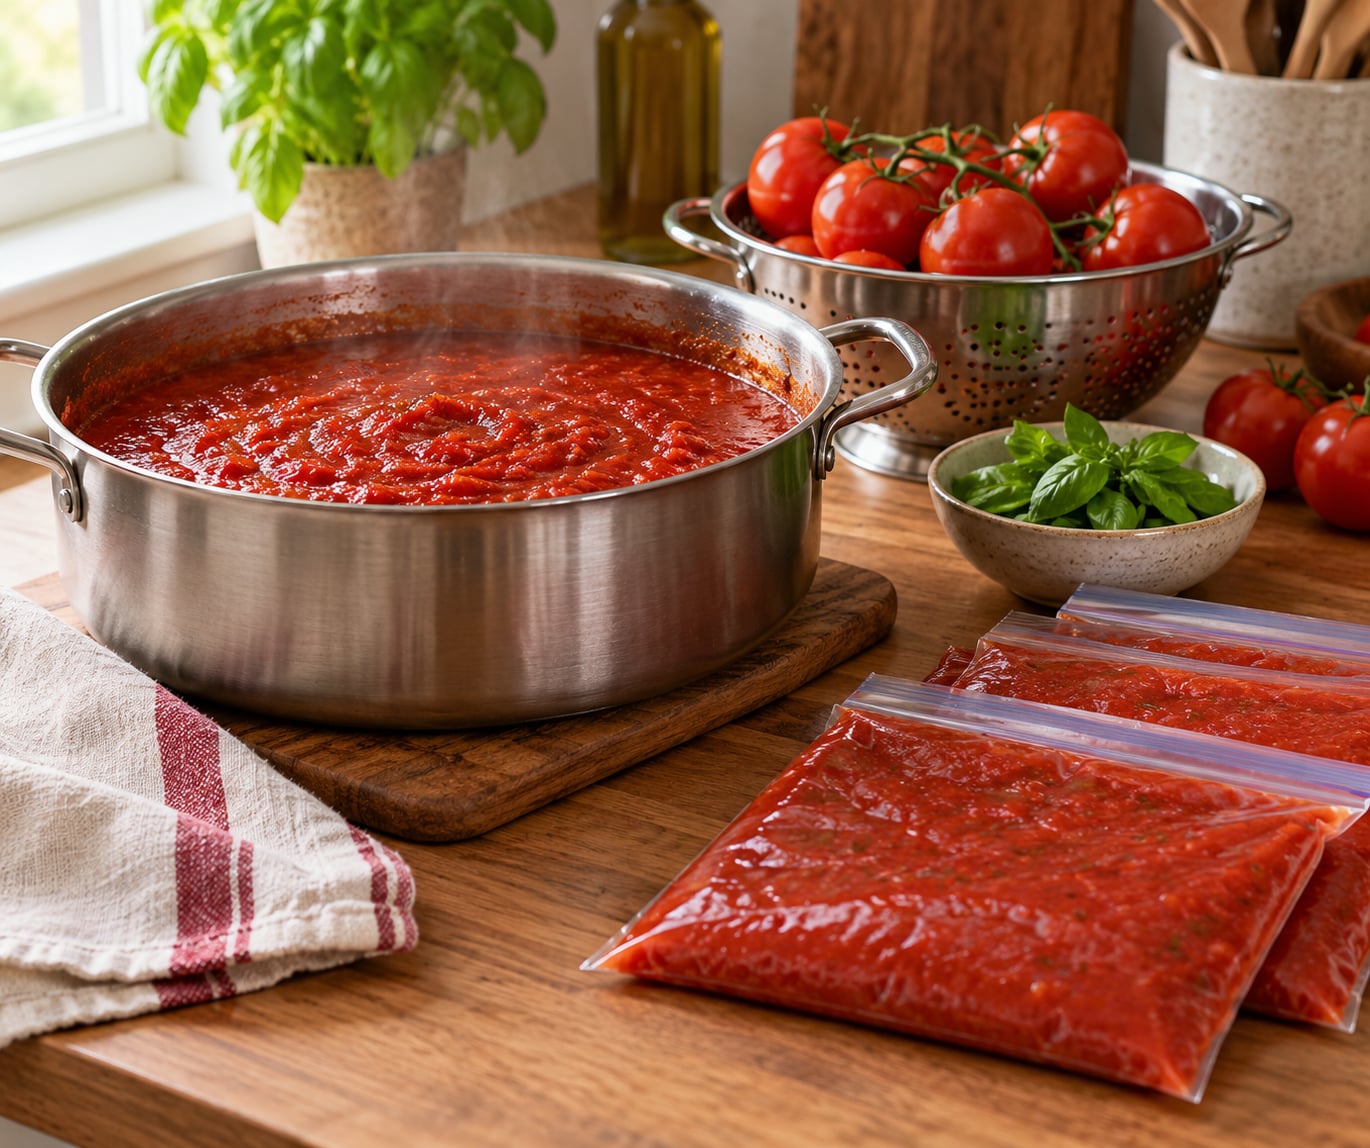
Yes, homemade tomato sauce made from fresh tomatoes freezes very well. Cook it down on the stovetop until thick, cool it completely, portion it into freezer-safe bags, silicone molds or straight-sided glass jars leaving room for expansion, label and date it, then freeze. Thaw one portion in the refrigerator overnight and you have weeknight pasta sauce, pizza sauce or soup base ready without any canning equipment.
The whole batch takes about an hour of active work and an hour of simmering, and most of it is hands-off while it cooks. If you bought too many tomatoes at the market or the vine outgrew your kitchen plans, this is the easiest way to turn a glut into winter stock. We make it every August with whatever ripe tomatoes are cheapest, and the freezer has never let us down.
Table of Contents
- What You Need
- Step-by-Step
- Step 1: Wash, core, and chop the fresh tomatoes
- Step 2: Saute the aromatics and soften the tomatoes
- Step 3: Simmer, season, and blend the sauce
- Step 4: Taste and adjust the sauce before cooling
- Step 5: How to make and freeze tomato sauce safely
- Step 6: Label, freeze, and thaw the portions
- Common Mistakes
- Frequently Asked Questions
- Do I need to blanch fresh tomatoes before making tomato sauce?
- How long does homemade tomato sauce keep in the refrigerator?
- Can I freeze tomato sauce in glass Mason jars?
- How long can tomato sauce stay frozen?
- Should I thaw homemade tomato sauce in the refrigerator or on the counter?
- Can I refreeze tomato sauce after thawing it?
- Start With One Small Batch
What You Need
For roughly 2 pounds of tomatoes, the ingredient list is short. You need good tomatoes, olive oil, salt, and a little acid. Everything else is optional.
- 2 pounds fresh tomatoes, Roma, paste, plum or ripe heirloom
- 2 tablespoons olive oil
- 1 small onion, diced (optional)
- 3 to 4 garlic cloves, minced (optional)
- 1 to 2 teaspoons salt, plus more to taste
- 1 teaspoon black pepper
- 1 teaspoon sugar or a small splash of balsamic vinegar (optional)
- Fresh basil, flat-leaf parsley or oregano, added near the end (optional)
You do not need perfect tomatoes. Size variation is not a problem because everything gets cooked down anyway, and slightly overripe fruit often makes better sauce than firm fruit. Tomatoes with small splits or soft spots are fine as long as the damaged area is not moldy or sour smelling. The one thing worth avoiding is any tomato with fuzzy grey or white growth on it.
Roma and paste tomatoes are the best choice because they carry less water and more flesh, so the sauce thickens faster and tastes richer. Heirlooms and cherry tomatoes work too; expect a thinner sauce and add a little more cooking time to reduce it.
For equipment, a large pot or Dutch oven, a wooden spoon, a knife, a cutting board, and something to cool the sauce in are genuinely all you need. A food mill gives you the best texture because it removes skins and seeds and leaves a fine pulp behind. An immersion blender is the faster alternative, though it works best on a chunky sauce rather than a hot, thin one, since thin sauce can splash. A standard blender works if you blend in batches and vent the lid.
Step-by-Step
Step 1: Wash, core, and chop the fresh tomatoes
Rinse the tomatoes under cool running water and set them in a colander to drain. Washing before cutting matters more than people think: any dirt or bacteria on the skin gets dragged into the flesh the moment the knife goes through, and that is how you push surface contamination into the part of the tomato you are about to eat.
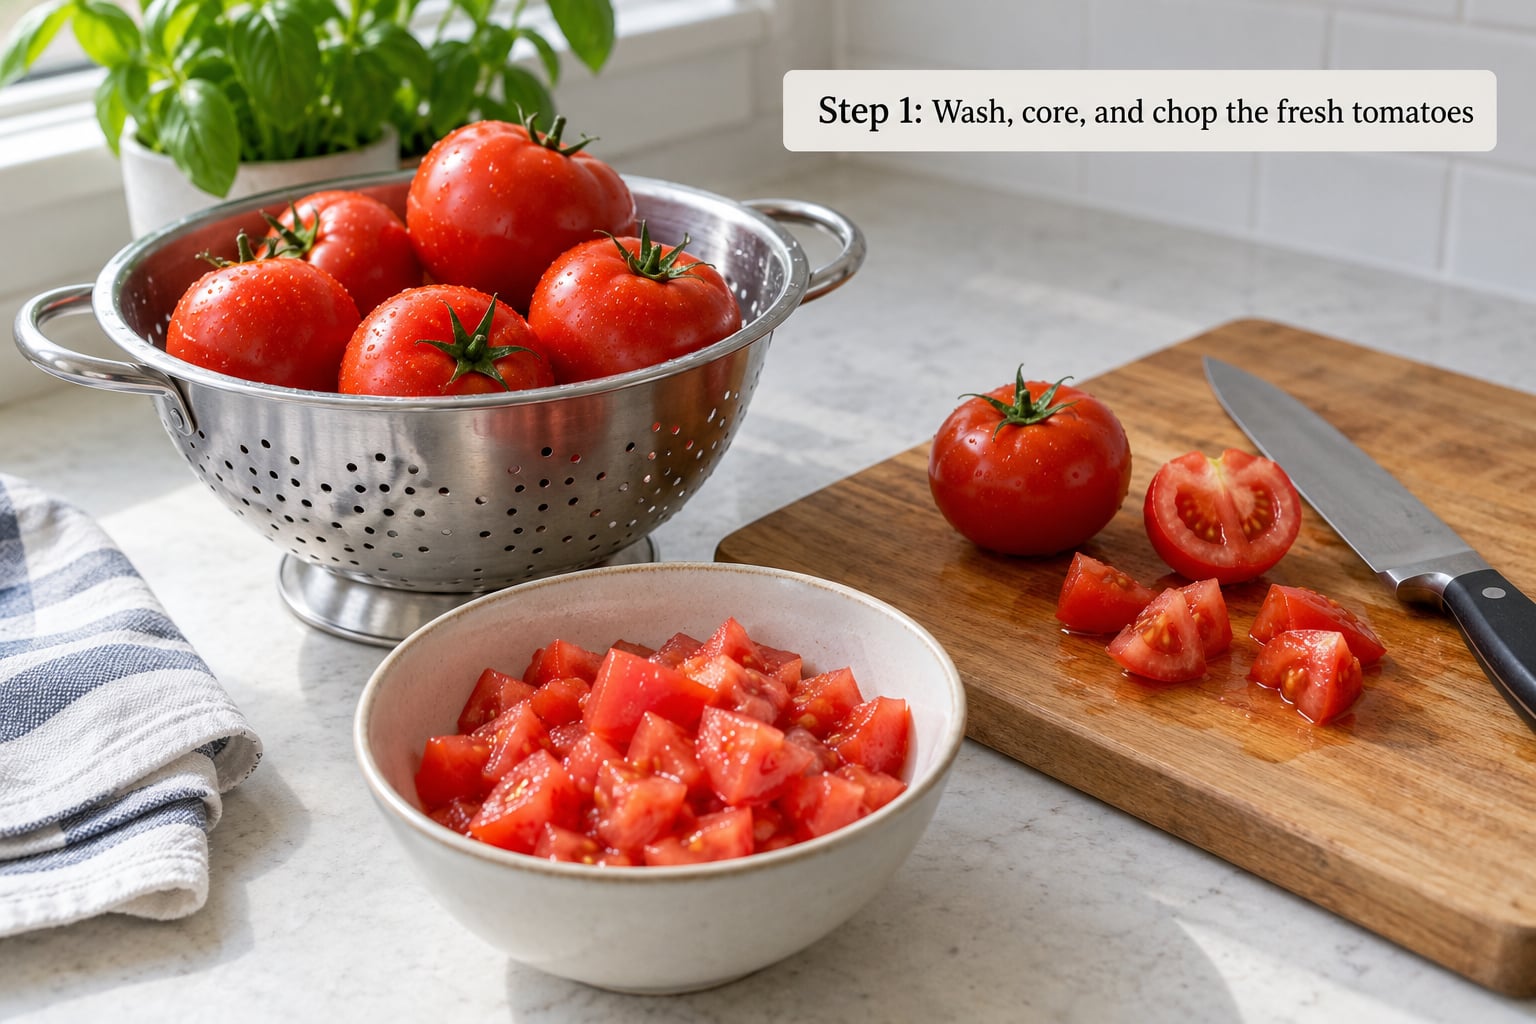
Cut out the hard core where the stem met the fruit, then cut out any bruised or split area. Chop the rest into rough half-inch pieces. Uniform size matters more than neatness, because small chunks turn to mush long before large ones soften. Small firm tomatoes can go in whole if you like. Very watery slicing tomatoes give up a lot of liquid, so give those a longer simmer.
Put everything in the pot as you chop, skins and all. You do not need to peel. The skins soften during the simmer and largely disappear into the sauce, and they add a little fiber and body.
Step 2: Saute the aromatics and soften the tomatoes
Warm the olive oil in a large pot over medium heat. If you are using onion, add it now and cook until soft and translucent, about 5 minutes. Add the garlic for the last minute, just until fragrant, since burnt garlic turns bitter fast.
Add the chopped tomatoes and stir. Leave the heat at medium. You want the tomatoes to cook down steadily, not to boil hard, so give the pot room and stir every few minutes. If you dump 5 pounds of tomatoes into a small pot, the temperature drops, the bottom scorches, and the top never reduces. Two batches in a big pot beat one cramped pot.
The visual cue is simple: the tomatoes go from firm chunks to collapsed, slumped pieces, and a pool of reddish liquid appears in the bottom of the pot. Salt at this point, not at the end. Salt draws out water and speeds up the breakdown, which is exactly what you want here.
Step 3: Simmer, season, and blend the sauce
Lower the heat until you see a steady bubble every second or two, not a rolling boil. Partially cover the pot, leaving a finger-width gap, and let it simmer for 45 to 60 minutes, stirring occasionally so nothing catches on the bottom.
Season with the rest of the salt and the pepper. Add herbs late, in the last 10 minutes, because dried oregano and basil that simmer for an hour turn bitter. Fresh basil and parsley keep their color better when stirred in off the heat.
Now decide the texture you want. For a rustic chunky sauce, stop there and leave the pieces. For a smooth one, run an immersion blender through the pot until no skins or seeds are visible. For a thinner sauce meant to thicken later, stop reducing before it is done; it will continue to thicken as it cools and as it sits during reheating.
Watch for overcooking. Once the sauce is glossy and coats the back of a spoon, it is finished. Another 20 minutes of simmering flattens the fresh tomato flavor and turns the sauce heavy.
Step 4: Taste and adjust the sauce before cooling
Taste the sauce now, while you can still change it. This is the last moment where a fix costs nothing. If it tastes sharp or vinegary, add a teaspoon of sugar or a teaspoon of balsamic vinegar. If it tastes flat, add salt before reaching for more herbs.
For thickness, stir in a tablespoon or two of tomato paste to thicken it, or simmer uncovered for another 10 minutes to reduce. To loosen a sauce that went too thick, add a splash of water or stock. To thin it for pizza or a soup base, add stock rather than water, since water dilutes the flavor too.
Adjusting now means adjusting once. Seasoning after freezing and thawing tends to overshoot, because cold dulls aroma and the salt tastes stronger once the sauce reheats.
Step 5: How to make and freeze tomato sauce safely
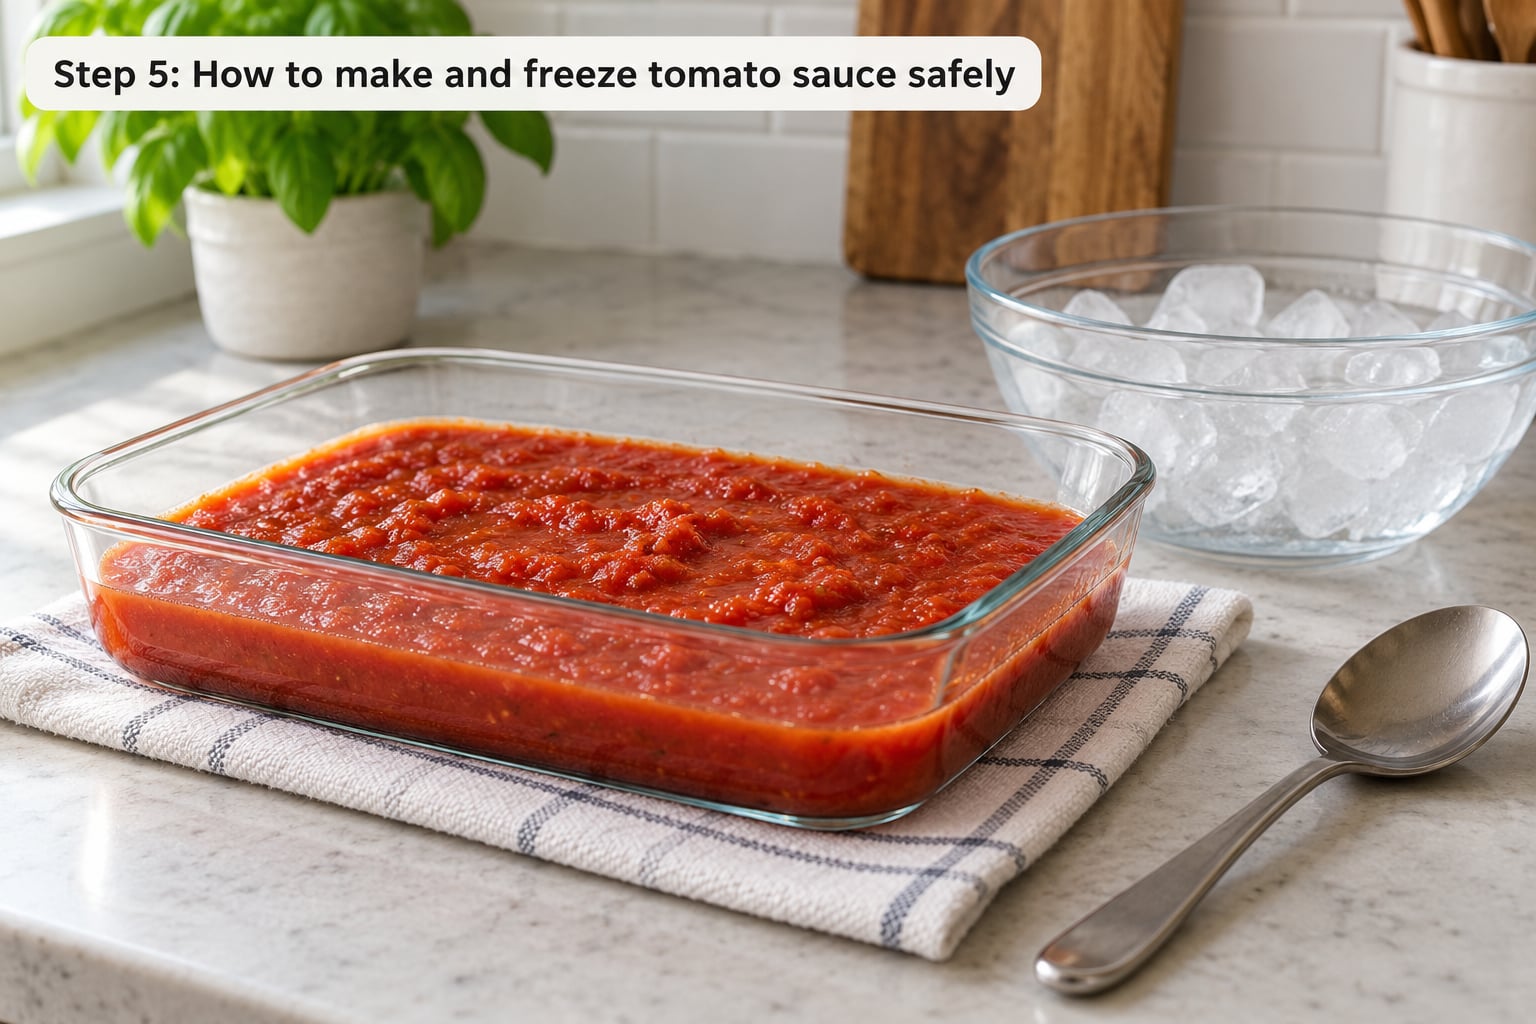
Cooling is the step people rush, and it is the step that decides whether freezing goes well. Do not put a pot of hot sauce straight into the freezer. A large mass of hot liquid warms the air around it and keeps the freezer temperature up, which thaws and refreezes everything around it.
Ladle the sauce into a shallow container, or set the pot in an ice bath and stir. A wide surface area moves heat out fast, and stirring keeps the center from staying warm for an hour. Let it cool on the counter briefly, then move it into the refrigerator until it is thoroughly cold to the touch all the way through.
Once cold, divide the sauce into freezer-safe portions. Freezer bags filled flat and laid on their sides stack like books and use a fraction of the space that jars do. Silicone freezer molds or an ice cube tray give you single servings that pop out cleanly. Rigid plastic containers with lids work fine and stack well, as long as you pick ones marked freezer-safe and do not fill them to the rim. Straight-sided wide-mouth glass jars are also usable; jars with shoulders are the ones most likely to crack.
Step 6: Label, freeze, and thaw the portions
Leave headspace in every container, roughly half an inch for a jar and the width of a finger for a bag. Liquid expands as it freezes, and an overfilled container has nowhere to put that expansion. That is the whole reason for the headspace rule in freezing, and it is not the same as canning, where the vacuum seal does the work.
Squeeze the air out of bags before sealing them and press the seal flat with a spoon or your palm. Air pockets are what cause freezer burn, the dull surface flavor that comes from ice crystals forming against exposed food. It does not make the sauce unsafe, but it makes it taste flat.
Label each portion with the date and the amount. Plain sauce from one batch, basil sauce, roasted-herb sauce, these all look identical once they are frozen blocks, and you will not remember which is which. Lay bags flat in a single layer until they are solid, then stack them upright.
Frozen tomato sauce keeps its best flavor for 3 to 4 months and stays safe to eat at 0°F or below for 9 to 12 months. Past that, the color fades and the fresh tomato character goes quiet, which is a quality issue rather than a safety one.
Thaw a single portion in the refrigerator overnight, which takes 8 to 12 hours and keeps the texture closest to fresh. The fastest thaw is a frozen block dropped straight into the pan you are cooking in, with a splash of water, on low heat. Counter thawing leaves the outside of the block sitting in the food-safe danger zone for hours, so skip it.
Once thawed, use it within three or four days and do not let it sit out. Refreezing is fine for a single portion that you thawed in the refrigerator, though the sauce will soften a little each time and get noticeably thinner after two rounds. It is also fine to freeze sauce that already contains meat, which many people worry about. What does not freeze well is dairy, so add cream, milk or cheese after thawing.
Common Mistakes
Most disappointing freezer sauce comes down to one of a handful of avoidable problems.
Watery sauce. You stopped reducing too early. Sauce continues to thicken as it cools, so what looked right in the pot can thin out overnight. Push it a little further next time, and remember that watery slicing tomatoes need longer than Roma.
Scorched sauce. High heat and a crowded pot. When the bottom of the pan catches, a bitter flavor runs through the whole batch. Use medium heat, stir more often than feels necessary, and split a large batch into two pots.
Bland sauce. Usually underseasoned at the start and overcooked at the end. Salt with the tomatoes, simmer no longer than 45 to 60 minutes, and taste again after blending.
Freezing hot sauce. It slows the whole freezer down and thaws the food around it. Cool it shallow, stir it, and refrigerate it before portioning.
Cracked jars. Overfilled jars and shouldered jars are the two usual culprits. Use straight-sided wide-mouth jars, leave headspace, and never freeze a mason jar that is warm from the dishwasher.
Unlabelled portions. A freezer full of mystery blocks is a freezer full of waste. Date every portion and note what is in it, plain or seasoned.
Freezer burn. Air left in bags, lids left off, or sauce sitting uncovered for months. Press bags flat, seal containers properly, and use your oldest portions first.
Freezing far longer than needed. It is safe, but the sauce goes muddy in color and loses the brightness that made it worth making.
One thing worth being clear about: freezing is not a substitute for tested canning. Canning relies on verified acidification and a tested process, and low-acid additions such as garlic, peppers or extra vegetables change that calculus. If you want shelf-stable jars, follow a tested canning recipe rather than improvising. If you want a freezer full of sauce for the next six months, freezing is the simpler and safer route.
Make three versions from one harvest if you can: a plain base that becomes pizza and soup later, a basil version for pasta, and an oven-roasted version at 400°F for 40 to 45 minutes for a deeper, sweeter flavor that holds up to freezing beautifully. Portion sizes that match how you actually cook are what make the difference between a useful freezer and a frozen science project.
Frequently Asked Questions
Do I need to blanch fresh tomatoes before making tomato sauce?
No. Blanching, which is dipping tomatoes in boiling water to slip off the skins, is optional and mostly a matter of texture preference. Cook them with the skins on and simmer for 45 to 60 minutes, then pass the sauce through a food mill or blend it, and most of the skin and seeds disappear into the pulp. Skipping blanching saves you a pot of water, a colander and an ice bath, and it adds a little fiber to the finished sauce.
How long does homemade tomato sauce keep in the refrigerator?
Cooked tomato sauce keeps in the refrigerator for 3 to 4 days when stored in a sealed container and cooled promptly. If you made a large batch, divide it into shallow containers so it chills fast rather than sitting warm in the middle of the pot. Past four days, discard it. Freezing is the better plan for anything beyond a few days, since frozen sauce stays in good shape far longer than refrigerated sauce.
Can I freeze tomato sauce in glass Mason jars?
Yes, as long as you use straight-sided wide-mouth jars and leave about half an inch of headspace. Liquid expands as it freezes, and jars with a shoulder trap that expansion, which is what makes them crack. Do not freeze hot sauce, and skip jars you have just run through the dishwasher. Wide-mouth jars also freeze wider, so they are easier to loosen later when the sauce has thawed.
How long can tomato sauce stay frozen?
Frozen tomato sauce keeps its best flavor for 3 to 4 months and remains safe to eat for 9 to 12 months when held at 0°F or below. After that, the color darkens and the fresh tomato taste turns flat, which is a quality issue rather than a safety one. Label every portion with the date so you use the oldest first instead of discovering a block at the back of the freezer two years later.
Should I thaw homemade tomato sauce in the refrigerator or on the counter?
Thaw it in the refrigerator. A single portion usually needs 8 to 12 hours overnight, and cold thawing keeps the texture closest to fresh. Counter thawing leaves the outside of the block sitting at room temperature for hours, which is where bacterial growth happens. If you need it faster, put the frozen block straight into the pan you are cooking in with a splash of water and warm it gently on the stove.
Can I refreeze tomato sauce after thawing it?
Yes, if you thawed it in the refrigerator. Refreeze it in fresh containers rather than the original, and use it within three or four days after the next thaw. Each freeze and thaw cycle softens the texture and thins the sauce, so two or three rounds and it will need reducing before use. Never refreeze sauce that was left at room temperature for more than two hours.
Start With One Small Batch
The first thing to do is pick a small batch, maybe 2 pounds, and run the whole process end to end. Once you have one good freezer portion in hand you trust, scaling up is just more batches in the same pot. Save the plain base, date everything, and pull a portion out on a cold week when you would normally order delivery.