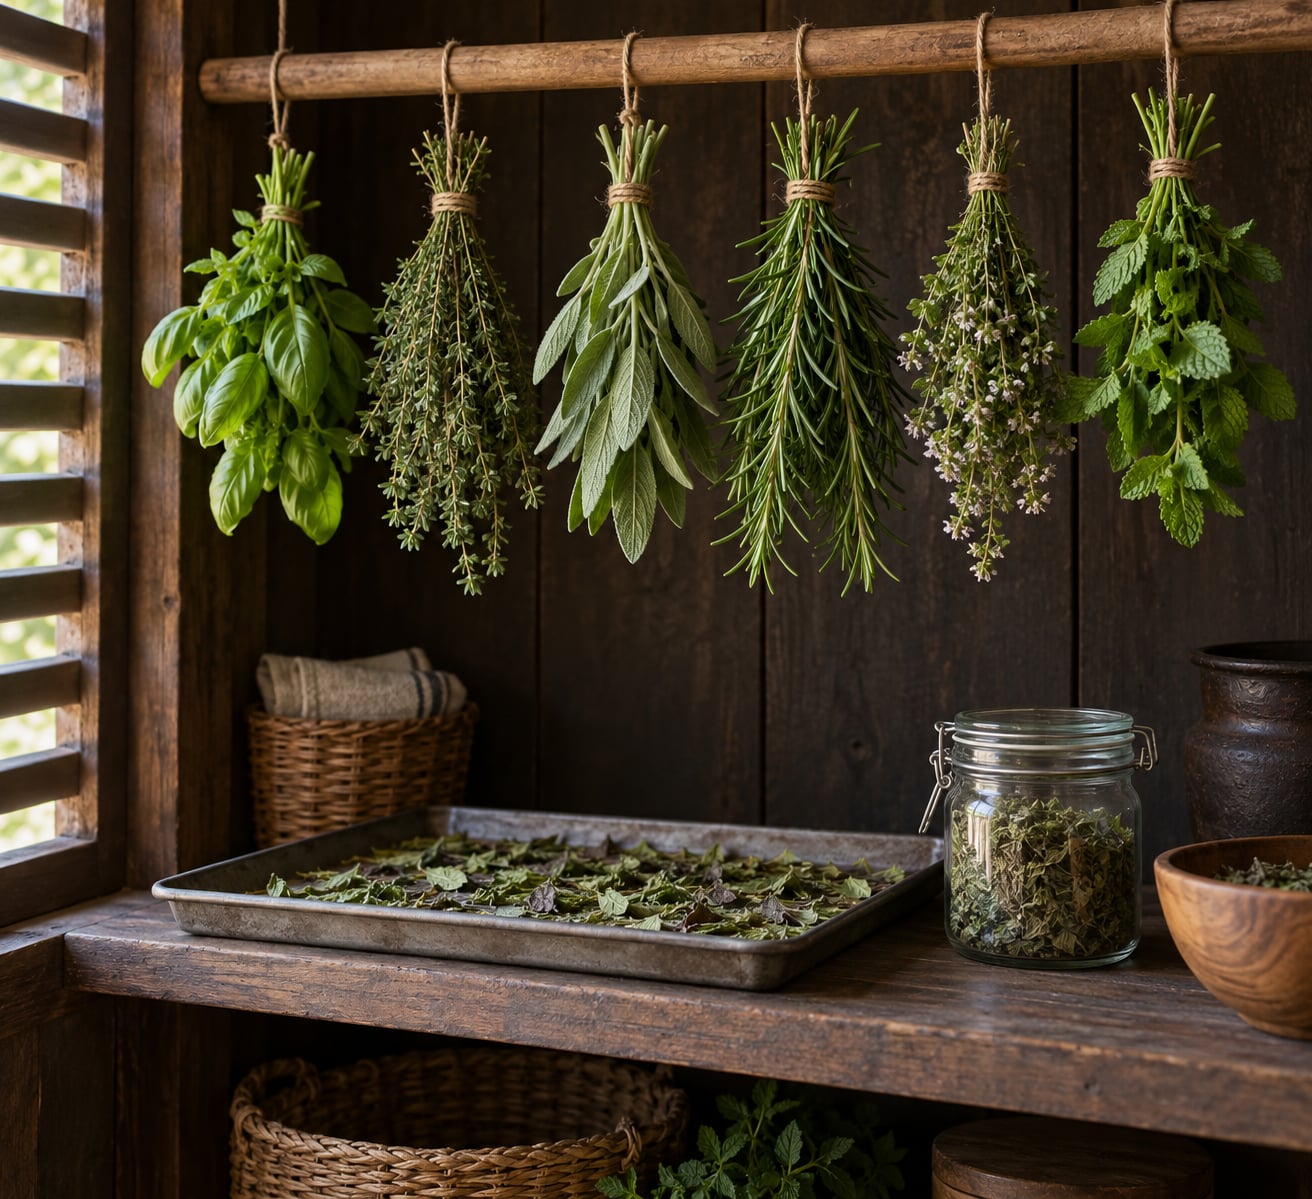
To dry herbs without a dehydrator, wash the stems, pat them completely dry, tie them into small bundles of 5 to 10 stems, and hang them upside down in a warm, dark, well-ventilated room until the leaves crumble and the stems snap clean, usually one to three weeks. If you want it faster, a low oven or a drying screen gets the same result in a few hours.
The reason the bundle size matters more than anything else is moisture. A dense core of stems traps water in the middle, and that is where mold starts. Small bundles let moving air reach every leaf, which is the whole trick.
I dry herbs most weeks of the year, mostly because the ones I grow go from generous to useless in about a week. Nothing here needs a dedicated appliance, and every method below works with what a normal kitchen already has.
Table of Contents
- What You Need to Dry Herbs Without a Dehydrator
- Step-by-Step
- Step-by-Step: Air-Dry Herbs in Small Bundles
- Step-by-Step: Use a Drying Screen
- Step-by-Step: How to Dry Herbs Without a Dehydrator in the Oven
- Common Mistakes
- Mold in the middle of a bundle
- Uneven drying on a tray
- Scorched or browned leaves
- Drying that takes far too long
- Color and flavor loss
- Storing herbs that are not fully dry
- One more that bites people
- How to Store Dried Herbs
- Frequently Asked Questions
- Can you dry basil without a dehydrator?
- How long do dried herbs stay good?
- Is a dehydrator better than air drying herbs?
- Can you dry herbs in a microwave?
- Can you dry herbs in the sun?
- How do you know when herbs are fully dry?
What You Need to Dry Herbs Without a Dehydrator
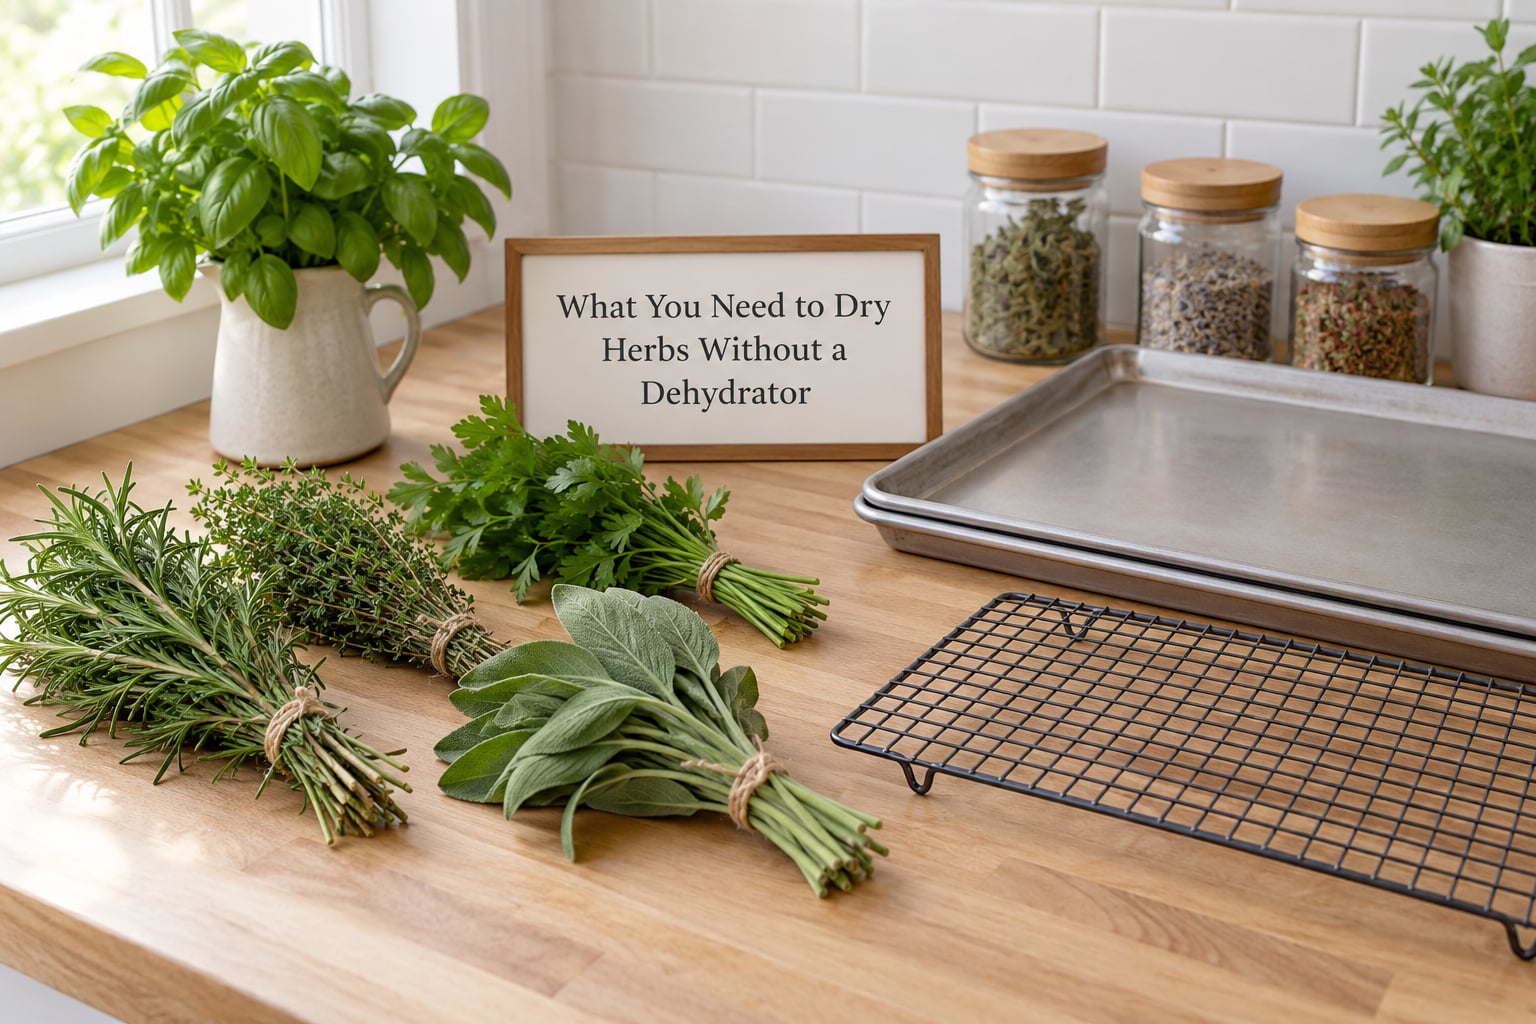
Start with herbs that are freshly picked, unwashed or rinsed and fully dried, with no yellowing or black spots on the leaves. If the stems are soggy at the cut end, trim about an inch off before you start.
Woody herbs handle every method well: rosemary, thyme, oregano, sage, marjoram, and summer savory. Leafy herbs such as basil, mint, and lemon balm need gentler handling and a faster method, because their soft leaves trap moisture against the stem.
Dill, fennel, and cilantro are a special case. Leave the fine fronds on the stalk while they dry, then shake them off at the end, since they fall away on their own once crisp.
Here is what each method asks for:
- Air drying in bundles: twine or a rubber band, a hook or curtain rod, and a dark room with moving air. A box fan set to low behind the bundles does more for drying time than any other piece of gear.
- Drying screen method: a mesh cooling rack, an old window screen, or a baking sheet, plus cheesecloth or a paper bag for dust cover. This is the best method for apartment kitchens with humidity.
- Oven method: your lowest oven setting, a baking sheet, and an oven thermometer. The thermometer matters because most ovens run 25 to 50 degrees hotter than the dial reads when set low.
For storage, have small glass jars with tight lids and a strip of masking tape and a pen ready. Label every jar with the herb and the date before it goes into the cabinet, because dried herbs look almost identical and nobody remembers which is which.
One honest caveat up front. Penn State Extension and University of Minnesota Extension both point out that heat drives off the essential oils that give herbs their aroma, so the gentler the method, the better the jar smells six months later.
Step-by-Step
| Method | Time | Temperature or airflow | Best for | Flavor kept |
|---|---|---|---|---|
| Air drying in bundles | 1 to 3 weeks | Room air, dark and moving | Rosemary, thyme, oregano, sage | Best overall |
| Drying screen | 2 to 5 days | Room air, single layer | Mint, lemon balm, basil, parsley | Very good |
| Paper bag with holes | 3 to 7 days | Room air, enclosed | Leafy herbs in small batches | Good |
| Low oven | 3 to 4 hours | Lowest setting, door ajar | Small batches, humid homes | Fair |
| Microwave in bursts | 2 to 3 minutes total | 30-second bursts | Small amounts of soft herbs | Fair |
| Air fryer | 2 to 4 hours | 115 to 125 F | Leafy herbs, no preheating | Good |
Pick by how much time you have and how humid your kitchen is. Bundles win on flavor, the screen wins on predictability, and the oven wins when the air is too damp for anything else.
Step-by-Step: Air-Dry Herbs in Small Bundles
This is the method most people mean when they ask about drying herbs without a dehydrator, and the cheapest one by a wide margin.
- Rinse and dry. Wash the stems in cool water and dry them thoroughly, a salad spinner works well. Any water left on the leaves means mold.
- Make small bundles. Tie 5 to 10 stems together with twine or a rubber band near the base. The band shrinks as the stems dry, so it stays snug without crushing them.
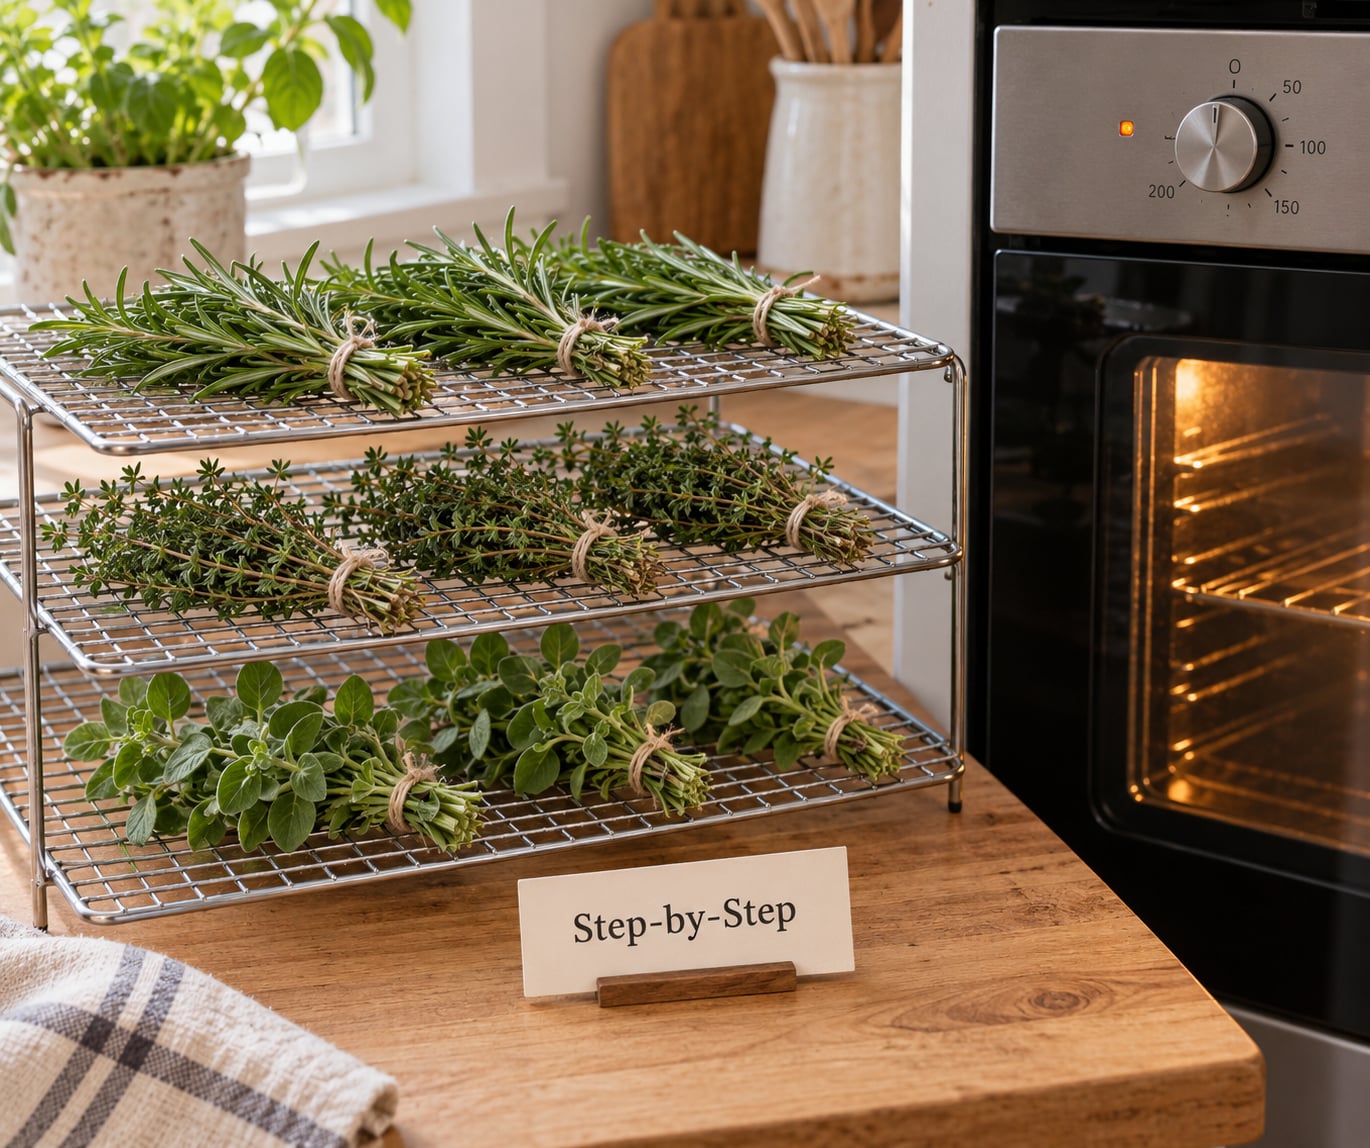
- Hang upside down. Suspend the bundles from a rod, a hook, or the top of a cabinet. Leave space between each one so air can pass through.
- Choose the spot. Warm, dark, dry, and ventilated beats a sunny windowsill every time. A closet works, a kitchen cupboard above the stove does not.
- Check every few days. Leaves should crumble between your fingers and stems should snap rather than bend. Small soft herbs finish in 5 to 7 days, woody ones take 2 to 3 weeks.
Hanging upside down is not a tradition with no reason behind it. Leaves pull away from the stem as they dry, and if they face down the moisture at that junction has nowhere to go. Upside down, that spot stays open to the air. A shallow box with a wire rack on the bottom works the same way for herbs you would rather not hang.
Talkers on gardening forums describe another version of this: stems standing upright in a dry vase with no water in it. They report keeping more color and aroma than bundles, and it works for the same reason, since air reaches the leaf undersides too.
If you live somewhere humid, smaller bundles are the fix. Halve the stem count, add a fan on low, and expect the slow end of the range.
Step-by-Step: Use a Drying Screen
A screen keeps leaves in a single layer with air moving under and over them, so nothing has to be bundled at all.
- Strip the leaves. Pull the leaves off the stems for soft herbs like mint, lemon balm, and basil, and keep the stems of rosemary, thyme, and oregano whole.
- Arrange in one layer. Spread everything on a mesh rack or a baking sheet with no pieces touching. Crowding the tray is the same mistake as making a fat bundle.
- Cover loosely. Set a clean sheet of cheesecloth or an upturned paper bag over the top to keep dust and kitchen steam out, but do not seal it. Trapped moisture is what you are trying to remove.
- Move it daily. Turn the leaves gently once a day, and shift the tray position if one side dries faster.
- Wait for crispness. Most herbs finish in 2 to 5 days. Test a leaf the same way you test one from a hanging bundle.
A window screen propped on a baking sheet does exactly the same job if you do not own a cooling rack. In a damp kitchen, run a fan across the tray and check twice a day.
Step-by-Step: How to Dry Herbs Without a Dehydrator in the Oven
The oven works, but it sits at the far end of the flavor trade-off, so use it for small batches in humid weather rather than as your default.
- Set the oven to its lowest setting. Most ovens land somewhere between 90 and 180 F on that dial. Verify with an oven thermometer, and if it will not hold under 150 F, use the door-ajar trick in the next step.
- Crack the door. Prop the oven door open with a wooden spoon so moisture can escape. If your oven has a convection fan, switch it on. Turning the oven on briefly, then shutting it off with the herbs inside, also works.
- Tray of leaves, not stems. Strip the leaves and lay them in a single layer on a baking sheet, or lay small woody sprigs directly on the sheet.
- Give tender and woody herbs different times. Basil, mint, and parsley need roughly 2 to 3 hours at low heat. Rosemary, thyme, sage, and oregano need 3 to 4 hours.
- Turn at the halfway point. Move the leaves with a spatula so the underside gets time too.
- Cool and test. Take the tray out, spread the herbs on a cool rack, and let them sit for 10 to 15 minutes. Warm herbs feel dry and bend, but cooled herbs snap. Test after they cool, never before.
If the edges go brown or the kitchen smells like baked rosemary, you crossed the line from drying to cooking. Lower the setting, remove the fan, and add another minute or two of door-ajar time on the next batch.
The microwave works in a pinch. Spread herbs on a paper towel, cover loosely with another towel, run 30-second bursts, and let them cool between bursts so you can feel the texture change. The whole batch takes about 2 to 3 minutes and loses more aroma than any other method here.
Common Mistakes
Mold in the middle of a bundle
The cause is almost always thick bundles or herbs that were still damp when you bundled them. Mold at the stem junction means the core never dried. Toss the batch, cut bundles in half, and dry the rest on a screen in a single layer instead.
Herbs that already smell musty or show fuzzy spots are finished. Do not reheat them and do not jar them, since warming moldy herbs does not make them safe. Compost them and start over.
Uneven drying on a tray
Leaves that are touching dry at different rates, and the ones underneath stay soft. Spread everything so no pieces touch, turn it at the halfway mark, and move the tray to a hotter part of the oven if your oven has hot spots.
Scorched or browned leaves
Heat above the drying range cooks the tissue and drives off the oils instead of removing water. Drop the temperature, crack the door, and use a convection setting or no heat at all if you have a fan nearby.
Drying that takes far too long
Humidity is the usual cause, and it also raises the mold risk. Shrink your batches, spread leaves thinner, add airflow from a fan, and pick a day with lower humidity if your schedule allows. Moving your drying spot out of a steamy bathroom helps too.
Color and flavor loss
Direct sun is the culprit. The National Center for Home Food Preservation advises against sun drying herbs, since ultraviolet light bleaches the leaves and knocks down the aroma. Dry in shade or indoors, out of the light, even if it takes a day longer.
Storing herbs that are not fully dry
Warm herbs seem drier than they are, and sealing them while they still hold moisture traps condensation inside a closed jar. Cool them on a rack first, then run the condensation test described in the storage section below.
One more that bites people
Crushing herbs early destroys their texture and oils. Keep them whole until the moment you use them, and grind or crush only what you need for a single recipe.
How to Store Dried Herbs
Let the herbs cool completely to room temperature before they go anywhere near a lid. Warm herbs release the last of their moisture as steam, and that steam is what makes jar lids sticky and leaves speckled with spots a week later.
For woody herbs, strip the dry leaves off the stems and discard the stems. Slightly damp stems left in a jar will pick up condensation and give the whole jar a musty smell.
Label each jar with the herb and the date. That goes for every jar, even the one that is obviously oregano.
Store herbs in airtight glass jars in a cool, dark cabinet away from the stove and out of sunlight. Cool and dark means the essential oils stay put for longer, and it costs nothing beyond keeping the jars off the shelf above the range.
A quick test for whether your herbs are truly ready: put a small handful in a sealed jar and leave it overnight. Open it the next morning and look inside. Clear glass and dry leaves mean you are fine; fogged glass, damp leaves, or a musty smell mean more drying time.
On shelf life, expect the strongest aroma in the first 6 months, with color and flavor fading steadily after that. Whole leaves hold up better than crushed herbs, and you can refresh a tired jar by spreading the herbs on a tray in a warm oven for a few minutes.
For cooking, dried herbs go in at about one third the volume of fresh, so one tablespoon of fresh parsley becomes about one teaspoon of dried. That is worth remembering because it is the most common complaint about home-dried herbs, that they taste like nothing in a recipe. They simply need more than you would reach for fresh.
Frequently Asked Questions
Can you dry basil without a dehydrator?
Yes, but basil is the fussiest herb to dry at home because its leaves are soft and hold moisture against the stem. Wash the stems, dry them well, and hang small bundles upside down in a dark, ventilated room for about five to seven days, or lay the leaves on a screen for two to five days. Expect the color to dull from bright green to olive. For pesto and sauce, freezing basil in ice cube trays with olive oil keeps the fresh flavor better than any drying method.
How long do dried herbs stay good?
Stored airtight in a cool, dark cabinet, dried herbs keep their strongest aroma for about six months and stay usable for roughly a year. Whole leaves outlast crushed ones, and heat, light, and humidity shorten that window. Label jars with the date and use the oldest first. If a jar smells dusty or musty rather than aromatic, the oils are gone and the herbs are worth discarding.
Is a dehydrator better than air drying herbs?
A dehydrator gives you predictable heat and humidity control, which matters in a humid apartment or with large batches. Air drying keeps the most flavor because nothing is heated, and it takes one to three weeks instead of a few hours. Many home growers keep both and use bundles for most herbs, reaching for the oven only when the air is too damp for leaves to dry in a reasonable time.
Can you dry herbs in a microwave?
You can, and it takes two to three minutes for a small batch. Spread the leaves on a paper towel, cover them loosely with a second towel, and run in 30-second bursts. Let the herbs cool and feel them between bursts, since the towel is what absorbs escaping moisture. Microwave-dried herbs keep less aroma than oven-dried ones, so use them for soups and sauces where flavor is blended with other ingredients.
Can you dry herbs in the sun?
The National Center for Home Food Preservation does not recommend sun drying herbs. Ultraviolet light bleaches the leaves and drives off the essential oils, leaving herbs that look pale and taste flat, and direct heat on the leaves raises the chance of spoilage. Dry in shade or indoors with moving air instead. Gardeners who dry outdoors should aim for a warm, shaded, breezy spot rather than an open sunny one.
How do you know when herbs are fully dry?
Test for texture rather than time. Crush a leaf between your fingers; it should crumble into a powder instead of bending or feeling leathery. Snap a stem, and it should break cleanly with an audible crack rather than bend. Cool herbs first, because warm leaves fool you. If a sealed overnight jar test shows fogged glass or a musty smell, the herbs are still damp and need more time.
Start with the easiest batch you have, since the whole process is simple once you see the texture you are aiming for. Cut the stems shorter than feels wasteful, bundle them small, and hang them out of the light with a fan on low. If you would rather skip the waiting, put that same small batch on a screen and finish in a couple of days.