To sterilize canning jars, stand clean jars upright on a rack in a boiling-water canner, cover them with water by 1 to 2 inches, bring the water to a full rolling boil, and time 10 minutes at sea level. Add a minute for every 1,000 feet of elevation. Most recipes that process for 10 minutes or longer, and everything done in a pressure canner, start with clean jars and skip this step entirely.
That last sentence surprises people. A lot of the advice online still says every jar must be sterilized before use, and that is where a lot of ruined produce goes. The National Center for Home Food Preservation (NCHFP) narrowed the rule in 2015: pre-sterilization is for short processes, not for every jar. If you understand that threshold, you save an hour of boiling and you stop treating a pickle jar like a lab experiment.
I keep two racks, a jar lifter, and a pot that never gets used for anything but canning, and I have ruined exactly one batch of plum jam to a cracked jar. That is the other reason to read this whole thing: most jar failures are about heat and handling, not about dirt.
Table of Contents
- What You Need Before You Start
- Step-by-Step: How to Sterilize Canning Jars
- Step 1: Decide whether your jars actually need sterilizing
- Step 2: Inspect and wash the jars
- Step 3: Heat the jars for the method your recipe calls for
- Step 4: Keep the jars hot until you fill them
- Step 5: Fill, process, and let the jar cool before you judge it
- Common Mistakes That Ruin Jars and Seals
- How to Know Your Jars Are Properly Prepared
- Frequently Asked Questions
- Do canning jars always need to be sterilized before use?
- How long should empty jars be boiled to sterilize them?
- Can I sterilize jars in the dishwasher instead of boiling them?
- Should canning lids be boiled or sterilized?
- Does vinegar sterilize canning jars?
- How do I know if my canned tomato sauce has botulism?
What You Need Before You Start
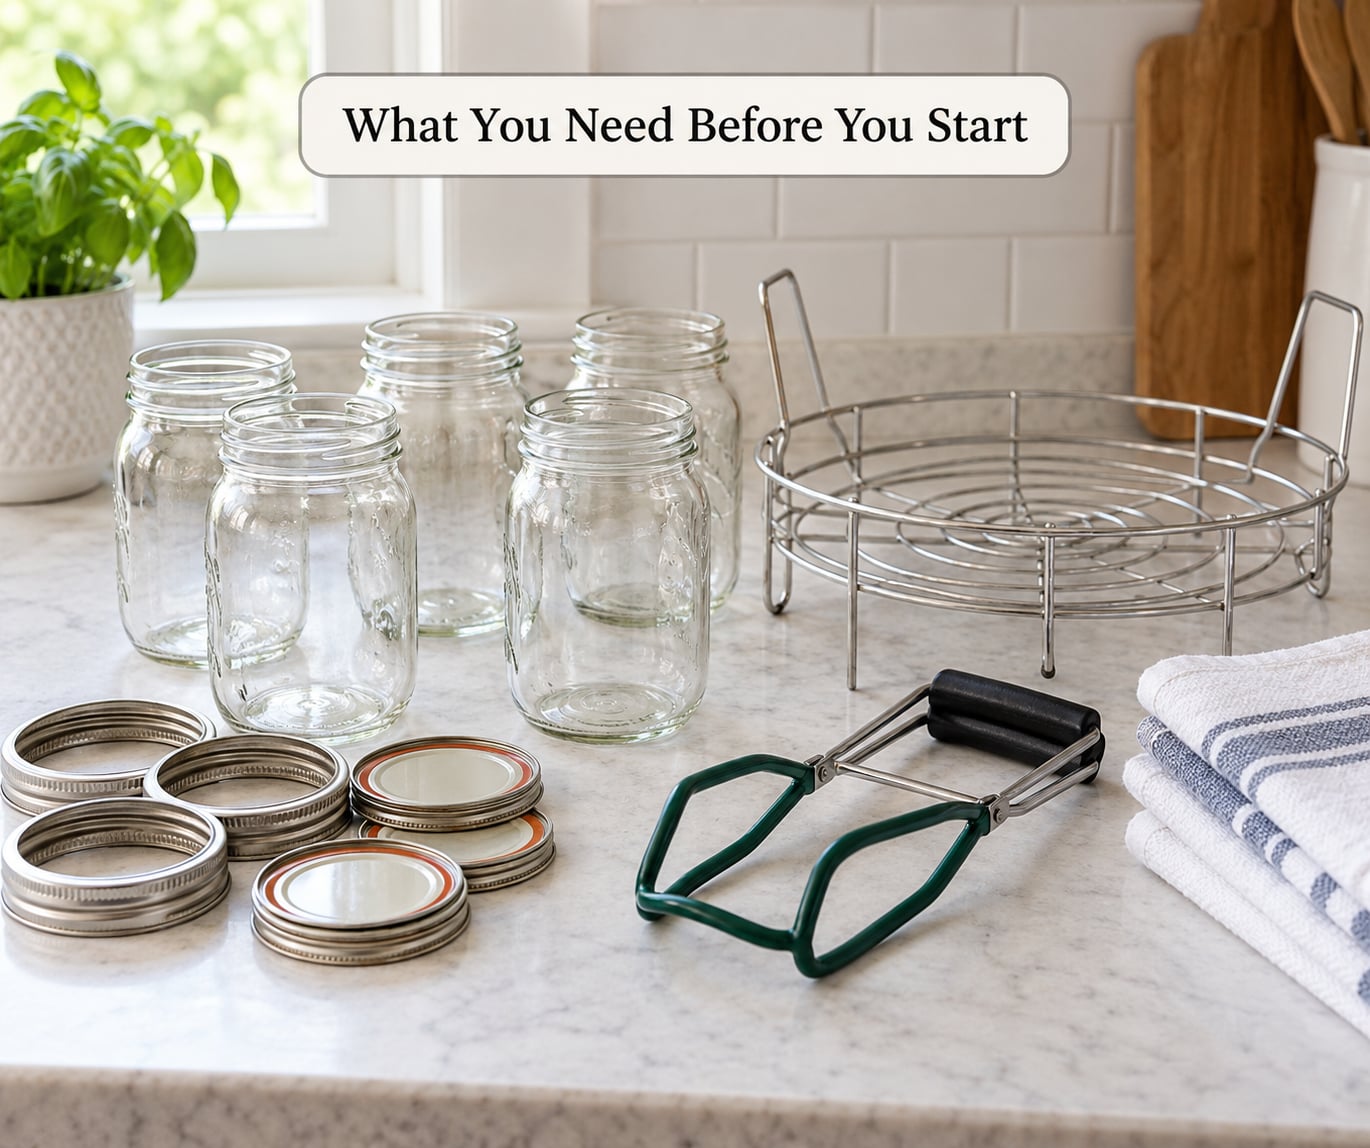
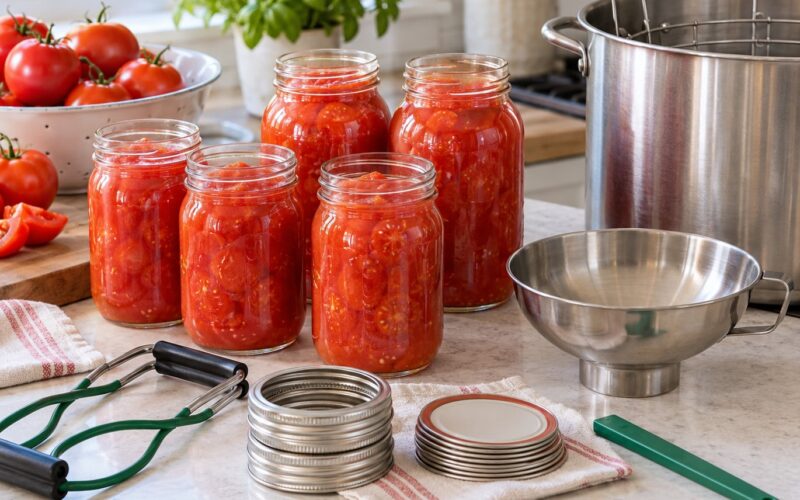
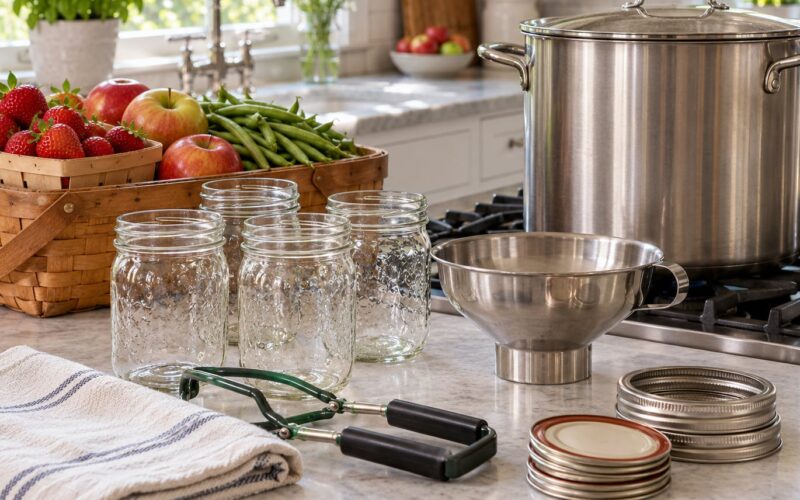
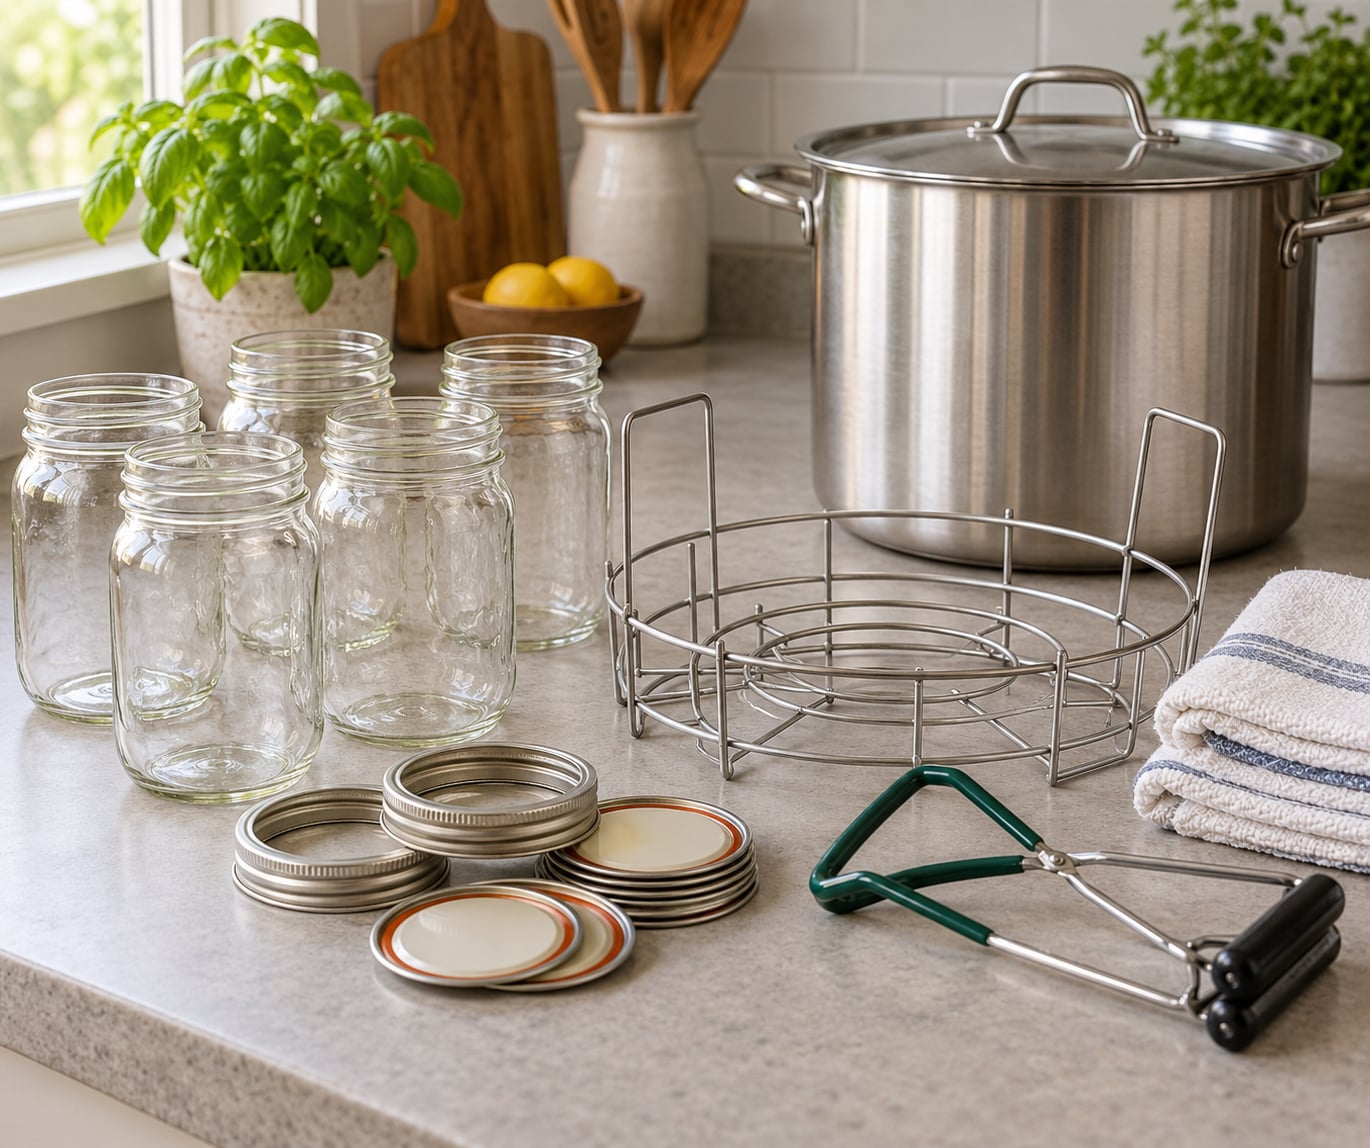
You need less than most guides imply. Gather the glass, gather the tools, then read your recipe’s jar preparation step twice, because that line tells you which of the three methods below to use.
- Canning jars in the size your tested recipe calls for. Mason-type canning jars and ordinary glass storage jars are not interchangeable. Storage jars are not tested for heat processing and can thermal-shock straight into shards.
- Matching two-piece lids. Each lid set is a flat lid with sealing compound already dried onto it, plus a screw band. You need one of each per jar.
- A large stockpot or a boiling-water canner with a canning rack. A rack is what keeps a jar from sitting flat on the pot bottom, which is the single biggest cause of breakage.
- A jar lifter or tongs rated for hot glass.
- Clean dish soap, a brush for jar threads, and clean towels for drying the outside of jars, never the inside.
- Whatever your recipe requires. A thermometer for pressure canning, a headspace gauge for wide-mouth jars, canning salt for pickles. Sterilizing jars does not substitute for any of it.
One item worth adding if you preserve at a market stall: a second rack and a partner. Processing a large batch of preserves means lifting hot jars one at a time while you fill the next, and a crowded kitchen is where cracked jars happen.
Step-by-Step: How to Sterilize Canning Jars
Step 1: Decide whether your jars actually need sterilizing
Before any water boils, check the processing time in your tested recipe. This is the branch point that determines everything else.
- Water bath, processing time under 10 minutes (many jams, jellies, marmalades, some quick pickles and preserves): sterilize the jars first, 10 minutes at sea level.
- Water bath, processing time of 10 minutes or longer (most pickles, many vegetables and sauces): wash the jars and keep them hot. No separate sterilizing step.
- Pressure canning, low-acid vegetables, meat, soups, stocks: wash the jars and keep them hot. No separate sterilizing step.
- Dry goods, or jars for the fridge and freezer: no processing at all, so no sterilizing step. Wash, and use clean lids.
That ten-minute threshold exists because a long, hot process destroys the same spores that pre-sterilization targets. Doing both is harmless but pointless. What is not harmless is skipping sterilization on a short process, because those recipes rely on the empty-jar treatment for part of their safety margin.
Step 2: Inspect and wash the jars
Hold each jar up to the light and run a finger around the rim. Any chip, crack, sharp edge, nick in the sealing surface, or a jar that feels warped goes in the recycling bin, not the pot. A crack you cannot see becomes a leak you cannot see until it is a spoiled jar.
Wash jars, flat lids and screw bands in hot soapy water, and use a brush on the threads of every jar. Rinse thoroughly and set them out. Check the flat lids for dents around the edge; a bent lid will not seal.
Do not wash lids with anything abrasive, and do not boil the flat lids. More on that in a minute, because it is the mistake that quietly ruins seal after seal.
Step 3: Heat the jars for the method your recipe calls for
Three treatments show up in canning guides, and they are not interchangeable.
Keeping jars hot. The simplest method, and the one used for anything processing 10 minutes or longer. Wash the jars, cover them with hot water, and hold them near a simmer until you fill them. The water needs to be hot enough that the glass and the food are at the same temperature when they meet, which is what prevents thermal shock.
Simmering jars. Hold washed jars in hot water brought to a simmer for about 10 minutes before filling. Common in some tested recipes, and a reasonable middle ground for short processes.
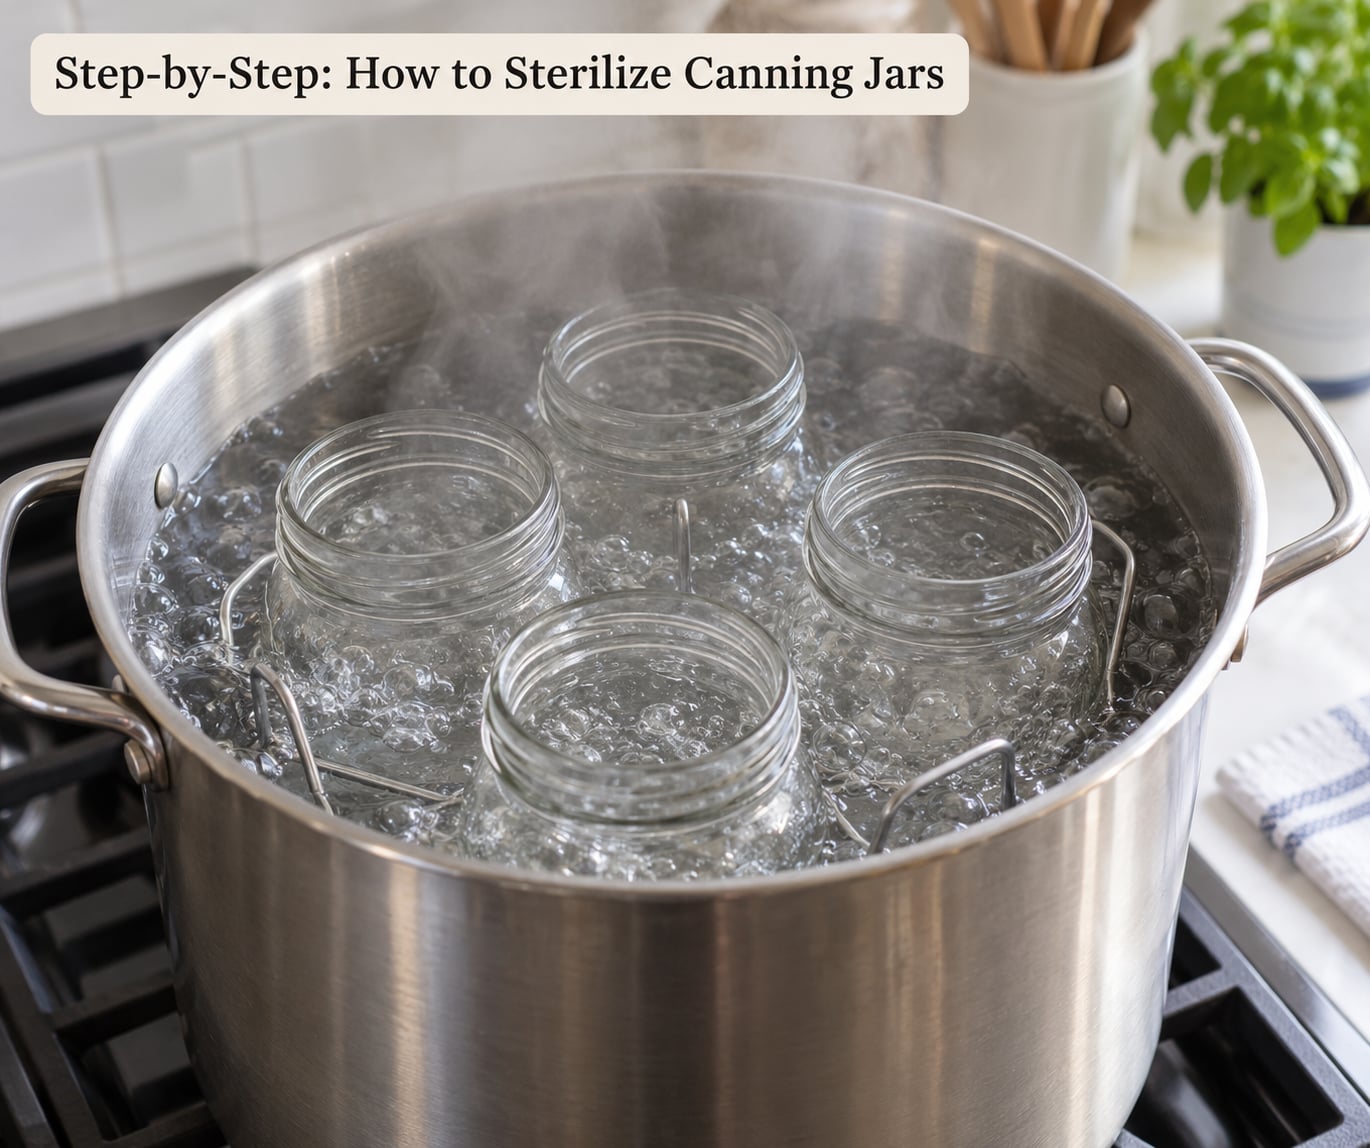
Sterilizing in a boiling-water canner. This is the treatment for short water-bath processes. Put the washed jars upright on the canning rack, add water to cover the jar shoulders by 1 to 2 inches, bring it to a full rolling boil, and start timing. Keep the water boiling for the whole treatment.
Time it by elevation, not by habit:
- 0 to 1,000 feet: 10 minutes
- 1,001 to 3,000 feet: 11 minutes
- 3,001 to 6,000 feet: 13 minutes
- 6,001 feet and above: 15 minutes
Below 1,000 feet, water boils at 212F, and each 1,000 feet up drops that by roughly 2F to 3F. A canner sitting at 5,400 feet in a high-desert market needs the longer time because the water never gets as hot in the first place.
If you are wondering about an oven, save the trouble. Baked jars come out dry and hot, and the food going in is at a different temperature than the glass, which is exactly how jars crack. Dry heat in a home oven is not a recognized sterilization method for canning, and using it for canning is a bad trade. Skip it.
Step 4: Keep the jars hot until you fill them
Leave the prepared jars in their hot water. Pull out only as many as you can fill in a couple of minutes, because a jar that goes from boiling water to room temperature air and then into cool food is a jar that cracks.
Fill to the headspace your recipe specifies, remove air bubbles with a clean damp paper towel or a bubble remover, then wipe the rim and thread of the jar with a clean damp cloth. Food residue on the rim is the most common reason a good process still fails to seal.
Put a clean flat lid on, then screw the band down until it is snug. Tight is fine. Over-tightening is not: if you have to strain to get the band on, stop. Place finished jars on a towel or a rack, not on a cold countertop, and leave them undisturbed.
Handle flats and bands like this: keep flat lids warm by placing them in a small pot of hot, not boiling, water for a few minutes while you work, and follow whatever your lid manufacturer specifies. Boiling flat lids can degrade the sealing compound and lead to failures. Bands need no heating at all, since they hold no sealing compound. They get washed, dried and stored, and reused whenever the flat lid is new.
Step 5: Fill, process, and let the jar cool before you judge it
Put the filled jars in the canner, keep them covered, and process for the time and temperature your tested recipe specifies. Never shorten or skip the processing time because the jars already got sterilized; the two steps are not interchangeable, and the empty-jar treatment never replaces a full process.
After processing, cool the canner naturally, remove the jars, and let them sit untouched for 12 to 24 hours. The seal forms as the jar cools. Pressing a lid or testing it early ruins the vacuum you are waiting for.
Common Mistakes That Ruin Jars and Seals
Almost every jar I have lost came from one of these, and none of them are about sterilization technique.
- Jars straight from the cupboard into boiling water. Glass at room temperature hitting boiling water is thermal shock, and the jar cracks on the pot bottom. Use a canning rack, start with warm water, and let the water heat up with the jars in it.
- No rack. Jars touching the bottom of the pot conduct heat straight into the glass and crack, or scorch the food against the base.
- Boiled flat lids. Prolonged boiling damages the sealing compound and the lid stops sealing. Warm them; do not boil them.
- Reusing one-use flat lids. Once a flat lid has been through a processing, the seal is spent. Jars and bands can be reused endlessly. Flats cannot.
- Bands tightened hard, or put on backwards. Tighten until snug. A band on upside down will sit on the wrong threads and leak.
- Food smeared on the rim. Wipe every rim with a clean damp cloth before the lid goes on. Every time.
- Filling cold food into a hot jar, or hot food into a cold jar. Match the temperatures. A wide-mouth jar packed tightly with a hot dry pack can still thermal-shock.
- Towel drying the inside of a sterilized jar. Lint and moisture both work against you. Set hot jars upside down on a clean towel to dry, or skip it entirely.
- Assuming vinegar sterilizes anything. A vinegar rinse is not sterilization and it is not a substitute for a tested process. For most canning, use plain clean water.
- Cooling jars on a wet or cold surface. Dry towel or wooden rack, no drafts, and do not turn the jars upside down mid-cool.
- Pressing a finger on a lid to test the seal right after processing. Wait. The vacuum is not finished forming.
Two more worth naming. If a jar floats in the pot after processing, treat it as suspect rather than as a curiosity. And if a jar did not seal, refrigerate the contents and use them; do not stash it in the pantry and hope.
How to Know Your Jars Are Properly Prepared
A properly sterilized jar is uniformly hot all the way through, with no visible cracks or chips and a spotless rim. When you lift it out, it feels solid and hot enough to sting, so use the jar lifter and keep the free hand clear. Jars go straight onto a prepared surface, and they stay there until the processing is done.
After the full process and 12 to 24 hours of undisturbed cooling, check the seal. Press gently on the center of the flat lid: a proper seal is concave and does not move. A lid that springs back, sits loose, or makes a clicking sound has failed. Set it aside, and do not eat straight from the jar to find out.
Signs a jar is not safe to open, even if the seal looked fine: a bulging or domed lid, liquid or foam leaking under the rim, visible mold on the contents when you open it, an off or sour smell, or liquid that sputters when the lid comes off. None of these are things to sniff closely or taste. Botulism toxin has no smell you can reliably detect, and in a sealed jar the pressure from the gas is the more honest warning sign.
If a jar fails any of these checks, the safe move is to throw the contents out, wash the glass, and keep the jar for non-food use. Do not reprocess sealed food to try to rescue it.
One note for tomato and sauce canners, since this comes up constantly: acidification of some tomato products changed over the years, and the tested recipe you use today is the one that matters. If a recipe tells you to add bottled lemon juice or to pressure can, follow it exactly. Home-canned tomato sauce is the single most common source of food-safety questions in canning forums, and the pattern behind most of them is skipping an acidification or processing step, not a jar preparation problem.
Frequently Asked Questions
Do canning jars always need to be sterilized before use?
No. Since 2015 the National Center for Home Food Preservation has said pre-sterilization is only for water-bath recipes processing under 10 minutes. Anything processed 10 minutes or longer, anything done in a pressure canner, and dry-goods storage just needs clean jars. That is why many older guides, which predate the change, tell you to sterilize everything.
How long should empty jars be boiled to sterilize them?
Ten minutes at sea level in a full rolling boil, with the jars standing upright on a rack and covered by 1 to 2 inches of water. Add a minute for every 1,000 feet of elevation: 11 minutes from 1,001 to 3,000 feet, 13 minutes from 3,001 to 6,000 feet, and 15 minutes above 6,000 feet. Keep the boil going the entire time you are counting.
Can I sterilize jars in the dishwasher instead of boiling them?
Not as a substitute for canning. A sanitize cycle is shorter and does not reliably hold a sterilization temperature for the whole cycle, and some cycles run cool enough at the end to leave jars lukewarm. It also works on jars you would then have to heat again, which invites cracking. Wash jars in the dishwasher if you like, then sterilize or keep them hot by the method your recipe specifies.
Should canning lids be boiled or sterilized?
No, never boil flat lids. Prolonged boiling can degrade the sealing compound and the lid will not hold a vacuum. Wash flats and bands in hot soapy water, rinse, and keep flats warm in a small pot of hot, not boiling, water while you fill. Bands need no heating at all and can be washed, dried and reused with any new flat lid. Follow your lid maker’s instructions if they differ.
Does vinegar sterilize canning jars?
No. Vinegar is an acid, and most canning recipes are not acidic enough for it to work as a sterilizing step. A vinegar rinse does not reach the sustained high heat that destroys spores, and it is not part of any tested home-canning process. Some pickle recipes do call for added vinegar as part of the recipe itself, which is a different thing entirely. Follow the tested recipe, and use plain water for jar preparation.
How do I know if my canned tomato sauce has botulism?
You often cannot tell from the outside, which is why prevention matters. Warning signs include a bulging or domed lid, leaking or seeping at the rim, visible mold, an off smell, or liquid that froths and sputters when opened. Do not taste-test. Discard any jar showing these. Prevent it instead: use a current tested recipe, acidify as directed, pressure can low-acid products, and keep every processing time exact.
Start with your recipe’s processing time, because that decides whether you sterilize at all. If it is under 10 minutes in a water bath, wash your jars, check every rim, stand them on a rack under 1 to 2 inches of water, boil 10 minutes at sea level plus the elevation minutes, and fill them while they are still hot. Everything else follows from that recipe, and no jar step replaces the processing time.