Learning how to start canning at home for beginners is simpler than most people expect. Start with water-bath canning, using a large stockpot, on high-acid foods like jam, applesauce, fruit in syrup, and pickles. A stockpot works fine for your first batch, and the whole session takes about an hour. Everything after that is repetition and better produce.
Most beginners I talk to at the market stall get stuck at the same place, and it is never the boiling. It is the fear of botulism, the worry that a jar that will not seal means the food is dangerous, and the pile of gear online that looks like a restaurant kitchen. None of that is necessary. Canning is closer to baking than to surgery: follow a tested recipe, measure headspace, and the rest is a repeatable process.
This guide covers the gear you actually need, the two canning methods and how to pick one, the full water-bath process from prep to storage, and the mistakes that cost beginners a batch. Processing times live in the tested recipe, not here, because they change with the food, the pack size, and your altitude.
Table of Contents
- What You Need
- Step-by-Step: How to Start Canning at Home for Beginners
- Choose a Tested Recipe and Understand the Two Main Methods
- Prepare the Food, Jars, and Workspace
- Pack the Jars and Remove Air
- Process and Seal the Jars
- Label and Store the Finished Jars
- Common Mistakes
- Frequently Asked Questions
- Do I need special jars for beginner home canning?
- What is the difference between water-bath canning and pressure canning?
- How long should I process jars when learning how to start canning at home?
- Can I use jars from a grocery store?
- Why did my canning lid not seal properly?
- How should I store home-canned vegetables and fruit?
What You Need
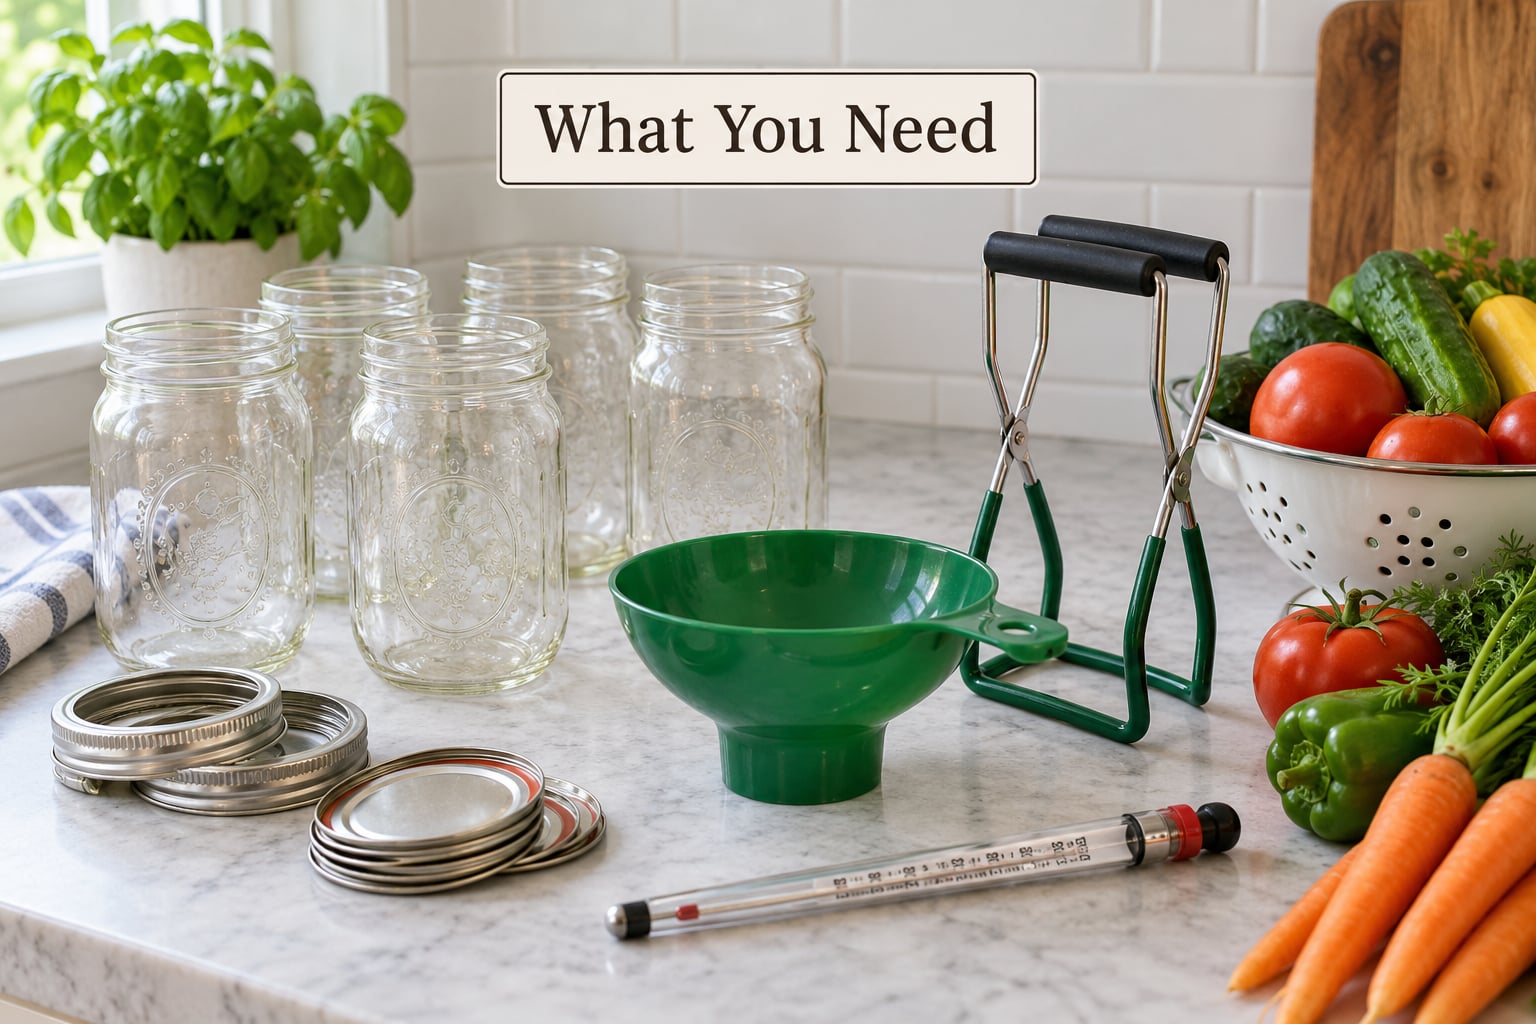
The essentials are shorter than the list a beginner canning kit will try to sell you. Here is the honest breakdown.
Must have:
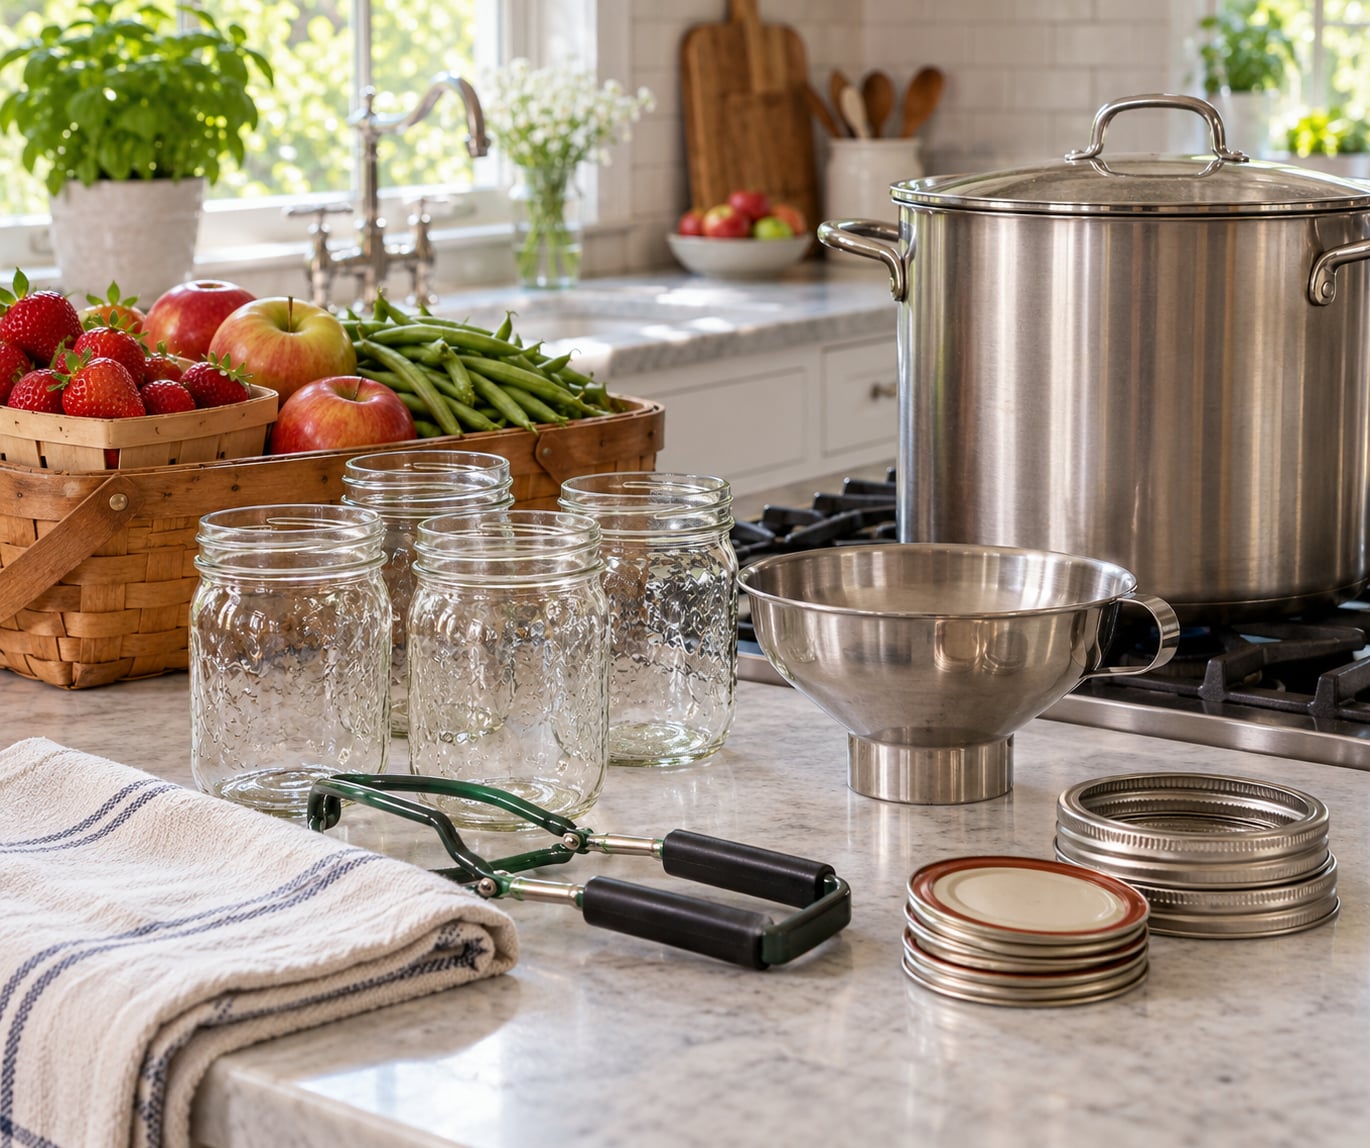
- Canning jars in standard Mason jar sizes, pints and quarts. Regular mouth or wide mouth both work; wide mouth is easier for fruit and chunky vegetables.
- Two-piece lids — a flat lid and a separate screw band. Always use new flat lids. Bands are reusable as long as they are not rusted or dented.
- A large stockpot or a water bath canner with a rack on the bottom so jars never sit directly on metal.
- A jar lifter — the single tool that prevents the most common injuries in a first session.
- A wide-mouth canning funnel for packing and a bubble remover for air pockets.
- Tongs long enough to reach into a boiling pot safely.
Nice to have, add later: a kitchen scale accurate to a gram, a magnetic lid wand for speed, a second rack, a second stockpot, and a dial thermometer for the water bath.
Skip for now: pressure cookers of any kind, jar sterilizers, expensive specialty gadgets, and oversized pre-assembled kits. A household pressure cooker is not a pressure canner. It builds pressure too slowly and unevenly to process low-acid food safely, and using one is the most serious mistake a beginner can make.
Step-by-Step: How to Start Canning at Home for Beginners
Choose a Tested Recipe and Understand the Two Main Methods
Every safe batch starts with a tested recipe from the National Center for Home Food Preservation, your state extension service, or the Ball Blue Book. Family recipes without published processing times are not tested recipes, and that is where beginners get into trouble.
The rule that decides your method is acidity. Foods with a pH of 4.6 or below are high-acid and safe for water-bath canning at a boiling 212°F. Foods above 4.6 are low-acid and require pressure canning at 240°F to destroy Clostridium botulinum spores, which boiling water cannot reach.
| What it means | Water-bath canning | Pressure canning |
|---|---|---|
| Foods | Fruits, jams, jellies, applesauce, pickles, relishes, salsas, tomatoes with added acid, acidified fruit | Low-acid vegetables, green beans, corn, soups, broth, meat, poultry, seafood, dried beans |
| Acid level | pH 4.6 or lower | Above pH 4.6 |
| Temperature | 212°F boiling water | 240°F under weighted pressure |
| Equipment | Stockpot or water bath canner | Dial-gauge or weighted-gauge pressure canner |
| Good for a first batch | Yes | No, learn the water bath first |
For a confidence ladder, start with strawberry jam or jelly, then move to applesauce or peaches in syrup, then pickles and relishes, then a tomato salsa with bottled lemon juice added, and only then think about vegetables. People in canning forums tend to name the same first successes: applesauce, peaches in syrup, red pepper jelly, and plain jam.
At a farmers market, pick produce that is ripe and sound for the recipe, not merely pretty. Slightly blemished fruit is often ideal for jam and applesauce, since the recipe cooks it down anyway. Avoid anything with mold, soft rot, or a bad smell, and remember that produce must be canners’ quality fresh, never previously frozen or heat-blanched at home for water-bath canning.
Prepare the Food, Jars, and Workspace
Wash the produce under cool running water and trim anything the recipe does not use. Cut uniform pieces so everything processes at the same rate, and mix a small batch before doing a large one.
Check each jar for cracks, chips, and rim damage. Any jar with a defect gets set aside for jam or fridge storage. You do not sterilize jars separately for water-bath canning — the processing step does that work — but you do need them hot, because a cold glass jar meeting hot food can crack. Warm washed jars in a low oven or in a pot of water kept just below a simmer.
Set up a folded towel on the counter for hot jars, fill a bowl with hot water for dipping lids, and lay out your funnel, bubble remover, and clean cloths before you cook the food. Keeping lids in hot water is optional; running them under hot tap water is enough.
Pack the Jars and Remove Air
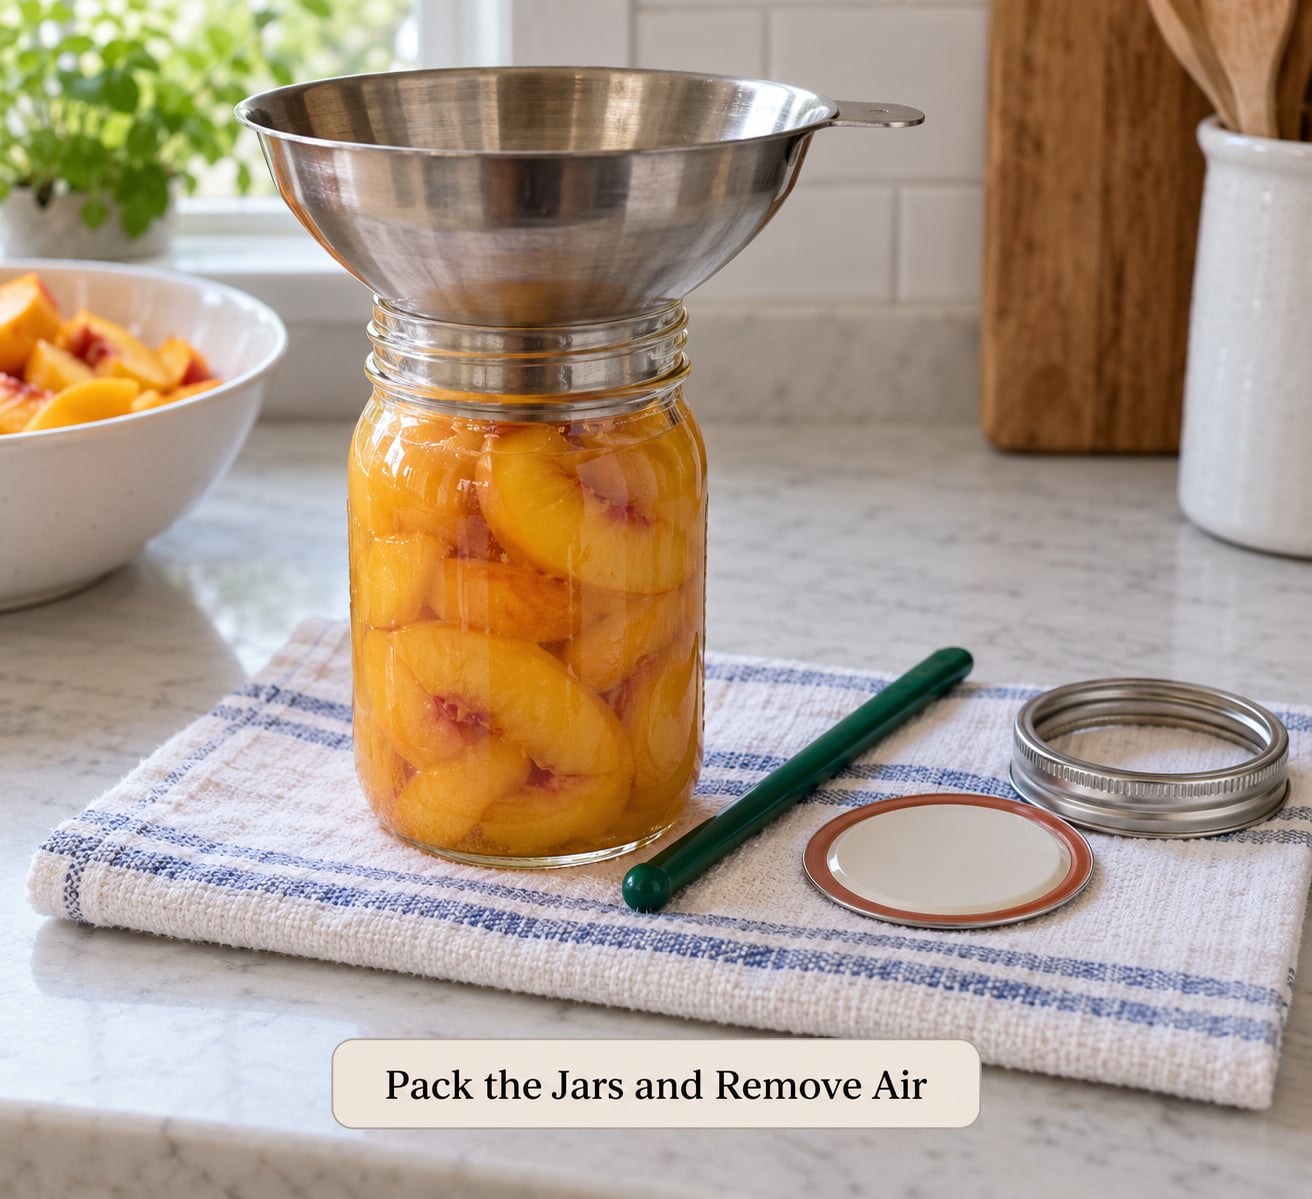
Fill jars with hot food and pack it gently with the funnel. Jars meant for water-bath canning get a rolling boil before filling, which sets the food and improves texture.
Headspace is the empty space between the food and the lid, and it is where most failed seals begin. Leave exactly what the tested recipe specifies.
| Food type | Typical headspace |
|---|---|
| Jams, jellies, fruit spreads | 1/4 inch |
| Fruit in syrup or water, pickles | 1/2 inch |
| Salsa, relishes, low-acid fruit | 1/2 inch |
| Vegetables, meats, soups | 1 inch or as the recipe states |
Run the bubble remover around the inside edge of the jar and tap the jar gently on the towel to release trapped air. Any air left behind becomes a pocket where spoilage can start.
Wipe the rim with a clean damp cloth, dry it, and center a new flat lid on top. Screw the band down until it is fingertip-tight — just past snug. Tightening it hard prevents the vacuum from forming and is one of the top reasons lids fail to seal.
Process and Seal the Jars
Place jars in the rack, fill the pot with hot water to cover lids by 1 to 2 inches, and bring to a full rolling boil. Start the processing clock only once the water returns to a boil, and run the time listed in your tested recipe for that food, pack size, and jar size.
If you live above 1,000 feet, processing times increase because water boils at a lower temperature. The National Center for Home Food Preservation publishes altitude adjustment tables by food, and you should use them rather than guessing. Above 8,000 feet the required times increase substantially.
Turn off the heat, let the pot sit 5 to 10 minutes, then lift jars out with the lifter and set them on the towel. Let them cool 12 to 24 hours without touching them. Handling a jar while it is still warm can pop a good seal.
Test the seal three ways. The lid should be flat rather than bulging, the center should be concave when you press it gently, and a sealed lid gives a high-pitched ring when you tap the top. A jar with no seal, a bulging lid, or a leaking seal must go into the fridge and be used within a few days. For a no-seal jar with no other signs of spoilage, you can reprocess it for the full original processing time using fresh lids, or refrigerate and freeze the contents. Never reprocess a jar that shows signs of spoilage.
Wipe the jars, remove the bands, and wash them so the storage area stays clean. You can leave the lid on without the band while the jar cools the rest of the way.
Label and Store the Finished Jars
Label every jar with the contents, the processing date, and the batch name if you made more than one. Masking tape with a marker works fine and peels off cleanly later.
Store sealed jars in a cool, dark, dry place with steady temperature, away from light, dampness, appliances that cycle heat, and heavy stacks where jars might get knocked. A shelf in a closet or a lower cabinet beats an attic, a garage, and a countertop.
A water-bath batch of fruit or jam is typically good for a year, and many home canners keep fruit and pickles well beyond that while quality holds up. Low-acid vegetables and meats from pressure canning generally carry a one-year recommendation for best quality. Check jars yearly and discard anything with a broken seal, liquid weeping from the seams, a swollen jar, unexpected cloudiness, or an off smell. If a jar looks wrong, do not taste the food.
Common Mistakes
Using an untested recipe. This is the one that can make people sick, because unverified times and acid levels are where botulism risk comes from. Pull the recipe from the National Center for Home Food Preservation, an extension service, or the Ball Blue Book and follow it exactly, including added bottled lemon juice where the recipe calls for it.
Too little or too much headspace. Too little means the seal may not form properly. Too much is a loss of food and, for some products, pushes contents into the lid. Measure the recipe’s number and stick to it.
Over-tightening the screw band. The band holds the lid in place; it does not create the seal. A tight band prevents air from escaping during processing. Fingertip-tight is the rule.
Reusing flat lids. A flat lid that has been heat-processed will not seal reliably a second time. Bands are reusable, lids are not. This is the cheapest mistake to avoid and one of the most common.
Overprocessing. Jars can absolutely be boiled too long. Fruit turns mushy and darkens, and some products lose color and texture. Process for the tested time, and no longer.
Filling jars cold. Cold glass plus hot food causes thermal shock, and a cracked jar may still look fine until you press the seal. Warm your jars first.
Testing seals too early. A warm jar can appear unsealed simply because the vacuum has not finished forming. Wait the full 12 to 24 hours.
Using a pressure cooker instead of a pressure canner. A stovetop pressure cooker cannot process low-acid food safely. If you want to can vegetables, buy a dial-gauge or weighted-gauge canner built for the job.
Storing jars in a warm or lit spot. Sunlight and temperature swings fade color and shorten shelf life. Also avoid damp basements where lids can rust.
Two habits prevent nearly every problem. Set out your equipment before you start cooking, and measure headspace with a ruler instead of eyeballing it. Everything else is care and attention during the 20 minutes the jars are actually processing.
Frequently Asked Questions
Do I need special jars for beginner home canning?
Yes, you need jars made for canning, such as standard Mason jars, and a large stockpot or water bath canner. Regular kitchen glass jars, spice jars, and reused pickle or mayonnaise jars are not heat-tempered for the boiling and pressure cycles. If a canning jar has a chip or crack, set it aside rather than risking it in hot water. Buy a small mixed case of pint and quart jars to start.
What is the difference between water-bath canning and pressure canning?
Water-bath canning uses a pot of boiling water at 212°F to process high-acid foods such as fruit, jams, pickles, and acidified tomatoes. Pressure canning uses a pressure canner to reach 240°F, hot enough to destroy Clostridium botulinum spores in low-acid foods like green beans, soups, meat, and dried beans. Water bath is the right starting method for a first batch.
How long should I process jars when learning how to start canning at home?
Process for exactly the time listed in your tested recipe for that food, pack style, and jar size, and start counting only when the water returns to a full rolling boil. Beginners often wonder whether more time makes food safer, and it does not. Overprocessing softens fruit and darkens color. If you live above 1,000 feet, add the time adjustment published for your altitude range.
Can I use jars from a grocery store?
Only if they are genuine canning jars with the manufacturer’s canning markings and you have never used them for canning before. Store-bought jars sold for pasta sauce, pickles, or mayonnaise are not made for home canning and are the leading cause of failed seals. Do not re-process jars that failed a seal in a home canning setup. Reusing commercial jars is one mistake worth avoiding entirely.
Why did my canning lid not seal properly?
The usual causes are a reused flat lid, a screw band tightened too hard, food or residue on the jar rim, incorrect headspace, and checking the seal before the jar finished cooling. Boiling water that spills onto a rim also interferes with sealing. Use a new flat lid every time, wipe the rim clean, tighten the band only until fingertip-tight, and wait a full 12 to 24 hours before testing.
How should I store home-canned vegetables and fruit?
Keep sealed jars in a cool, dark, dry place with a steady temperature, away from sunlight, dampness, and appliances that generate heat. Do not store jars in an attic, garage, or on a countertop. Once you open a jar, refrigerate the leftovers and eat them within a few days rather than resealing and returning it to the shelf. Remove screw bands before storage to keep lids sealed.
If you only do one thing before your first session, read a full tested recipe from start to finish and pull your jars, lids, funnel, lifter, and stockpot out on the counter. Pick a jar of strawberry jam or a few pounds of market apples for applesauce, follow the times exactly, and label everything when the jars cool. The second batch takes half the time and none of the nervousness.