Why did my canning jars not seal? Because the rubber compound on a two-piece lid never bonded to the jar rim while the jar cooled, so no partial vacuum formed. Dirty or chipped rims, too much headspace, bands screwed down too tight, a lid that has already been used once, or a batch that did not reach full pressure for long enough are the usual reasons. Testing and sorting a batch takes about 15 minutes plus the cooling wait.
If you are standing in front of a canner full of jars right now, do not press the lids or tighten the bands while they are still warm. Set them on a towel somewhere out of a draft, leave them alone for 12 to 24 hours, then sort the batch. That waiting period is the part most people skip, and it is the reason a lot of perfectly good jars end up in the fridge unnecessarily.
Table of Contents
- What You Need
- Step-by-Step
- Why did my canning jars not seal? Check for these causes
- Confirm the recipe and processing method
- Check the jars, rims, lids, and counter
- Handle unsealed jars safely
- Prevent seal failures in the next batch
- Common Mistakes
- Frequently Asked Questions
- How do I know whether a canning jar sealed?
- Can I reprocess jars that did not seal?
- Why did my Mason jar lid pop after processing?
- Do lids have to be upside down while canning jars cool?
- Can I use old lids with new canning jars?
- How should I store unsealed jars?
What You Need
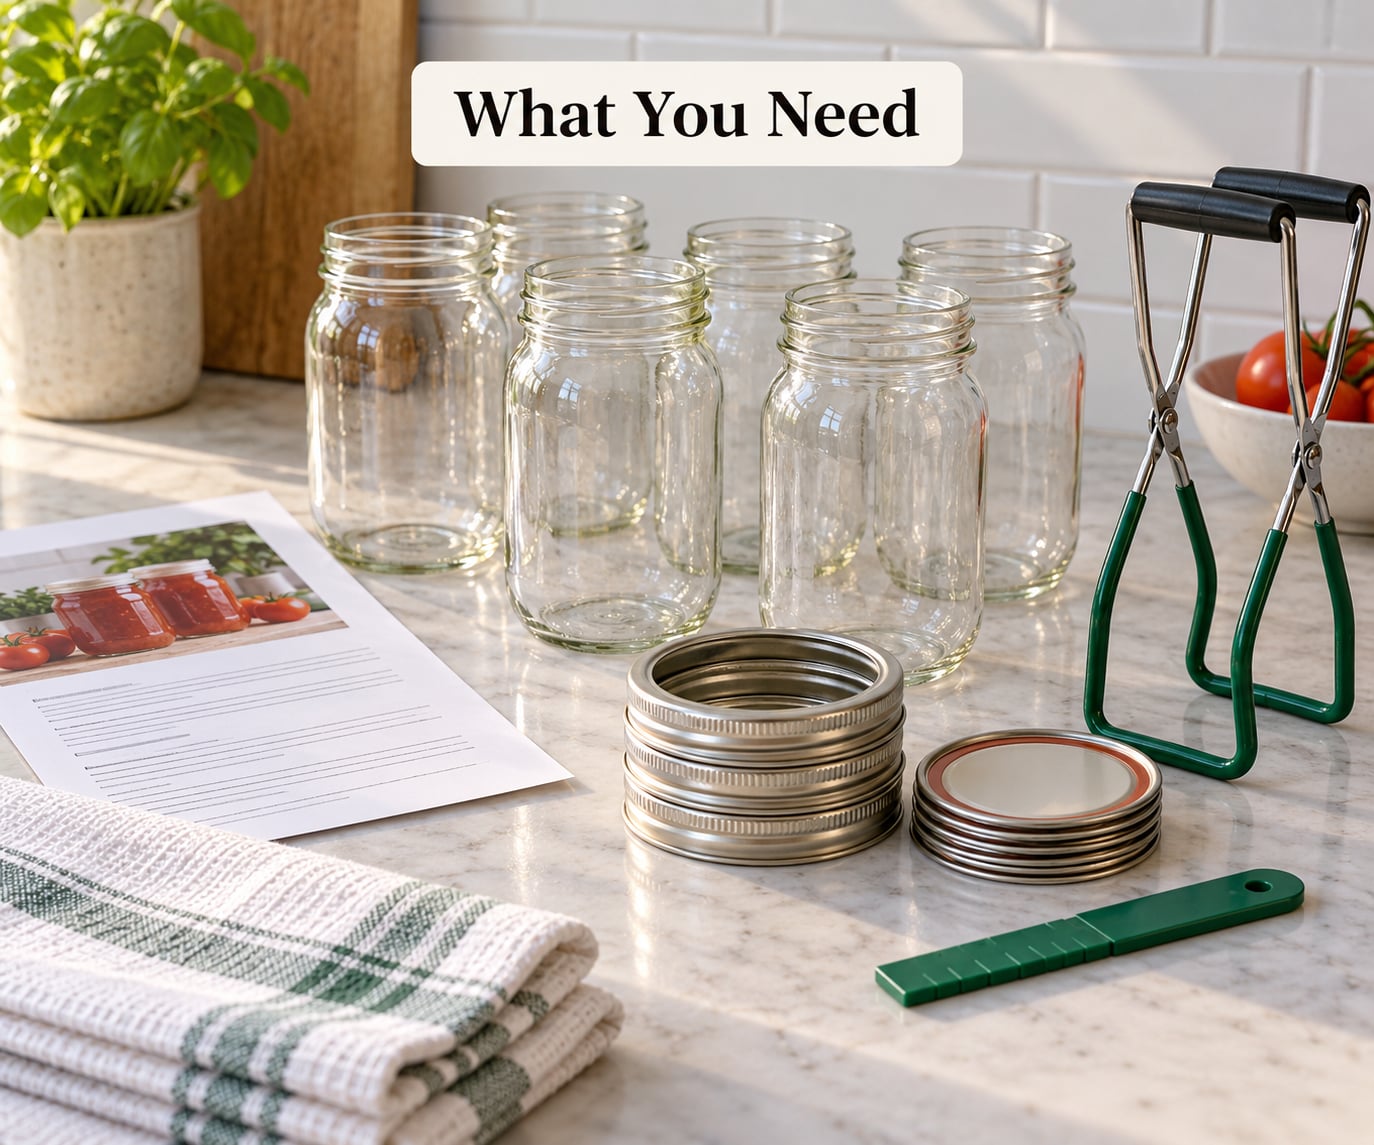
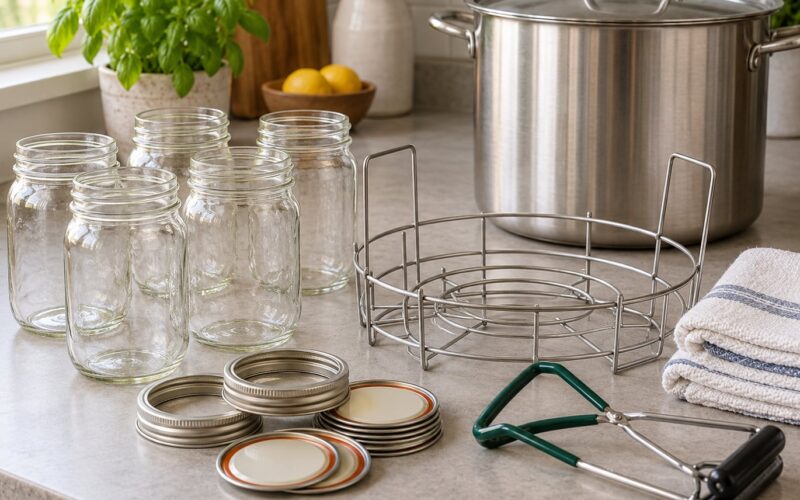
Gather everything before you start pulling jars apart, because once you are handling a batch you want your hands free and the work surface clear.
- The tested recipe you actually used from the National Center for Home Food Preservation, USDA or a university extension service. Not a version you adjusted from memory.
- Canning jars made for home canning, with intact rims and no chips or cracks.
- Matching new two-piece lids, the flat lid with the sealing compound plus its screw band. Each flat lid is single use.
- A jar lifter and a jar lifter tong so you are not tipping hot jars onto a towel.
- Clean towels or a washcloth for setting jars down, plus a paper towel and a little white vinegar for wiping rims.
- A headspace gauge, funnel and bubble remover if you filled the jars yourself.
Also worth having nearby: your canner’s gauge or manual, a timer you trust, and a notebook or your phone for recording the food, jar size, headspace and processing time. Half of the seal problems I see trace back to a misremembered processing time, and writing it down takes ten seconds.
Step-by-Step
Why did my canning jars not seal? Check for these causes
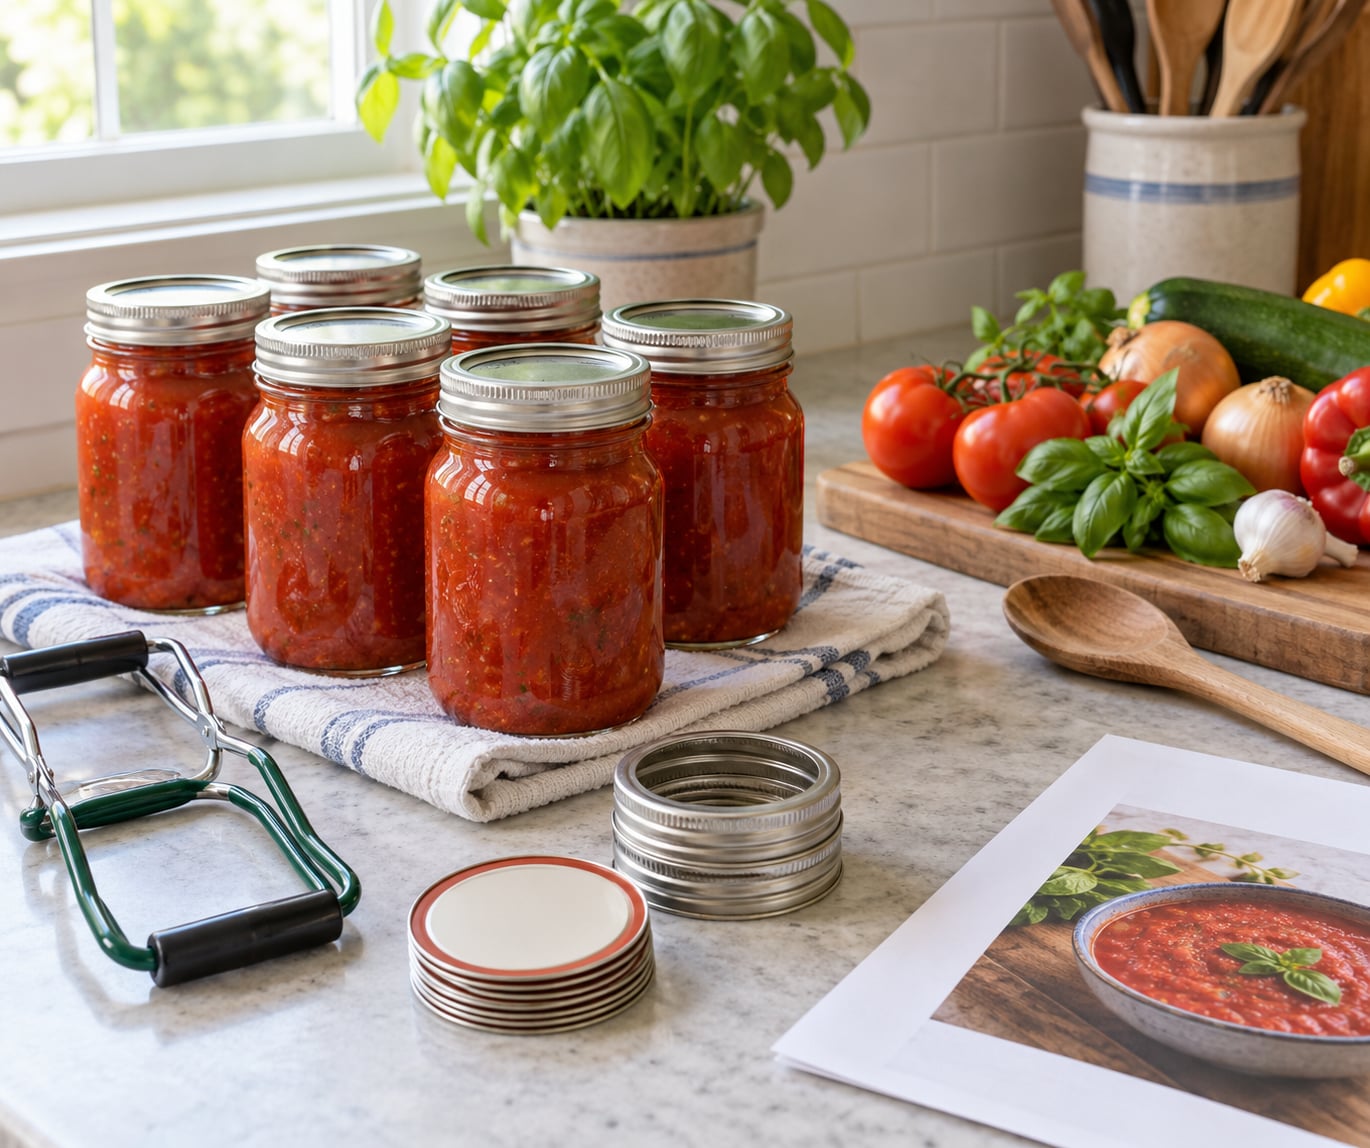
Cool the jars undisturbed, then press the center of each flat lid with a fingertip. A properly sealed lid feels firm and does not move. A lid that pops up, tilts, or makes a clicking sound is not sealed, no matter what the jar looks like on the shelf.
Look for four things before you decide anything. First, a properly sealed flat lid is slightly dished, pulled down in the middle by the vacuum. A lid that is flat or bulged upward did not seal. Second, the seal indicator disc, if your lids have one, should be down. Third, the rim itself should be even all the way around, with no chip, nick, or burr you can catch a fingernail in. Fourth, a jar that sealed and then went flat weeks later in storage is a different problem entirely.
| What you see or feel | Likely cause | Fix for next batch |
|---|---|---|
| Lid pops up when pressed, no concave center | Rim had food, oil or residue on it | Wipe the rim with a vinegar-dampened paper towel, then a dry one, before screwing the band on |
| Lid tilts or rocks, jar rim uneven | Chipped or cracked glass rim | Inspect every rim in good light before filling; discard damaged jars |
| Lid sealed on the jar but popped off in storage | Cooling area with a draft, or jars jostled | Cool on a towel in a single layer, away from vents and doors |
| Water spots or brine around the lid edge | Not sealed, so liquid moved during cooling | Treat as unsealed. Refrigerate or reprocess, do not store on a pantry shelf |
| Sealed fine, then the lid went flat weeks later | Vacuum lost after storage, often crowning from too much headspace or a heavy food | Check headspace accuracy and use a processing time tested for that food |
| Several jars in one batch failed, water bath batches are fine | Pressure canning run did not hold full pressure for the full time, or the vent was blocked | Follow the canner manual exactly, check the vent and gasket each use, and adjust for altitude |
If you are dealing with an electric pressure canner and keep seeing failures while your water bath pickles seal perfectly, you are not doing anything wrong. Canners on r/Canning report the same split: measured headspace, vinegar-wiped rims, brand-new lids, and still one or two jars out of every batch fail in the electric canner while water bath batches never fail. That pattern points at the canner, not your technique.
Confirm the recipe and processing method
A jar can seal perfectly and still be unsafe, because a seal only proves air stayed out. It does not prove the food was processed long enough to destroy the organisms a low-acid food can harbor. Check your recipe against a tested source for the specific food, the specific jar size and the specific method.
Six things to verify:
- Acidity. Fruits, pickles and jams are high acid and rely on water bath processing. Vegetables, meat, soups, beans and low-acid sauces need pressure canning.
- Processing time for that jar size and method, counted from when the water returns to a rolling boil or when the canner reaches and holds full pressure.
- Pressure and altitude. Most pressure canner recipes call for 10 to 11 pounds of pressure at sea level, and for higher altitudes the required pressure goes up.
- Headspace. Too much air means food may go into the headspace, and too little means food can be forced under the seal and spoil quietly.
- Jar size. A pint and a quart of the same food do not get the same processing time.
- Fill level and packing. Some foods must be loosely packed, and some must be packed firmly.
| Food type | Typical headspace | Method |
|---|---|---|
| Jams and jellies | 1/4 inch | Water bath or hot water |
| Fruits, pickles, relishes, acidified sauces | 1/2 inch | Water bath |
| Plain vegetables such as green beans, corn, potatoes | 1 inch | Pressure canning |
| Meat, poultry, soups, dried beans | 1 to 1.25 inches | Pressure canning |
These are the figures most often quoted, but the recipe in front of you wins if it disagrees. Also check the jar you filled against the jar you processed: a wider jar holds more food for the same processing time, and a shorter jar does not.
Check the jars, rims, lids, and counter
Run a finger around the top rim of every jar you processed. A nick, a burr or a flat spot means the flat lid cannot make a continuous seal, and no amount of tightening fixes that. The same applies to jars with a thread that no longer catches the screw band properly.
Then look at the lids. The flat lid carries a ring of dried sealing compound, and that compound is what bonds to the glass. It is designed for one batch only. If the compound looks dull, dry, cracked, or has a gap in it, throw the lid away. A lid used once will not seal again, and no jar will reseal after a lid has failed. That is a myth canners repeat for years.
Two more things catch people. A lid from a different brand of jar can work but is not a good idea when you are already troubleshooting. And a grocery-store jar that held mayonnaise or pickles is not a canning jar, because the rim dimensions and the glass were not made for this process.
The counter matters more than it sounds. Lids that land on a dusty, gritty or greasy surface pick up the debris that stops the seal, so cool jars on a folded towel in a single layer rather than on bare countertop.
Handle unsealed jars safely
Sort the batch only after the jars have cooled completely, ideally 12 to 24 hours. Any jar that fails the press test at that point is unsealed, and an unsealed jar has not been safely preserved.
- Reprocess within 24 hours if the food is a high-acid food such as fruit, pickles or jam, and if the recipe does not call for extended cooking that would ruin the texture. Take off the flat lid, check the rim, put on a brand-new lid and a band, and process for the full tested time.
- Refrigerate anything you are unsure about, and treat refrigerated pickles and fruit as food that keeps about two to four weeks rather than a pantry staple.
- Freeze if the food freezes well. Leave about half an inch of space for expansion.
- Discard if you see mold, cloudiness, fizzing, an off smell, or a swollen or leaking jar.
Low-acid foods such as vegetables, meat and soups should not be reprocessed on a guess. Overcooking degrades the food, and if you were not sure the original batch reached full pressure for the full time, the safest path is refrigeration or disposal.
Do not retighten the bands on a cooled jar. That can force food particles into the sealing area and create a false impression of tightness while the lid is still not sealed. Do not press the lids while they are warm, and do not put unsealed jars in the pantry even for a few days to see what happens.
Prevent seal failures in the next batch
Start with the jars, not the food. Run a finger around each rim before you fill anything, and set aside any jar with a chip.
Measure headspace with a gauge rather than guessing, and remember that fruit and vegetables settle as you process them, so you may need to top up after about ten minutes. Wipe every rim with a vinegar-dampened paper towel and then a dry one. Apply a new flat lid and screw the band down until it is fingertip tight, just past resistance, so steam and air can still escape during processing.
Process for the full time printed in a tested recipe, and treat a jam-packed pressure canner that comes up to pressure quickly as a warning sign that a vent or gasket is letting steam out early. Wipe rims once more after processing, then let jars cool undisturbed for 12 to 24 hours.
Some tested recipes for certain foods call for inverting jars during the cooling period, but you follow the recipe in front of you, not a general rule about turning jars upside down.
Common Mistakes
- Reusing a flat lid. The sealing compound is single use. Fix: a brand-new flat lid for every single jar, every batch, no exceptions.
- Using one-piece metal or glass lids. These are storage lids with no sealing compound. Fix: two-piece canning lids only.
- Skipping the recipe or adapting one from memory. Fix: pull up the tested recipe from NCHFP, USDA or an extension service before you start, and write down the processing time.
- Using grocery-store jars. Fix: jars made for home canning.
- Packing the wrong headspace. Too much air in a jar of fruit can lead to loss of vacuum later on. Fix: measure it.
- Screwing the band down tight. A tight band restricts the escape of air and can force food under the lid. Fix: fingertip tight.
- Testing jars during cooling. Fix: leave them alone for 12 to 24 hours.
- Retightening bands after processing. Fix: never loosen or tighten a band on a processed jar.
- Oven canning or open-kettle canning. Neither is a safe method, and both are commonly suggested online. Fix: use a tested water bath or pressure canning method.
Frequently Asked Questions
How do I know whether a canning jar sealed?
A sealed jar has a flat lid that is slightly dished in the center, and the seal indicator disc, if the lid has one, is down. Press the center of the lid with one fingertip: it should feel firm and stay put with no movement, clicking or popping. Wait 12 to 24 hours after processing before testing, since a jar that is still warm can read differently. A press test tells you the lid is holding, but it does not confirm the food was processed long enough.
Can I reprocess jars that did not seal?
You can, and for high-acid foods like fruit, pickles and jam it is usually the best option. Remove the flat lid, inspect and wipe the rim, fit a brand-new lid and band, and process for the full tested time again. Do this within about 24 hours. Do not reprocess vegetables, meat or soups on a guess, because overcooking ruins the food and the original run may not have been long enough to begin with.
Why did my Mason jar lid pop after processing?
The sealing compound did not bond to the rim, usually because of food or residue on the glass, a chip in the rim, too much or too little headspace, a band tightened past fingertip tight, a lid that had already been used, or a batch that was underprocessed. A lid that pops off later in storage, rather than right away, often points to too much headspace in a heavy food that lost its vacuum after cooling.
Do lids have to be upside down while canning jars cool?
No, not as a general rule. Most tested water bath recipes have you leave jars right side up for 12 to 24 hours, because the seal forms on contact with the flat lid as the jar cools. A few specific recipes call for inversion. Follow the recipe you used rather than turning jars because you have heard it helps, since inverted jars can hold against the lid instead of sealing to the rim.
Can I use old lids with new canning jars?
You can reuse the screw band if it is not bent, but the flat lid with the sealing compound is single use. Once it has been processed, that compound will not bond a second time, and the jar cannot reseal after a lid has failed. Reusing bands is fine. Reusing flat lids is why people believe resealing works when it does not. Save the bands, discard the flat lids.
How should I store unsealed jars?
Refrigerate them, or freeze the food if it freezes well, and do not put them in the pantry. An unsealed jar has not been safely preserved, so treat it like fresh food with a short date on it. Acidified pickles and fruit usually hold about two to four weeks in the fridge. Discard anything with mold, cloudiness, fizzing, an off odor, or a swollen or leaking jar rather than tasting it to find out.
If you are standing at a counter with a fresh batch right now, the first move is simple: leave the jars untouched for 12 to 24 hours, then press each lid and sort the batch. Set the unsealed jars apart, and pull the tested recipe for what you actually canned so you can compare processing time, headspace and method against what you did.
This article is general information about home canning. For safety decisions about a specific batch, follow a tested recipe from the National Center for Home Food Preservation, USDA or your state extension service, and contact your extension office when you are unsure whether a jar was processed correctly.