To blanch vegetables before freezing, drop them into vigorously boiling water for about 1 to 5 minutes, then plunge them straight into ice water for the same length of time to stop the cooking. Freeze them dry, packed and labeled. The whole job takes about 30 minutes once the water is boiling.
Blanching is a quality step, not a safety rule. Skipping it will not make your vegetables unsafe to eat, but they come out of the freezer limp, dull and watery. The National Center for Home Food Preservation and Cooperative Extension services both recommend it for anything you plan to cook from frozen.
It matters most when you are dealing with a surplus: market corn, a basket of green beans, the last of the garden tomatoes. You have roughly 24 hours of peak flavor before the produce starts turning toward mush, and blanching locks in what you brought home.
Table of Contents
- What You Need
- Step-by-Step
- 1. Prep the vegetables
- 2. Bring the water to a rolling boil
- 3. Prepare the ice bath while the water heats
- 4. Blanch the vegetables
- 5. Shock in ice water for the same amount of time
- 6. Dry, pack, label and freeze
- How long to blanch vegetables before freezing
- How to tell when vegetables are blanched
- Cooling, draining, and packaging for freezing
- Common mistakes when blanching vegetables
- Vegetables You Should Not Blanch Before Freezing
- Tips for the Best Results
- Frequently Asked Questions
- Do you boil the water first when blanching vegetables?
- Do you put salt in water when blanching vegetables?
- How long should I blanch vegetables before freezing?
- What vegetables do you not have to blanch before freezing?
- What are the most common mistakes when blanching vegetables?
- How long do blanched frozen vegetables last, and is blanching required for safety?
- Conclusion
What You Need
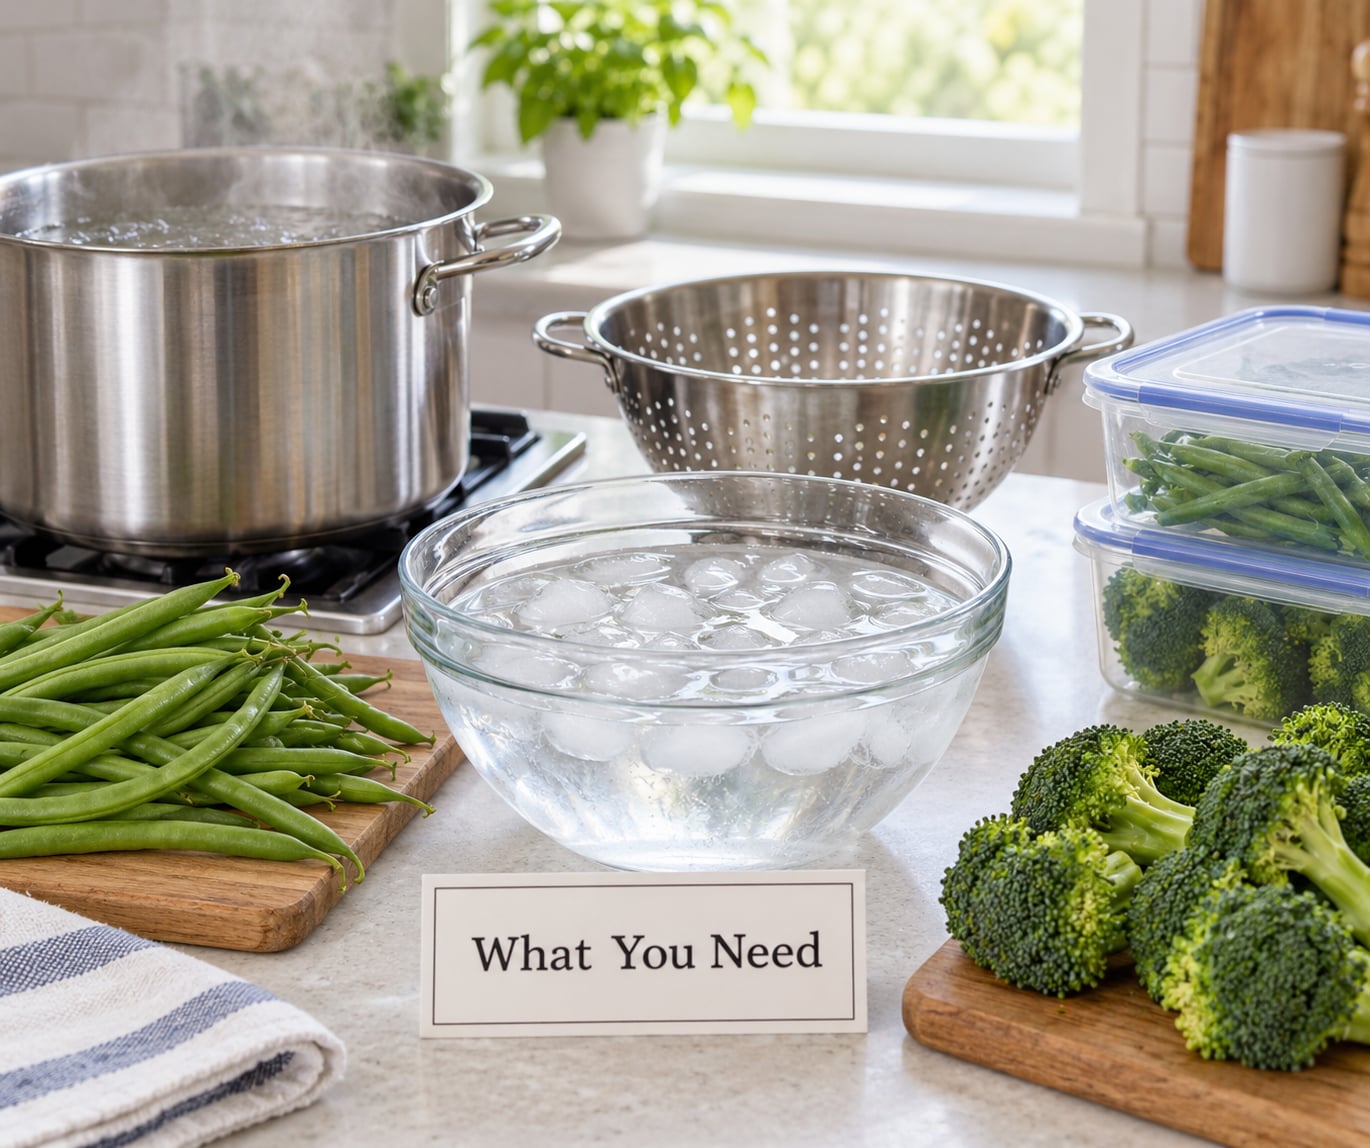
None of this is specialized equipment. If you have a kitchen with a stove, you already own most of it.
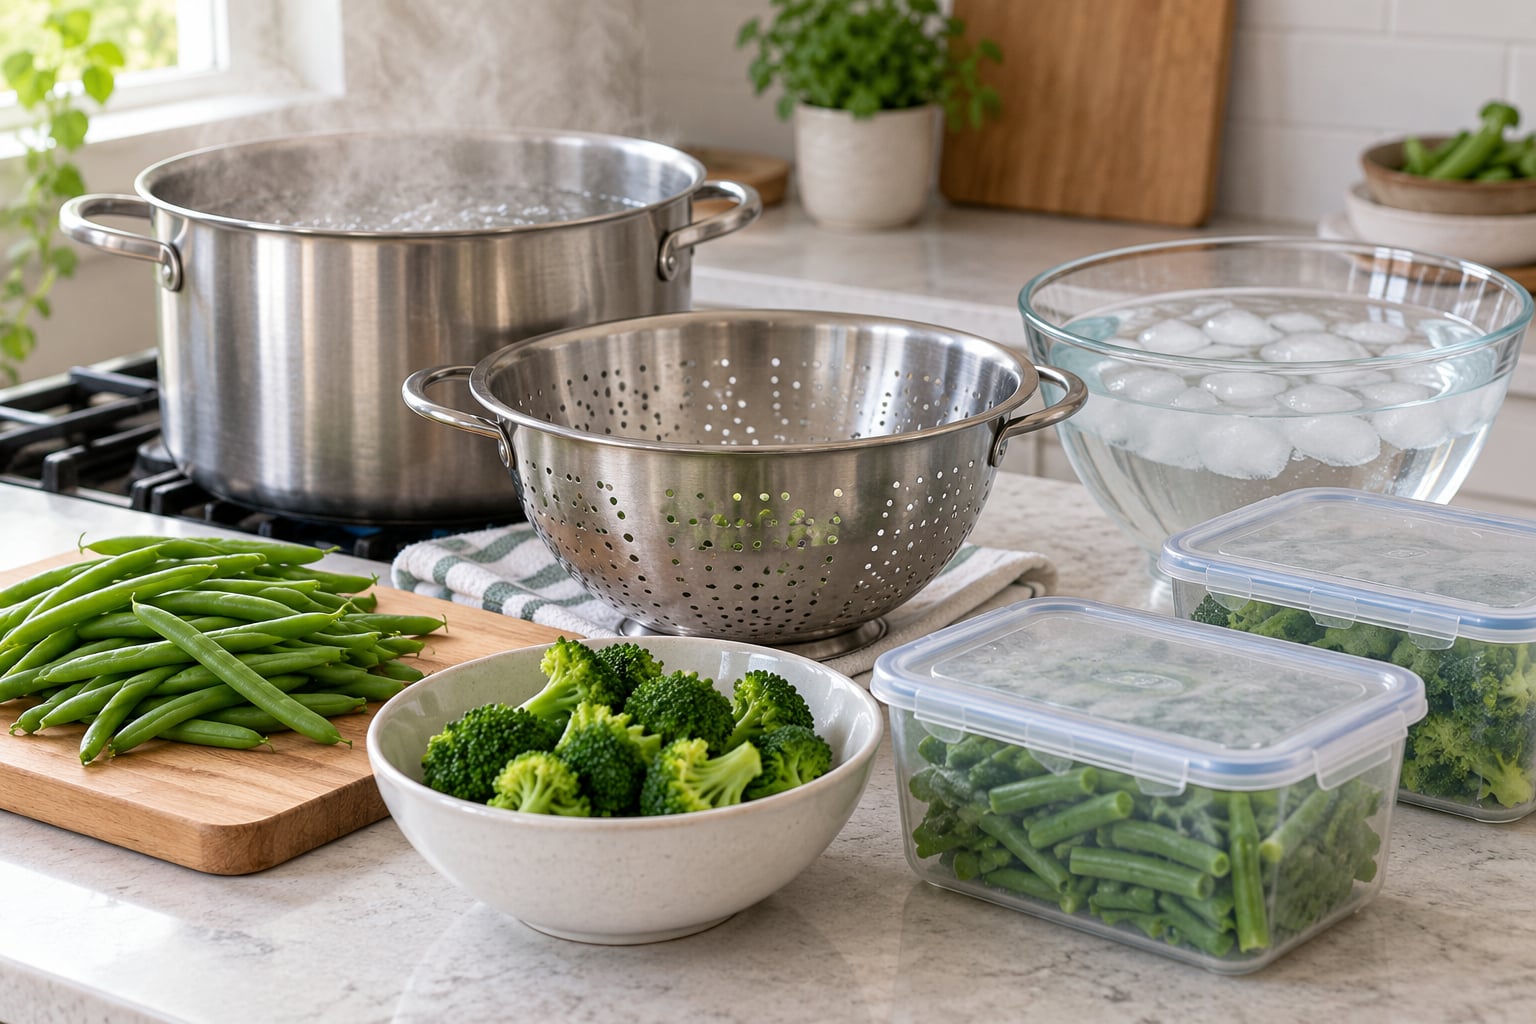
- A large pot with a heavy base. It needs to hold the vegetables loose, not packed shoulder to shoulder.
- A spider or large slotted spoon for lifting vegetables out without draining a quart of water into the sink.
- A colander for draining.
- A big bowl of ice and cold water for the shock. Have enough to submerge everything you are about to blanch.
- Freezer bags or airtight containers for packing.
- A marker and masking tape or label stock for dates.
- Fresh vegetables, washed and trimmed.
On water volume, the standard guidance from extension services is about 1 gallon per pound of vegetables. More water keeps the temperature up when you add the produce. A pot too full of water takes forever to boil, and a pot too full of vegetables drops below a rolling boil and cooks unevenly.
On salt: skip it. Salt in the blanching water is a widespread habit, and it does brighten the color of greens slightly, but it also seasons the vegetables in ways you have no control over later. Ice water already does the work that salt was being asked to do.
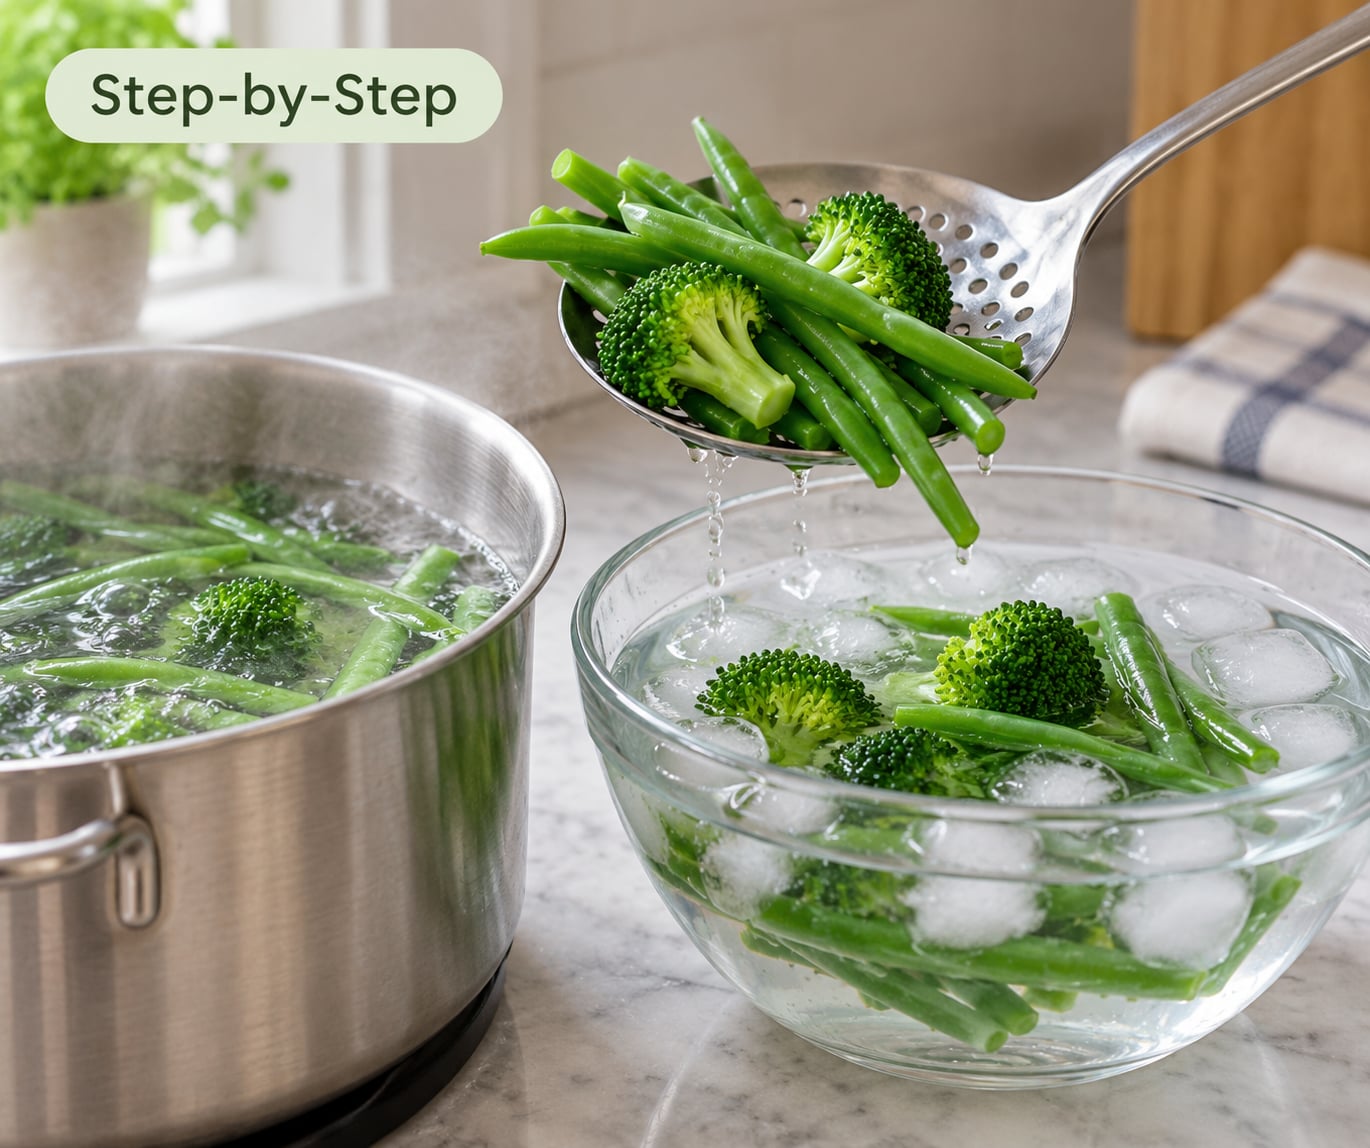
Step-by-Step
1. Prep the vegetables
Wash them, trim the woody ends and cut everything into pieces of roughly the same size. Uniform cuts are the single biggest factor in whether a batch comes out even. Beans of different lengths cook at different rates, and the thin ones turn to paste while the thick ones are still raw.
Keep batches small. Anything you can comfortably lift out in one pass is the right amount, and that is usually well under half the pot.
2. Bring the water to a rolling boil
Yes, you boil the water first. Water that is merely warm, or at a lazy simmer, cooks vegetables unevenly and does not inactivate enzymes as reliably as a full rolling boil. Heat on high, uncovered, until the surface is breaking into big bubbles and stays that way after you stir it.
3. Prepare the ice bath while the water heats
Fill a large bowl with cold tap water and a full layer of ice. Doing this while the pot heats saves you several minutes of sitting around, and it is the step most people rush when they are working through a big basket of produce.
4. Blanch the vegetables
Lower the vegetables into the boiling water and start your timer the moment they go in. Do not crowd the pot; if the water stops boiling, you have added too much at once. Work light vegetables first, such as cauliflower and green beans, so the water does not tint darker ones like beets or red cabbage.
5. Shock in ice water for the same amount of time
Move the vegetables into the ice bath immediately and leave them for as long as you blanched them. Three minutes in boiling water, three minutes in ice. That equal-time rule is the piece beginners miss, and it is the reason vegetables come out with the texture they were supposed to keep.
The residual heat in a vegetable is enough to keep cooking it. Without the shock, green beans that were perfectly crisp coming out of the pot sit limp within a minute of draining.
6. Dry, pack, label and freeze
Drain in a colander, then spread the vegetables on a towel or paper towel to remove the surface water. Squeeze the air out of freezer bags before sealing, or leave a small amount of headspace above the vegetables in a rigid container. Label with the vegetable and the date, then freeze at 0°F or below.
How long to blanch vegetables before freezing
Most vegetables take between 1 and 5 minutes. The clock starts when the produce hits the water, and it does not matter that the water is still boiling hard after the vegetables go in.
Smaller pieces cook faster, so a carrot cut into thin sticks needs a shorter time than the same carrot in thick coins. Altitude matters too: water boils at a lower temperature up in the mountains, and extension guidance recommends adding another 30 to 60 seconds to the times below above about 5,000 feet.
| Vegetable | Blanch time | Cut size and notes |
|---|---|---|
| Asparagus | 2 to 3 minutes | Trimmed spears, 3 inch lengths |
| Broccoli | 3 minutes | Florets about 1.5 inch across |
| Brussels sprouts | 3 minutes | Halved or whole, trimmed |
| Beet greens | 2 minutes | Leaves and stems, packed loosely |
| Cabbage | 3 minutes | Wedges or shredded strips |
| Carrots | 5 minutes | Slices or sticks about 1/4 inch thick |
| Cauliflower | 3 minutes | Florets about 1.5 inch across |
| Chard | 2 minutes | Stems and leaves separated, stems added first |
| Collard greens | 2 minutes | Torn leaves, stems removed |
| Corn on the cob | 7 to 11 minutes | Whole ears; small ears need closer to 7 |
| Corn kernels | 4 minutes | Cut from the cob, or loose kernels |
| Green beans | 3 minutes | Snapped ends, whole beans |
| Kale | 2 minutes | Torn leaves, stems removed |
| Kohlrabi | 3 minutes | Slices 1/2 inch thick |
| Leeks | 3 minutes | White and light green, sliced |
| Lima beans (small) | 3 minutes | Shelled, or pods for very young beans |
| Mushrooms | Steam 4 minutes | Boiling water makes them spongy; steam or skip entirely |
| Okra | 3 minutes | Whole pods, 4 inch or shorter |
| Onions | 3 minutes | Small whole onions, peeled |
| Parsnips | 5 minutes | Slices or sticks |
| Peas, shelled | 90 seconds to 2 minutes | The shortest blanch of the common vegetables |
| Pumpkin | 3 minutes | Slices 1/2 inch thick, peeled |
| Spinach | 2 minutes | Torn leaves, packed loosely |
| Squash, summer | 3 minutes | Zucchini and yellow squash, 1/2 inch slices |
| Squash, winter | 3 minutes | Acorn or butternut, 1/2 inch slices |
| Turnips | 3 minutes | Cubes 1/2 inch |
| Watercress | 2 minutes | Torn stems and leaves |
How to tell when vegetables are blanched
You are looking for vivid color and a crisp-tender bite. Green beans turn a brighter green, broccoli goes from dull to almost luminous, carrots look cooked through without bending. Mushy, drooping edges mean you have gone a minute or two too far.
Pull one piece out and taste it rather than cooking the whole batch blind. It should still have a snap. Blanching is meant to be underdone, since the vegetable cooks a little more during the shock.
If you are blanching greens like spinach or kale, stop as soon as they wilt, which takes under two minutes. Stems are slower than leaves, so add them first or drop the woody rib entirely.
Cooling, draining, and packaging for freezing
Give the vegetables the full ice bath time you blanched them. Adding more ice keeps the bath colder, which is the whole point; tepid shock water stops the cooking halfway.
Drain and dry thoroughly. Ice crystals that form inside a sealed bag come from surface water, and they are the main cause of freezer burn. Squeeze the air out of a freezer bag with your hands, seal it, then press flat so the pieces do not clump.
Portion for how you actually cook. Single-serving bags beat one giant block, because you only open the bag once and the rest of the batch stays protected. Leave about half an inch of headspace above the vegetables in rigid containers, since frozen food expands.
Label everything with the vegetable and the date. You will not recognize frozen squash from frozen pumpkin in a bag of no names, and dates matter when you are sorting through the freezer looking for something from last summer.
Common mistakes when blanching vegetables
- Crowding the pot. A big mass of vegetables drops the water temperature, and the pieces sitting in the cooler water cook too slowly. Fix: blanch one batch at a time, no more than a third of the pot.
- Walking away and coming back in five minutes. Long, slow blanching costs you flavor and vitamins. Fix: set a timer and stay at the stove.
- Letting the vegetables sit on the board while you prep the next batch. They cook themselves dry. Fix: blanch and cool one batch before starting the next.
- Skipping or rushing the ice bath. This is the mistake that defeats the whole process. Fix: use plenty of ice and give it the same time as the blanch.
- Freezing vegetables that are still wet. Wet produce freezes into one solid block with crystals through it. Fix: drain, pat dry, then pack.
- Using produce that is already past its peak. Blanching rescues color and texture, not flavor. Fix: blanch within a day of buying or picking, while the vegetables still taste like something.
- Not labeling. Fix: one label strip, written before the bag goes into the freezer, not a guess later.
Vegetables You Should Not Blanch Before Freezing
Some vegetables come out of a blanching water worse than they went in. Skip the pot for these and freeze them raw on a tray first, then bag them once they are solid:
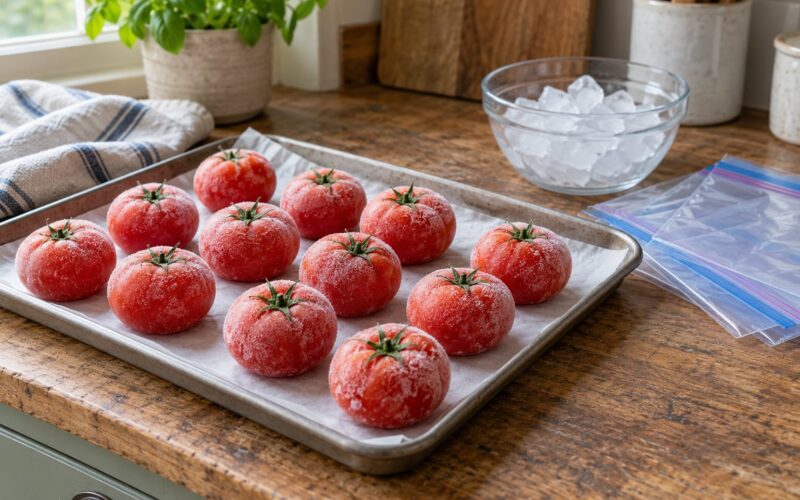
- Tomatoes, both ripe and firm. Their texture turns to mush once thawed, and cooking them down into sauce or roasting them first freezes far better.
- Cucumbers and pickles. Water does them no favors, and they are usually destined for pickling anyway.
- Radishes, trimmed of greens.
- Rhubarb, cut into 1 inch lengths.
- Winter lettuce and salad greens such as romaine or iceberg. Spinach and kale, which blanch well, behave very differently from crisp salad types.
- Whole potatoes and sweet potatoes. Cook them, then freeze them. Raw starchy potatoes do not hold their texture.
- Bell peppers and hot peppers. Raw freezing keeps their crunch; blanching softens them.
If you are working with squash and want it purely for baking, blanching costs you very little. But if the plan is to fry zucchini, leave it raw.
Tips for the Best Results
Cut everything the same size. This matters more than any other habit in the process. A batch of uniformly cut beans cooks evenly and drains evenly.
Buy or pick at peak and process the same day. Blanching locks in quality, but it cannot bring back sweetness that has already left a vegetable sitting in a warm market crate for three days.
Adjust for altitude. Above roughly 5,000 feet, water never reaches 212°F. Extension services suggest adding 30 to 60 seconds to every blanch and checking a piece early rather than late.
Plan for big harvests in batches. If you have 40 pounds of garden beans, that is roughly ten blanching sessions, not one enormous pot. Speed up by heating two pots while you cool the first batch. For very large quantities, blanching in a steamer basket set above boiling water saves the hauling and keeps batches separate.
Flash freeze before long storage. Spread packed vegetables on a tray for an hour or two, then move them to the real spot in the freezer. Firm pieces pack better and thaw faster.
Know when quality drops. Frozen vegetables hold their best quality for roughly 8 to 12 months at 0°F or below. After that they stay perfectly safe, just softer and less bright. If a bag has white or greyish dry patches or smells of the freezer, that is freezer burn, and there is no way back from it.
Thaw once. Cook or use frozen vegetables from the freezer rather than letting them sit out, and never refreeze produce you have already thawed. Refreezing costs you texture a second time.
Frequently Asked Questions
Do you boil the water first when blanching vegetables?
Yes. Bring the water to a full rolling boil before the vegetables go in, then start your timer as they enter. Water at a lazy simmer cooks unevenly and does not inactivate enzymes as reliably as a hard boil. Bring the pot to heat and fill your ice bath at the same time, since the boiling step is the slowest part of the whole process.
Do you put salt in water when blanching vegetables?
You can, but most home cooks skip it. A tablespoon of coarse salt in the pot brightens green vegetables slightly, which is where the habit started. It also seasons the produce in ways you cannot control once it is frozen and reheated months later, and the ice bath already delivers the bright color the salt was meant to help with.
How long should I blanch vegetables before freezing?
Most vegetables need between 1 and 5 minutes in vigorously boiling water. Small, finely cut pieces cook fastest, so sliced carrots can need less time than thick chunks. Timing starts when the vegetables enter the water, and you should stop while they still have a snap, since they cook a little more during the ice bath. Use the timing chart above for specific crops.
What vegetables do you not have to blanch before freezing?
Skip the blanching step for tomatoes, cucumbers, radishes, rhubarb, crisp salad lettuces, bell and hot peppers, and whole potatoes or sweet potatoes. These are best frozen raw or, in the case of potatoes, after cooking. Round or quick-freeze them on a tray first, then transfer to bags once they are solid so they do not clump together.
What are the most common mistakes when blanching vegetables?
The four that ruin results are overcrowding the pot, blanching too long, skipping or rushing the ice bath, and freezing vegetables that are still wet. Crowding drops the water temperature, over-blanching costs flavor and color, a weak shock leaves vegetables cooking as they cool, and surface moisture turns into ice crystals and freezer burn. Small batches and a full ice bath solve most of it.
How long do blanched frozen vegetables last, and is blanching required for safety?
Frozen vegetables hold their best color, flavor and texture for roughly 8 to 12 months when stored at 0°F or below, after which they remain safe to eat but soften. Blanching is a quality step, not a safety requirement. Freezing unblanched vegetables will not make anyone sick; it simply means limp, dull, watery vegetables once they thaw.
Conclusion
The whole method comes down to one sequence: wash and cut the vegetables evenly, bring a well-filled pot to a rolling boil, blanch for the time on the chart, give them the same number of minutes in the ice bath, then dry, pack and label before freezing at 0°F or below.
Start with one small batch. Blanch a handful of green beans, taste one straight after the shock, and adjust your instinct by a few seconds from there. After that, the timing becomes something you do by feel rather than by reading.