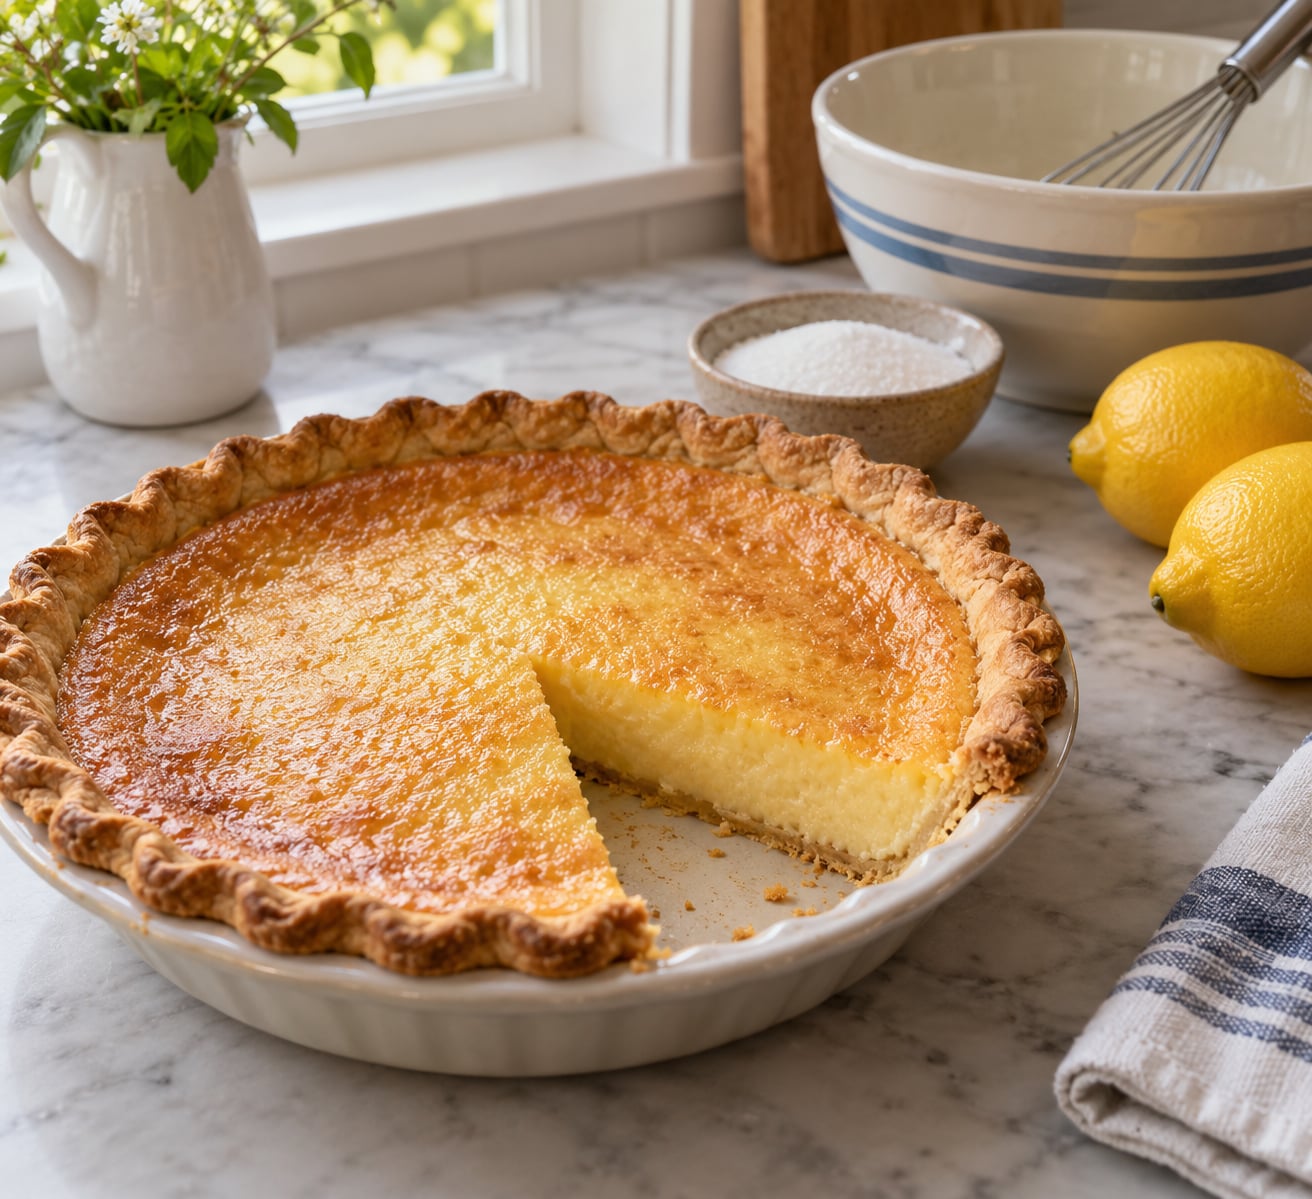
Buttermilk pie is a Southern custard pie: eggs, sugar, buttermilk, melted butter, a little flour and lemon juice poured into a pastry crust and baked until the center just barely holds together. Knowing how to make buttermilk pie comes down to two things, a flaky crust and knowing when to pull it out while the filling still wobbles. Prep takes about 15 minutes, the bake runs 45 to 55 minutes at 350F, and the finished pie can sit in the fridge overnight before anyone touches it.
It is also called sugar cream pie, and bakers everywhere call it chess pie’s close cousin, which explains why so many recipes get crossed over. Farmers and their wives leaned on this one during the Depression and wartime rationing because it used what was on hand, so older boxes list it as desperation pie. Nothing about it is fussy, which is exactly why it keeps turning up on holiday tables, at church potlucks and on bake sale tables.
Updated for October 2026
Table of Contents
- What You Need
- Equipment
- For the Crust
- For the Buttermilk Filling
- Why Each One Earns Its Place
- No Buttermilk? Substitute It
- How to Make Buttermilk Pie Step by Step
- Prepare the Pie Plate and Oven
- Make the Flaky Pie Crust
- Mix the Buttermilk Filling
- Bake Until the Filling Is Set
- Cool and Finish the Pie
- Serve and Store the Pie
- Common Mistakes
- Frequently Asked Questions
- Should buttermilk pie filling be baked?
- Can I make buttermilk pie without lemon?
- Why is my buttermilk pie runny?
- How do I keep the top of a buttermilk pie from burning?
- How long does buttermilk pie keep in the refrigerator?
What You Need
The ingredient list is short and nearly everything is already in your pantry. What matters more is temperature: cold butter for the crust, room temperature eggs for the filling, and a chilled pie plate so the crust starts cooking the second it hits the oven.
Equipment
- 9-inch glass or metal pie plate
- Rolling pin and a floured work surface
- Mixing bowl, whisk or fork, and a sieve
- A rimmed baking sheet or a roll of foil for a crust collar
- Cooling rack wide enough to hold the pie flat
For the Crust
- 1 1/2 cups all-purpose flour
- 1/2 teaspoon salt
- 8 tablespoons cold unsalted butter, cut into small cubes
- 1/3 cup solid vegetable shortening
- 3 to 4 tablespoons ice water
For the Buttermilk Filling
- 3 whole eggs plus 1 extra yolk
- 3/4 cup granulated sugar
- 1/2 cup unsalted butter, melted and cooled for 5 minutes
- 1 cup full-fat buttermilk
- 1 tablespoon fresh lemon juice
- 1 teaspoon vanilla extract
- 2 tablespoons all-purpose flour
- 1/2 teaspoon freshly grated nutmeg
- 1/4 teaspoon ground cinnamon
- 1/4 teaspoon fine salt
Why Each One Earns Its Place
The eggs are the structure: as the pie bakes, their proteins set into a soft custard. Flour thickens the buttermilk so the filling can be sliced instead of spooned, the melted butter gives richness without creaming, and lemon juice cuts the sugar so the pie reads bright rather than cloying. Nutmeg and cinnamon are the old-fashioned warm note, and a pinch of salt keeps the whole thing from tasting flat.
No Buttermilk? Substitute It
Stir 1 tablespoon white vinegar or lemon juice into 1 cup of whole or 2 percent milk, then let it stand 10 minutes until it looks slightly thick and smells tangy. Use 2 tablespoons vinegar if you want the sharpest edge, and yes, use the full amount of milk. The pie still works with the substitute, it just leans a little more lemony, so hold the lemon juice at 1 teaspoon in that case.
Take the eggs out of the fridge about 30 minutes before you mix the filling, and put the pie plate in the freezer while you make the dough. A cold plate is the simplest insurance against a soggy bottom.
How to Make Buttermilk Pie Step by Step
Here is the whole method in six moves: chill the plate and heat the oven, build and chill the dough, whisk the filling smooth, bake it tented until it barely jiggles, let it cool completely so the custard finishes setting, then slice and store. Everything else is detail.
Prepare the Pie Plate and Oven
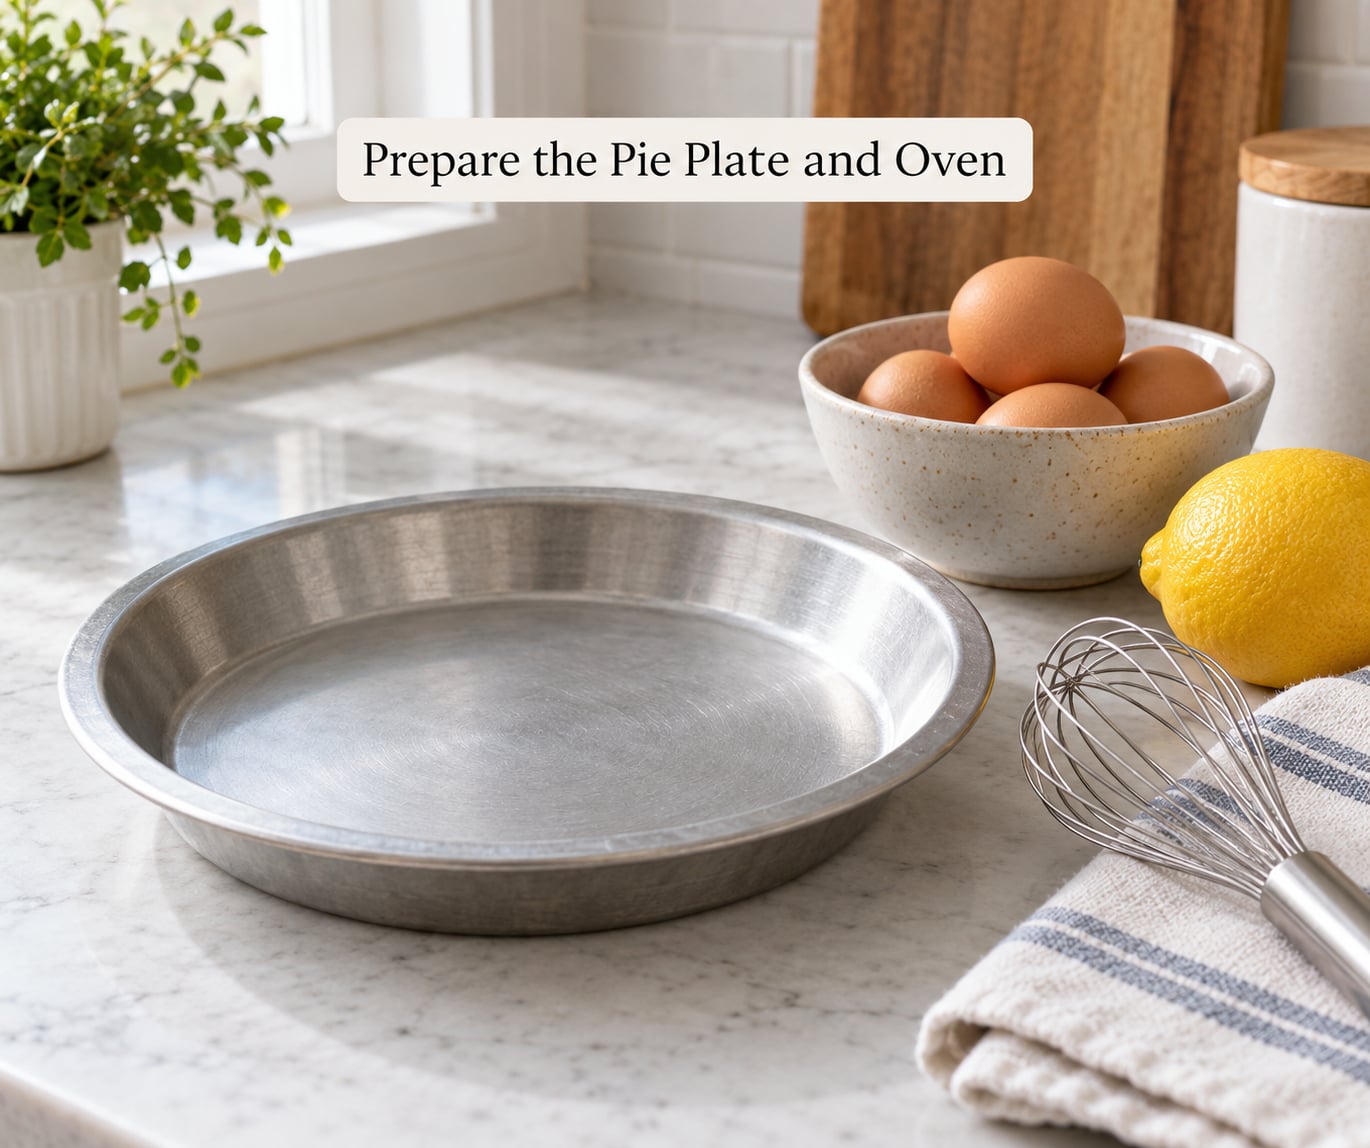
Set the oven rack in the lower third of the oven and heat it to 350F. Chilling the plate is optional but I do it: 20 minutes in the freezer keeps the butter in the crust solid long enough to set the shape. Set the eggs on the counter too, because cold eggs whisk unevenly and give you lumps in the finished filling.
Make the Flaky Pie Crust
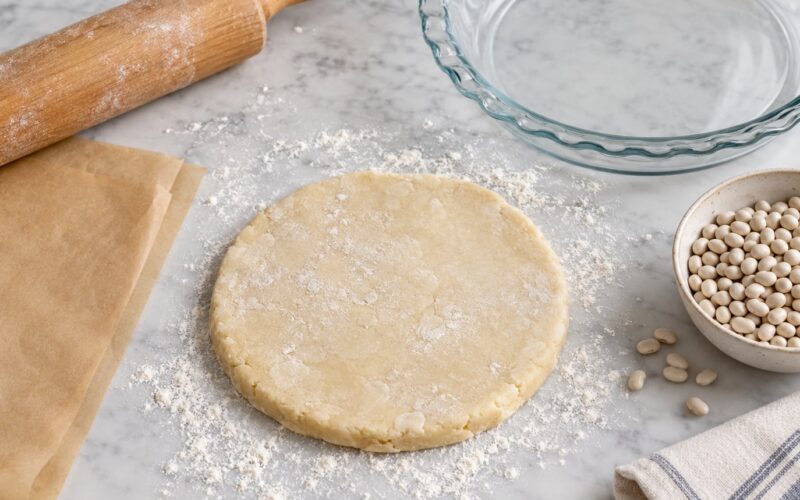
Whisk the flour and salt together in a bowl. Cut in the cold butter and shortening with a pastry cutter or the back of a fork until the mixture looks like coarse crumbs with a few pea-sized pieces still in it, then drizzle in ice water a tablespoon at a time and stir just until it clumps. The dough should hold together when you pinch it and still crumble when you break it; that is the cue for tender and flaky rather than tough.
Flatten the dough into a disk, wrap it, and chill it 30 minutes. Roll it from the center out to a 12-inch circle on a well-floured surface, rotating as you go so it does not thin on one side. Ease it into the chilled plate instead of stretching it, press down gently so no air pockets hide under the dough, fold the overhanging dough under itself at the rim, and flute or crimp the edge.
Chill the shaped crust again for 15 minutes while you mix the filling. A cold shell bakes up tall and flaky with no shrinkage in the rim, a warm one slumps.
Mix the Buttermilk Filling
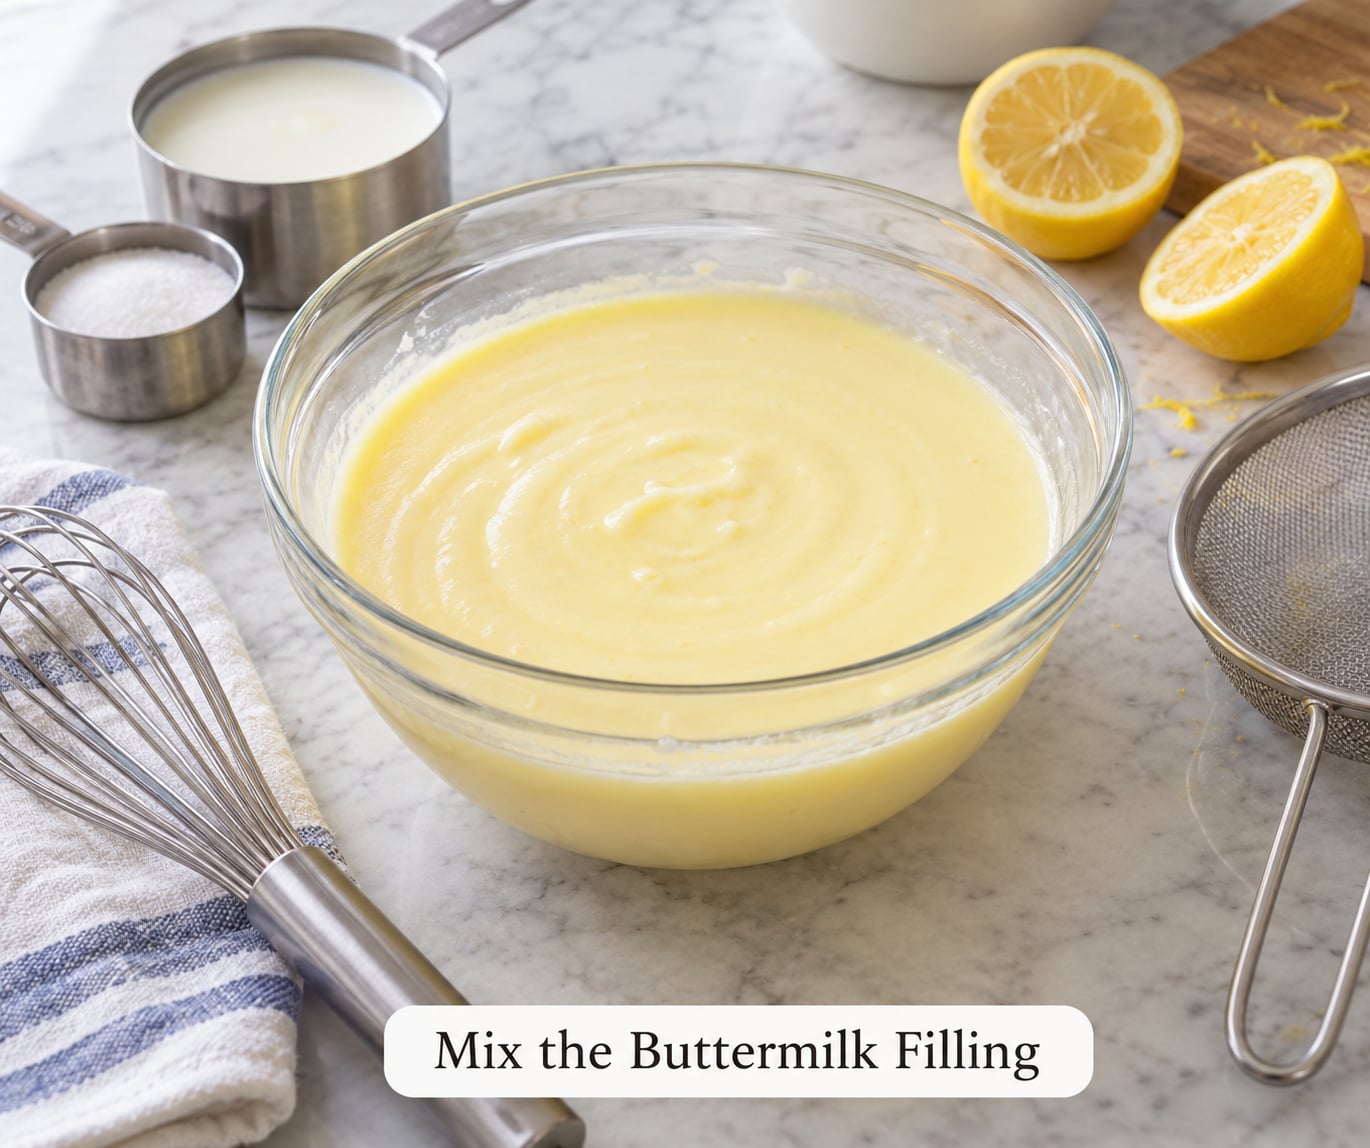
Whisk the 3 whole eggs and the extra yolk in a bowl until foamy and completely broken up, about 60 seconds. Stream in the sugar while whisking and keep going until no graininess remains at the bottom. Stir in the melted butter, buttermilk, vanilla, lemon juice, flour, nutmeg, cinnamon, and salt until the mixture is uniformly smooth and pale yellow, then run it through a sieve.
Whisk gently and stop as soon as it comes together. Beating air into the filling and beating sugar hard into the eggs are the two fastest ways to end up with bubbles and a crusted top. Pour it into the chilled crust right up to the edge.
Bake Until the Filling Is Set
Bake at 350F for 45 to 55 minutes. Lay a sheet of foil over the pie loosely after the first 25 minutes so the crust edge darkens to golden without going scorched while the slow custard in the middle is still firming up. Some bakers start at 400F for the first 10 minutes to set the crust, then drop the oven to 350F for 30 to 40 more; the low-bake 300F route takes 70 to 90 minutes and gives the smoothest texture of the three.
Pull the pie when the edges look set and the center wobbles as one piece, like unset Jell-O, not like liquid. A knife inserted near the edge of the center should come out clean or with a thin smear. The middle will look underdone coming out of the oven, and that is correct: egg protein keeps coagulating as the pie cools, so the center finishes setting on the rack.
Cool and Finish the Pie
Let the pie cool on a rack for at least 2 hours before cutting. The filling firms as it cools, so slicing early is the number one reason a good pie seems runny, and the first wedge usually slumps no matter how careful you are.
Dust with confectioners’ sugar right before serving, not before chilling, because sugar on the surface goes grainy and disappears into the custard overnight. If you are not serving within a few hours, cover the pie loosely and refrigerate it, then bring it back to the table cold or at room temperature for 30 minutes before slicing.
Serve and Store the Pie
Cut with a thin sharp knife dipped in hot water and wiped between cuts, and serve it barely cool. Room temperature showcases the tang best, cold makes it firmer and more sliceable, and a few seconds in the microwave warms a cold slice without wrecking the custard.
Because the filling is egg-rich, keep the pie in the fridge and eat it within 3 to 4 days, covered but not pressed down so the crust stays dry. Freezing is the one split opinion: the filling goes grainy when thawed, so skip it if you can. If you must freeze, cool it completely, wrap it tightly, freeze up to a month, and expect a softer texture after thawing in the fridge overnight.
For a market stall or bake sale, bake the pie a day ahead, chill it overnight for cleaner slicing, transport it level in a box with towels around the plate, and hold it cold until sale time.
Common Mistakes
Most failures show up in the crust or as a filling that is either soup or rubber. The table below maps each one to its cause and the fix, because the symptom tells you which of those two you did.
| Problem | Likely cause | Fix |
|---|---|---|
| Runny filling | Cut too soon, or underbaked center | Cool fully before slicing; if still loose, refrigerate 20 minutes and next time add one extra yolk or 1 tablespoon more flour |
| Rubbery, tough filling | Baked past the jiggle stage | Pull it while the center still moves as one piece; carryover cooking does the rest |
| Soggy crust | Warm pie plate or filling poured into a hot, buttered shell | Chill the plate, pour filling into a cold crust, and use a metal plate rather than a damp glass one |
| Cracked or dry rim | Edge baked without protection | Add a foil collar or rim shield for the last 20 to 25 minutes |
| Bubbles or craters on top | Filling over-mixed, or sugar beaten too hard into the eggs | Whisk gently, sieve the filling, and poke any large surface bubble with a skewer before baking |
| Lumpy filling | Cold eggs, or sugar dumped in without whisking | Bring eggs to room temperature, add sugar in a stream, and pass the finished mix through a sieve |
| Burnt top, raw center | Oven too hot | Drop to 325F or tent with foil and finish slowly; the custard needs a slow, even cook |
| Tastes flat or bitter | Old lemon juice, or the pie baked too long | Use freshly squeezed juice and respect the jiggle cue, since over-baking sharpens the lemon |
Two habits prevent most of these. Chill the dough, and chill the plate, because cold fat is what makes a crust flaky. And stop mixing the moment the filling looks smooth, because a beaten filling is a bubbly filling.
Frequently Asked Questions
Should buttermilk pie filling be baked?
Yes. The filling is raw eggs, sugar, buttermilk, butter and flour, and baking is what turns it into a sliceable custard. It has to go in the oven with the crust and set in place between 45 and 55 minutes at 350F. No stovetop version of this filling exists, because the pie crust also needs that same heat to bake through.
Can I make buttermilk pie without lemon?
You can, and the pie still works, but the filling will taste flatter and more dairy-heavy without the acid. The lemon is not only flavor, it also keeps the sugar from reading as too sweet. If you leave it out, add a teaspoon of vanilla and consider a pinch more cinnamon or nutmeg to carry the top notes.
Why is my buttermilk pie runny?
Two usual reasons: it came out underbaked, or you sliced it before it had cooled. Egg custard keeps setting after the oven, so the center that looks loose in the pan firms up on the rack. Give it two full hours on a cooling rack before cutting. If it is still loose after that, refrigerate it 20 minutes, and add an extra yolk or a tablespoon of flour next time.
How do I keep the top of a buttermilk pie from burning?
Tent it loosely with foil after about 25 minutes at 350F, or use a rim shield on the crust edge. A dark crust edge is not the problem, a blackened one is, and the filling underneath is still slow-setting at that point. Some bakers start at 400F for 10 minutes to set the shell and then drop to 350F for 30 to 40 minutes, which colors the crust without needing the foil.
How long does buttermilk pie keep in the refrigerator?
Covered, it keeps in the fridge for 3 to 4 days, which is the usual window for a cooked egg custard. Store it on a flat surface so the crust does not sit in moisture, and let a chilled slice stand 30 minutes before serving if you want the full lemon flavor. Freezing is possible but the filling turns grainy, so save that for the last resort.
Start with the cold stuff: chill the plate, chill the dough twice, and pull the pie while the center still jiggles. Everything after that is just waiting for it to cool.