Damage in transit comes down to four forces: crushing, movement, heat and moisture. How to transport baked goods to a market without damage means answering each one: rigid fitted boxes resist crushing, inserts and non-slip liners stop movement, air conditioning and cold packs handle heat, and cooling plus breathable linings handle moisture. Pack this way and a four-hour market run takes about 45 minutes of careful loading, not hours.
I talk to market bakers constantly, and the ones with calm, clean tables at 7am are almost never the ones with the fanciest packaging. They have a repeatable system. This guide is that system, from the cooling rack to the last box on the table.
Table of Contents
- What You Need
- Step-by-Step: How to Transport Baked Goods to a Market
- 1. Chill and Fully Finish the Baked Goods Before You Pack
- 2. Choose a Rigid Container That Fits Each Item
- 3. Protect Layers Without Hiding the Product
- 4. Pack for Movement, Not Just Closing the Box
- 5. Control Temperature in the Vehicle
- 6. Load, Drive, and Unload Gently
- Common Mistakes
- Packing warm
- Soft or oversized bags
- Leaving empty space inside the box
- Overstuffing one deep box
- Putting fragile goods underneath heavy items
- Driving fast over bumps
- Leaving product in a parked vehicle
- Frequently Asked Questions
- How should I transport a cake to a market without it getting damaged?
- Can I transport bakery boxes in the trunk of my car?
- How should cream-filled pastries and other refrigerated baked goods be transported?
- What is the safest material to use between layers of baked goods?
- Should I assemble a tiered cake at the market instead of transporting it finished?
- Conclusion
What You Need
The gear list is short. What matters is matching each piece to what you are actually moving.
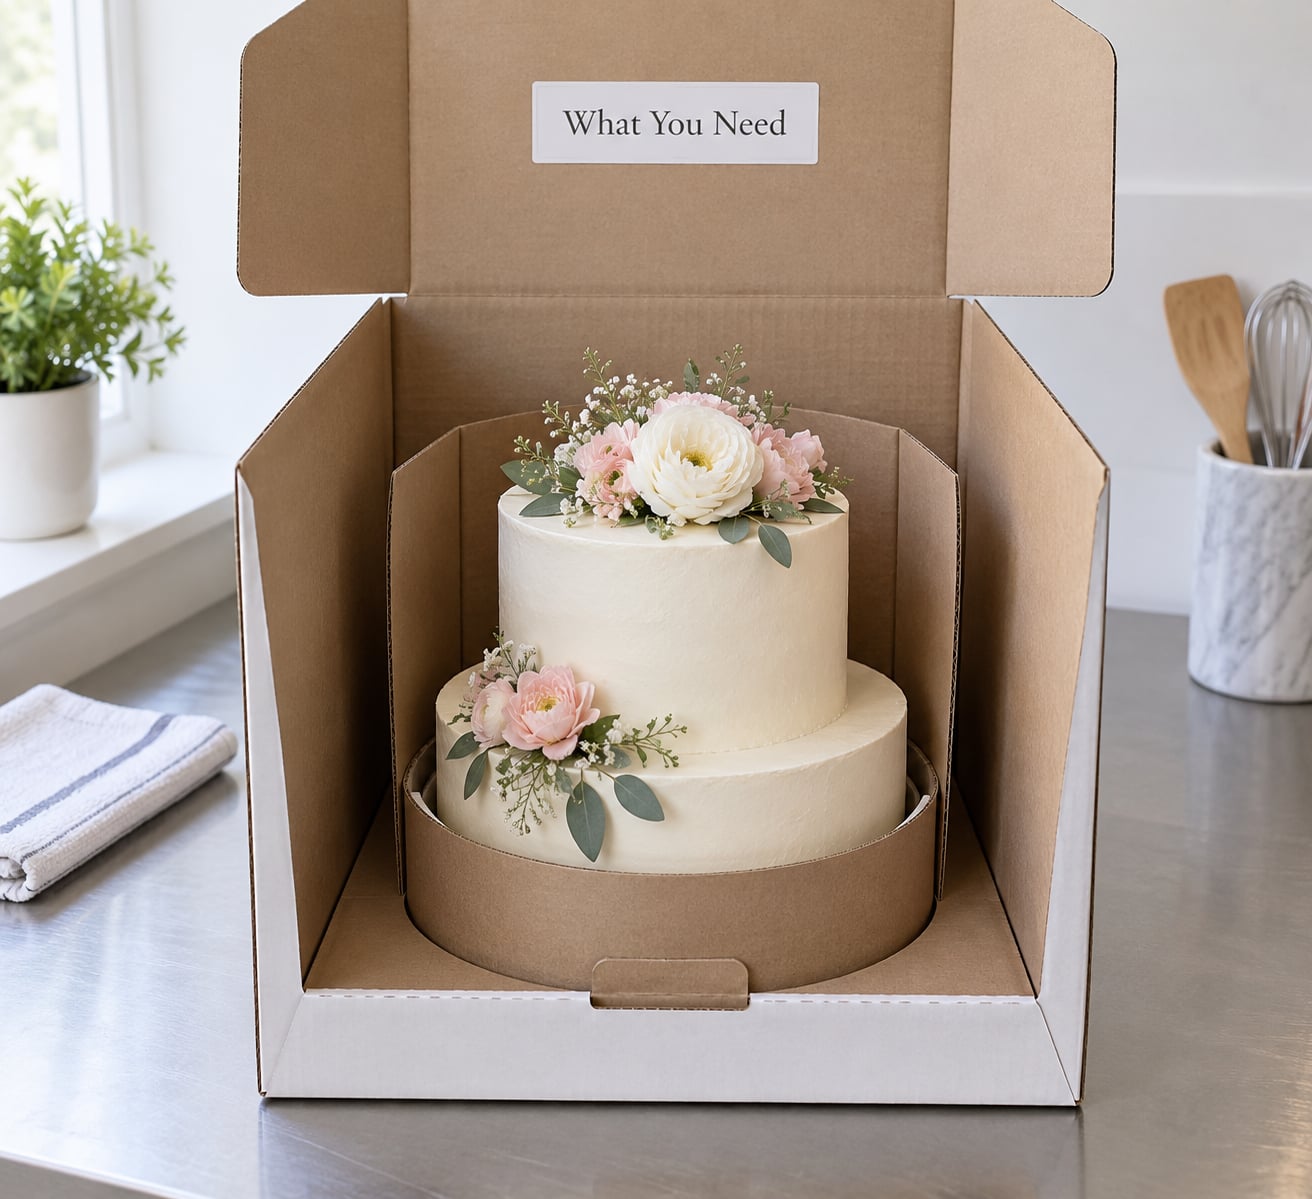
- Rigid food-safe containers. Corrugated bakery boxes for cookies, breads and pastries, domed or windowed cake boxes for cakes, sheet pans for bulk items. If a box flexes when you lift it by two corners, it is too soft for a loaded car.
- Inserts and dividers. Cupcake wells, cardboard divider grids, and collar inserts that surround a cake so it cannot lean.
- Liners and non-slip mats. Parchment or wax paper for grease, tissue for a finished look, and a rubber or textured shelf mat for the vehicle floor.
- Cushioning. Air pillows, kraft paper rolls, or crumpled food-safe paper for voids. Nothing that presses directly onto icing.
- Insulation and cold packs. Insulated carriers for anything held cold, plus frozen gel packs.
- Labels. A marker and tape for this-side-up markings and for identifying boxes at the stall without opening them.
- A level cargo area. The vehicle’s flat floor or folded-down rear seat, cleaned before you load.
Match the container to the item rather than the other way around. Here is the pairing most vendors land on:
| Product | Best container | Insert or divider | Lining | Temperature rule |
|---|---|---|---|---|
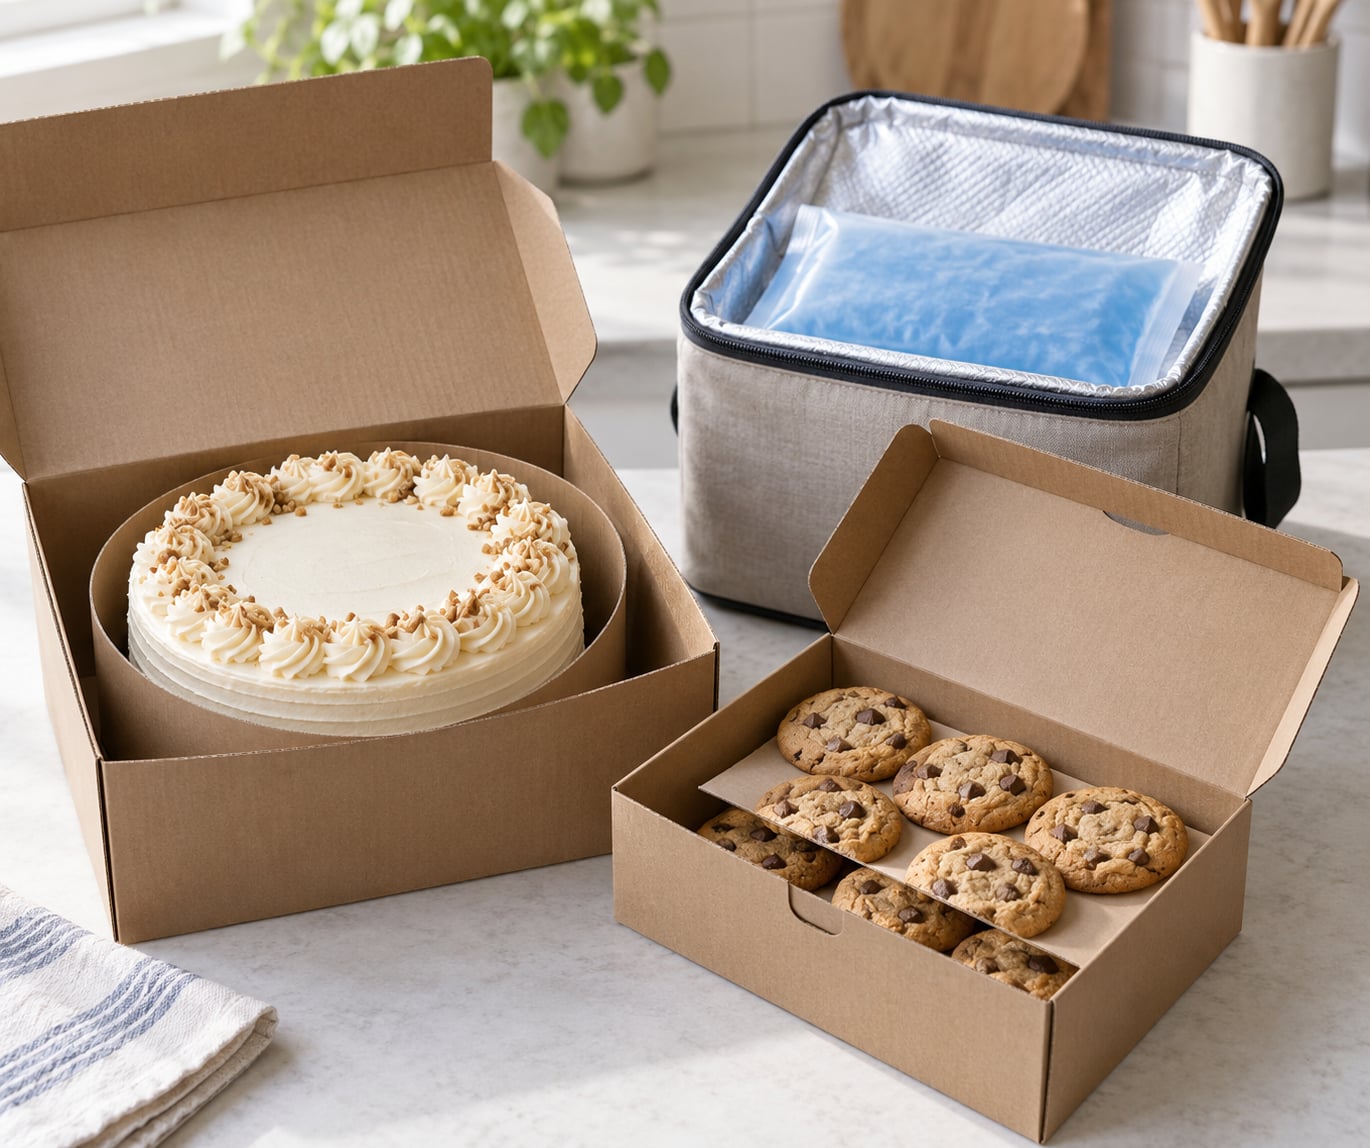
| Layer cake | Corrugated cake box with fitted board | Cardboard collar around the cake | Parchment on the base board | Room temperature, out of direct sun |
| Cupcakes, frosted | Rigid box with dome lid | Cupcake insert with wells | None on top, liner on the base | Chill 20 to 30 minutes before loading |
| Cookies and bars | Shallow rigid box, single layer if possible | Cardboard divider sheet between rows | Parchment squares | Room temperature, dry |
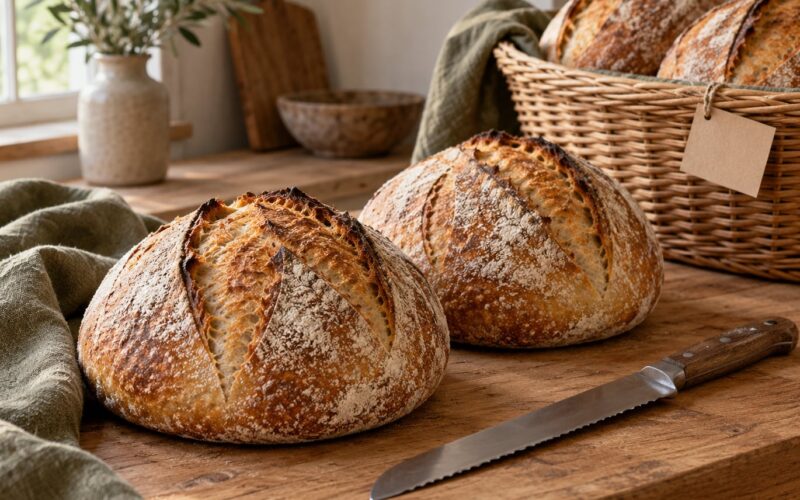
| Sourdough and loaves | Open bread trays or shallow boxes | None, single layer with space | Cloth or parchment between crusts | Never refrigerate, never seal warm |
| Croissants and delicate pastries | Shallow rigid box | Sheet divider between rows | Parchment, no loose crumbs | Room temperature, short trip |
| Custard, cream and cheese fillings | Insulated carrier with a sealed box inside | Individual sealed cups | No absorbent material near the food | Hold at 40F or below the whole way |
Some bakers move high volumes of sourdough and pack loaves uncompressed in shallow trays rather than boxes, because stacking crusts is what turns a good loaf into a flat one. Others ruled out boxes purely on cost and switched to large reusable trays instead.
Step-by-Step: How to Transport Baked Goods to a Market
1. Chill and Fully Finish the Baked Goods Before You Pack
Nothing damages a market bake faster than packing it warm. Steam escaping from a warm loaf or cupcake turns into condensation inside the box, and the top comes out damp, wrinkly and soft.
Cool everything to room temperature on a rack before a single box closes. For products that must stay cold, use a food thermometer and keep them at 40F or below from the fridge all the way to the stall. Frosted cupcakes benefit from 20 to 30 minutes in the fridge beforehand, because firm frosting resists smudging. Avoid freezing, since a thaw cycle brings condensation with it.
You know it worked when the item is cool to the touch on the bottom as well as the top, and the box lid stays clean and dry after the drive.
2. Choose a Rigid Container That Fits Each Item
Fit is the whole game. A box that is too large lets the product slide, and a box that is too small crushes it during loading, when you set a heavier box on top.
A good container has three qualities: it does not flex when you lift it by two corners, the product does not touch the walls unnecessarily, and there is no large empty volume where the product can move. Test this before you buy a case. Put a real cupcake or a real loaf inside, close the lid, and carry it across the kitchen. If the lid bows or the item shifts, that is the wrong box.
Round cakes get a fitted board underneath so the base cannot slide off the carton. Sheet cakes ride on a flat pan inside a rigid box, never in a domed box that presses into the icing. Bulk cookies travel in shallow single-layer boxes rather than one deep box, because a deep box gets overfilled and the bottom row pays for it.
3. Protect Layers Without Hiding the Product
Every stacked layer needs something rigid between it and the layer above. Corrugated divider sheets for cookies, cardboard inserts for cupcakes, and rigid liners under cakes do more work than any amount of soft padding.
Cushioning belongs in the voids around the product, not against its face. Loose packing material pressed onto icing leaves fuzz and dents that show under market lighting. Air pillows work well for the empty space around a cake, and kraft paper rolls fill corners in cookie boxes.
Tilt the closed box gently in all four directions before it leaves your table. If nothing moves inside and you hear no sliding, the packing holds. If you hear a scrape, add a divider or fill the void. That tilt test takes ten seconds and catches nearly every packing failure before the vehicle does.
4. Pack for Movement, Not Just Closing the Box
A closed box is not a packed box. Leave an inch of material around the item, orient products so the first ones you need at the stall are on top, and keep heavy items below lighter ones.
For a multi-stop or long market block, load in reverse of your unloading order. The boxes you sell first should be the ones you can lift out without pulling others off the pile. Number the boxes with a marker on the lid so you can find them in a stack without opening every one.
Secure lids without crushing the tops. A domed lid on a tall frosting swirl gives clearance; a flat lid pressed down hard does not. If your frosting is proud of the box rim, the box is wrong, and no amount of taping fixes it.
5. Control Temperature in the Vehicle
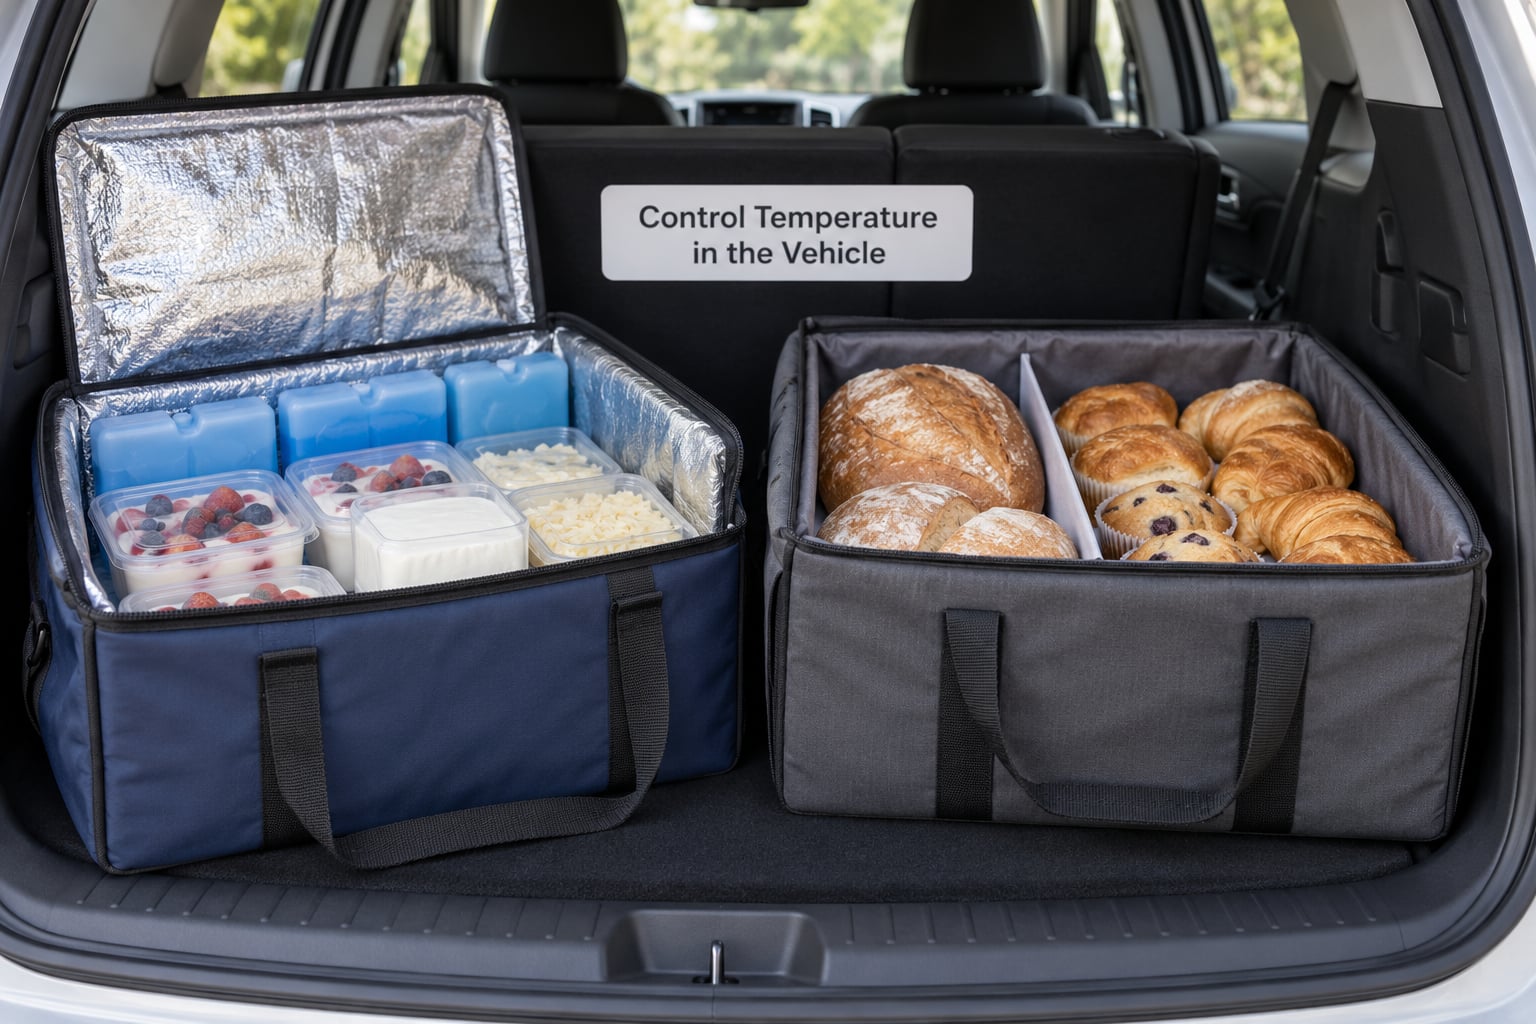
A parked car in summer can climb well past the temperature that softens buttercream, and that happens while you are unloading the table. Use the climate-controlled passenger compartment rather than a hot trunk, and never leave the vehicle closed and parked with product inside.
For anything refrigerated, pre-chill the insulated carrier, line it with frozen gel packs, and keep the sealed box upright against a cold surface. For dry goods, skip the cold entirely. Chilling a loaf makes condensation form on the crust the moment it comes out of the pack, and the bottom goes gummy.
Separate zones in the cargo area do most of the work: cold packs and insulated carriers on one side, room-temperature boxes on the other, nothing heavy stacked on top of the cold goods. Condensation is the one thing to watch after arrival. Open the cold boxes first so any moisture can dry before you close them again.
6. Load, Drive, and Unload Gently
Loading is where most damage happens, so treat it as a step rather than the end of the packing process. Clear the cargo area first. Lay the non-slip mat down flat, then place the heaviest, least fragile boxes on the floor and build lighter items on top.
Fill the footprint of the space rather than stacking into a narrow tower, and wedge gaps with a rolled mat or a folded towel so boxes cannot slide during a stop. Nothing should be loose in the vehicle; a single sliding box takes a neighbour down with it.
Drive as if the box is full of eggs, because it is. Brake early, take corners slowly, and ease over speed bumps and raised crossings rather than rolling across them at speed. Slow down well before a turn, not during it.
On arrival, unload the fragile packages before the heavy boxes. Set them straight down on a level surface, not on a customer table while you are still unloading. Open each one and look: a lifted corner, a smear or a shifted divider is a five-second fix at the stall and a total loss in the bin at home.
Common Mistakes
Each of these shows up again and again in vendor discussions, usually with the same fix.
Packing warm
Warm product traps steam and arrives damp. Cool fully on a rack first, and pack as the last task before you leave, not hours ahead.
Soft or oversized bags
Paper bags look cheap and crush everything above a single cookie layer. Use rigid boxes for the car; bags are fine for handing a customer their order at the stall.
Leaving empty space inside the box
Void space is where products slide and slide is what breaks them. Fill it with dividers, air pillows or rolled kraft paper until the item is held in place.
Overstuffing one deep box
Vendors chase the biggest box that fits because it looks efficient. The bottom rows take the weight and arrive as crumbs. Two shallow boxes beat one deep box every time.
Putting fragile goods underneath heavy items
Weight from above is the most common cause of a cracked or compressed cake. Heavy at the bottom, fragile at the top, always.
Driving fast over bumps
The packaging absorbs a fraction of what the suspension does not. Ease over raised crossings and speed bumps at walking pace.
Leaving product in a parked vehicle
A closed vehicle in warm weather becomes an oven in minutes. Unload immediately, and keep cold items in their insulated carrier on your table instead of the car.
Frequently Asked Questions
How should I transport a cake to a market without it getting damaged?
Put the cake on a fitted board inside a rigid corrugated box with a cardboard collar that surrounds it, then fill the empty space with air pillows or rolled kraft paper until nothing moves. Carry the box level with two hands, keep it off the vehicle floor if the ride is rough, and place it where it will not be stacked under anything. A ten-second tilt test on your kitchen counter before loading catches most failures.
Can I transport bakery boxes in the trunk of my car?
You can, but a trunk is usually the hottest and most awkward part of the vehicle. Fold the rear seat flat to make a level cargo area with a non-slip mat on it, and keep refrigerated items in the climate-controlled cabin instead of the trunk. If you must use the trunk, load heavy boxes first, fill gaps so nothing slides, and take the boxes out immediately on arrival rather than leaving them to sit.
How should cream-filled pastries and other refrigerated baked goods be transported?
Pre-chill the insulated carrier, surround the sealed product box with frozen gel packs, and hold the product at 40F or below for the entire trip. Keep it separated from dry baked goods so warm items do not speed up warming, and open those containers first at the stall so condensation can dry out. Check the temperature with a food thermometer rather than guessing from the outside of the cooler.
What is the safest material to use between layers of baked goods?
Parchment paper for grease and direct contact, and corrugated cardboard divider sheets or rigid liners between layers. Neither should press against frosting or delicate pastry surfaces. Keep packing fill such as air pillows or kraft paper in the voids around the product, not on top of it, and choose anything food-safe that will not shed fibers into the food.
Should I assemble a tiered cake at the market instead of transporting it finished?
For tall tiered cakes, yes. Transport the tiers separately, flat and level, and stack and support them on site with food-safe dowels and a stable base board. Frosting a cake at the stall is easier than replacing one that tipped in a corner. If the market has no clean, level water and power for that work, transport a single-layer cake finished instead.
Conclusion
Start with one thing tomorrow: cool a full batch completely, choose a rigid container that actually fits, and run the ten-second tilt test before you touch the vehicle. Everything after that is habit, and habit is what keeps a table looking the same every week.
Stable packing, controlled temperature and gentle loading are three separate jobs that only work together. Get one wrong and the damage shows anyway. Get all three right and knowing how to transport baked goods to a market without damage stops being a problem you solve and becomes something you just do.