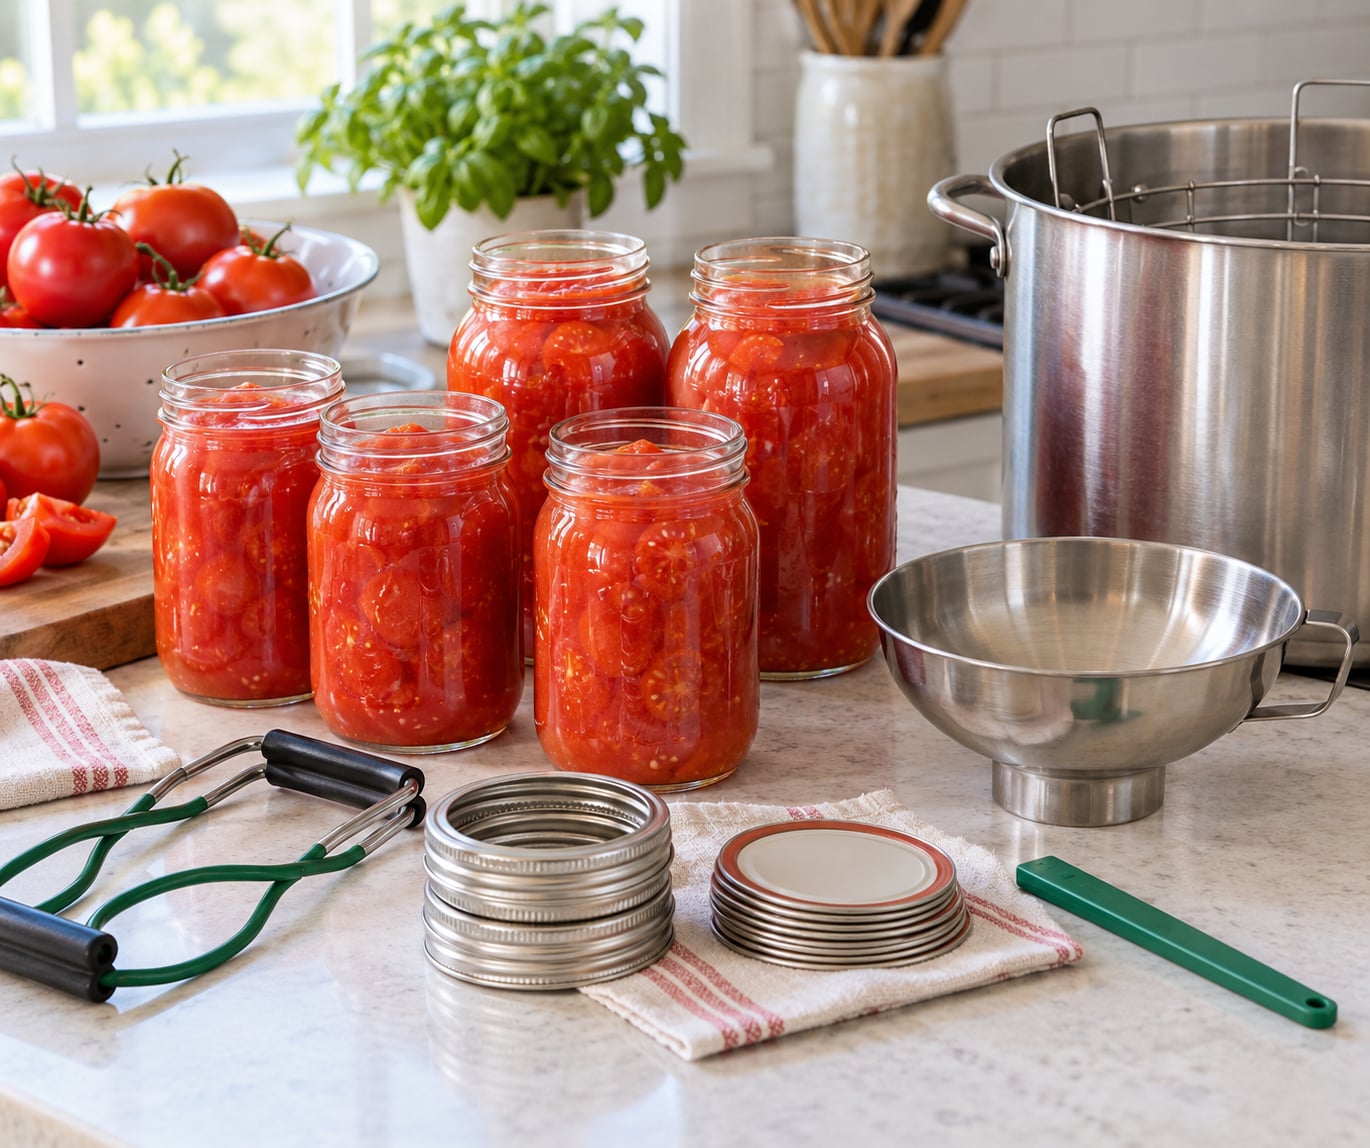
Yes, water bath canning tomatoes is safe, as long as you add bottled lemon juice or citric acid to every jar and process the full tested time for your altitude. Tomatoes sit right on the pH 4.6 line that separates acidified food from low-acid food, so the acidulant is the whole margin between a shelf-stable jar and a jar you keep in the fridge.
Once you know how to water bath can tomatoes safely, the boiling turns out to be the easy part. What trips most first-timers is the measuring, the headspace, and the waiting afterward. Do those three carefully and this is a straightforward afternoon job you can repeat every summer.
This guide follows the tested procedures published by the National Center for Home Food Preservation (NCHFP), USDA, land-grant Extension services, and Ball. Every processing time and acid quantity here comes from those sources rather than from a blog estimate, including where online figures disagree with each other.
Table of Contents
- What You Need
- How to Water Bath Can Tomatoes Safely
- How to water bath can tomatoes safely: acid, time, and altitude
- Choose a Tested Tomato Recipe
- Prepare the Tomatoes and Jars
- Process the Jars in Boiling Water
- Cool and Check the Seals
- Store and Label Finished Jars
- Common Mistakes
- Frequently Asked Questions
- How long do you process canned tomatoes in a hot water bath?
- Can you boil jars too long when canning?
- Why are my glass jars breaking when I can?
- Can you stack jars when water bath canning?
- What’s the difference between water bath and pressure canning?
- What to be careful of when canning tomatoes?
- Conclusion
What You Need
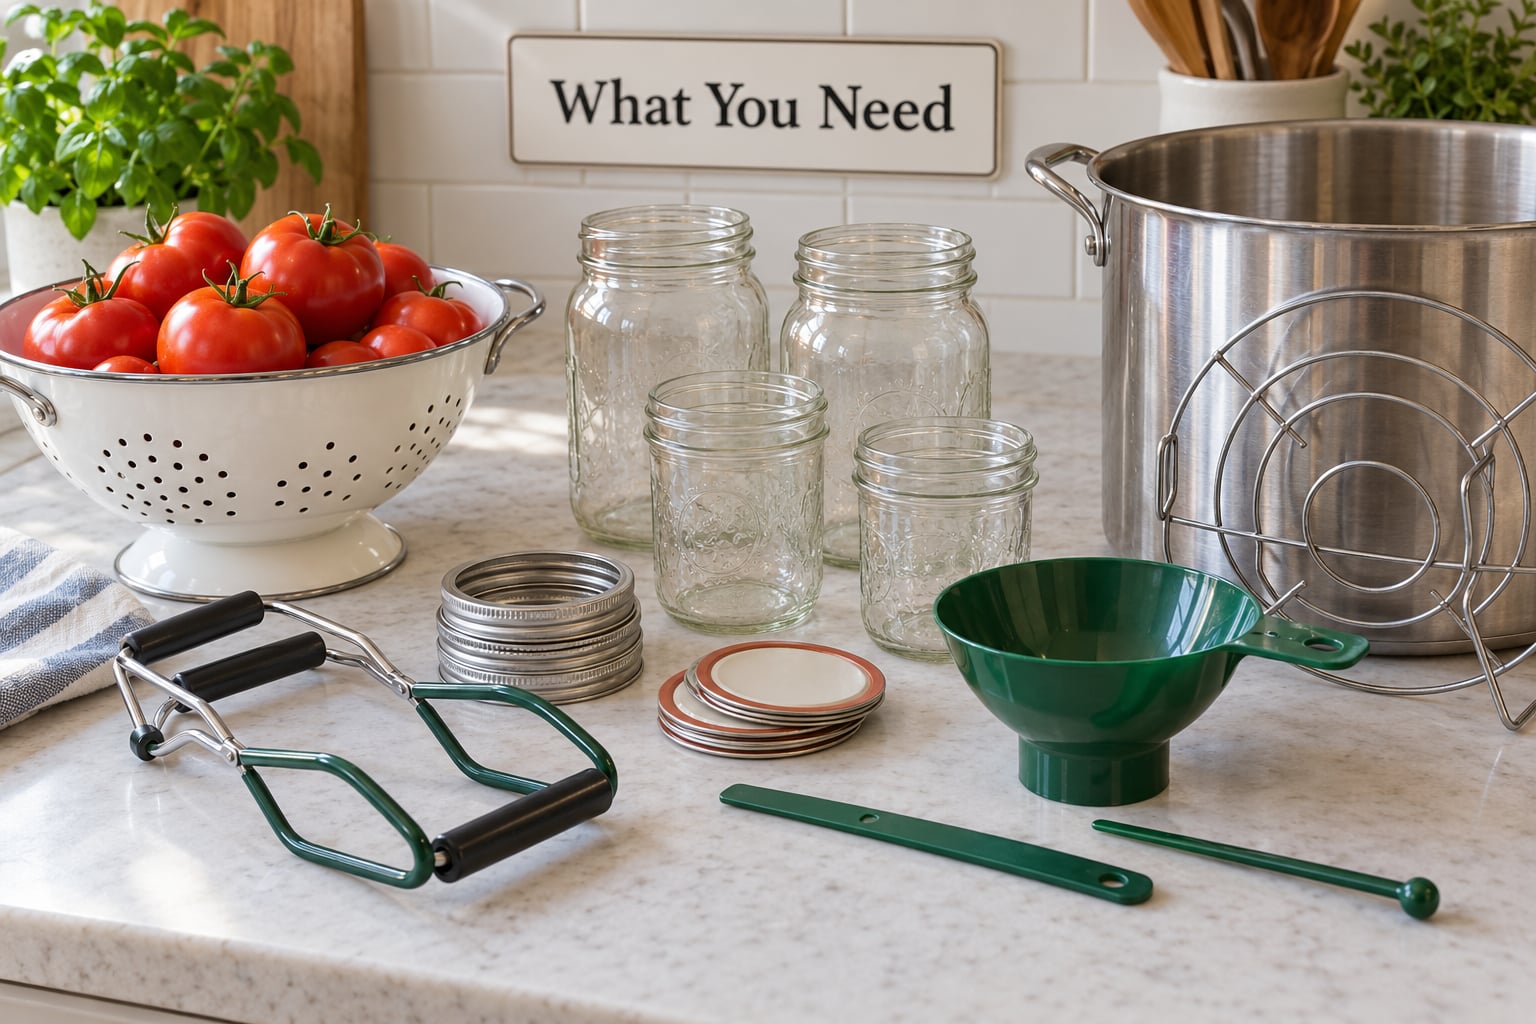
Start with the canning pot, not the gadgets. A tall stockpot with a flat bottom and a canning rack is the only piece of equipment you cannot work around, because a boiling water bath canner has to hold jars upright in an inch or two of simmering water for the full processing time.
- Canning pot with rack: tall enough that jars sit fully submerged and covered by 1 to 2 inches of water, with a flat bottom and a heatproof handle.
- Pint and quart canning jars: standard Mason or Kerr canning jars, not generic jam jars. Inspect for chips and cracks and set damaged jars aside.
- Fresh two-piece lids and screw bands: bands can be washed and reused if they are not bent. Flat lids are single use for canning.
- Bottled lemon juice or citric acid: the acidulant of record for water bath tomato recipes. Never fresh-squeezed juice.
- Canning funnel, bubble remover, headspace tool, and jar lifter: the funnel makes packing tight, the bubble remover clears trapped air, the headspace tool measures the gap, and the lifter lifts hot jars without dropping them.
- Cooling rack or folded towel: for setting jars down without thermal shock.
- Optional: canning salt, a soft brush for jar rims, and a no-rinse sterilizer such as Star San for cleaning jars ahead of the day.
Beyond the equipment, the two things that actually decide whether the batch is safe are a lab-tested recipe and sound jars. A recipe from NCHFP, USDA, a land-grant Extension office, or Ball has a processing time that was validated for that exact food, jar size, pack method, and temperature. A recipe from a blog or a social post has not.
Check your elevation before you start. NCHFP publishes processing times in altitude bands, and the canners below 1,000 feet need a noticeably shorter boil than those at 6,000 feet. If you do not know your number, your county Extension office or any mapping tool that reports the elevation of your address will settle it in a minute.
One practical note for anyone working through a market-sized batch. Expect roughly 2.5 to 3 pounds of fresh tomatoes per quart jar, so 20 pounds of fruit fills about 7 quarts. Process in two half batches rather than one crowded canner, because water circulates poorly once jars are packed shoulder to shoulder.
How to Water Bath Can Tomatoes Safely
How to water bath can tomatoes safely: acid, time, and altitude
Home canning safety rests on one threshold: a pH of 4.6. Foods at or below that acidity, like fruits and pickles, get sealed in a boiling water bath. Foods above 4.6, like vegetables and meat, need a pressure canning process that reaches temperatures high enough to destroy spores.
Tomatoes land almost exactly on that line. Their pH varies with variety, ripeness, and soil, and research by the University of Georgia and USDA scientists found that some tomato varieties sit as high as 4.8, above the safe threshold. That variability is why you do not measure a tomato’s pH with a home meter and hope. You add acid to every jar and remove the guesswork.
Once the jar contents are below 4.6, the boiling water bath does the rest. Between 212 F and boiling, heat and time together kill the yeasts, molds, and vegetative bacteria that spoil food. The spores of Clostridium botulinum, the organism behind botulism, survive ordinary boiling, which is exactly why acidification is the step that cannot be skipped or measured by feel.
Sealing is the final piece. As a hot jar cools, the contents contract and air is drawn out through the lid, creating a partial vacuum. A flat, taut lid that stays down when you press the center means the jar is sealed and shelf stable.
Choose a Tested Tomato Recipe
Pick one recipe and follow it from start to finish. Improvising quantities, swapping a pack method, or doubling a batch size on your own changes the heat transfer the processing time was built around, and the original time no longer applies.
Before you start, confirm four things on the page: the jar size, the pack method, the processing time, and whether it carries an altitude table. Recipes are written for specific combinations, so a quart time and a pint time are never interchangeable.
The main pack methods are cold pack (also called raw pack), where uncooked tomatoes go straight into hot sterilized jars and are heated in the bath, and hot pack, where the fruit is heated first and then packed. Cold pack keeps more of the fresh tomato flavor and shape. Hot pack gives a more uniform pack with less shrink and a firmer texture, and it is the safer pick for a first batch because there is less air trapped among the fruit pieces.
Prepare the Tomatoes and Jars
Wash the jars, lids, and bands first and keep them hot. Jars need no sterilizing for a water bath canner, but they should be clean and warmed so they do not shock and crack when they meet the fruit or the boiling water.
- Wash and sort the tomatoes. Use sound, ripe fruit with no soft spots, mold, or deep cracks. Under-ripe fruit will not set properly, and damaged fruit can drag spoilage organisms into the jar.
- Blanch and peel. Boil the tomatoes for 30 to 60 seconds, then drop them into ice water for a few minutes. The skins slip off and the fruit keeps more shape than if you peeled it raw. Leaving the peels on is a valid choice for crushed or stewed styles, and tested recipes exist for whole tomatoes with skins left on.
- Warm the jars. Keep your empty jars in a pot of simmering water or in the canner with the water already hot.
- Add the acidulant. Pour in the acid before or right after the fruit, and put it in direct contact with the tomatoes.
- Pack the fruit. Fill hot jars with the tomatoes, working out any air pockets with the bubble remover as you go.
- Measure headspace. Headspace is the gap between the top of the food and the jar rim, not the depth of the fruit in the jar. Leave 1/2 inch for pints and 3/4 inch for quarts.
- Wipe the rims. Run a clean damp paper towel or a damp cloth around the rim of each jar. Any food or oil film on the glass or the lid stops the vacuum from forming a seal.
- Apply lids and bands. Place a new flat lid on each jar and screw the band down just until it is fingertip tight. Overtightening makes the lid buckle and is one of the more common seal failures.
The acid quantities come from NCHFP, USDA, and Ball, and they are not interchangeable between jar sizes. This is the single most confused number in home canning.
| Jar size | Bottled lemon juice | Citric acid |
|---|---|---|
| Pint | 1 tablespoon | 1/4 teaspoon |
| Quart | 2 tablespoons | 1/2 teaspoon |
Bottled lemon juice rather than fresh is not a preference. Its acidity is measured and standardized, while the pH of squeezed juice swings with the fruit and the season, so fresh juice leaves too much room for error. Bottled juice also carries a taste many people find sharper than citric acid, which is why citric acid is the better choice if you are canning a lot.
Do not substitute vinegar for lemon juice in these recipes. Vinegar carries its own flavor profile and some tested tomato recipes do not stay balanced when it is swapped in at the same volume.
Salt is optional and comes from the tested recipe, usually 1/2 teaspoon per pint or 1 teaspoon per quart of plain tomatoes. It seasons the finished jar rather than preserving it.
Process the Jars in Boiling Water
Have the water heating while you fill. Testing a batch of raw tomatoes from cool jars in boiling water is the main cause of cracked jars, and the crack usually starts at the shoulder where the glass is thinnest.
- Heat the canner water. Bring the pot to a rolling boil. Water must cover the jars by 1 to 2 inches, and more if you are processing a large batch.
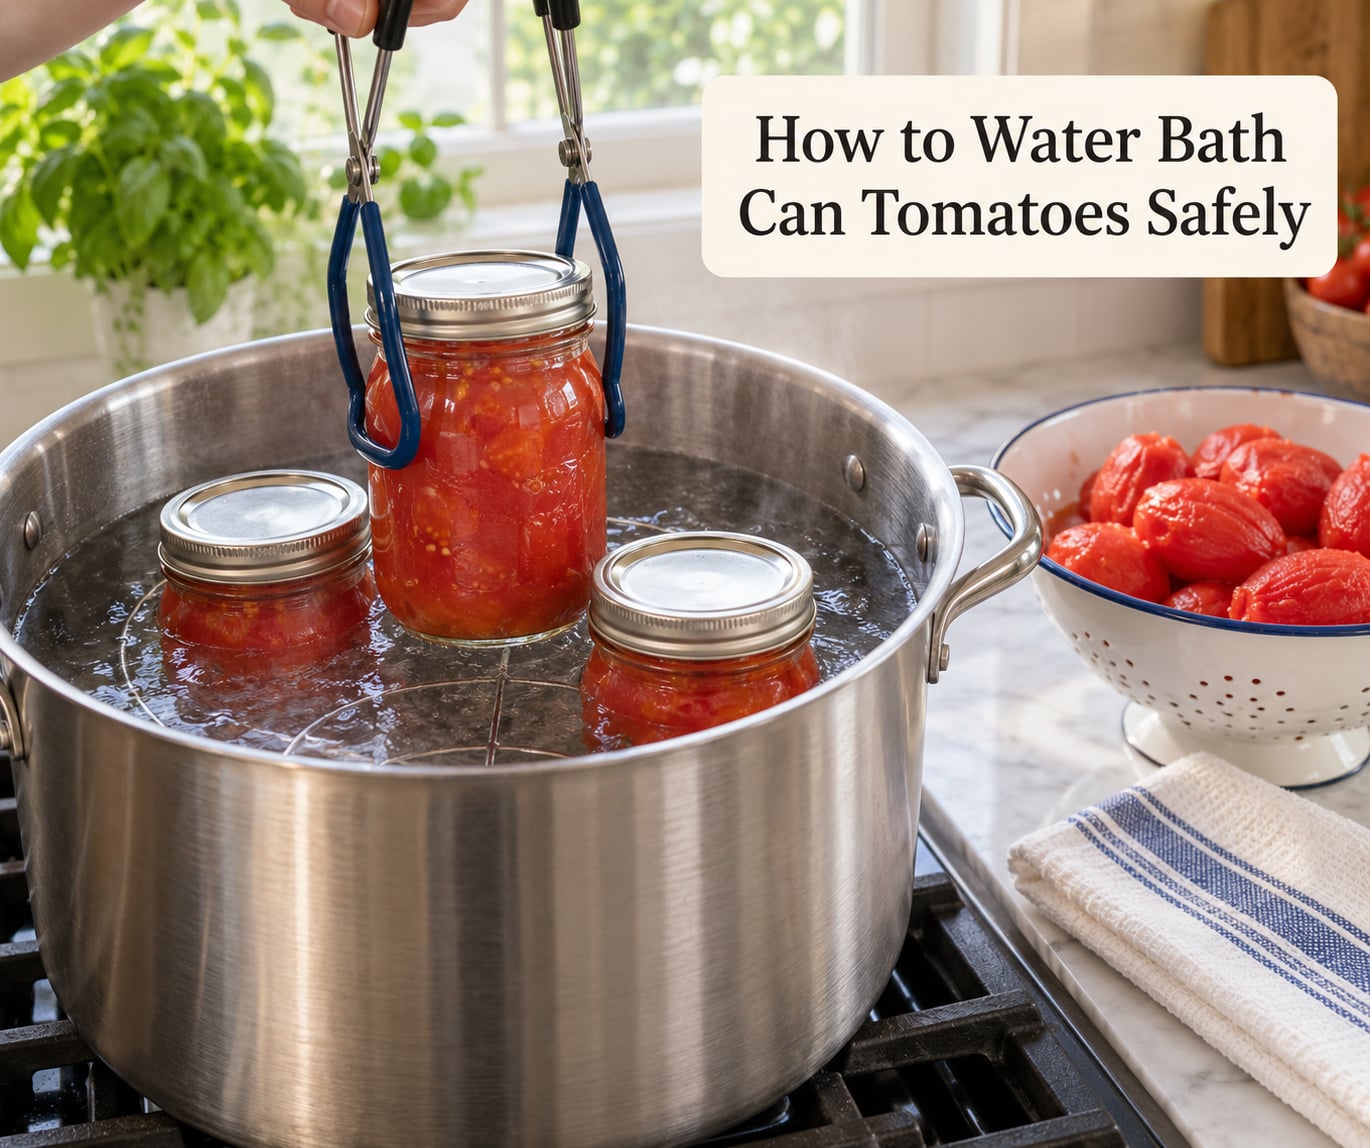
- Lower the jars in with the lifter. Set each jar onto the rack one at a time, keeping it upright. Jars must not touch each other or the side of the pot, because contact prevents water from circulating and jars touching each other can crack when they swell and seal.
- Keep the water at a rolling boil. Once the jars go in, bring the pot back to a full boil and start the timer. Use the processing time from your tested recipe for your jar size and altitude band. Running this clock instead of eyeballing it is what separates how to water bath can tomatoes safely from a batch you quietly hope is fine.
- Adjust for altitude. Use the table below. These times apply to acidified tomatoes in a boiling water bath, from NCHFP and Ball.
- Time the whole batch. Start counting when the water returns to a rolling boil. If the boil slows down partway through, keep the heat up until it recovers and continue counting.
- Turn off the heat and wait. Let the jars sit in the pot, off the heat, with the lid on for 5 minutes before lifting them out. That rest reduces siphoning, which is the loss of liquid and tomato solids through the lid seam as a jar cools.
| Altitude | Pints | Quarts |
|---|---|---|
| 0 to 1,000 ft | 40 minutes | 45 minutes |
| 1,001 to 3,000 ft | 45 minutes | 50 minutes |
| 3,001 to 6,000 ft | 50 minutes | 55 minutes |
| Above 6,000 ft | 55 minutes | 60 minutes |
If you have seen times of 85 to 100 minutes for water bath canned tomatoes, that figure comes from a source that does not follow the NCHFP process for acidified fruit. The table above is the one to plan your afternoon around, so adjust for any time you lose at the start of the batch.
Cool and Check the Seals
Lift the jars out with the lifter and set them on a towel or cooling rack, spaced apart so air moves around them. Leave every jar untouched for 12 to 24 hours. The seal finishes forming as the contents cool, and moving a jar too early is a common cause of a jar that looks sealed but has no vacuum behind it.
When the jars are fully cool, test each one. Press the center of the flat lid with a fingertip. If the lid does not flex or pop back, the jar is sealed. If it moves, pops, or feels soft, the seal failed.
Once a seal is confirmed, remove the screw bands and wash them for storage. Leaving bands on traps a false seal against a hidden failure and lets moisture sit on the lid. The flat lid stays on as the indicator.
Store and Label Finished Jars
Label each jar with the contents, the pack method, the processing time, and the date. For market sales, add the batch and the required lot information, and check with your state or local health authority before selling home-canned goods, because most jurisdictions treat home-canned food differently from commercially produced food.
Store sealed jars in a cool, dark, dry place with steady temperatures and good ventilation, ideally between 50 and 70 F. Avoid a garage, an attic, or a cabinet above a stove. Band and rust from shelf storage never touches the food inside a sealed jar, so you are waiting months, not days, to see a problem.
Ball and NCHFP guidance is to use canned tomatoes within about 12 months for the best flavor and texture, and they stay safe well past that in a sealed jar. Check seals yearly, and discard any jar that is leaking, cloudy when opened, or shows mold once opened. Refrigerate or freeze leftover canned tomato in a covered container and use it within three to four days of opening, or freeze it right away.
Common Mistakes
Most spoiled batches trace back to one of a handful of errors, and none of them require expensive equipment to fix.
- Skipping or under-measuring the acid. This is the mistake with real consequences, because botulism spores survive a normal boil. Fix: 1 tablespoon bottled lemon juice or 1/4 teaspoon citric acid per pint, 2 tablespoons or 1/2 teaspoon per quart, measured into every jar. Do not rely on the tomato’s own acidity.
- Using an untested or scaled-up recipe. Doubling a recipe does not double the processing time, because a fuller canner heats and cools differently. Fix: run separate batches at the tested time.
- Filling the headspace wrong. Too little headspace means the contents have nowhere to expand as they heat, and the jar may burst. Too much leaves air that pushes against the lid. Fix: 1/2 inch for pints, 3/4 inch for quarts, measured from the top of the food to the jar rim.
- Packing air into the jars. Air expands into an empty pocket and can bubble out through the seal. Fix: run a clean damp cloth or the bubble remover around the inside of the jar after filling.
- Overtightening the bands. A band cranked down hard buckles the flat lid so the vacuum cannot form. Fix: fingertip tight, and loosen if you can turn the lid with a fingertip alone.
- Letting jars touch. Jars in contact cannot get water moving between them, and they can crack against each other. Fix: one layer on the rack with space between jars.
- Putting cold jars into boiling water. Thermal shock cracks glass, usually at the shoulder. Fix: heat the water while you fill, and use warm jars.
- Testing seals early or handling jars too soon. A jar handled during cooling can lose the seal it was forming. Fix: leave everything alone 12 to 24 hours, then test.
- Reusing lids. Flat canning lids are designed for one heat cycle. A used lid will not seal reliably. Fix: fresh lids every batch.
- Adding oil, onions, or meat to a plain tomato recipe. Oil interferes with the seal and slows heat transfer, and onions dilute the acid. Oregon State Extension is direct about this: a tomato recipe with added oil or a large onion component should move to a pressure canning recipe. Fix: keep water bath recipes to tomatoes, plus the acid and salt the tested recipe lists.
A few recurring problems show up separately. Jars cracking in the pot come from cold glass, from a hard boil, or from a pot with a warped or coil-style bottom that touches the jar unevenly. Siphoning, where juice runs out from under the lid as the jar cools, is mostly caused by too much headspace and by lifting jars out too fast; the 5-minute rest in the turned-off canner handles most of it. Water boiling dry is a burner problem, and it usually means an overcrowded pot. Check the water level every 20 to 30 minutes on a long batch and top it off with hot water.
Over-processing is a fair question and worth naming plainly. Boiling longer than the tested time softens tomatoes and can make the texture grainy, but it does not make the jar unsafe. NCHFP guidance treats extended processing as a quality problem rather than a safety one. Cutting the time short does the opposite.
If you realize after processing that you forgot the acidulant, the answer depends on how long ago it happened. If less than 24 hours have passed, Extension experts advise freezing the tomatoes now rather than trying to salvage the jars. After 24 hours, the jars have been sealed and there is no way to add acid through the lid, so those jars are not shelf stable and should be discarded rather than eaten or refrigerated as though they were safe. If the fruit is still sitting in the pot, in a bowl, or on the counter and has not been processed, start a new batch with the right amount of acid in each jar.
Frequently Asked Questions
How long do you process canned tomatoes in a hot water bath?
Acidified tomatoes need 40 minutes for pints and 45 minutes for quarts at 0 to 1,000 feet. Time increases with altitude: 45 and 50 minutes from 1,001 to 3,000 feet, 50 and 55 minutes from 3,001 to 6,000 feet, and 55 and 60 minutes above 6,000 feet. Start the timer when the water returns to a full rolling boil.
Can you boil jars too long when canning?
Boiling past the tested time hurts texture more than safety. Tomatoes turn mushy and grainy with extended processing, and the flavor flattens, but the jar stays safe because the longer boil adds more heat treatment, not less. NCHFP treats over-processing as a quality issue. Cutting the time short is the direction that creates risk.
Why are my glass jars breaking when I can?
Thermal shock is the usual cause, which means cold glass met hot liquid. Heat your canning water before you fill the jars, keep the jars warm, lower them in slowly with a jar lifter, and avoid a hard rolling boil right at the moment they go in. A pot with a warped or coil bottom can also stress jars unevenly and crack the glass.
Can you stack jars when water bath canning?
No. Jars need to sit upright on the canning rack in a single layer with space between them and away from the sides of the pot. Water has to circulate around every jar to raise the contents to processing temperature. Jars touching each other or the pot wall cannot get that circulation and can crack against each other as they swell and seal.
What’s the difference between water bath and pressure canning?
A boiling water bath reaches 212 F and is used for acidified foods like fruits, pickles, and acidified tomatoes. Pressure canning reaches temperatures of about 240 F to 250 F, hot enough to destroy Clostridium botulinum spores, and is required for low-acid foods like plain vegetables, meat, soups, and beans. Pressure canning is the safer choice for anything not on a tested water bath recipe.
What to be careful of when canning tomatoes?
Add bottled lemon juice or citric acid to every jar, use a tested recipe from NCHFP, USDA, Extension, or Ball, and measure headspace at 1/2 inch for pints and 3/4 inch for quarts. Process for the full time in your altitude band, keep jars from touching in the pot, use fresh lids, and leave everything undisturbed for 12 to 24 hours before checking the seals.
Conclusion
The first thing to do is pick one tested tomato recipe from NCHFP, USDA, a land-grant Extension service, or Ball, and find your elevation so you know which row of the processing table applies to you. From there, the work is steady rather than difficult: warm clean jars, pack the fruit with the right headspace, add the measured acid to every single jar, and process for the full time in your altitude band.
Leave the jars alone overnight, test the seals the next day, then label and store them in a cool dark place. A batch that follows those steps is a safe batch, and you can stop wondering about it.