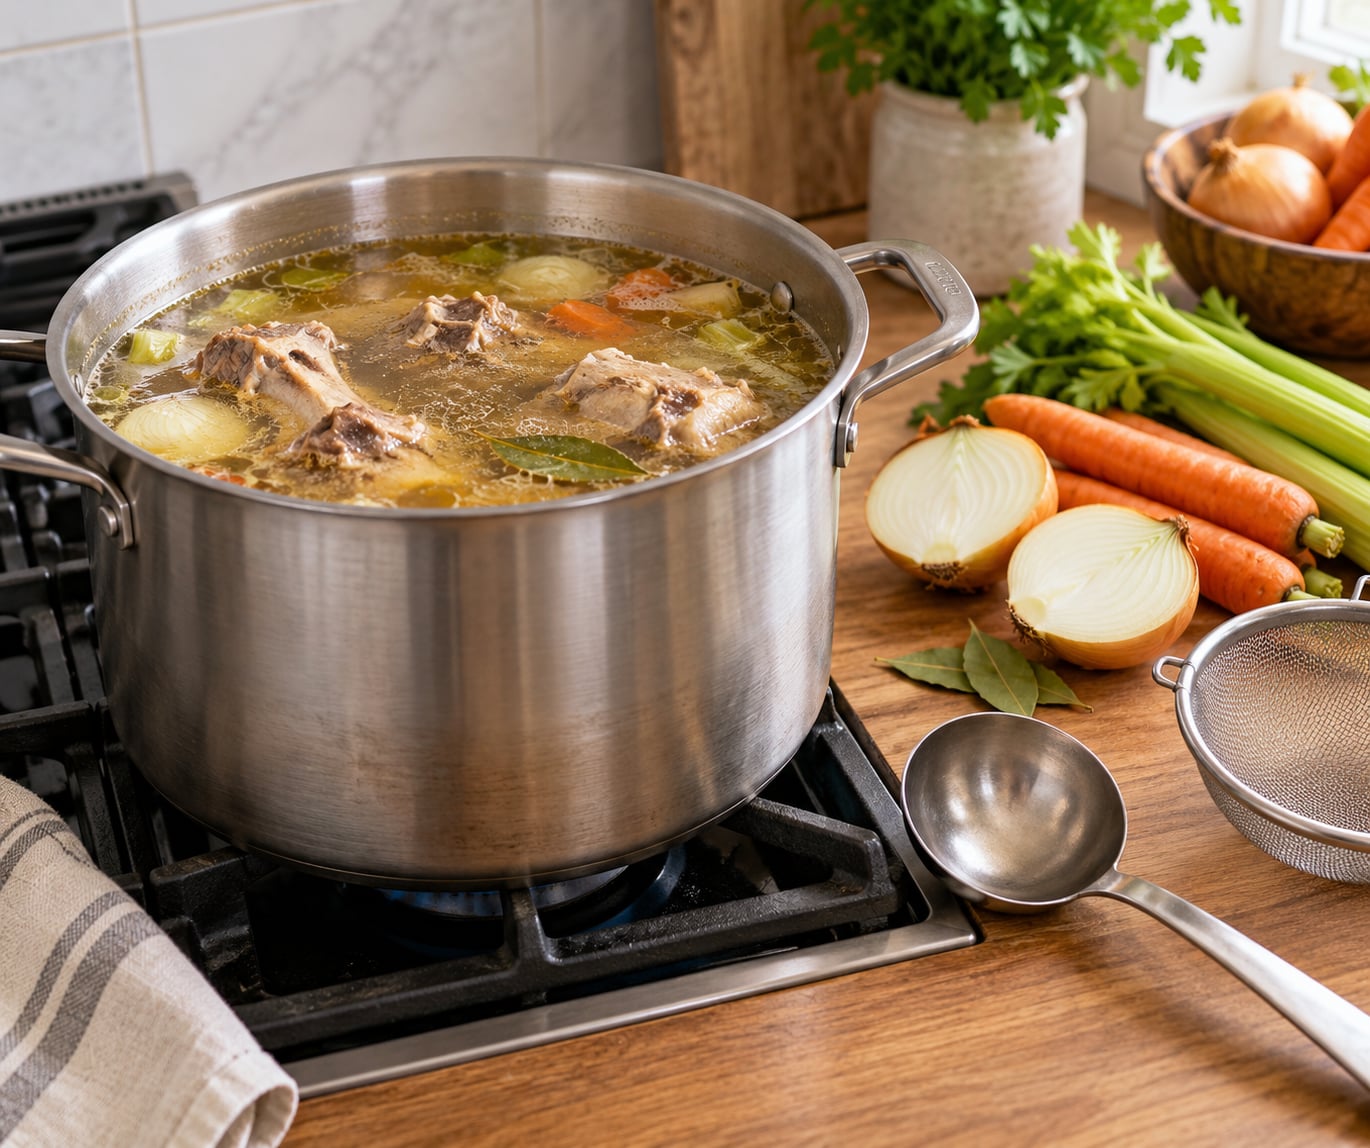
To make bone broth on the stove, cover 3 to 4 pounds of bones with cold filtered water by 2 inches, add 1 to 2 tablespoons of apple cider vinegar plus onion, carrot and celery, then hold it at a bare simmer for 12 to 24 hours. Most of the work is patience, and the simmer stays low the whole way.
The reason bone broth is different from an ordinary two-hour broth is time at a controlled temperature. Collagen in the bones and connective tissue starts converting to gelatin somewhere around 180 to 200F, and that conversion needs hours, not minutes.
There is another difference people miss: how you handle the pot after the heat is off. Cooling and storage decide whether a good batch stays good for four days or spoils quietly on day two.
Here is the whole method, timings included, followed by the problems that come up most often and what actually fixes them.
Table of Contents
- What You Need
- Equipment
- Ingredients
- Choosing bones worth your time
- Step-by-Step: How to Make Bone Broth on the Stove
- Step 1: Choose and Prepare the Bones
- Step 2: Optional Blanching for a Clearer Broth
- Step 3: Build the Pot and Bring It to a Simmer
- Step 4: How Long to Simmer Bone Broth on the Stove
- Step 5: Skim, Taste, and Finish
- The gel test
- Step 6: Strain, Cool, and Store
- Common Mistakes and How to Fix Them
- Making Bone Broth Taste Good
- Stovetop, Slow Cooker, or Pressure Cooker
- Frequently Asked Questions
- How long to simmer when making bone broth?
- What temperature should bone broth simmer at?
- Is it safe to leave bone broth simmering on the stove overnight?
- How do I drink bone broth if I hate the taste?
- Why did my bone broth not set into a gel?
- How long does homemade bone broth last in the fridge and freezer?
- Conclusion
What You Need
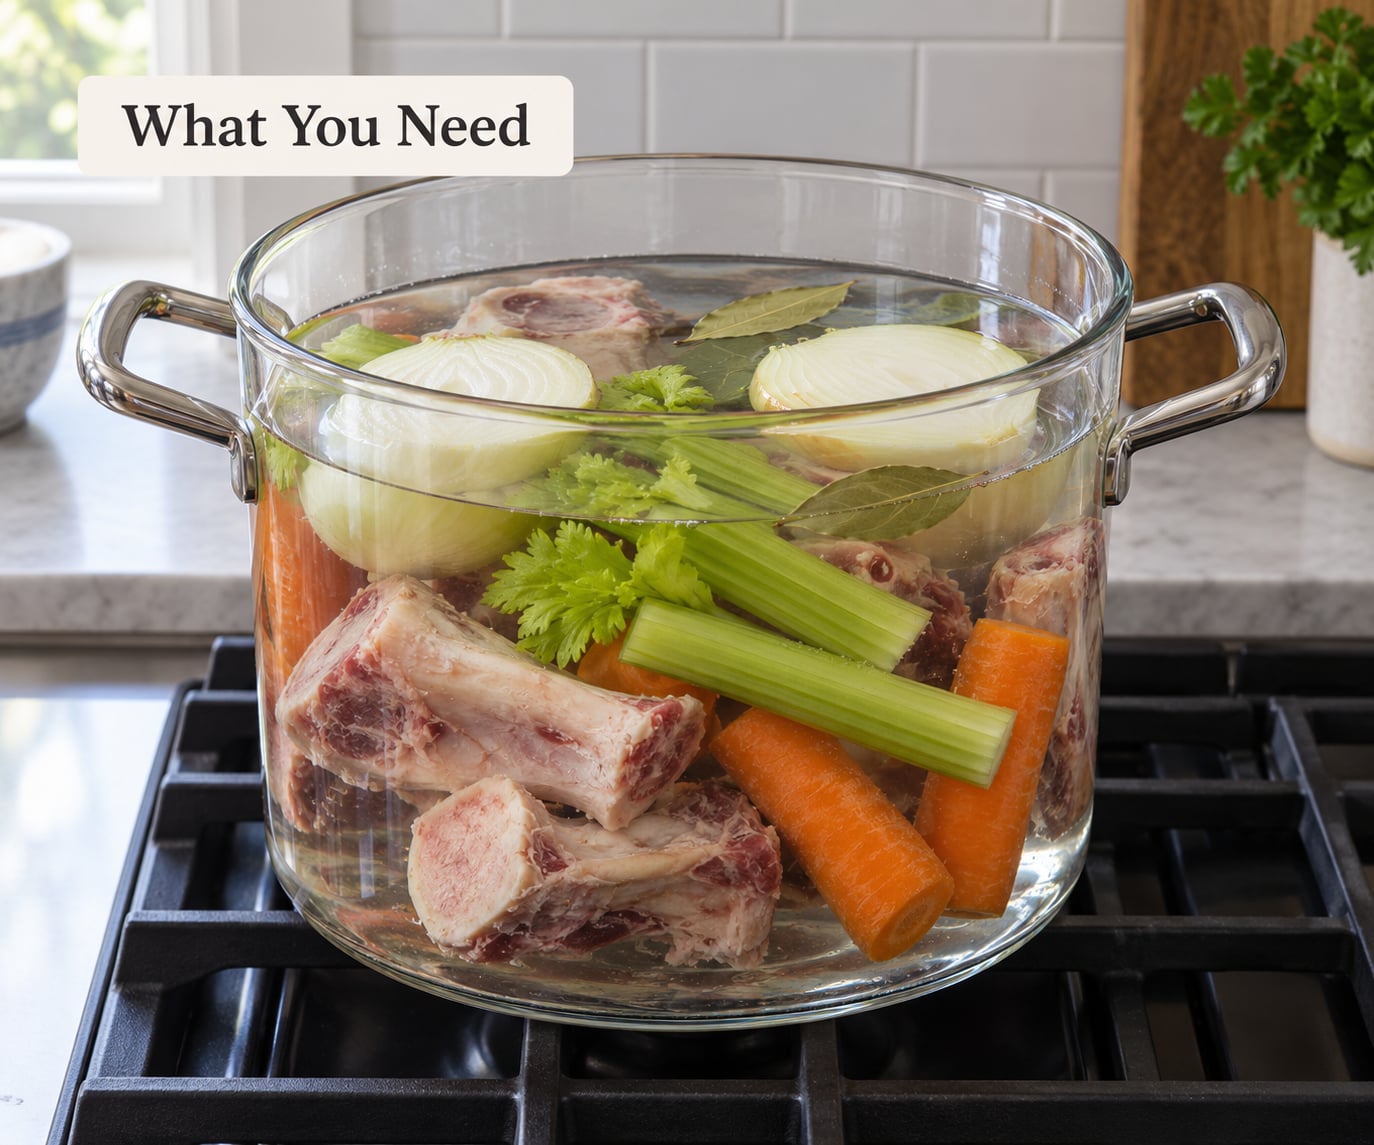
Equipment
- A heavy-bottomed pot, 8 quarts or larger, tall enough that a rolling boil will not spit over the rim
- A lid that fits snugly, so you can start covered and shift to a cracked lid
- A fine mesh skimmer for the foam in the first hour
- A food thermometer with a probe long enough to read the middle of the pot
- A fine mesh strainer, or a colander lined with cheesecloth
- Long tongs and a jar funnel for bottling
A heavy-bottomed pot matters more than people expect. A thin pot gives you hot spots, hot spots scorch the marrow and vegetables, and a scorched batch is bitter no matter how long you simmer it.
Size the pot so the bones fill no more than half of it. Expansion and foaming both need headroom, and a pot packed to the rim will boil over in the first hour even on a low flame.
The thermometer is the one tool people skip and then wish they had. Flame size, pot thickness and room temperature all shift how fast a broth comes to a simmer, and guessing is how batches accidentally cook at a rolling boil for twenty hours.
Ingredients
- 3 to 4 pounds bones, joint and marrow heavy if you can pick them
- Cold filtered water, enough to cover the bones by 2 inches
- 1 to 2 tablespoons apple cider vinegar
- 1 large onion, halved or quartered, peel left on
- 3 to 4 carrots, roughly chopped
- 3 stalks celery, roughly chopped
- 2 or 3 bay leaves
- 1 tablespoon whole peppercorns, optional
- 1 to 2 teaspoons kosher salt, added near the end
- Fresh herbs such as thyme or rosemary for the last 30 minutes, optional
That setup makes roughly 3 to 4 quarts of finished broth. More water means a thinner result, so if your goal is a broth that sets into a firm gel when chilled, resist the urge to fill the pot to the top.
Bone type changes the timing more than the method. Chicken feet and wings carry the most connective tissue and gel fastest. Beef marrow and knuckle bones give the richest flavor but want the longest simmer. Pork neck bones and ribs sit in between. A carcass from a roasted whole chicken is an excellent, inexpensive choice.
Vegetables are optional in the strict sense, but they matter for flavor. They also make the broth worth drinking straight rather than only using as a cooking base. Hold back the darker items like carrots if you want a lighter color, and skip anything that turns bitter long-simmered, which rules out beets and cruciferous scraps.
Skip the butter or oil entirely. Bone broth does not need fat to develop flavor, and adding it only makes the surface harder to skim.
Choosing bones worth your time
Chicken feet are the cheapest route to a firm gel because they are almost entirely skin, tendon and cartilage. Wings work for the same reason. A whole roasted chicken carcass, saved and frozen until you have a pound or two, gives you both bones and the small bits of meat and skin that add body.
For beef, marrow and knuckle bones are the workhorses. Oxtail costs more and rewards the long simmer with a rounder, cleaner flavor. Beef rib bones make good broth but lean toward meat rather than collagen.
Pork neck bones, hocks and ribs are a good middle ground, and pork feet gel extremely well if you can find them at a specialty butcher.
A grocery-store rotisserie chicken works. Ask whether they will give you the carcass, which many counters will, or save your own Sunday bones in a freezer bag until you have a batch worth starting.
Skip bones that are mostly meat. They produce a thin broth and turn to string after eight hours, and the extra cost buys nothing for this purpose.
Step-by-Step: How to Make Bone Broth on the Stove
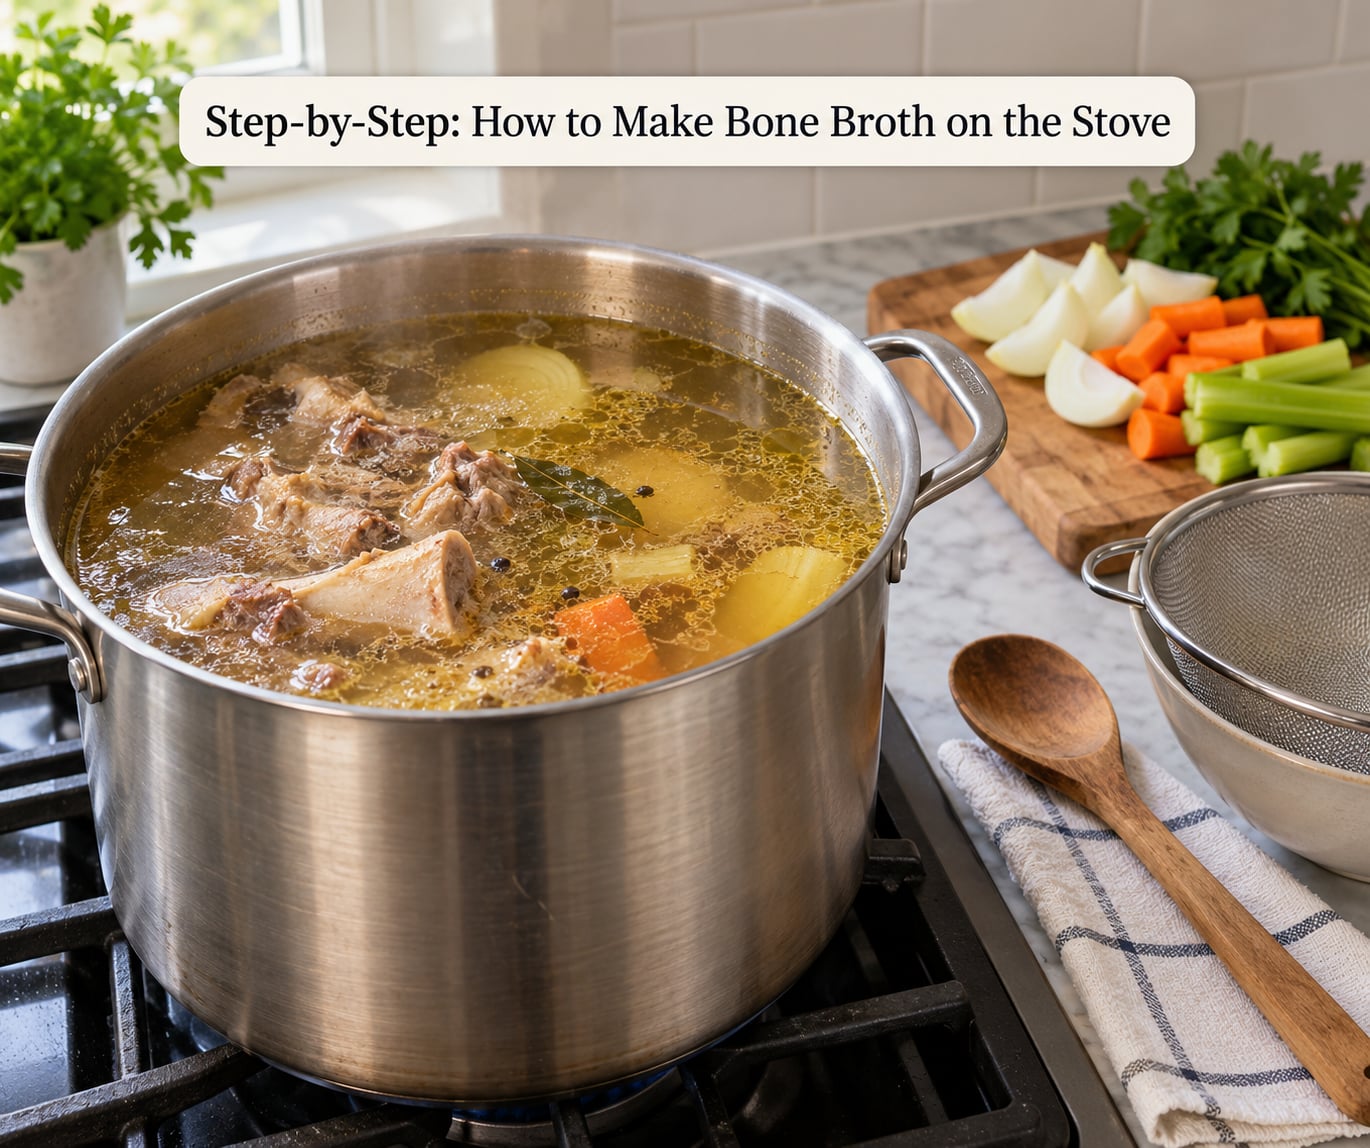
Step 1: Choose and Prepare the Bones
Rinse the bones under cold running water and pat them dry. Break or chop any large pieces so the bone sits flat and the marrow faces the water. A cleaver and the flat side of a heavy knife handle this fine, and asking the butcher to cut them for you saves the most time.
Rinsing removes surface dust and loose fragments. Some cooks soak the bones for an hour in cold water with a splash of vinegar, then drain and rinse, which takes the edge off any gamey smell.
Ask for marrow-rich or joint-heavy cuts when you are buying. Knuckle bones, neck bones, feet and the ends of bones that still have a bit of cartilage attached will give you a noticeably thicker result than straight rib or loin bones.
Frozen bones work well, especially a frozen carcass saved until you have enough. Thaw overnight in the refrigerator if you can, or cook them from frozen and just add 30 to 60 minutes to the simmer time.
The one move experienced cooks make early is pulling the meat off at around the two-hour mark. Set the meat aside, refrigerate it, and return only the bones to the pot. You lose nothing and you avoid overcooked, stringy meat sitting in your finished broth.
Step 2: Optional Blanching for a Clearer Broth
Blanching is the step most recipes leave out and most home cooks never need. Skip it if you want the deepest, most gelatinous result.
If clarity is your goal, cover the bones with cold water, bring them to a full boil, and hold that boil for 10 to 15 minutes. Meanwhile, preheat a large bowl of cold water. Lift the bones out, drop them straight into the cold bowl for a minute or two, then drain and rinse them well.
That brief hot-then-cold cycle pulls the surface proteins and loose bits off the bone that would otherwise cloud the liquid. Discard the blanching water. Do not pour it into your pot.
Skip blanching when the bones are clean and you are after body rather than clarity. You lose a little of the surface flavor, and broth that gels hard is the whole point for most people making it at home.
Step 3: Build the Pot and Bring It to a Simmer
Put the bones in the pot first, then pour cold filtered water over them until they sit under 2 inches of water. Starting cold gives the collagen an even extraction rather than a shock at the surface.
Add the vinegar now and give the pot a stir. Two tablespoons per 4 pounds of bones is enough. The acid does not cook the meat and it does not add flavor you will notice in the finished pot. It loosens calcium and collagen from the bone surface so they can move into the water.
Add the onion, carrots, celery, bay leaves and peppercorns. Some cooks add all vegetables at the start for a fuller body, and others hold half back for the last hour to keep them from turning to mush.
Bring the pot to a boil uncovered, then immediately drop the heat. Watch for the difference: a rolling boil churns the surface and breaks up emulsified fat, while a gentle simmer shows a bubble or two every second or two and a lazy movement across the top.
Set the lid on cracked and check the temperature. You want the liquid holding around 180 to 185F. If it sits below 180, nudge the flame up a touch. If it climbs past 195, turn it down.
Give it ten minutes on that heat before you adjust anything. Water heats slowly and the pot keeps climbing after the flame changes.
Roasting the bones first is an optional step that adds color and a roasted depth. Toss them with a little oil, spread them on a sheet pan, and roast at 425F for 25 to 30 minutes until they smell nutty and look deep brown at the edges. Then start the pot with room-temperature water rather than cold, since hot liquid slows extraction.
Step 4: How Long to Simmer Bone Broth on the Stove
Here is where patience pays off. Hold that gentle simmer for 12 to 24 hours for chicken, and 18 to 24 hours for beef and pork. Fish is different and much shorter.
| Bone or vegetable type | Stovetop simmer time | Typical yield from 3-4 lb |
|---|---|---|
| Chicken (feet, wings, carcass, joints) | 12-18 hours | 3-4 quarts |
| Beef (marrow, knuckle, oxtail) | 18-24 hours | 3-4 quarts |
| Pork (neck bones, ribs, hock) | 14-20 hours | 3-4 quarts |
| Fish (heads, frames, tails) | 4-6 hours, never boiling | 2-3 quarts |
| Vegetable scraps only | 2-4 hours | 2-3 quarts |
Watch the surface instead of the clock. A healthy simmer shows a thin, glossy skin of fat and small bubbles around the edges of the pot. If you see a hard churn or a foaming boil, the heat is too high and you are losing clarity and driving off water you want in the pot.
Top up with hot water whenever the level drops to within an inch of the bones. Use a mug or a pitcher held over the pot so you do not shock the liquid. Over-reduction is the most common avoidable mistake here, and it turns a planned 3 quarts into a cup of salty concentrate.
Turn the bones over or give the pot a stir every few hours if you are around the house. At some point you should be able to see a bare spot on a long bone where the surface has gone soft and pale. That is the visual cue that collagen is leaving the bone.
Some cooks run 24 to 48 hours when the recipe calls for maximum gelatin. It is not harmful, but past about 24 hours the flavor gains are small and the pot loses water steadily.
Step 5: Skim, Taste, and Finish
The first 30 to 60 minutes produce a gray foam. Skim it off with the fine mesh skimmer and discard it. That foam is mostly proteins and impurities, and removing it early is far easier than trying to clarify finished broth later.
After that, skim fat as it collects on the surface. You do not need to remove all of it. Some fat carries flavor and dissolves into the broth as it cools, so many cooks skim off all but a thin layer, and others remove nothing until the broth is strained.
Taste the broth during the last hour. Add salt in small amounts and taste again; broth seasoned at the start tastes heavier once it has reduced for 12 hours.
If the flavor is thin, extend the simmer by another hour or two before adding more water. Water dilutes, time concentrates. If it tastes flat but full-bodied, add aromatics rather than salt: a second onion quartered, a few peppercorns, or a bay leaf for the final 30 minutes.
Watch the vinegar. More than two tablespoons, or a very long reduction, can leave a sharp tang that some people find unpleasant. If you taste it and it tastes sour rather than savory, add water back in small amounts before adjusting anything else.
Fresh herbs go in late. Thyme and rosemary for the final 30 minutes smell far better than herbs cooked for a full day, which tend to turn bitter.
The gel test
Scoop a cupful into a small jar or a bowl, chill it for an hour, then tip it over. Good broth coats the bottom in a glossy layer and holds a soft wobble rather than running flat. Liquid that sets into a spoonable gel after chilling tells you the collagen conversion is done, and the broth will thicken noticeably as it cools even if it looked thin in the pot.
Run the test a little before your planned finish rather than at the end, so you have time to keep simmering if it has not set. Cooling is also when you find out whether the ratio worked; if it will not gel, more time on the same bones is the fix, not more water.
Step 6: Strain, Cool, and Store
Set a fine mesh strainer over a large bowl or pot and ladle the broth through. Press the solids with the back of a spoon to get the last of the liquid out, then set the bones and vegetables aside.
Cool it fast. USDA guidance is to get food out of the 40 to 140F danger zone within two hours, and a full pot of broth cools slowly because of the volume. Divide it into shallow containers, set those containers in an ice bath, or drop ice cubes directly into the pot. A large pot going from simmering to room temperature can spend many hours in that range.
Once cold, skim the solidified fat off the top if you want a lean broth. Transfer what you are keeping into containers with lids and label them with the date and the bone type.
Refrigerate promptly and use within four days. For longer keeping, freeze it: silicone ice cube trays or Souper Cubes give single portions that are easy to drop into soups, and wide-mouth mason jars work well for larger amounts.
Leave an inch of headspace in every jar you freeze. Broth expands as it freezes, and a jar filled to the rim will crack. Six-quart jars are the practical size for freezing; larger ones are more likely to break. Glass jars straight from the fridge or freezer should not go into a hot pot of water, since the temperature shock is another way to break them.
One thing the pot cannot fix is what you do with the solids. Bones and vegetables from a finished batch are no longer good for a second full broth, but the meat pulled at the two-hour mark is worth eating, and the strained vegetables make a fine snack or compost if you have a garden.
Common Mistakes and How to Fix Them
Cloudy, milky broth. Almost always a heat problem. A rolling boil emulsifies fat into the liquid and traps fine particles. Next time, drop the heat until you see only a bubble or two per second, skim the first hour, and blanch the bones if clarity really matters. You cannot clear finished broth by straining it, so this has to be handled at the pot.
Weak flavor. Usually too little time or too few bone-heavy pieces. Chicken rib and loin bones have little connective tissue, so the broth tastes thin no matter how long you cook it. Add feet, wings or joints for your next batch, and extend the simmer before you reach for more salt.
Broth that will not gel. The water-to-bone ratio is the most common cause. Too much water and not enough connective tissue gives you a liquid that never sets. A quart of water per pound of bones is a reasonable starting point, and a second simmer on the same bones adds more gelatin than the first one did.
Greasy, slick broth. Too much fat went in, usually from fatty marrow bones or skin left on the pieces. Chill the broth fully and lift off the solid cap. Next time, ask your butcher for leaner bones and skim more often during the first two hours.
It reduced down to almost nothing. Long gentle simmers over many hours lose a surprising amount of water, and this is the most common complaint on cooking forums. Watch the level, keep a kettle of hot water on the stove, and top up whenever the bones come within an inch of being exposed. Do the same if the lid is left fully off.
A strong vinegar tang. Too much acid or too much reduction. Salt does not fix sourness. Add hot water to dilute it back down and taste again before adding anything else.
Bitter or off taste. Scorched vegetables at the bottom of a thin pot, organ meats left in the mix, or fish bones simmered far past their window. Fish broth that tastes muddy almost always simmered too long or boiled. Use fresh aromatics, a heavier pot, and pull fish broth at 4 to 6 hours.
Plain boiled chicken bones smell unpleasant. This one surprised me the first time. Long cooking concentrates the odor rather than removing it. Marinating the bones briefly in cold water with a splash of vinegar, or roasting them in the oven until they smell good before they go in the pot, both help. Most cooks discover this is a chicken-carcass issue, not a broth issue.
Storage that is not safe. Self-sealing jars, jars filled to the top, and broth left at room temperature for hours are the three problems here. Cool fast, leave headspace, refrigerate within two hours, and use it within four days or freeze it.
Making Bone Broth Taste Good
Plain homemade broth is savory rather than friendly, and people who expect a clear golden cup often find it too heavy. A few habits make it drinkable without hiding what it is.
- Salt at the end, in small amounts, tasting between each pinch
- Hold back half the aromatics and add them for the final hour so you get fresh onion and carrot notes instead of cooked-mushroom flavor
- Dilute a quarter cup of hot broth with a quarter cup of water and a squeeze of lemon, which is roughly how most people drink it as a morning cup
- Whisk in a spoonful of miso off the heat for umami and salt, plus grated ginger and a few drops of toasted sesame oil
- Add noodles, shredded chicken or a soft-boiled egg and treat it as a small meal rather than a beverage
- Blend in a roasted carrot or a few ounces of coconut milk if you like a thicker, curry-leaning broth
Another approach that works well is to keep the plain broth for cooking and make a separate drinking broth. Simmer the same bones again for 8 to 12 hours with fresh aromatics and a strip of kombu, strain it, and season that second batch more aggressively. Cooking with it and sipping it want opposite things from the same pot.
Watch the acid. More than two tablespoons of vinegar, or a long reduction, can leave a sourness that people mistake for under-salt and try to fix with the salt shaker, which makes it worse. Dilute first, then season.
Stovetop, Slow Cooker, or Pressure Cooker
The stovetop gives you the most control and the best result, and it is the only method that lets you skim and taste as you go. The other two exist for scheduling, not quality.
| Method | Time for chicken bones | Watch-outs |
|---|---|---|
| Stovetop, gentle simmer | 12-18 hours | Best control and deepest flavor; needs an unattended-safety decision |
| Slow cooker on low | 12-18 hours | No open flame to worry about; harder to skim and reduce |
| Pressure cooker | 4-6 hours at high pressure | Fastest; needs more connective tissue for body |
| Electric kettle or roaster oven | 12-18 hours | Set-and-forget with no open flame |
Many home cooks who start on the stove end up running overnight batches in a slow cooker because of the open-flame concern, then use the stovetop for the batch they want to skim and reduce. Starting with a cold pot of bones and water and turning the dial to low gives you the same gentle simmer without a burner.
Pressure cooking compresses the schedule but changes the character. The liquid comes out strong and fast, and it often needs longer to set into a gel, so add a generous amount of connective tissue-heavy bones if body matters to you.
Frequently Asked Questions
How long to simmer when making bone broth?
Chicken bones simmer 12-18 hours on the stove, beef and pork 18-24 hours, and fish only 4-6 hours because it turns muddy beyond that. The clock matters less than the heat: hold a bare simmer around 180-185F for the whole stretch. If your pot boils hard, the broth extracts faster in the wrong way and goes cloudy.
What temperature should bone broth simmer at?
Aim for 180 to 185F measured in the middle of the pot with a probe thermometer. Collagen starts converting to gelatin somewhere around 180 to 200F, so staying just above 180 keeps the conversion going without breaking the surface apart. Above roughly 200F you get a rolling boil, which clouds the broth and emulsifies the fat.
Is it safe to leave bone broth simmering on the stove overnight?
A simmer with a cracked lid and a stable burner is fine for many home kitchens, but an open gas flame left unattended for 10 to 20 hours is a genuine fire risk. Many cooks switch to a slow cooker or electric kettle for overnight batches for that reason. If you do simmer overnight, stay in the house, keep a timer on, and check the water level so it does not boil dry.
How do I drink bone broth if I hate the taste?
Treat it as a base rather than a drink. Warm broth with a spoonful of miso, a squeeze of lemon, grated ginger and a few drops of toasted sesame oil tastes nothing like plain stock. Shredded chicken, noodles or soft-boiled eggs turn a cup into a meal. Start with a quarter cup diluted with hot water and a little salt, and build up from there.
Why did my bone broth not set into a gel?
Not enough connective tissue went into the pot, or too much water. Feet, wings, joints and knuckle bones gel reliably; rib and loin bones do not. A rough target is about a quart of water per pound of bones. Simmering the same bones a second time for another 8 to 12 hours also adds gelatin that the first pass did not release.
How long does homemade bone broth last in the fridge and freezer?
Refrigerated in a sealed container, use it within four days. For the freezer, leave an inch of headspace in wide-mouth jars, because broth expands as it freezes and a full jar can crack; smaller jars are safer. Ice cube trays or Souper Cubes are the easiest option for single portions. Thaw in the refrigerator overnight, not on the counter.
Conclusion
Two decisions carry most of the result: which bones go in the pot, and how gently you hold the heat. Choose joint-heavy or marrow-rich cuts, start with cold water and about a quart per pound of bones, add the vinegar, and keep the simmer just above 180F for the full 12 to 24 hours.
Make your first batch plain, with onion, carrot, celery and bay leaf. Once you have the timing and the skim habit down, then start saving your veggie tops and onion skins, freezing carcasses in batches, and roasting bones for deeper color.