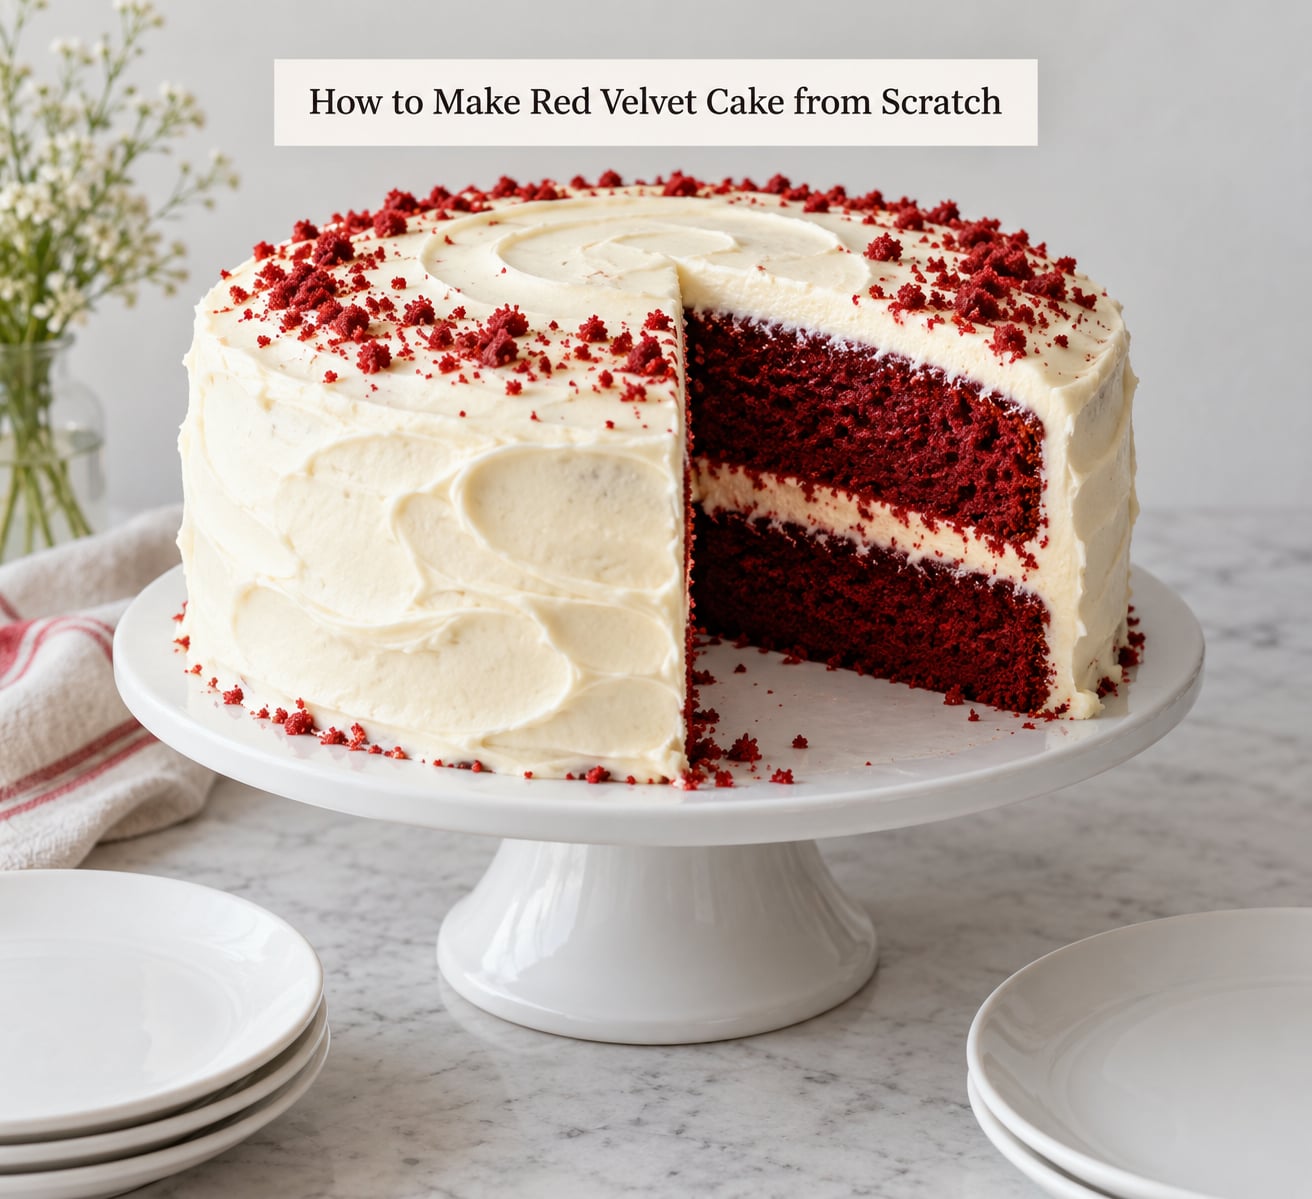
A dependable red velvet layer cake comes down to four things: a small amount of cocoa for a mild chocolate note, buttermilk and vinegar for tang and lift, neutral oil for a moist crumb, and a stiff cream cheese frosting. The whole thing comes together in about an hour of active work, and the tricky part is really just temperature control.
This guide walks through how to make red velvet cake from scratch with no stand mixer required, US and metric measures for everything, and visual cues so you know when the batter, the layers and the frosting are ready. If you have failed at this once, the mistakes section at the bottom probably names your exact problem.
Table of Contents
- What You Need
- For the cake
- For the cream cheese frosting
- What each key ingredient is doing
- Equipment
- How to Make Red Velvet Cake from Scratch
- Mix the Dry Ingredients
- Combine the Wet Ingredients and Batter
- Bake and Cool the Cake Layers
- Make the Cream Cheese Frosting
- Fill, Frost, and Finish the Cake
- How to Keep Red Velvet Cake Fresh
- Common Mistakes and How to Fix Them
- Ten tips for a better layer
- Frequently Asked Questions
- Do I need food coloring to make red velvet cake?
- Can I use natural cocoa powder in red velvet cake?
- What can I use instead of buttermilk?
- How long should I bake red velvet cake at 350°F?
- Why did my red velvet cake crack on top?
- Can I freeze a red velvet cake with cream cheese frosting?
- Conclusion
What You Need
Measurements are given US-first with metric in parentheses, and every one of them works by weight if you own a scale. Weighing the flour and sugar is the single best habit you can pick up here, since cup measures are the most common reason a homemade layer cake turns out dry or dense.
For the cake
- 2 cups (250 g) all-purpose flour, spooned into the cup and leveled, never packed
- 1 1/2 cups (300 g) granulated sugar
- 1 tablespoon (6 g) baking soda
- 1 teaspoon (6 g) fine salt
- 2 tablespoons (12 g) unsweetened cocoa powder, natural or Dutch-process
- 1 1/2 cups (360 ml) neutral vegetable oil, such as canola or sunflower
- 1 1/2 cups (360 ml) buttermilk, at room temperature
- 2 large eggs, at room temperature
- 2 teaspoons (10 ml) pure vanilla extract
- 1 teaspoon (5 ml) white distilled vinegar or apple cider vinegar
- 2 tablespoons (30 ml) red gel food coloring
For the cream cheese frosting
- 16 ounces (450 g) full-fat block cream cheese, chilled, not tub-style
- 1/2 cup (115 g) unsalted butter, softened to room temperature
- 4 cups (500 g) confectioners sugar, sifted
- 1 1/2 teaspoons (8 ml) pure vanilla extract
- 1/4 teaspoon fine salt
What each key ingredient is doing
Cocoa powder is a flavor note, not the star. Two tablespoons is the right amount for two 9-inch layers; double it and you have a chocolate cake with red food coloring, which is the most common way this recipe goes wrong.
Buttermilk and vinegar supply the acid that activates baking soda, and the tang is what keeps the cocoa from tasting flat. The same acid deepens the reddish-brown tone in the crumbs.
Red gel food coloring is concentrated, so a couple of tablespoons is plenty. Liquid drops need far less, and over-adding them is where a faintly bitter taste creeps in.
Oil instead of butter in the batter is what gives red velvet its plush, almost fudgy crumb. Butter belongs in the frosting, where you want richness and structure rather than moisture.
Equipment
You need two 8-inch or 9-inch round cake pans, two parchment rounds, a wire cooling rack, a rubber spatula, a whisk or fork, and a toothpick. A stand mixer makes the frosting faster but is not necessary; a hand mixer or a sturdy bowl and a wooden spoon will do the job.
How to Make Red Velvet Cake from Scratch
Set the oven to 350°F (175°C) with the rack in the middle. Butter the pans, line the bottoms with parchment, and dust the sides with a little flour, then set them aside while you mix.
Mix the Dry Ingredients
Whisk the flour, sugar, baking soda, salt and cocoa together in a large bowl for about 30 seconds. Sift the cocoa if it looks heavy or has small compacted lumps, because those pockets survive mixing and bake into gray streaks in the crumb.
The mix should look uniformly brown with no patches of white salt or dry cocoa. Run a finger through it; if it feels gritty in spots, give it another 20 seconds.
Combine the Wet Ingredients and Batter
In a second bowl, whisk the oil, buttermilk, eggs, vanilla, vinegar and red food coloring together until the color is evenly streaked through. Pour the wet mixture into the dry and stir with a spatula just until no dry flour is visible.
Stop there. Overmixing develops gluten, and you get a tight, tough crumb instead of the tender one this cake is known for. The batter will look thin and glossy rather than thick, and that is correct.
Divide the batter between the two prepared pans and tap each firmly on the counter a couple of times to pop large air bubbles. Scrape the surface with the back of a spatula so it sits level.
Bake and Cool the Cake Layers
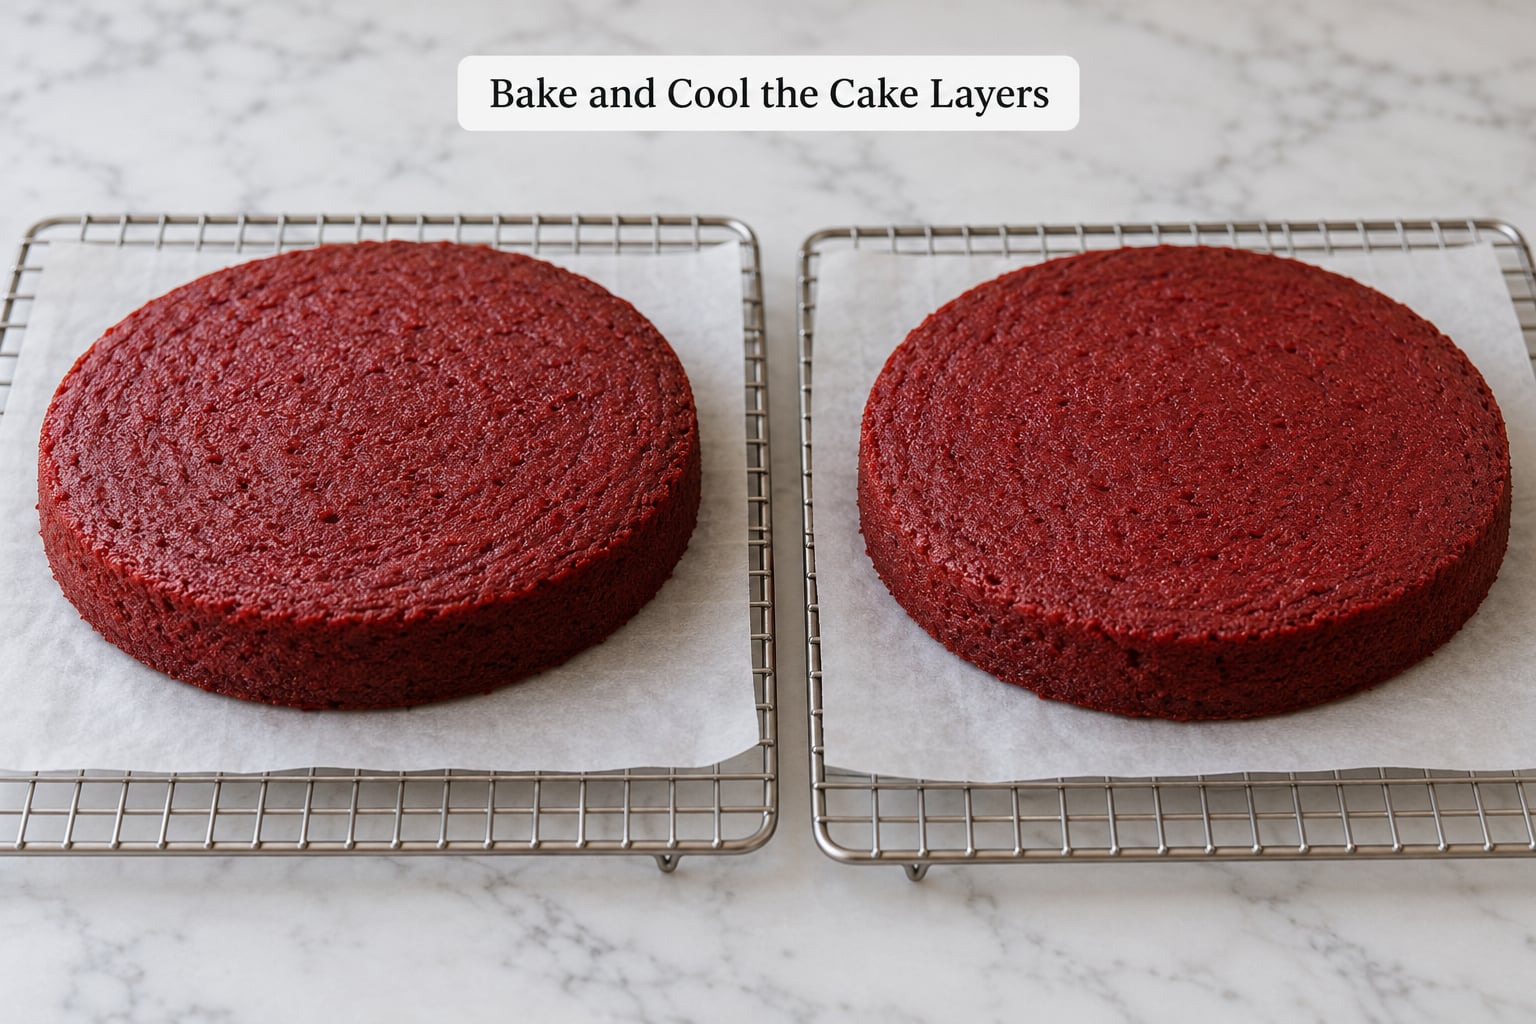
Bake at 350°F (175°C) for 28 to 33 minutes. Start checking at 26 minutes, because home ovens run hot and a dry red velvet is a common outcome. A toothpick inserted in the center should come out with a few moist crumbs, never wet batter.
The surface should feel springy when you press lightly near the edge, and the layers should have domed slightly in the middle with no cracks running across the top.
Let the pans sit on a wire rack for 10 minutes, then run a knife around the edge and turn the layers out onto the rack. Cool them completely, roughly one hour, before frosting. Frosting a warm layer melts the butter in the frosting and gives you a slide.
If the layers are very tender, an extra 20 minutes in the refrigerator makes frosting them noticeably easier.
Make the Cream Cheese Frosting
Beat the softened butter on medium-high for about a minute until pale, then add the cold block cream cheese and keep beating for 2 to 3 minutes until completely smooth and no lumps remain at the edges of the bowl.
Turn the mixer down to low and add the sifted confectioners sugar a cup at a time, letting each addition blend in before the next. Beat in the vanilla and salt, then stop.
Long beating is what makes cream cheese frosting weep and slide off the cake. The sugar structure does the work, so the frosting should end up stiff enough to hold a sharp ridge when you lift the beaters.
Fill, Frost, and Finish the Cake
Place one cooled layer on your cake stand. If it domed unevenly, slice off the bulge with a long serrated knife while the layer is still slightly cool, using a gentle sawing motion so you do not compress the crumb.
Spread a thin layer of frosting, about an eighth of an inch, over the surface to seal in crumbs, then chill the layer in the refrigerator for 20 minutes. This crumb coat is the reason the finished cake does not shed red crumbs into the frosting.
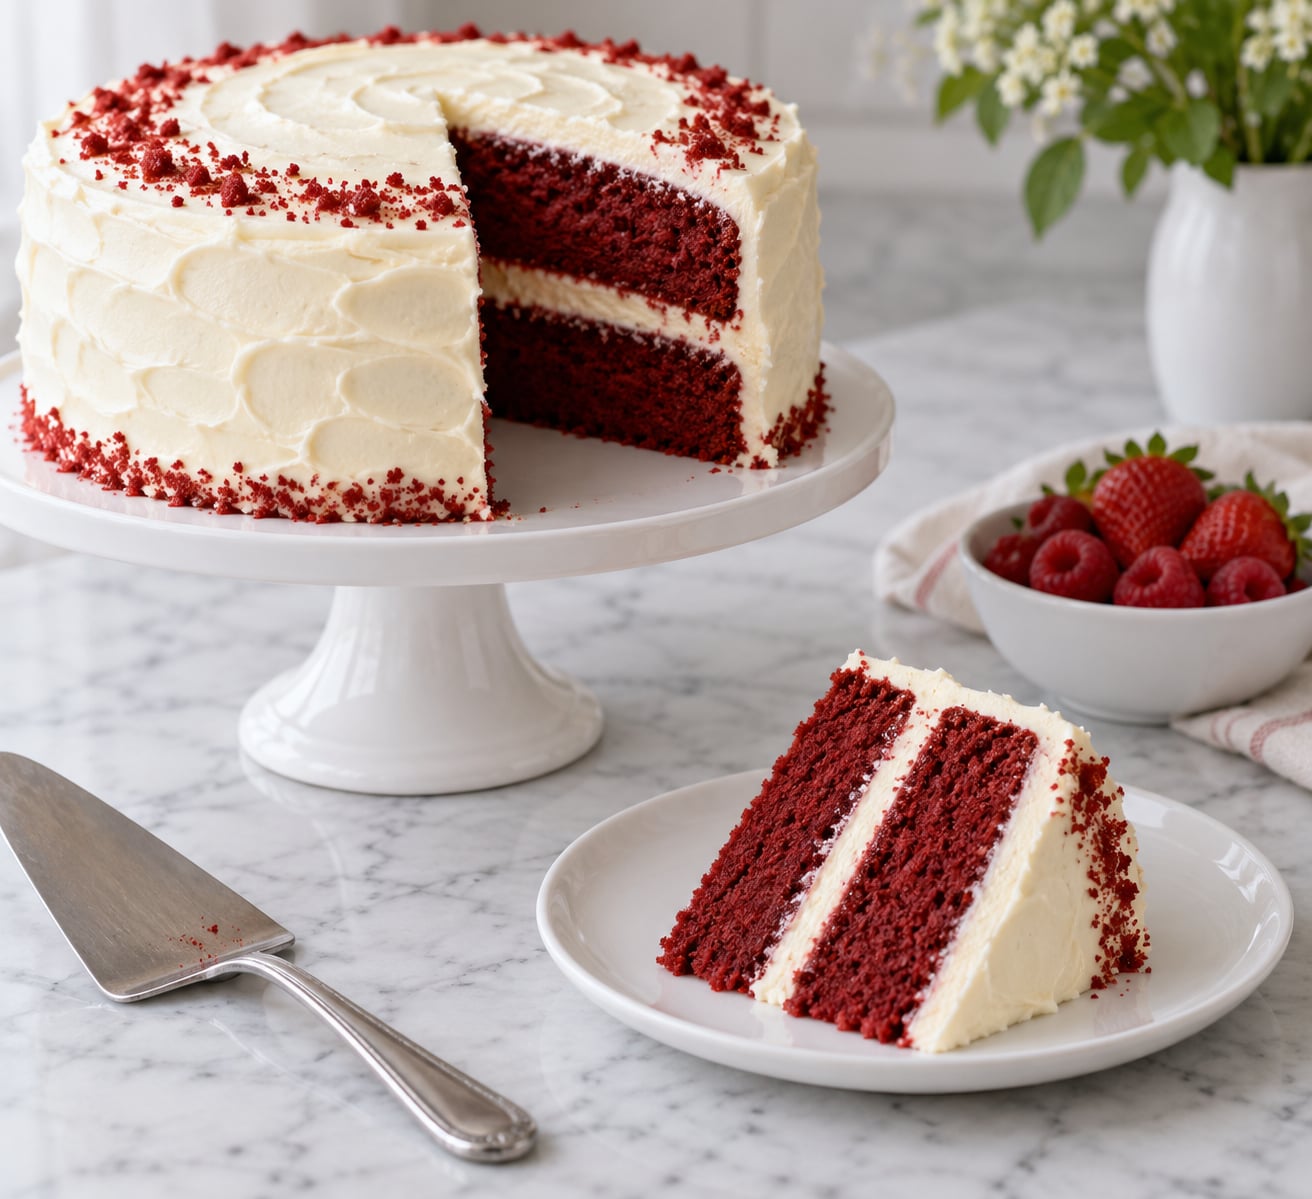
Add the second layer, press down gently to level it, and frost the top and sides. For a smoother finish, chill the frosted cake for 15 minutes and then scrape the sides with a straight-edged spatula held at a slight angle.
Pipe a border of stars around the top edge, and scatter the trimmed domes or a spoonful of red velvet crumbs over the cake if you want to hide the leveling cuts.
Slice with a long serrated knife dipped in hot water and wiped clean between cuts, and serve the cake at room temperature for about 20 minutes so the frosting softens slightly.
How to Keep Red Velvet Cake Fresh
Because cream cheese frosting is a dairy product, the finished cake needs refrigeration. The USDA guideline for perishable foods left at room temperature is two hours, or one hour in a kitchen above 90°F (32°C), after which the frosting should be discarded rather than served.
Wrapped in a cake carrier or airtight container, a frosted cake keeps about 4 to 5 days in the refrigerator. Let it come out for 20 to 30 minutes before slicing, since straight-from-the-fridge frosting is firm and the crumb is tighter.
Unfrosted layers wrapped tightly in plastic and foil keep at room temperature for about 2 days, or up to 3 days refrigerated. Many bakers bake the layers a day ahead and frost the next morning, and the crumb actually holds moisture better for it.
For freezing, cool the layers completely, wrap each one in two layers of plastic and a layer of foil, and freeze for up to 3 months. Thaw wrapped at room temperature for a few hours, not in the open, so the surface does not go damp. Cream cheese frosting freezes fine too, though I usually frost after thawing.
Common Mistakes and How to Fix Them
| What went wrong | Likely cause | How to fix it next time |
|---|---|---|
| Dome with a crack across the top | Oven too hot, or batter overmixed | Bake at 350°F, reduce the sugar slightly, and stop mixing the moment the flour disappears |
| Dense, heavy crumb | Flour packed into the measuring cup or beaten too long | Weigh the flour at 250 g and stop mixing the batter as soon as it comes together |
| Dry, crumbly layers | Baked several minutes past doneness | Start checking at 26 minutes and pull at the first sign of a clean toothpick |
| Tastes like chocolate cake | Too much cocoa powder | Hold to 2 tablespoons for two 9-inch layers and make sure the cocoa is level, not heaped |
| Pale or brownish crumb | Not enough red gel coloring, or old liquid drops | Use gel color and check it against daylight before baking |
| Center sinks after baking | Pans moved or jostled early in the bake | Set the pans in the oven and leave them alone until the timer stops |
| Layers tear while frosting | Cake still warm, or knife sawing instead of slicing | Chill the layers 20 minutes and use a light rocking motion with a sharp knife |
| Grainy or gritty frosting | Sugar added too fast, or not sifted | Sift the confectioners sugar and add it one cup at a time on low speed |
| Runny frosting that slides off | Beaten too long, or cream cheese too warm | Chill the bowl and beaters between stages, beat the sugar in quickly, and chill the finished cake 15 minutes |
Ten tips for a better layer
- Bring the eggs, buttermilk and butter to room temperature 30 minutes ahead.
- Weigh the flour, cocoa and sugar on a scale if you have one.
- Sift the cocoa powder so no dry pockets survive into the batter.
- Add the vinegar last and stir it in fully, since the acid is what the baking soda reacts with.
- Use gel food coloring, and start with one tablespoon before adding more.
- Mix the batter with a spatula and stop early.
- Line the pan bottoms with parchment so nothing sticks and nothing tears on release.
- Test for doneness with a toothpick rather than the clock alone.
- Cool the layers fully, and chill them briefly if the crumb is fragile.
- Use full-fat block cream cheese; tub-style cream cheese is too loose to hold a spreadable frosting.
One variation worth trying is a quarter cup of hot, strong coffee in place of part of the buttermilk. It deepens the cocoa without making the cake taste of coffee, and several bakers who omitted it entirely report no difference in the finished result.
Frequently Asked Questions
Do I need food coloring to make red velvet cake?
No, you can leave it out and the cake will still taste right, but it will look chocolate rather than red. The brownish-red tone in a plain red velvet comes from cocoa reacting with the acid in the buttermilk and vinegar, and that hue alone is too muted to pass for a red cake. Beet juice or beet powder gives a soft natural red, or you can skip color entirely and finish the cake with cream cheese frosting and berries.
Can I use natural cocoa powder in red velvet cake?
Yes, and the cake will be a little more acidic and slightly less intense in color. Natural cocoa is more acidic than Dutch-process, so it reacts more with the baking soda, which can give a taller, lighter crumb. If you use natural cocoa, you may want to check your cake a few minutes early since the more active acid can affect the bake. Both work; natural is the traditional choice in Southern recipes.
What can I use instead of buttermilk?
Add 1 tablespoon of white distilled vinegar or apple cider vinegar to 1 cup of milk, stir, and wait 5 to 10 minutes until it thickens and looks slightly curdled. That is the standard substitute and it supplies the acid the baking soda needs. Lemon juice works too, at the same 1 tablespoon per cup, but it brings a sharper note than dairy. Plain milk with no acid is not an equivalent, because the cake will lose lift and tang.
How long should I bake red velvet cake at 350°F?
For two 8-inch or 9-inch round layers, plan on 28 to 33 minutes at 350°F (175°C). Start checking at 26 minutes with a toothpick, and pull the layers as soon as it comes out with a few moist crumbs rather than wet batter. Home ovens vary a lot, and baking 10 minutes past the mark is the most common reason a red velvet turns out dry. If your layers domed heavily, your oven is probably running hot.
Why did my red velvet cake crack on top?
A crack usually means too much lift from a hot oven or an overworked batter, and sometimes too much sugar. Reduce the temperature by 25°F, make sure the baking soda is level, and stop mixing the batter as soon as the flour disappears. A thin cake also cracks more easily because the top dries out before the center sets. To hide a small crack, fill it with frosting or pipe a border that covers the seam.
Can I freeze a red velvet cake with cream cheese frosting?
Yes, and both the layers and the finished cake freeze well. Wrap each cooled layer in plastic, then foil, and freeze up to 3 months; frost after thawing for the cleanest result. A fully frosted cake can be frozen too, uncovered first for an hour so the frosting firms, then wrapped tightly. Thaw in the refrigerator overnight or wrapped at room temperature for a few hours, never uncovered where condensation can reach the crumb.
Conclusion
Red velvet rewards restraint. Two tablespoons of cocoa, the full measure of acid from both buttermilk and vinegar, a short mix, and a careful eye on the bake are what separate a good layer from a great one.
If you are making this for the first time, weigh your flour instead of scooping it, stop mixing the batter the moment the flour disappears, and trust the toothpick rather than the timer. Chill the layers before frosting, and refrigerate the finished cake, since cream cheese frosting needs it.
Bake it once, taste it, adjust the cocoa next time. That loop is how every baker I know gets good at this, and it is the fastest way to get a red velvet of your own in 2026 that you actually want to make again.