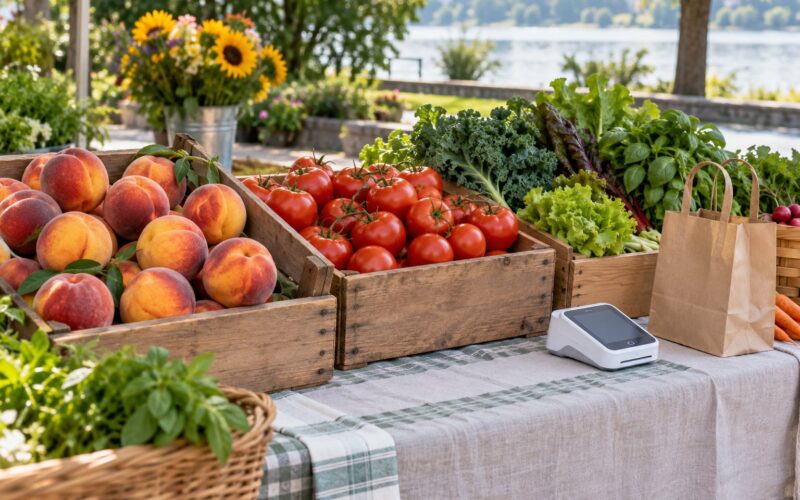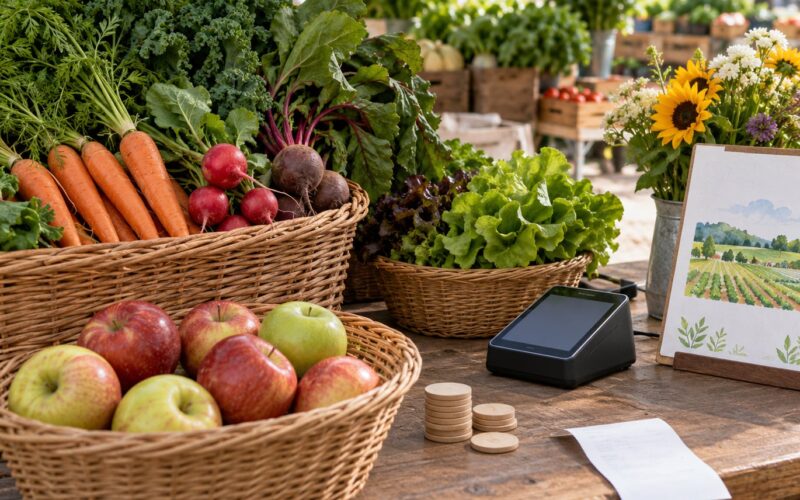
How to start a food stall at a market comes down to four things: a concept a specific market wants, a menu small enough to make in one morning, the permits your city or county requires, and a setup you can load into a car by yourself. A food stall is a table or canopy in a 10×10 space where you sell prepared food, baked goods or produce directly to shoppers, usually one or two days a week, in exchange for a stall or booth fee. It is the cheapest way I know to find out whether people will actually buy what you make, and you can learn that in a single weekend.
The catch is that most of the work happens before opening day. Paperwork, insurance, equipment, and figuring out how much you can realistically sell in three hours. This guide walks through the whole thing in order, so you know what to do first and what can wait.
One thing to say plainly up front: rules are set locally. A home kitchen may be fine for shelf-stable baked goods in one county and completely illegal for the same cookies in the next. Everything below points you to the two people who can give you the real answer for your spot, which are your market manager and your local health department.
Table of Contents
- What You Need
- Business basics
- Food safety credentials
- Insurance
- Suppliers and stock
- Equipment
- Step-by-Step
- 1. Choose a food concept that fits the market
- 2. Check the market’s application and vendor requirements
- 3. Get the required permits and inspections
- 4. Build a simple menu with reliable margins
- 5. Plan safe sourcing, storage, and preparation
- 6. Set up an efficient stall
- 7. Test the menu before launch day
- 8. Run the market and track what sells
- Common Mistakes
- Frequently Asked Questions
- Can I sell food I made at home at a farmers market?
- What happens if I sell food without a permit?
- How much do vendors pay for a booth at a farmers market?
- How long does it take to get approved for a farmers market?
- What should I bring to my first farmers market?
What You Need

You need six things in place before you send an application: a defined concept, a written permit list, an insurance certificate, a supplier plan, a menu that works in one pan, and enough gear to survive four hours without a kitchen.
Business basics
- A registered business name. Most states want an EIN from the IRS and a business licence or assumed-name filing from your city or county, and many market managers ask for both before approving a vendor.
- A seller’s permit, which is your sales tax registration with your state. Market sales are taxable in nearly every state, and some market managers require proof you collect it.
- A separate bank account so you can tell market income apart from personal money. It takes an afternoon and saves you an argument at tax time.
Food safety credentials
Two documents come up in almost every conversation with a health department. A food handler’s permit (called a certificate in some states) is a short course on handwashing, cross-contamination, temperatures, and allergen awareness. A temporary food event permit is the approval to serve food at a specific event or location, issued by the county or city health department. Some health departments sell an annual permit that covers every market you attend. Others issue one per event. That single question, annual or per-event, is worth more to ask than almost anything else on your list.
Insurance
Most markets require a certificate of insurance before you trade, and the requirement is usually general liability coverage with a minimum limit named on the market’s vendor agreement. Some also want product liability, which covers a customer who claims your food made them ill. You can buy both from any small-business insurance broker or through a vendor insurance company in about twenty minutes, and adding a market or two as additional insured is often cheap. Get the certificate early. Organisers check it before approval, and a missing certificate is a common reason a first application stalls.
Suppliers and stock
Decide where the food comes from before you worry about the menu. You need at least one supplier who can deliver reliably on a Saturday, and you need a second source for anything that could run out. Have a rough sense of your weekly ingredient volume and when you will collect it, because a market day that starts with you driving an hour to pick up short stock is a bad market day.
Equipment
The core kit is shorter than most people expect:
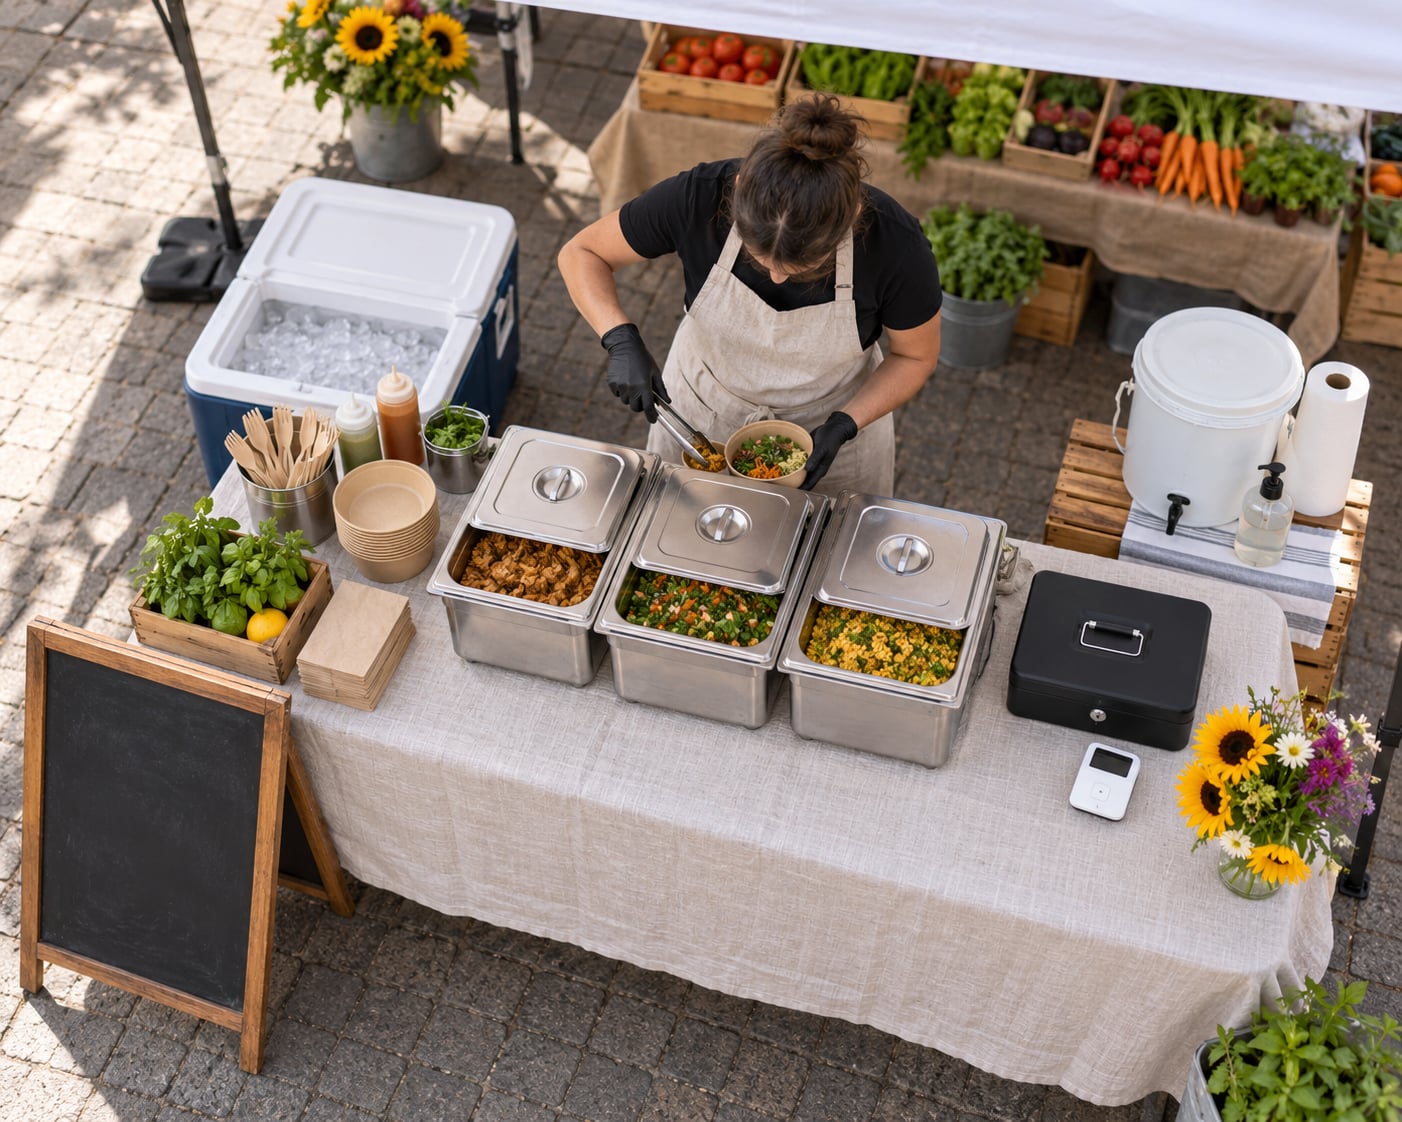
- A 10×10 canopy with four weight bags, plus folding tables and a tablecloth
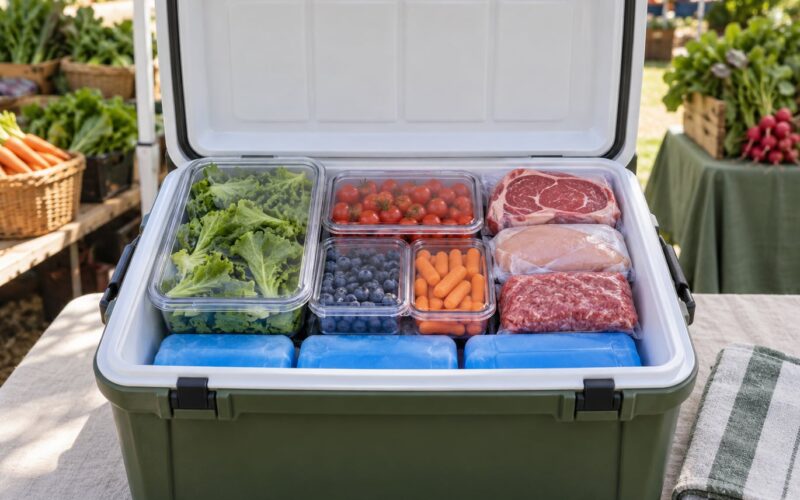
- A way to keep food cold, either a commercial cooler or a well-iced chest with a thermometer
- A handwashing station: a bucket with a spigot, running water or a self-contained unit, soap, paper towels, and a waste bin
- A serving setup that keeps finished food off the ground and off raw food, and covers for anything uncovered
- A cash box with a starting float and a mobile card reader or point-of-sale device
- A menu board with prices big enough to read from ten feet, plus allergen labelling
- A source of water, ice, towels, gloves, sanitizer, and a waste and recycling plan
A realistic first-market startup budget runs from low four figures for a baked-goods or prepackaged stall up to mid five figures once you add a canopy, refrigeration, a card reader, a business licence, insurance, and stock. Used equipment and borrowed tables keep it at the low end. Get three written quotes before you buy anything heavy, and see whether the market rents tables or power, because that changes the number a lot.
Step-by-Step
1. Choose a food concept that fits the market
Pick one thing you are genuinely good at, then narrow it until it fits a 10×10 space and a four-hour window. A stall with six menu items that require six different sauces is a stall that runs out of one thing at 11am and stands there at 2pm with the rest.
Before committing, go to the market as a shopper on a market day. Count how many vendors sell something close to your idea. If four bakeries already have the same cookies, your chances are thin unless you have a clear difference, such as a regional style, a dietary niche nobody covers, or a seasonal item the others skip.
Also watch the crowd. Do people linger, do they queue, do they buy fast and move on, or do they eat on the spot? Fast turnover favours small-ticket items that take under a minute to hand over. A sit-down crowd favours larger orders, bowls and drinks. Vendors in the community have said repeatedly that what kills a beginner is trying to launch with a complicated menu, and that advice holds up.
2. Check the market’s application and vendor requirements
Before you fill in anything, ask the market manager for the vendor packet in writing. You are looking for stall size and whether a 10×10 fits, the stall or booth fee and any membership fee on top, the attendance expectation, whether power or water is available or whether you bring your own, insurance limits and whether they must be named as additional insured, any product restrictions such as a category cap or a rule on items prepared off-site, and the application deadline. Many markets fill their season from applications that arrive months before the season starts, so the deadline is the real constraint.
A night market, a street festival, and a private event are different routes. A private event or wedding is usually a direct pitch to an organiser who wants a specific menu and a set fee. A night market runs like a farmers market with later hours. A one-off festival sometimes wants only licensed vendors and a cut of sales instead of a flat fee. Know which one you are chasing before you start comparing them.
Applications get rejected more often than vendors expect, and the reasons are boring: too many vendors already selling the same category, late submission, missing insurance, a menu that needs cooking on site in a space with no ventilation, and products that arrive prepackaged from a supplier rather than made by you. Ask the neighbouring vendors who have been there a while for their advice. Most long-standing vendors are flattered, and they know exactly which stall spaces sell and which do not.
3. Get the required permits and inspections
Call your city or county health department and describe exactly what you plan to sell and where it will be prepared. What you get back determines a lot. A stall selling only shelf-stable wrapped goods usually needs far less than a stall cooking proteins on site.
Two permit types come up constantly. A food establishment permit is for operating from a fixed location, which is not what a market stall does. A temporary food event permit is for selling at a scheduled event or market site, and that is usually the one you need. Some jurisdictions also run a seasonal or annual permit covering recurring markets, which saves paperwork and fees if you plan to attend more than a handful of dates.
Ask four specific questions: does my permit cover multiple events, how long does approval take, does my home kitchen qualify for any part of the preparation, and what temperature logs do you want to see at the stall. On the home kitchen question, be straight with yourself and with the health department. Many places allow short-term storage of prepackaged, shelf-stable goods made at home, and many prohibit preparing or cooking food for sale there. That single rule surprises more new vendors than any other, and it is cheaper to find out before you buy stock.
Expect the process to take a few weeks. Allow more than you think if a plan review or a site inspection is involved, and put the application in early so the permit is in hand before your first market date rather than the week of it.
4. Build a simple menu with reliable margins
Six to eight items is plenty to start. Price each one from the real cost rather than from what you think people will pay.
Work out, for one item, the cost of ingredients, the packaging, a waste allowance of roughly ten percent, your labour hours at an hourly rate you would accept in any other job, and a share of the stall fee and card fees. Card readers commonly charge around three percent per tap plus a flat fee, which matters on small orders. Divide the total cost by one minus your target margin. That number is your price, and it is usually higher than the one in your head.
Bundle instead of discounting. A three-item combination at a modest saving moves food that would otherwise sit, and it raises the average order without looking like a bargain bin. Put your highest-margin, fastest item where people see it first, and your slowest seller where it is visible but not leading.
5. Plan safe sourcing, storage, and preparation
Temperature control is the part inspectors care about, and it is easy to get right with cheap tools. Under the FDA Food Code, cold food is held at 41F or below and hot food at 135F or above. Poultry cooks to 165F, ground meat to 160F, and whole cuts and fish to 145F. Put a thermometer in your cooler and hot box, write readings on a log sheet, and treat a reading out of range as food that cannot be served.
Store raw and ready-to-eat food apart, use separate utensils and boards, and keep everything off the ground. Milk and eggs belong in the cooler overnight as well as during the day, not on a folding table while you set up. If you are offering samples, use single-use portions from a covered container, never an open tray with a communal spoon.
6. Set up an efficient stall
Plan the layout around movement, not around how your equipment happens to fit. A workable order across a 10×10 space is: menu board at the front where people can read it from several feet back, ordering and payment at one end, prep and cooking in the middle, cold storage and hot holding under cover, handwashing station at the back, and waste at the far side. Keep the customer path clear so nobody blocks it while you cook.
Fill your canopy weight bags before you leave home, not at the site, and bring more than you think you need. Bring a spare of the piece you cannot work without, the day-one version of the grinder, the ice pack or the card reader. Weigh every bag before you lift it, because a table loaded with stock plus ice gets heavy fast and the lift is the injury that actually ends a vending season.
7. Test the menu before launch day
Run a small rehearsal. Make one batch of each item, time every step, and write down the actual total hands-on time from start to packed box. If it takes longer than you have between opening and the lunch rush, cut items until it does not.
Serve it to real people before you pay for a market pitch. Family, coworkers, a church group, a school fair, any setting where you can charge something small and see honest reactions. Watch what people pick first and what they never ask for. Then check your suppliers can actually fill a full day of orders, and write a fallback for the likely failures, which are a broken burner, a rained-out day, and running out of your best seller.
8. Run the market and track what sells
A market day runs longer than the hours the market is open. Build the routine from the end backwards:
- Two hours before opening: arrive, park, load in, put up the canopy, set the table, and lock down the cold storage.
- Thirty minutes before opening: signage, menu prices verified, handwashing station filled and tested, card reader charged with the day’s float, cash counted.
- Open to close: greet, take orders fast, keep food covered, log temperatures, restock from backup rather than overloading the display.
- The last fifteen minutes before closing: stop cooking, sell down anything perishable at a stated close-of-day price rather than eating the loss quietly.
- After closing: pack, sweep the stall area, take the waste to the market’s designated point, count the drawer against the register, and record the day’s numbers.
Write down three numbers every market: total sales, cost of goods sold, and how much stock came home. Those three give you a gross margin and a waste percentage, which are the only two numbers that tell you whether to come back. Also write down what people asked for that you did not have, because that list is next season’s menu.
On unsold perishable food, plan it before you need it. Decide in advance what you will discount at close, what goes home and gets used, and whether you donate. Many communities and food rescue groups accept baked goods and shelf-stable surplus, and a plan agreed with them in advance is far better than a decision made at 2pm with a box of pastries. Some health departments attach conditions to donation, so ask what applies to you.
Common Mistakes

Nearly every avoidable loss comes from one of these. Each has a simple fix.
Applying late. Markets staff their season months ahead and the good sites go first. Fix: send the application the day you have insurance and a menu, even if you are still fine-tuning prices.
Too many menu items. More items means more stock, more prep, more waste, and a table that reads as a jumble. Fix: six to eight items, one of which is your signature and one of which is nearly free to make.
Underpricing. Charging ingredient cost and hoping is the standard beginner mistake, and the margin disappears into card fees and spoilage. Fix: price from full cost including labour and waste, then watch what actually sells.
Ignoring power and water. Assuming a site has both, or assuming you can cook on an open flame without a hood, gets you removed or rejected. Fix: ask the market in writing, and design a menu that works with what the stall provides.
Skipping permits and insurance. Selling without the required approvals risks fines, removal, and a permanent block from that market, and the market carries the reputational cost too. Fix: read your local health department’s page before the market packet, so you know which conversation is which.
Overpacking stock. Vendors describe the same trap over and over: loading, driving, setting up, selling, breaking down, driving home, unloading what did not sell. Fix: order to last week’s actual sales for your first three markets, then adjust.
No temperature or allergen system. Fix: a thermometer in every cold and hot holding spot, a daily log, a visible allergen card listing the major allergens in every item, and a spoken habit of confirming ingredients with anyone who asks.
Frequently Asked Questions
Can I sell food I made at home at a farmers market?
Sometimes. Many counties allow shelf-stable, prepackaged goods such as cookies, breads, jams and dried items to be made in a home kitchen and sold at market, but many prohibit cooking or assembling food for sale at home. The rule depends on your city, county and state, and it changes by product. Ask your local health department what is permitted for your specific items before you buy ingredients, and get the answer in writing.
What happens if I sell food without a permit?
The usual sequence is a fine, removal from the market, and sometimes a suspension that keeps you out of that market permanently. In some jurisdictions operating without a food establishment or temporary event permit is a misdemeanor. There is also the insurance problem: without a certificate of liability, one complaint from a customer ends the business. Health departments treat unlicensed vending seriously because they cannot inspect what they cannot find.
How much do vendors pay for a booth at a farmers market?
Stall fees vary widely by market size, region, and season, and many markets charge a weekly fee plus an annual membership or application fee. Some charge a percentage of sales instead. Ask the market manager for the full fee schedule in writing, including whether it includes a table, power, water, or a cleaning deposit, and whether a missed market without notice costs you the slot.
How long does it take to get approved for a farmers market?
Approval takes as long as the application window, not as long as the paperwork. Applications for a season typically close months before the market starts, so a complete application submitted on time can be decided within a few weeks. Health department permits take a few weeks more in some counties, and more if a plan review or site inspection is involved. Start with insurance and the application, then permits.
What should I bring to my first farmers market?
Bring more than you expect and less menu than you think. On the day: canopy with weights, tables, tablecloth, menu board with prices, cooler or ice chest with a thermometer, thermometer, handwashing bucket with soap and paper towels, gloves and sanitizer, covered serving containers, napkins, waste and recycling bags, a cash box with float, a charged card reader, a backup payment method, clipboards, tape, a broom, a bucket, and a first-aid kit. Bring one spare of whatever you cannot work without.
If you do only one thing from this guide, do this: get the market’s written vendor packet and your local health department’s answer on home preparation, before you spend anything. Learning how to start a food stall at a market really means learning two rulebooks and one honest stock list. Get those right, keep the menu small, and your first market day becomes a test you can repeat instead of a gamble you hope survives.