To store canned goods so they last, keep unopened cans in a cool, dark, dry room between about 50 and 70°F, on a sturdy shelf off the floor, and rotate them first-in first-out so the oldest can is always at the front. Once a can is open, move the food into a covered container in the refrigerator and eat it within three to four days.
A sealed can is one of the most stable things you can own. Canned food does not need preservatives to sit in a pantry for years, because the metal container, the vacuum seal, and the canning heat have already done the work. What shortens that life is not time. It is heat, light, moisture, and temperature swings.
That matters more than most people expect. A can shoved into a warm garage or a damp basement can lose a year of quality while still looking perfectly fine. And the food that gets used and wasted is usually the food that was bought on sale and then pushed to the back of a deep shelf and forgotten. Fix the shelf, and you fix both problems at once.
Table of Contents
- What You Need
- How to Store Canned Goods Step by Step
- Step 1: Take everything out and look at it
- Step 2: Keep unopened cans cool, dark and off the floor
- Step 3: Date everything and rotate it oldest-first
- Step 4: Transfer opened food out of the can
- Step 5: Check home-canned goods differently
- Step 6: Do a two-minute weekly sweep
- Common Mistakes
- Frequently Asked Questions
- How long do unopened canned goods last?
- Do home-canned foods need to be refrigerated?
- Is a small rust spot on a can dangerous?
- How should I store canned goods after opening?
- Can I use a dented or bulging can?
- Conclusion
What You Need
None of this requires anything exotic. A permanent marker, a clean cloth, and a way to keep the refrigerator organised cover most of it.
- A permanent marker. For writing the purchase month and year on the can lid, or on the front of the bin. Ink on the lid works even when the label is dusty, and home canners have marked lids that way for years.
- A clean, dry cloth. For wiping can lids and the shelf surface before you put anything down. Food residue on a rim is the thing that eventually supports mould, not the food inside.
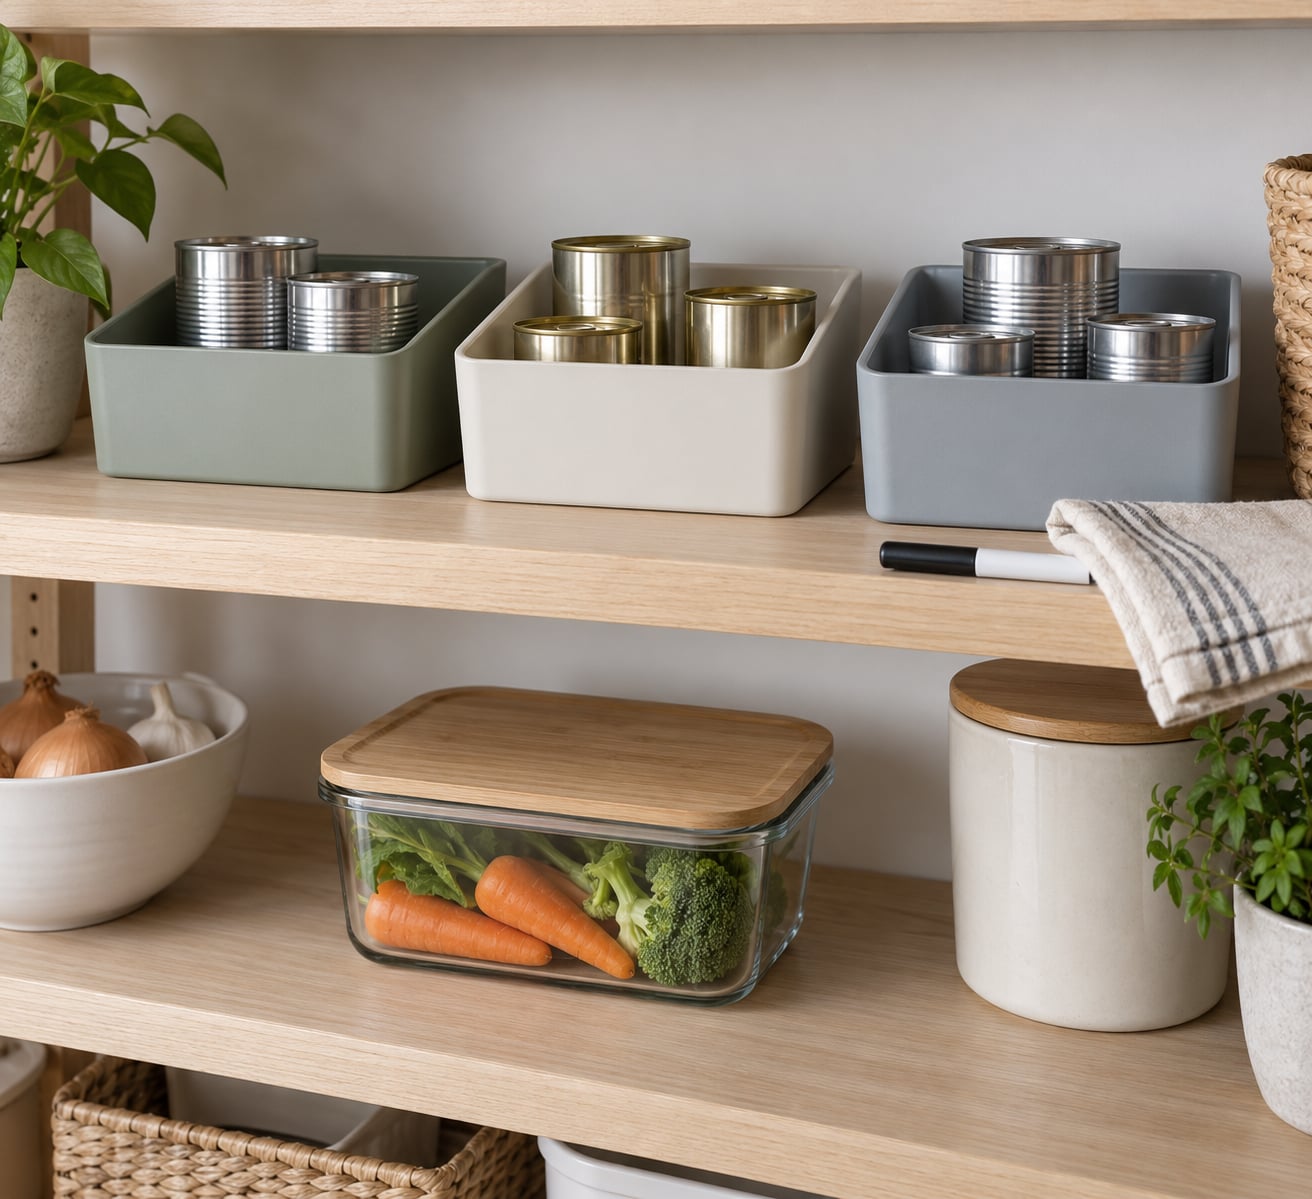
- Sturdy pantry bins. Clear, stackable ones, so you can label the outside instead of pulling out every can to check a date. Labelling the bin is faster than labelling each can, and it is what most people in the rotation threads settle on.
- Airtight refrigerator containers. Glass or sturdy plastic with snap lids. These are for the half-used can of beans or tuna that will otherwise sit in a metal can in the fridge.
- A refrigerator thermometer. Cheap, and it tells you whether your fridge is actually holding 40°F or quietly running warm.
Cans are heavier than people expect. A case of canned soup adds up fast, so anything you buy to hold weight should be a real shelf with real brackets rather than a sagging wire closet rack. Build the shelves first if you have to.
How to Store Canned Goods Step by Step
Six steps, and the whole thing takes about twenty minutes the first time. After that it is a two-minute weekly check.
Step 1: Take everything out and look at it
Empty one shelf completely rather than sorting in place. Pull every can out onto a clean surface and walk the row looking for the four things that mean throw it away: a bulging or swollen lid, any leaking or staining around the seam, deep dents or crushed corners, and heavy rust that has pitted the metal.
A dent on the flat side of the seam, or a shallow dent away from the seam, is mostly a stacking problem. A can that is crushed across the seam is a different matter, because that is where the seal lives. When in doubt, discard it.
How you know it worked: every can on the shelf has a readable date and no can is bulged, leaking or badly dented.

Step 2: Keep unopened cans cool, dark and off the floor
This is the part that actually determines how long your canned goods last. The USDA Complete Guide to Home Canning and the extension fact sheets all converge on the same range: about 50 to 70°F, low humidity, no sunlight, and a temperature that does not swing much between day and night.
Set up shelving so there is air moving around the cans and you can see the seams without unstacking anything. Keep cans off the concrete floor, where moisture and pests find them. Two layers deep is plenty; anything taller and the bottom can takes a load it was never designed for.
- 50 to 70°F: the ideal range. Best flavour, texture and vitamin retention.
- 71 to 85°F: acceptable in most homes. Quality declines a little faster.
- 86 to 95°F: shelf life drops off noticeably. Not a place to keep a stockpile.
- Above 95°F: rapid loss of quality. Avoid it entirely.
- Below freezing: contents can freeze, swell and split the seal. Avoid that too.
How you know it worked: nothing on the shelf touches a wall that shares space with a furnace, water heater or exterior sun-facing window, and no can is sitting directly on concrete or bare floorboard.
Step 3: Date everything and rotate it oldest-first
Write the month and year you bought the can on the lid, or on the bin if the cans go in groups. Then arrange them oldest at the front, newest behind. That single habit is the fix for the most common pantry problem there is: cans pushed to the back of a deep shelf and rediscovered years later.
A first-in first-out setup keeps each row one can deep where you can manage it, or use a gravity dispenser or step shelf if you have the space. When a new can goes in, it goes to the back of the lane.
How you know it worked: you can read a date on any can without pulling out the one in front of it.
Step 4: Transfer opened food out of the can
Once a can is open it is no longer shelf stable. Put the food into a covered container in the refrigerator rather than covering the metal can and leaving it in the fridge. A covered can also leaks onto other food as it sits, and the can is not designed for storage once it is open.
You do not have to throw out the leftovers of a large can. If you will not eat a whole 15-ounce can in one or two meals, portion it into a container right away. Food that gets frozen from a just-opened can is generally fine; food that sits for a week is not.
How you know it worked: your fridge has no uncovered or re-covered cans in it, and everything open has a date on the container.

Step 5: Check home-canned goods differently
Home-canned food is not interchangeable with a commercial can, and the differences are worth being clear about. A commercial can comes from a controlled facility with a validated process. A home can depends on your recipe, your processing time and your seal, which is why the National Center for Home Food Preservation at the University of Georgia treats them as a separate storage category.
Test the seal on a home-canned jar by pressing the lid centre, tapping it, or looking at it at eye level for a slight concavity. Any of those can be inconclusive. Treat a jar that has lost its vacuum as unsealed and reprocess it if you have time, or set it aside and do not store it as a keepsake.
Plan to use home-canned food within about a year for best quality. And never taste a sealed jar to check whether it is safe. Low-acid home-canned food can carry botulism, and the only way to know is by the seal and the processing record, not by the sniff test.
How you know it worked: your home-canned jars are stored separately from your commercial cans, dated, and not stacked more than two high.
Step 6: Do a two-minute weekly sweep
On a Sunday, walk the shelf and pull the four or five cans nearest the front. This is the entire rotation system. It costs you two minutes and it is the difference between a pantry you actually empty and one where you find cans at the back that you bought before the last move.
Check the room too, not just the cans. A pantry that has gotten noticeably warmer, damper or brighter than it used to be has a problem you can fix with a curtain, a dehumidifier or a different shelf, before it becomes a rust problem.
How you know it worked: nothing in the pantry passes its best-by date, and you can name three things you plan to cook this week.
Common Mistakes
Almost all canned food problems trace back to one of these.
- Leaving a bulging can alone because it looks fine on the outside. A swollen lid means gas is building inside. Do not open it, do not taste it, do not eat the contents. Put it outside in a container and wash your hands and surfaces afterward.
- Tasting suspect home-canned food to see if it is okay. Botulism toxin has no smell and no taste, and a small taste is not a small dose. Discard it.
- Storing cans in a garage, attic or unheated shed. Anything over 80°F is not good long term, and anything over 90°F loses shelf life fast. An uninsulated attic can hit 130°F in summer.
- Failing to refrigerate opened food. This is the most common real spoilage event, and it has nothing to do with the can. It happens because opened canned food is simply leftover cooked food sitting warm for hours.
- Stacking cans so the seams cannot be inspected. A column you cannot see through is a column where you will not spot a leak until it has rusted through.
- Storing cans directly on a concrete floor. Concrete wicks moisture and cools unpredictably. Use a pallet, a riser, or a shelf.
- Treating a best-by date as a safety guarantee. For most sealed canned foods it is a quality date, not a use-by date. See the FAQ section below.
Frequently Asked Questions
How long do unopened canned goods last?
Most sealed commercial cans hold their best flavour and texture for two to five years, and many stay safe well past that. USDA guidance treats the best-by date on a sealed can as a quality marker rather than a safety deadline, so a can two years past its date is usually poor tasting rather than dangerous. Store it cool, dark and dry, rotate it to the front of the shelf, and check the seams before you open it.
Do home-canned foods need to be refrigerated?
No. Properly processed and sealed home-canned jars are shelf stable and do not need refrigeration, provided they have held their vacuum seal and were processed according to a tested recipe. Store them in a cool, dark, dry place below about 70 degrees, and refrigerate any jar that is opened, has lost its seal, or shows signs of spoilage. If a seal is in doubt, treat the jar as unsealed.
Is a small rust spot on a can dangerous?
A light surface rust spot on an otherwise intact, unopened can is usually cosmetic. What matters is whether the rust has pitted or thinned the metal at the seam, or whether the can bulges, leaks or smells odd when opened. Deep rust, rust around a seam, or rust with any swelling means discard the can without tasting it. When in doubt, throw it out rather than gamble on a single bite.
How should I store canned goods after opening?
Transfer the leftover food into a clean, airtight container and refrigerate it promptly. Do not store it in the original metal can, and do not leave it at room temperature for more than two hours. Most opened canned foods keep three to four days in the refrigerator; opened canned fish and seafood are good for only one to two days. Portioning large cans right after opening makes them easier to use or freeze before the window closes.
Can I use a dented or bulging can?
Never use a bulging, leaking or badly dented can. Swelling means pressure is building inside, which can signal spoilage gas and, in low-acid home-canned food, botulism risk. A shallow dent away from the seam on a commercial can is usually only a cosmetic issue, but a deep dent or a crush across the seam compromises the seal. Do not taste the contents to find out, and dispose of suspect cans outdoors.
Conclusion
Start at the shelf. Pull everything out, discard anything bulged, leaking or deeply dented, and check the rest for a readable date. Then put the survivors back in one layer on an off-floor shelf in a cool, dark, dry room, oldest at the front.
From there the system is simple: rotate a few cans to the front each week, and move opened food into a covered container in the refrigerator within two hours. That is how to store canned goods so they last, and it takes twenty minutes to set up.