Why is my fried chicken not crispy? In most kitchens the answer is one of two things: the oil never reached 325°F (163°C), or moisture from the chicken, the marinade, or the draining plate got trapped against a soft crust. Temperature comes first because cool oil soaks into the coating instead of flashing water off it. Everything below is the order I check when a batch comes out pale, limp, or greasy.
A quick diagnostic before you cook:
- Oil under 325°F (163°C) — the coating drinks oil instead of turning crunchy. Use a thermometer, not a knob setting.
- Wet chicken — pat the surface dry before it ever touches flour.
- Coating that has not set — let dredged chicken sit 10 to 15 minutes on a rack.
- Crowded pot — added food drops the oil temperature; fry 4 to 6 pieces at a time.
- Plain flour only — add cornstarch so the crust is lighter and less chewy.
- Draining on paper towels or a plate — trapped steam softens the bottom crust within minutes.
- Too long in the oil — past golden, the crust turns leathery and greasy.
If your chicken looks right but turns soft five minutes after it leaves the oil, the problem is almost always the last item on that list: it is sitting in its own steam.
Table of Contents
- What You Need
- Step-by-Step: Why Is My Fried Chicken Not Crispy, and How to Fix It
- Step 1: Find the Real Problem Before You Fry
- Step 2: Dry the Chicken Thoroughly
- Step 3: Pick Cuts of Even Thickness
- Step 4: Season and Flour So the Coating Sticks
- Step 5: Choose Oil for High-Heat Frying
- Step 6: Fry in Small Batches
- Step 7: Stop Before the Crust Turns Chewy
- Step 8: Drain on a Wire Rack, Not a Plate
- Step 9: Serve It Fast or Hold It Without Steam
- Common Mistakes
- Air fryer chicken comes out chewy, not crispy
- Rescuing a batch that is already soft
- Frequently Asked Questions
- What is the trick to getting crispy chicken?
- Is it necessary to coat chicken in cornstarch before frying it?
- Why does the breading fall off my fried chicken?
- What oil temperature is best for crispy fried chicken?
- Can an air fryer make fried chicken as crispy as a deep fryer?
- How do I reheat fried chicken so it stays crispy?
- A Quick Troubleshooting Checklist
- Conclusion
What You Need
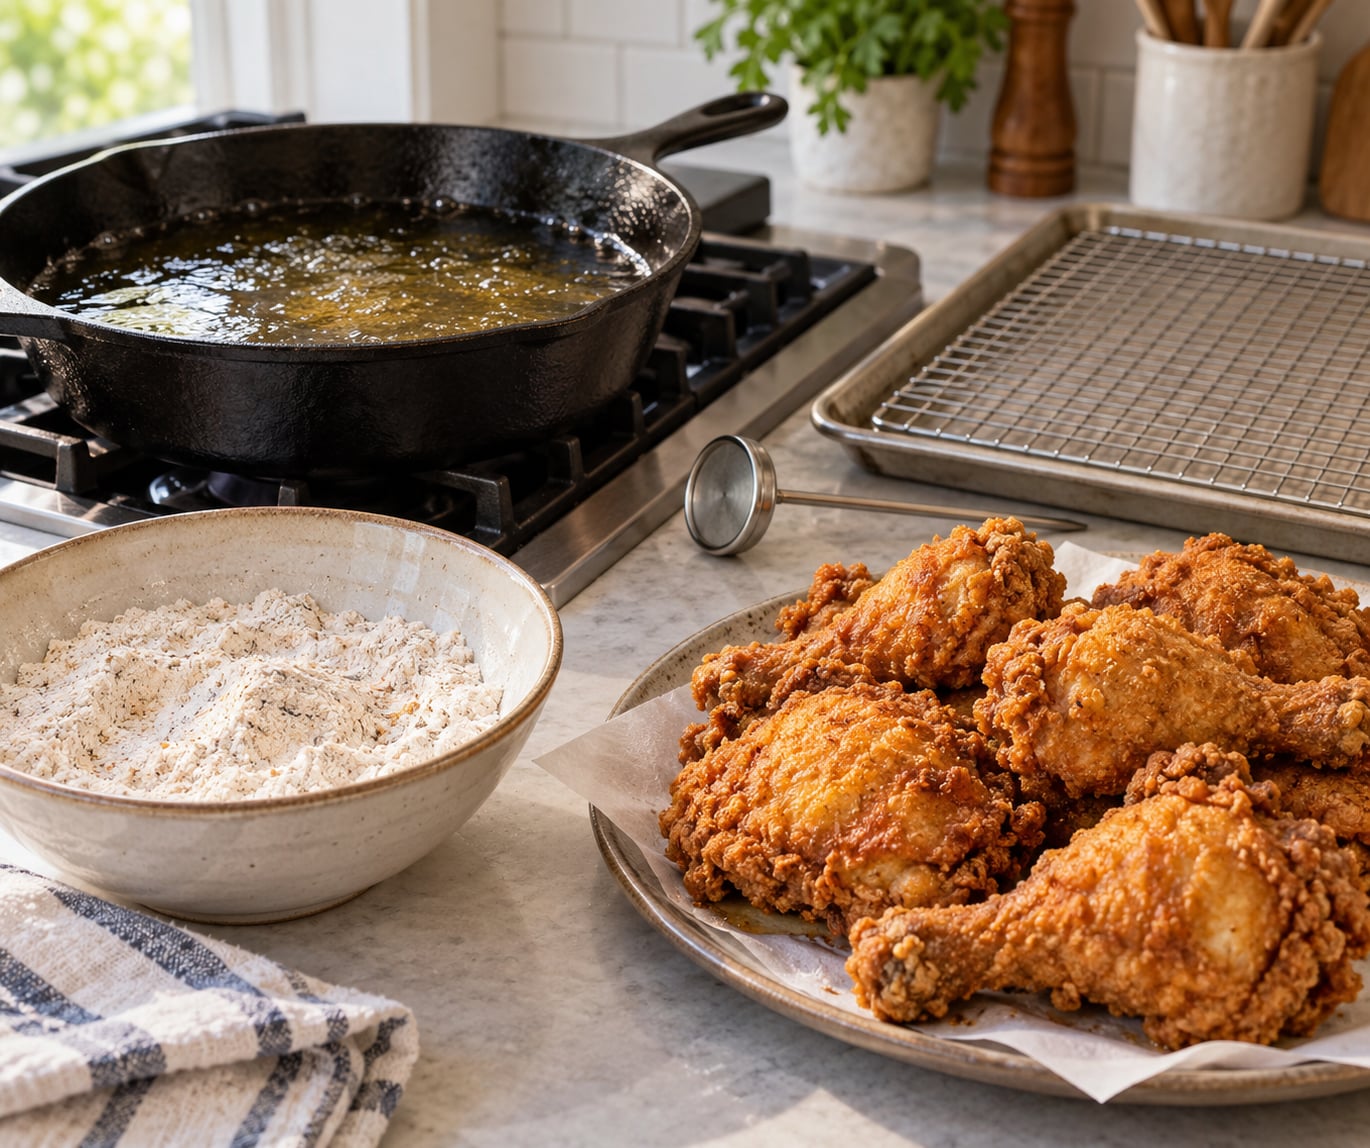
None of this is exotic, but two items matter more than the rest: an instant-read thermometer and a wire cooling rack. The thermometer removes guesswork from oil temperature, and the rack keeps finished chicken from sitting in trapped steam.
- A heavy skillet, Dutch oven, or countertop deep fryer
- An instant-read or clip-on thermometer rated for oil
- A wire cooling rack set over a baking sheet
- Chicken thighs, drumsticks, wings, breast, or tenders
- High smoke point oil such as peanut, canola, sunflower, or vegetable oil
- All-purpose flour and cornstarch
- Salt, pepper, and paprika for the dredge
- Optional: buttermilk or a brine, baking powder, and a wire rack for resting
Skip the paper towels for draining. They are the single most common reason good fried chicken turns soft on the plate.
Step-by-Step: Why Is My Fried Chicken Not Crispy, and How to Fix It
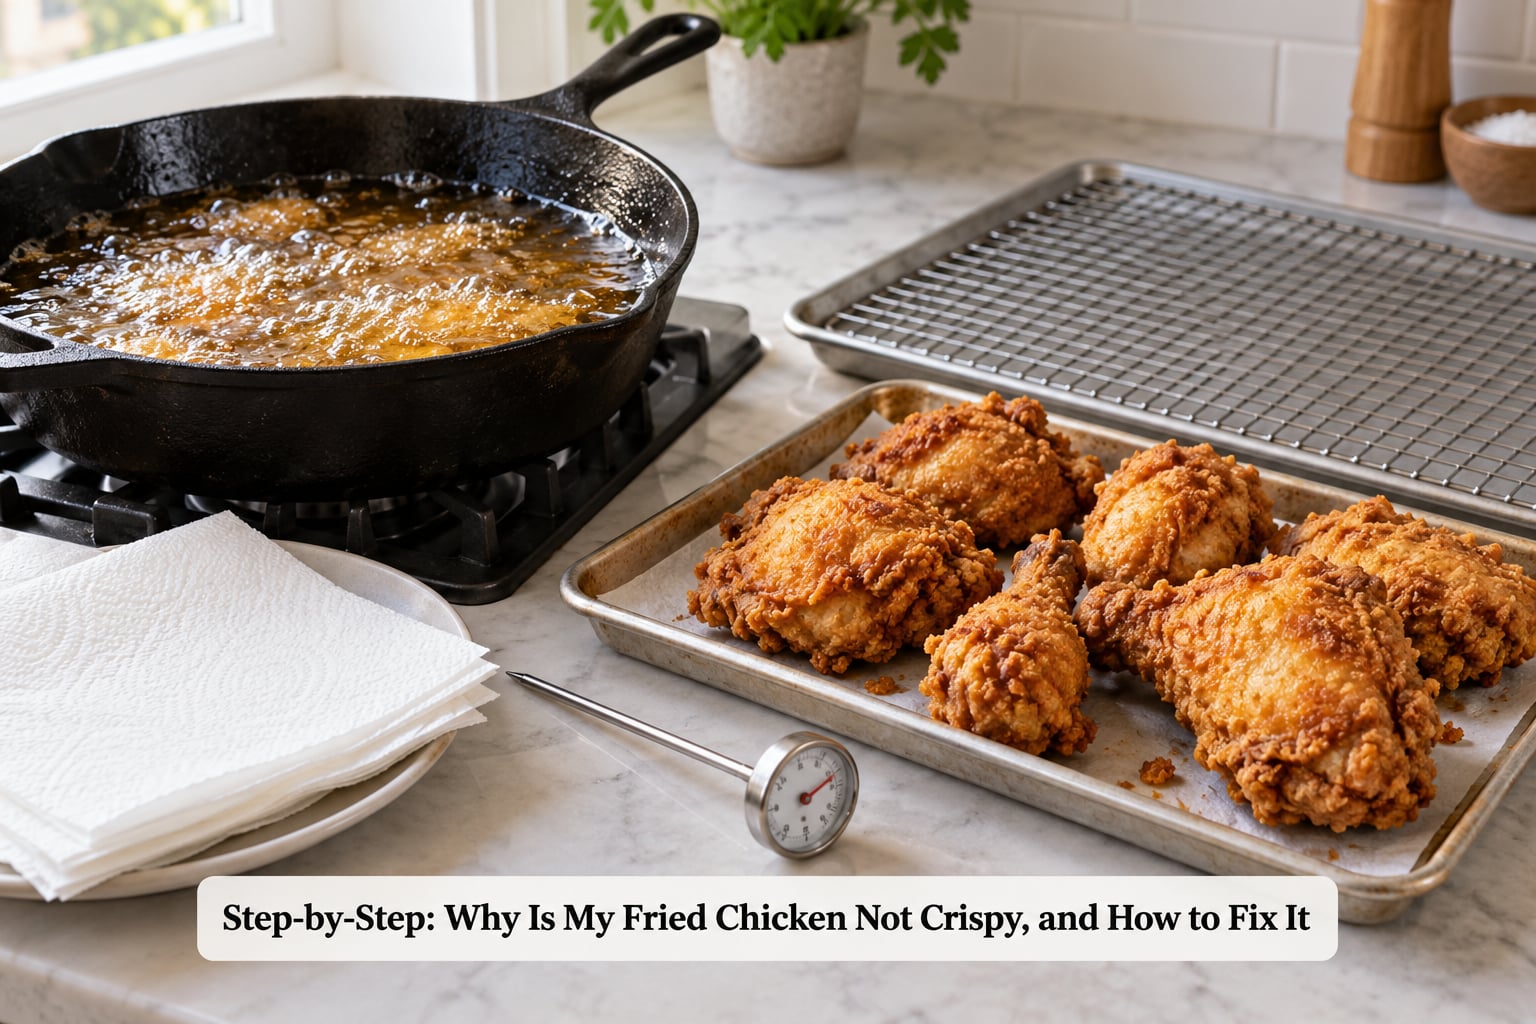
Step 1: Find the Real Problem Before You Fry
Most soggy chicken comes from moisture the crust never got a chance to lose. Hot oil boils surface water off instantly; below about 325°F (163°C) that water lingers, turns to steam, and drives moisture back into the coating while the same oil soaks in to replace it. The result is a greasy, heavy crumb that bends instead of breaking.
So before the next batch, run a fast check on your oil.
Hold a small cube of bread or a spoon of flour over the pot. If it browns within a minute, you are near 350°F (177°C). If it sits there limp and pale, you are not hot enough. It is not precise like a thermometer, but it catches the most common failure, which is oil that is simply too cool.
Then look at what happened last time. Pale, greasy crust means the oil was low. Breading sliding off in the oil means the chicken was wet or the coating had not rested. Burnt outside, raw inside means the oil was too hot or the pieces were too large. A crust that is soft only underneath means the chicken was drained on paper towels. Run your answer through the checklist at the end of this article and you will know within a minute.
Step 2: Dry the Chicken Thoroughly
Wet skin cannot crisp. Any surface moisture has to evaporate before browning can start, and evaporation takes energy that comes out of your oil temperature and your crust.
Pat every piece with paper towels on all sides, including the crevices around the bone. If you brined or soaked the chicken in buttermilk, drain it and dry it again right before dredging. Then let it sit uncovered in the refrigerator for 20 to 30 minutes if you have time. Chilling the surface tightens the skin and reduces how much the coating soaks in.
If you frozen the chicken first, do not fry it from frozen. Ice crystals melt into extra surface water, and that water steams the crust from inside the breading. Thaw in the refrigerator overnight or under cold running water, then dry it properly.
Step 3: Pick Cuts of Even Thickness
Uneven pieces cook unevenly, and uneven cooking is a crispiness problem. A thin wing and a thick thigh in the same pot mean the wing is overcooked and leathery long before the thigh reaches 165°F (74°C).
Butcher to similar thickness where you can. Flatten thick breast pieces to an even 3/4 inch with a mallet, and cut big breast halves in half. Thighs, drumsticks, and wings are the most forgiving because they have enough fat and internal moisture to stay juicy while the outside browns.
Match your cook times to size rather than to a clock. A thermometer tells you when it is done: pull at 165°F (74°C) in the thickest part, and let carryover heat finish the job while it rests.
Step 4: Season and Flour So the Coating Sticks
Breading falls off when the chicken is wet underneath the flour or the flour is loose on the surface. Fix both with a rest. Dredge as many pieces as you can fry, then set them on a wire rack for 10 to 15 minutes. That rest hydrates the flour into a paste that clings like glue.
Mix 2 cups all-purpose flour with 1/2 cup cornstarch for roughly a 4:1 ratio, and add 1 teaspoon baking powder. Recipes that call it 3:1 are not wrong, just heavier on the starch side. More starch means a lighter, crunchier, less bready crust. Less starch means more browning in the oil and a chance of a bitter or burnt edge on dark meat. Somewhere in the 3:1 to 4:1 range is where home cooks get the best crunch.
Press the coating on firmly with your fingertips so there are no bare patches, then give it a shake over the counter to knock off loose flour. Loose flour drops into the oil, darkens it, and spatters. For extra craggy crust, dip the pressed piece in egg, then back into the flour for a second dredge. Double dredging adds thickness and more surface area for crunch.
Step 5: Choose Oil for High-Heat Frying
Use an oil that holds up at 350°F (177°C) without smoking. Peanut oil has the highest smoke point and a nutty flavor. Canola, sunflower, vegetable, and avocado all work well and taste more neutral. Olive oil works only if you keep the temperature at or below 325°F (163°C) and accept a milder flavor.
Fill the pot no more than a third to halfway. A fuller pot holds more heat and recovers from a temperature drop faster. Bring it to 350°F (177°C) for dark meat and 325°F (163°C) for breast, then keep the burner on and adjust, because the first pieces will always pull the temperature down.
Step 6: Fry in Small Batches
Every piece you add cools the oil. Six or seven pieces in a home skillet can drop the temperature 40°F (22°C) or more, and that drop is what turns a crisp crust into a greasy one.
Four to six pieces is the sweet spot for most home pots. The last piece out should hit roughly the same temperature as the first. If the drop is bigger than that, your oil is up to temperature too early, the pieces are too large, or your pot holds too little oil. Between batches, turn the heat up and wait for the thermometer to climb back to your target before adding more chicken. Do not rush it.
Step 7: Stop Before the Crust Turns Chewy
Color is not doneness. Pull chicken at 165°F (74°C) in the thickest part and let carryover heat carry it the rest of the way during the rest. Breast will dry out fast past that point.
Overcooked crust is a real and separate problem. Once the coating passes deep golden it has lost its internal moisture, and the gluten network left behind is dense, tough, and chewy rather than soft. That is why fried chicken that tastes leathery is not the same failure as fried chicken that tastes greasy, even though both get called soggy.
Start checking early on thin pieces. Wings and tenders can be done in 5 to 7 minutes; bone-in thighs and drumsticks usually need 10 to 14 minutes at 325°F (163°C), more if they are large.
Step 8: Drain on a Wire Rack, Not a Plate
Paper towels look sensible and they are the problem. They wick a little oil, but they also wrap the bottom of the chicken so the escaping steam cannot escape, and that steam rehydrates the crust from the inside. You get a crisp top and a soft bottom within about five minutes.
Set the chicken on a wire rack over a baking sheet so air moves under and around every piece. Rest it 5 to 10 minutes before cutting. That rest lets the hot steam escape instead of condensing into the breading, and the interior keeps cooking.
Step 9: Serve It Fast or Hold It Without Steam
Crispiness fades no matter what you do, so serve within a few minutes of draining if you can. Cut nothing until the chicken has rested, because cutting exposes the moist interior and lets moisture move back out into the crust.
For a party, hold finished batches on a wire rack in a 200°F (93°C) oven for up to an hour. Single layer only. Never wrap chicken in foil or put it in a closed container while hot, because trapped steam is what softens it. If you are storing leftovers, cool the chicken uncovered first, then refrigerate it airtight and re-crisp rather than re-steaming.
Common Mistakes
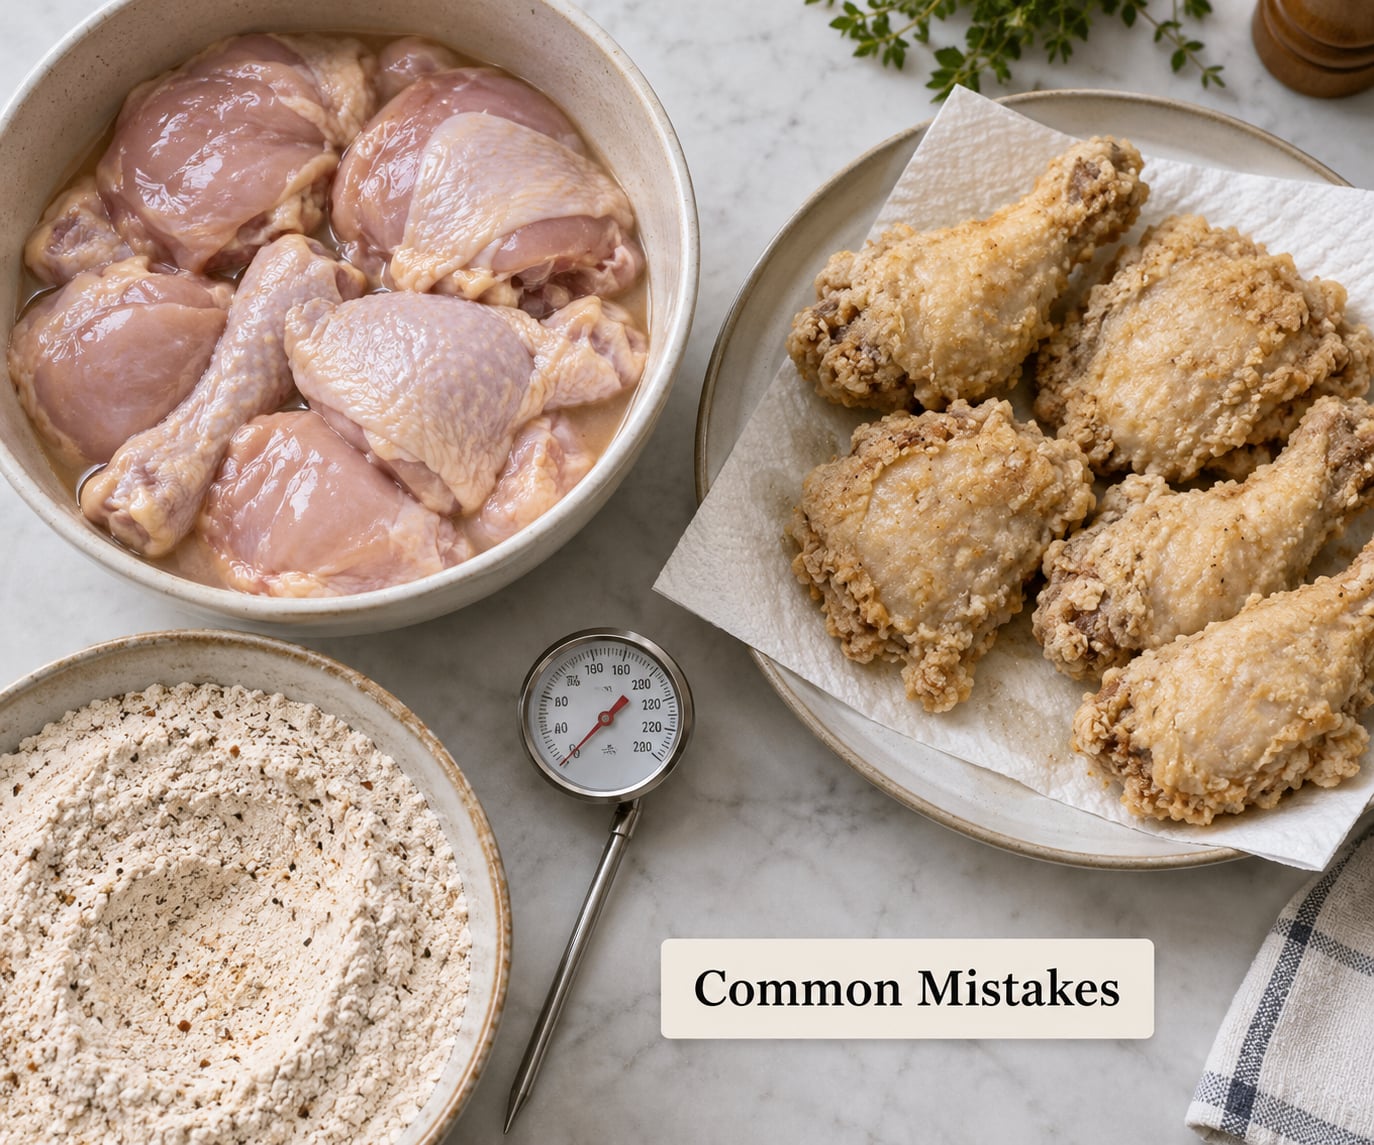
Not patting the chicken dry. Moisture on the skin steams the coating and stops browning. Pat it, then chill it if you have time.
Frying at the wrong temperature. Below 325°F (163°C) the crust soaks oil. Well above 375°F (191°C) the outside burns before the heat reaches the middle. Aim for 325 to 350°F (163 to 177°C) and trust the thermometer.
Overcrowding the pan. A crowded pot drops the oil temperature and cooks the chicken instead of frying it. Four to six pieces at a time, and let the oil recover between rounds.
Moving the chicken too early. Breading releases in the first 30 seconds because the paste has not set yet. Leave it alone until it stops bubbling or holds a crust.
Draining on paper towels or a plate. Steam gets trapped and softens the crust from underneath. Use a wire rack.
Frying straight from the freezer. Melted ice becomes steam inside the crust. Thaw overnight in the refrigerator and dry the surface.
Wrapping hot chicken for storage. Condensation in a sealed container undoes everything. Cool it uncovered, then store it.
Using the microwave to reheat. Microwave heat is all moisture, so you get rubber. Spread the pieces on a rack and heat them in a 375°F (191°C) oven for 10 to 15 minutes, or run them 5 to 8 minutes in an air fryer.
Air fryer chicken comes out chewy, not crispy
This is expected. An air fryer moves hot air rather than immersing food in oil, so there is no conductive heat and no bubbling to set the crust. What you get is drier, harder, more oven-baked. A few adjustments narrow the gap.
Coat the chicken with a light spray of oil rather than relying on the flour alone, since the flour will not brown in moving air without it. Use 400°F (204°C), keep pieces in a single layer with space between them, and do not crowd the basket. Set it for 12 minutes, then check, since a crowded basket drops the internal temperature and stalls browning.
Cornstarch helps more here than it does in a fryer. It browns at lower temperatures, and lower temperatures are all you have. Also preheat the basket for three minutes before the chicken goes in.
Rescuing a batch that is already soft
Spread the chicken on a rack, not a plate, and put it in a 375°F (191°C) oven for 10 to 15 minutes. The dry heat drives moisture back out of the crust and re-crisps it. An air fryer at 400°F (204°C) for 5 to 8 minutes does the same job faster, and it is the better choice for a small number of pieces.
This works, but it is a repair. The crust will never be quite what a correctly fried batch gives you, because the damage from low oil temperature happens inside the coating.
Frequently Asked Questions
What is the trick to getting crispy chicken?
Dry chicken, hot oil, and a rack. Pat the chicken dry, dredge it in flour with cornstarch and let the coating rest 10 to 15 minutes, then fry at 350°F (177°C) in small batches. Drain on a wire rack, never paper towels, and rest 5 to 10 minutes before serving.
Is it necessary to coat chicken in cornstarch before frying it?
No, but it helps. Cornstarch produces a lighter, crunchier crust that resists absorbing oil, and it browns at lower temperatures. Most home cooks do well with 2 cups flour to 1/2 cup cornstarch. Going heavier on the starch gives a crunchier crust but less browning.
Why does the breading fall off my fried chicken?
Two reasons: the chicken surface was wet, or the coating had not set. Pat the chicken dry and let dredged pieces rest on a wire rack for 10 to 15 minutes so the flour hydrates into a paste that grips. Press the coating on firmly and shake off loose flour before frying.
What oil temperature is best for crispy fried chicken?
Use 350°F (177°C) for dark meat such as thighs and drumsticks, and 325°F (163°C) for breast and tenders. Below that range the coating soaks up oil and stays soft. Use a thermometer and let the oil climb back to target between batches.
Can an air fryer make fried chicken as crispy as a deep fryer?
Not quite. An air fryer cooks with hot air, so there is no bubbling oil to set the crust, and the result is drier and more oven-baked. Lightly oil the coating, preheat the basket, use 400°F (204°C), keep pieces uncrowded, and lean on cornstarch in the dredge.
How do I reheat fried chicken so it stays crispy?
Never use the microwave. Put the pieces on a wire rack and heat them in a 375°F (191°C) oven for 10 to 15 minutes, or in an air fryer at 400°F (204°C) for 5 to 8 minutes. The rack keeps steam from settling under the crust while the dry heat draws moisture out of it.
A Quick Troubleshooting Checklist
Before the next batch, run through this in order.
- Is the chicken dry? Wet skin means no crust, ever.
- Does the coating cover every surface and has it rested 10 to 15 minutes?
- Is the oil between 325°F and 350°F (163°C and 177°C)? Use a thermometer.
- Are you frying four to six pieces at a time? And does the oil recover between rounds?
- Are you pulling chicken at 165°F (74°C)? Not when it looks brown.
- Did it drain on a wire rack and rest untouched for 5 to 10 minutes?
If all six check out and it still goes soft, suspect the oil. It was probably cool when the chicken went in, and no resting technique will recover that.
Conclusion
Check your oil temperature first. If the thermometer shows anything under 325°F (163°C), that is why your fried chicken is not crispy. Then dry the chicken, rest the coating, and drain on a wire rack instead of a plate. Crispiness depends on dry chicken, a coating that grips, properly heated oil, and steam getting a way out.