Homemade ice cream turns icy when the water in the base freezes into large ice crystals instead of tiny, smooth ones. It usually comes down to one of three things: too much water for the amount of fat and sugar present, a freeze that happened too slowly, or ice cream that thawed and refroze. Sorting out which one you have is faster than changing recipes.
Most batches take 20 to 40 minutes of active work plus several hours of chilling, so this is not a project that punishes impatience. It punishes a warm bowl and a warm base.
Crystals are at their smallest the moment the base leaves the churn, and from that point they only grow. That one fact explains most of what goes wrong, because almost every cause below either adds ice, slows freezing, or lets a freeze-thaw cycle start new crystal growth.
Table of Contents
- What You Need
- Step-by-Step: Why Is My Homemade Ice Cream Icy, and How to Fix It
- 1. Check whether the base is too warm or unstable
- 2. Make sure the ice cream maker is cold enough
- 3. Why ice cream turns icy after churning: freezing rate and paddle speed
- 4. Remove air and protect the finished ice cream
- Common Mistakes That Cause Icy Ice Cream
- Frequently Asked Questions
- How do I keep my homemade ice cream from getting icy?
- How can I fix gritty ice cream after it is already frozen?
- Does sugar make ice cream icy or does it prevent ice crystals?
- Why is my no-churn ice cream icy when the recipe says no churning is needed?
- What should I do when homemade ice cream is too hard to scoop?
- Conclusion
What You Need
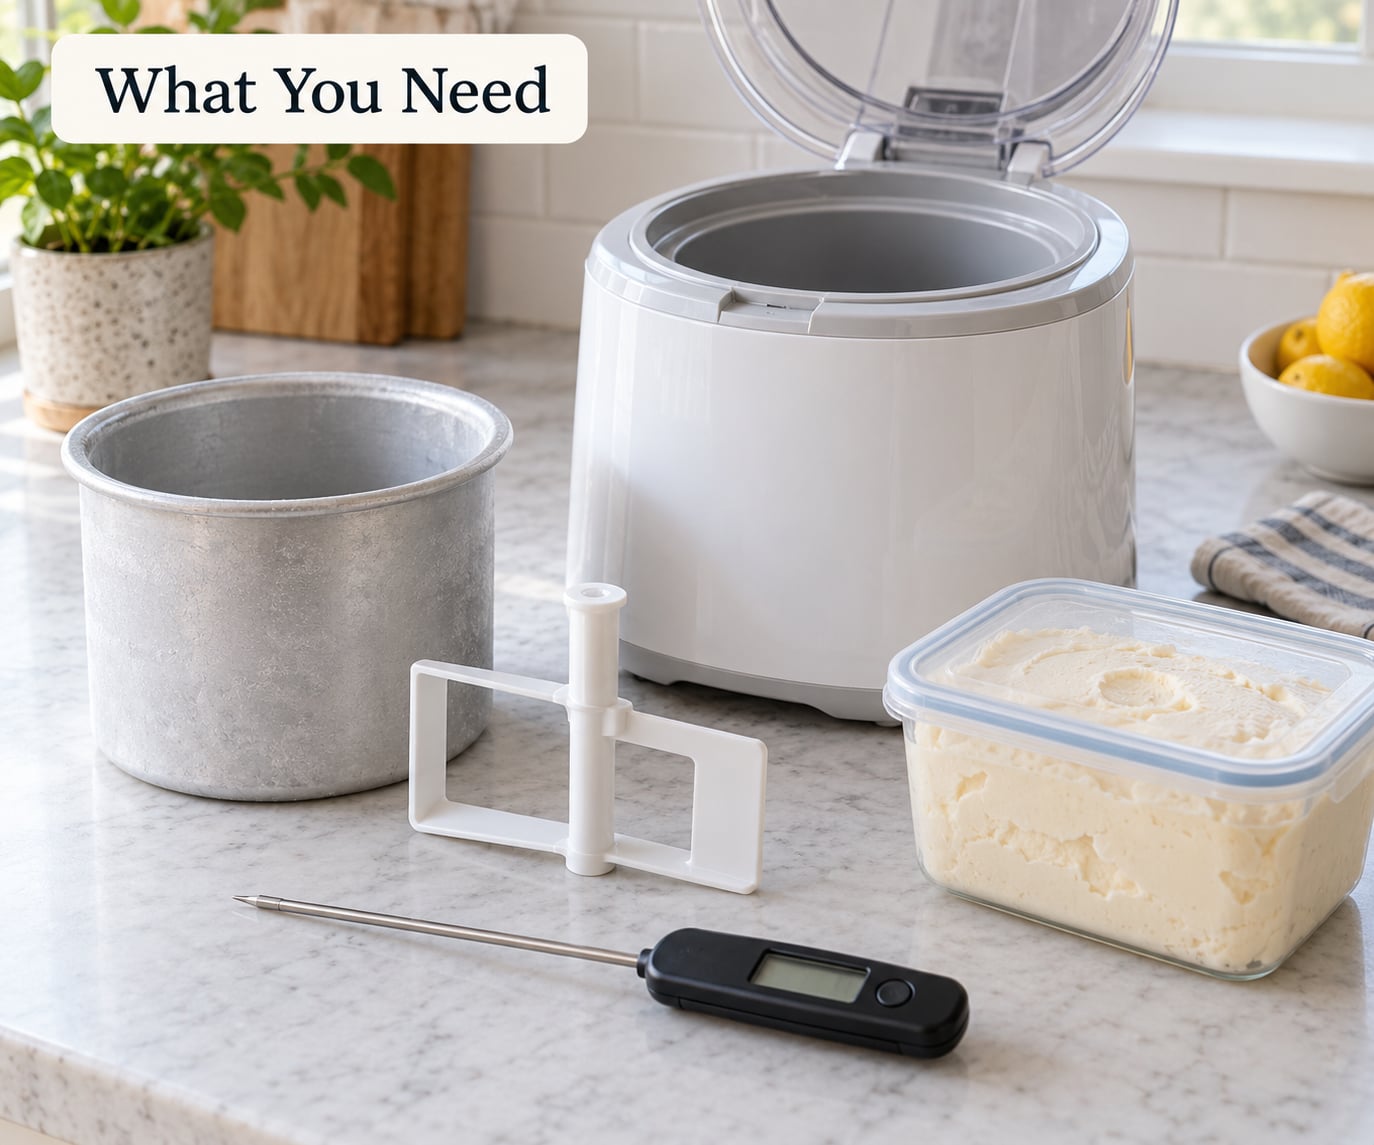
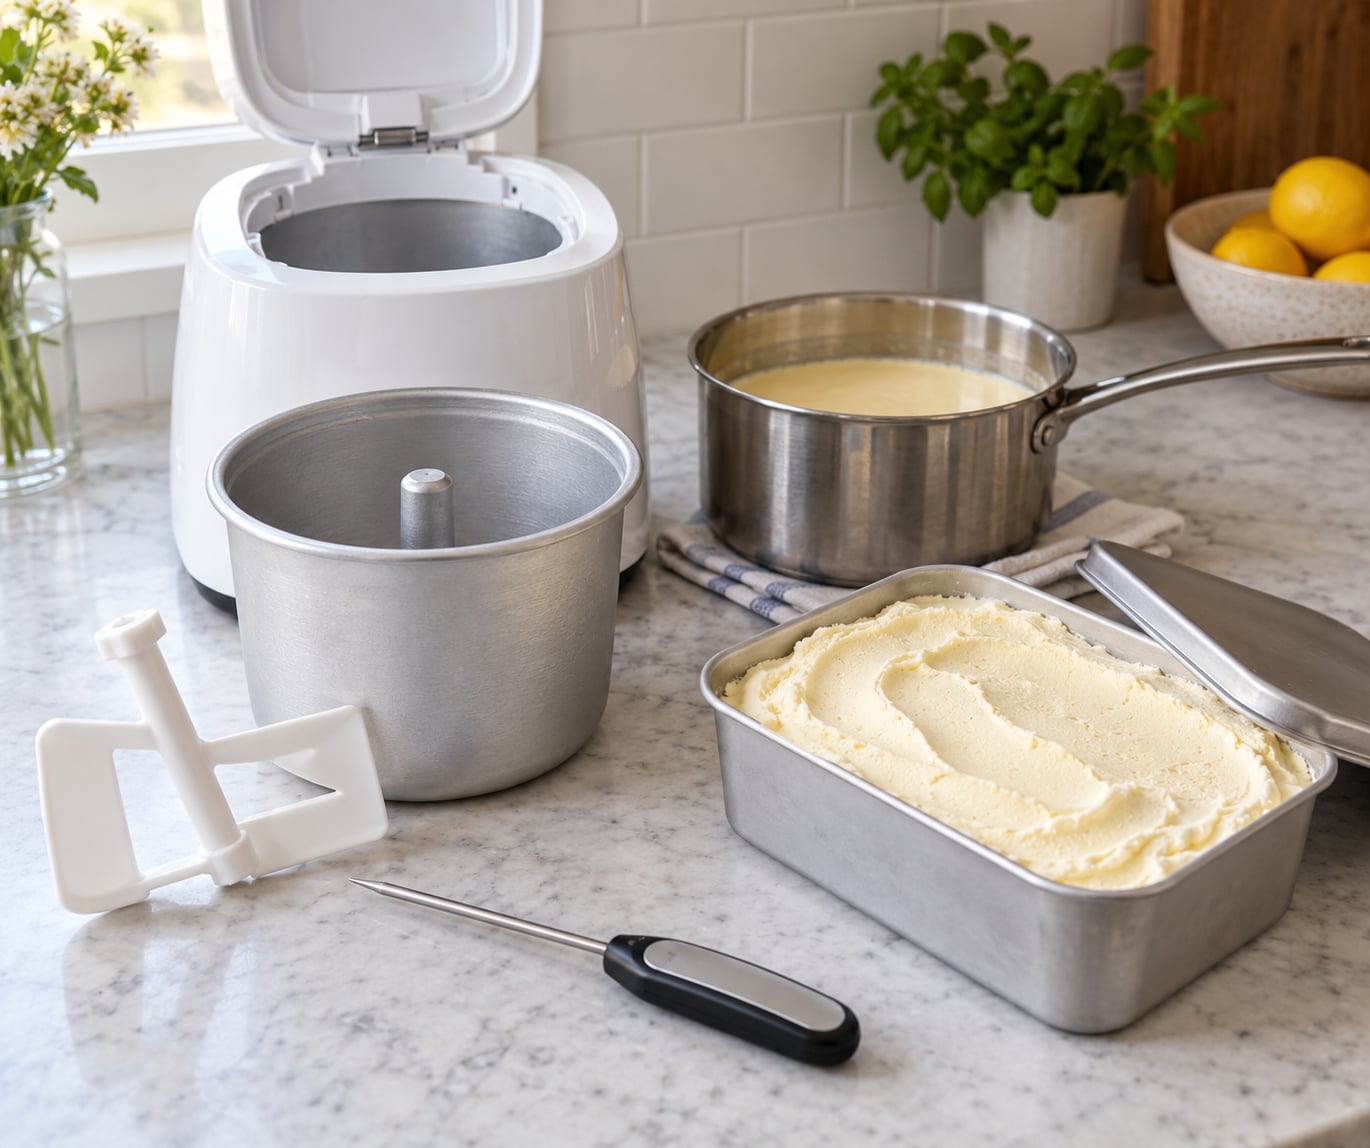
You do not need a shelf full of specialty gear. You need cold equipment and a way to confirm it is cold.
- A properly frozen machine bowl or canister. If you have no machine, a shallow metal pan set over an ice and salt bath does the same job, just with more stirring from you.
- An instant-read thermometer. This is the single most useful tool in this whole process. Guessing at “chilled enough” is how bowls end up merely cool.
- A whisk or hand mixer. To dissolve sugar fully and keep emulsions smooth before anything gets cold.
- A fine-mesh strainer. To catch eggy bits, seeds, or any sugar crystals that did not dissolve.
- Shallow airtight containers plus parchment paper or plastic wrap that sits directly on the surface of the ice cream.
- Optional: a small saucepan for cooking fruit down or making a custard base.
If you only add one item, add the thermometer. Everything else on this list is helpful; knowing your bowl is actually at the right temperature changes the outcome.
Step-by-Step: Why Is My Homemade Ice Cream Icy, and How to Fix It
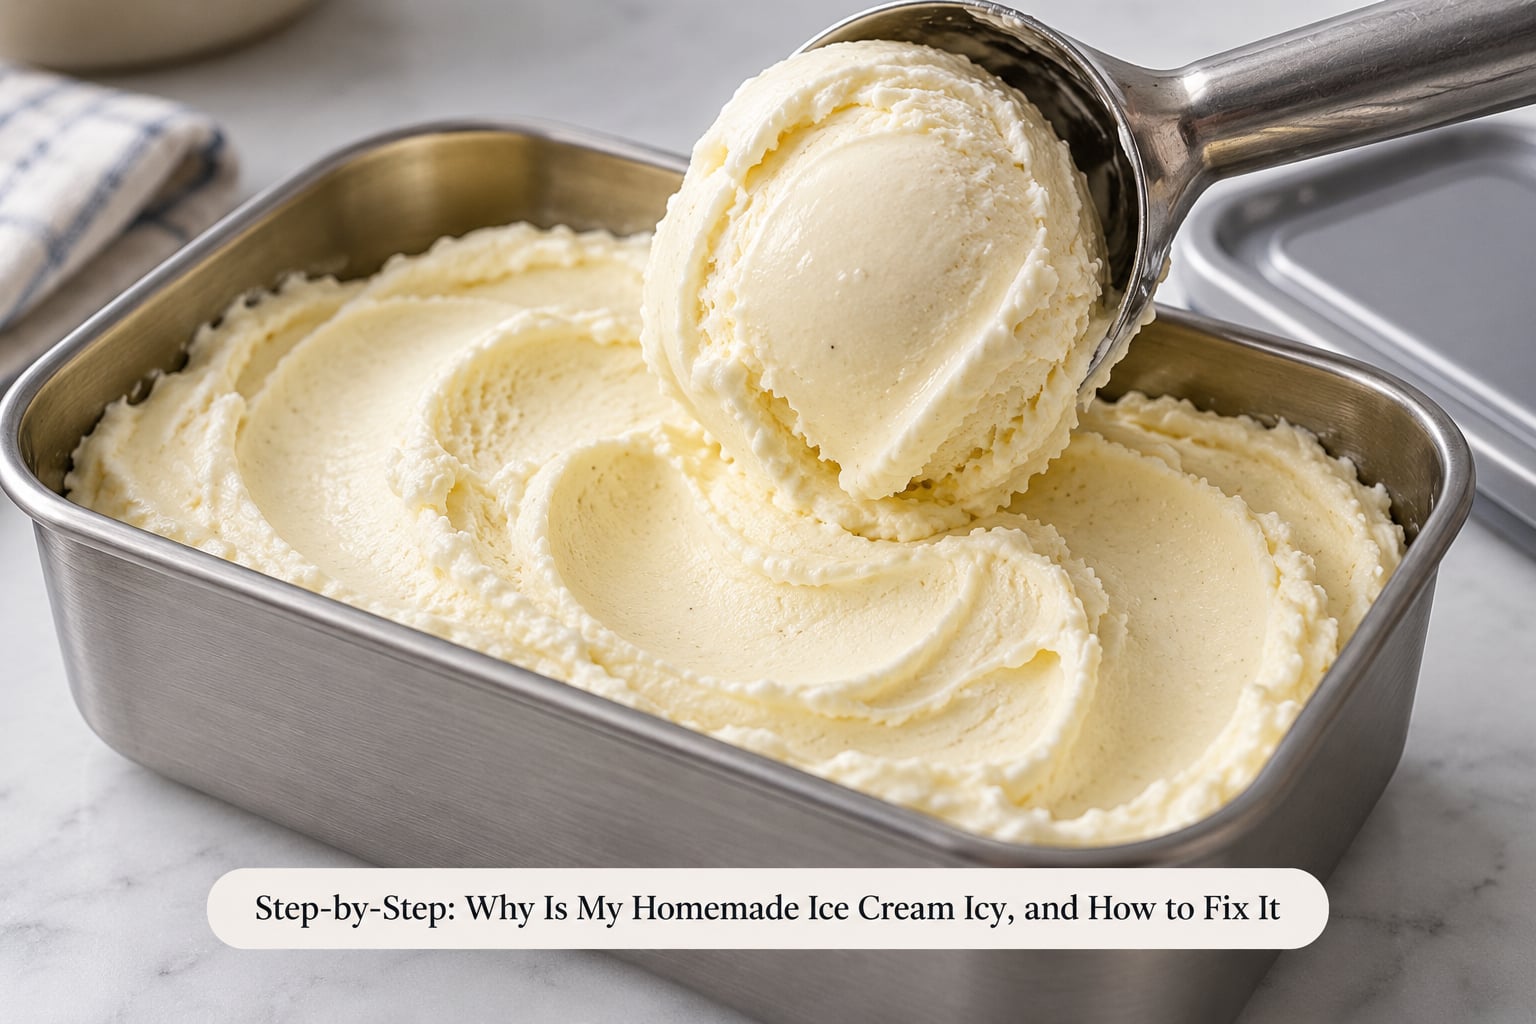
Work through these in order. The first two cost nothing and fix the majority of batches, so do not jump to changing the recipe.
1. Check whether the base is too warm or unstable
Warm mixing and undissolved sugar both hand you large crystals. Sugar that never fully dissolves stays as hard grains in the finished ice cream, and a base poured into the machine at room temperature freezes slowly and unevenly.
Dissolve the sugar completely by whisking the base while it is still warm, then cool it quickly in an ice bath and refrigerate it for at least 4 hours, ideally overnight. Cooked custard bases need to cool the same way, and straining out the eggy bits removes seeds of crystal growth. You know this step worked when the cold base pours like thin cream with no grit at the bottom of the pot.
2. Make sure the ice cream maker is cold enough
A cool bowl cannot freeze a base quickly, and that slow freeze is what produces the crunchy texture. Freezer-bowl machines need a full 24 hours in the coldest part of the freezer, not the two hours most people give them.
Salt-and-ice machines need enough ice and rock salt to hold the bath well below freezing, packed around the canister rather than tossed loosely on top. Check the temperature before you pour: your base should hit the bowl around -7°F to 9°F. Ice crystals are at their smallest right after churning and only grow from there, so a good cold start is worth more than any ingredient change you can make later.
3. Why ice cream turns icy after churning: freezing rate and paddle speed
Slow freezing lets small crystals migrate and merge into bigger ones, so the speed of the freeze matters as much as the starting temperature. Use the machine’s recommended setting, keep the mixture moving the whole time, and resist stopping the churn to peek at it.
Over-churning is its own problem: too much overrun leaves large air pockets that read as light and fluffy, and those walls give ice somewhere to grow. If you doubled a recipe and the result went icy, that is usually volume outrunning the freezing capacity rather than anything wrong with the formula, so churn in batches instead. If your batch comes out soupy instead, freeze it in the machine a little longer before transferring.
4. Remove air and protect the finished ice cream
Once churning stops, the only job is to keep air and warmth out. Transfer to a shallow container, press parchment or plastic wrap directly onto the surface so no headspace sits above the ice cream, and freeze at 0°F or below for several hours until firm.
Shallow beats deep because the middle of a deep container stays warm long enough for crystals to grow. When you scoop, return the remainder to the freezer promptly, keep the container in the back of the freezer rather than the door, and expect the texture to stay at its best for roughly a week and then drift as crystals continue to grow. Every thaw and refreeze cycle develops new ice crystals, which is why repeated softening is the fastest way to lose the batch.
Common Mistakes That Cause Icy Ice Cream
Match what you can see and feel to the most likely cause before you change anything.
| What you see | What is happening | First thing to change |
|---|---|---|
| Crunchy, gritty, chewy crystals throughout | Ice crystals grew larger after churning | Chill the base fully and cool the machine bowl before pouring |
| Ice crystals concentrated at the bottom or edges | Uneven freezing from a slow or interrupted chill | Stir or spin the mixture for the full cycle without stopping |
| Soupy, loose, will not hold a scoop | Not enough air incorporated, or a thin base | Churn longer to soft-serve consistency, then freeze in shallow containers |
| Rock hard but not crunchy | Overshooting on freezing point, not a crystal problem | Pull it forward 5 minutes when scooping and hold portions in the fridge |
| Watery puddle in the container | Melting and refreezing during handling | Seal the surface, move it deeper into the freezer, scoop with a warm knife |
| Icy only in fruit or swirl add-ins | Add-ins carry too much water for the base to hold | Cook the fruit down first, or drain and macerate it |
Dairy fat is the biggest lever people miss. Fat coats water molecules and physically gets in the way of crystal growth, so low-fat dairy leaves more free water to turn into ice. Heavy cream carries roughly 36% milk fat and about 59% water, while skim milk sits near 90% water. If you swapped heavy cream for half-and-half or skim to lighten the batch, that is often enough to explain the texture on its own.
The same idea applies to add-ins. Fresh fruit runs very high in water: strawberry around 94%, orange 90%, raspberry 86%, banana 75%. Coconut sits nearer 44% and dates at 26%, which is why date and caramel ice creams behave so differently from fresh strawberry. Cooking fruit down until it is jammy, or draining it thoroughly, removes the water that would otherwise refreeze as hard chunks in a base that cannot hold it.
On the sugar contradiction. You will read both “sugar prevents ice crystals” and “too much sugar makes ice cream icy,” and both are right about different things. Sugar lowers the freezing point of water, which is why ice cream stays scoopable at temperatures that would freeze a plain syrup solid. Push it far past the point where the water can be held, though, and the dissolved solids can no longer stay in solution as they freeze, so ice gets squeezed out as visible crystals. A useful target is roughly one cup of sugar per quart of base, adjusted to taste.
Corn syrup or glucose syrup is the usual answer because it does not crystallize the way sucrose does, which is also why it shows up in forum fixes for gritty batches. A small amount of vodka or other alcohol lowers the freezing point too, though it also changes how the flavor reads, so treat it as a last resort rather than a routine addition.
Stabilizers such as guar gum, xanthan gum, or gelatin slow crystal growth and add body. They work, but they change mouthfeel, and plenty of people find them slimy. Fixing temperature and fat first costs less and tastes better. If you do add a gum, a small amount mixed with the sugar before the dairy goes in is the usual method.
On food safety. Use pasteurized eggs in any uncooked egg base, and for a cooked custard base follow a tested recipe’s temperature and time rather than your instinct. Do not rely on taste alone to judge whether a mixture is safely cooked. Keep the machine’s manual nearby, since freezing times and settings differ between a compressor machine, a freezer bowl, and a hand-cranked canister.
Frequently Asked Questions
How do I keep my homemade ice cream from getting icy?
Chill the base for at least 4 hours, freeze the machine bowl for a full 24 hours, and churn at the machine’s recommended speed until it reaches soft-serve consistency. Then move it to a shallow airtight container, press wrap or parchment directly onto the surface, and freeze at 0°F or below. These five steps address nearly every icy batch.
How can I fix gritty ice cream after it is already frozen?
You can improve it, though you cannot reverse it. Let the container sit at room temperature for 5 to 10 minutes, cut the block into cubes, and pulse it in a food processor just until about half the ice has melted. Scrape down, pulse again, spoon it back into a shallow container, and refreeze for 3 to 4 hours.
Does sugar make ice cream icy or does it prevent ice crystals?
Both, depending on the amount. Sugar lowers the freezing point of water, which keeps ice cream scoopable and slows crystal growth. Past the point where the base can hold the dissolved solids in solution, ice gets squeezed out as visible crystals instead. Roughly one cup of sugar per quart of base is a sensible target.
Why is my no-churn ice cream icy when the recipe says no churning is needed?
No-churn recipes still need agitation and a cold base. Freezing the mixture in a container without stirring gives the water time to form large crystals instead of many small ones. Chill the condensed-milk base thoroughly, freeze in a shallow container, and stir or whisk it every 30 minutes during the first few hours until it is solid.
What should I do when homemade ice cream is too hard to scoop?
Rock hard is usually not the same problem as icy. It means the mixture went colder than the texture wants, so let the portion sit in the fridge for 5 to 10 minutes before scooping, or scrape a thin layer off the top and work with what is left. Crystals cannot be softened this way, so treat hardness as a serving problem and crunch as a method problem.
Conclusion
Start with the three cheap fixes: chill the base for 4 hours or overnight, give the bowl a full 24 hours in the freezer, and churn without stopping until the mixture reaches soft-serve consistency. Then seal the surface in a shallow airtight container and keep it deep in the freezer.
If it still crunches, the answer to why is my homemade ice cream icy usually comes down to temperature or crystal control rather than a bad recipe, so check fat content and water-heavy add-ins next. One more consideration is batch size: if you doubled a recipe and the texture changed, churn it in smaller batches rather than rewriting the formula.
Crystals never shrink back on their own. A batch that has already sat through a thaw and refreeze will stay slightly crunchier than the one before it, but a soft-serve texture the moment it leaves the machine is the whole game, and that is something you control every time.